12 Smart Ways To Upgrade Your Home On A Tight Budget
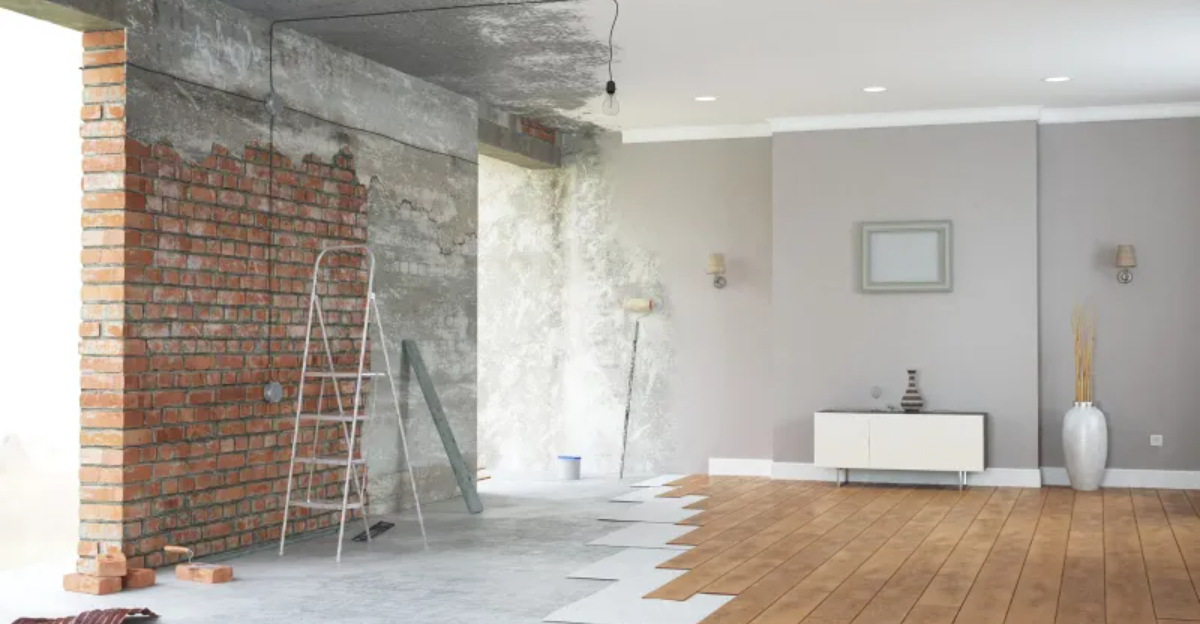
Giving your home a fresh new look doesn’t have to drain your bank account. With a little creativity and some elbow grease, you can transform your living space without spending a fortune.
Whether you’re looking to sell your home or simply want to enjoy a more beautiful environment, these budget-friendly upgrades will help you achieve amazing results without breaking the bank.
Keep in mind that individual results may vary depending on your home’s layout, existing condition, and materials used, so plan accordingly and adjust ideas to suit your space.
1. Paint Accent Walls
Transforming a room can be as simple as painting just one wall. An accent wall creates a focal point and adds personality without the cost of painting the entire space. Choose a bold color that complements your existing décor for maximum impact.
Even painting novices can tackle this project in an afternoon. You’ll only need a gallon of paint (about $30-40), basic supplies like rollers and tape, and a few hours of time. The dramatic change will make the whole room feel refreshed.
If you’re nervous about committing to a color, try removable wallpaper instead. It offers the same dramatic effect but can be peeled off when you’re ready for a change.
2. Update Cabinet Hardware
Swapping out those dated cabinet knobs and drawer pulls can instantly modernize your kitchen or bathroom. This tiny change makes a surprisingly big difference in how fresh your space feels. Hardware comes in countless styles, from sleek modern to vintage-inspired.
The best part? Most pulls cost between $2-10 each, making this one of the most affordable upgrades possible. All you need is a screwdriver and about an hour to transform cabinets that once looked tired and old-fashioned.
Save even more by shopping at discount home stores, online marketplaces, or reusing existing hardware with a coat of spray paint in trendy brass, matte black, or brushed nickel.
3. Swap Light Fixtures
Nothing dates a room faster than an outdated light fixture. Replacing that 1990s ceiling fan or builder-grade flush mount with something more stylish creates instant impact. Modern lighting options are surprisingly affordable at home improvement stores and online retailers.
You’ll need basic electrical knowledge or a friend who can help with installation. Always turn off power at the breaker before starting! If you’re renting, store the original fixtures to reinstall when you move.
Don’t forget to consider the bulbs too. Warm LED lighting creates a cozy atmosphere while saving on your electric bill. For extra flair, add dimmer switches to create multiple lighting moods in the same space.
4. Add Mirrors for Space
Mirrors are magical tools for making small spaces feel larger and brighter. They reflect light around the room and create the illusion of depth where there isn’t any. Strategic mirror placement opposite windows multiplies natural light throughout your space.
You don’t need expensive custom mirrors to achieve this effect. Check thrift stores, flea markets, and discount home stores for affordable options. Even plain mirrors can be dressed up with decorative frames or paint.
Try grouping several smaller mirrors together for an artistic gallery wall, or go bold with one oversized mirror as a statement piece. The visual expansion of your space will be immediate, without moving a single wall.
5. Install Peel-and-Stick Backsplash
Kitchen renovations typically cost thousands, but peel-and-stick backsplash tiles deliver major impact for under $100. These adhesive tiles mimic the look of ceramic, subway tile, or even marble without the messy grout or professional installation fees.
Application is straightforward measure your space, cut tiles to fit with scissors, peel off the backing, and press firmly into place. Most options are heat and moisture resistant, making them practical for kitchen use.
If you’re renting, this upgrade is perfect since most varieties remove cleanly without damaging walls. The transformation is immediate and dramatic, especially if you’re covering outdated tile or plain painted drywall behind your sink and stove.
6. Refresh Window Treatments
Dingy, outdated curtains drag down your entire room’s appearance. Fresh window treatments instantly elevate your space while adding color, texture, and style. Long curtains hung close to the ceiling make windows appear larger and ceilings higher.
Budget-friendly options abound at discount stores and online retailers. Consider no-sew hem tape to customize ready-made curtains to your exact window measurements. For maximum impact, choose curtains that contrast with your wall color or add a pattern to an otherwise neutral room.
Beyond aesthetics, proper window treatments improve energy efficiency by blocking drafts in winter and sun in summer. This small investment pays off in both style and reduced utility bills a win-win for tight budgets!
7. Use Area Rugs Strategically
Area rugs instantly warm up cold floors and tie design elements together while defining spaces in open floor plans. They’re particularly valuable for renters who can’t change flooring but want to cover ugly carpet or worn vinyl.
When shopping on a budget, look for end-of-season sales or online discount retailers. The right size matters more than price a rug should be large enough that at least the front legs of furniture sit on it. Too-small rugs make rooms feel choppy and disjointed.
If you find a perfect pattern in a smaller size than needed, layer it over an inexpensive larger natural fiber rug like jute or sisal. This designer trick creates a custom look while maximizing your budget and adding interesting texture to your space.
8. Create Open Shelving
Removing upper cabinet doors or installing simple floating shelves creates an airy, modern look in kitchens and bathrooms. This budget-friendly project costs almost nothing if you’re just removing doors, or under $100 for new shelves and brackets.
Open shelving forces you to declutter and showcase only your most attractive items. Arrange dishes, glassware, or decorative objects in visually pleasing ways, mixing heights and textures for interest. Plants and small artwork add personality among functional items.
If you’re nervous about dust or clutter, start with just one or two open shelves and keep the rest closed. The contrast between open and closed storage creates visual interest while maintaining plenty of hidden space for less display-worthy necessities.
9. Add Indoor Plants
Plants breathe life into any space, literally purifying air while adding color, texture, and natural beauty. Even brown-thumbed decorators can succeed with low-maintenance varieties like snake plants, pothos, or ZZ plants that thrive on neglect.
The containers matter as much as the plants themselves. Basket covers, thrifted ceramic pots, or painted terra cotta create designer looks without designer prices. Group plants of different heights for maximum impact, or place statement plants in room corners to soften architectural lines.
Start with just one or two plants and expand your collection gradually. Many varieties can be propagated from cuttings, allowing you to multiply your greenery for free. This living décor evolves over time, creating an ever-changing element in your home design.
10. Replace Outlet Covers
Yellowed, cracked, or paint-splattered switch plates and outlet covers silently age your home. Replacing these small details costs less than $2 per cover but creates a surprisingly polished look throughout your space.
Beyond basic white plastic, consider decorative options like brushed nickel for bathrooms or kitchen, wooden covers for rustic spaces, or designer patterns for kids’ rooms. For the truly budget-conscious, existing plastic covers can be cleaned thoroughly and spray painted to match wall colors for a seamless look.
While making this upgrade, consider adding USB outlet covers in key locations like bedside tables or home office areas. This functional improvement costs slightly more but eliminates adapter clutter and adds modern convenience that future buyers will appreciate.
11. Upgrade Doorknobs
Those basic round doorknobs that came with your house are practical but lack personality. Switching to lever handles or decorative knobs throughout your home creates consistency and elevates the entire space. This small hardware makes a big impression because we interact with it daily.
Focus first on main areas like front entry, bathroom, and bedroom doors if budget is tight. Interior door hardware typically costs $20-40 per door, while exterior sets run $50-100 but include added security features. Save by watching for hardware sales or buying sets in multi-packs.
If your budget won’t stretch to replace all doorknobs, try spray painting existing ones in modern finishes like matte black or brushed gold. Just remove hardware first and use proper metal primer for lasting results.
12. Add Decorative Trim
Plain walls gain instant architectural interest with applied molding. Simple picture frame molding creates the look of expensive paneling for the cost of a few pine boards and some glue. This classic detail works in bedrooms, dining rooms, or entryways.
Measure and plan your design on paper first, then on the wall with painter’s tape before cutting any wood. Pre-painted trim saves time, though painting after installation creates the most seamless finish. Attach lightweight trim with construction adhesive and finishing nails for a secure hold.
Beyond wall trim, consider adding crown molding where walls meet ceilings or upgrading skinny baseboards to taller versions. These traditional details make even new construction feel established and custom. The finished look suggests you spent thousands when you may have invested less than $100 per room.

