8 DIY Halloween Centerpieces That Don’t Cost Much
Halloween is just around the corner, and it’s the perfect time to give your home a spooky makeover. You don’t need to spend a fortune to create striking centerpieces that impress your guests.
With a few simple materials and a touch of creativity, you can transform your table into a haunting display that captures the spirit of the season, though results may vary depending on your available supplies, table size, and personal styling choices.
1. Painted Mini Pumpkins
Grab some mini pumpkins from your local grocery store or farmers market for just a dollar or two each. The beauty of these little gourds is how versatile they become with just a coat of paint!
I love using metallic colors like gold, silver, or copper for an elegant look, or go classic with black and white patterns. For a fun twist, paint faces on them or add glitter for some sparkle. Kids absolutely love joining in on this project!
Arrange them in odd-numbered groups (three or five work best) on a simple plate or wooden board. Add some tea lights between them, and you’ve got a charming centerpiece that costs under $10 total.
2. Mason Jar Lanterns
Those extra mason jars gathering dust in your pantry are Halloween decoration gold! With some black paint or permanent markers, you can transform them into spooky lanterns that cast eerie shadows across your table.
Draw simple silhouettes of cats, bats, witches, or haunted houses on the outside of clean jars. If you’re not confident in your artistic skills, print templates online and tape them inside the jar as guides. The light shining through creates a magical effect!
Drop in battery-operated tea lights (much safer than real candles) and arrange them down the center of your table. For extra flair, wrap some twine around the jar rims or add fake spider webs between them.
3. Twig and Branch Arrangements
Mother Nature provides the perfect free materials for spooky centerpieces! Take a walk outside and collect interesting twigs and branches that have fallen to the ground. The more gnarled and twisted, the better for that creepy Halloween vibe.
Arrange your findings in a tall vase or directly on your table. Spray painting them black or white creates an instant dramatic effect that looks surprisingly sophisticated. You wouldn’t believe how something so simple can transform your space!
Hang small paper ghosts or bats from the branches using fishing line, or wrap with inexpensive fairy lights for a magical glow. This natural centerpiece costs practically nothing but looks hauntingly beautiful on any table.
4. Faux Spider Web Centerpiece
Those stretchy fake spider webs from the dollar store are a Halloween decorator’s secret weapon! One package can create multiple impressive centerpieces that will give your guests the creeps (in the best way).
Start with a simple container a bowl, cake stand, or even a stack of books works perfectly. Drape the webbing over and around your base, pulling it to create that authentic cobweb look. The key is making it appear naturally messy rather than too perfect.
Scatter plastic spiders throughout the webbing, placing some climbing up and others hanging down for dimension. Add a few tea lights in glass holders (keeping them away from the webbing) to cast spooky shadows that enhance the eerie effect.
5. Mini Skull Displays
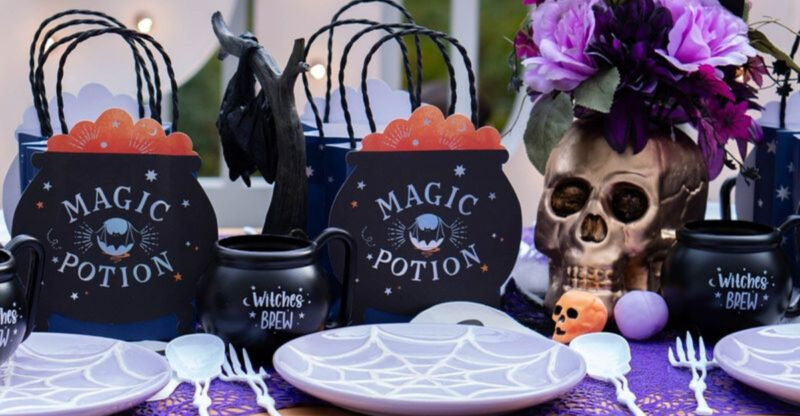
Dollar stores and craft shops sell small plastic skulls that make perfect building blocks for an attention-grabbing centerpiece. I found a pack of 12 mini skulls for just $3 last year!
Arrange these little guys in a shallow bowl or tray filled with black beans, lentils, or rice for a graveyard effect. This base helps position them at different heights and angles for visual interest. For an extra creepy touch, drip red candle wax over a few skulls to create a blood-like effect.
Surround your skull arrangement with battery-operated candles or LED string lights to create dramatic shadows. You can also add small plastic tombstones, fake moss, or miniature ravens to complete your tabletop graveyard scene.
6. Candle Holders with Autumn Leaves
Fall leaves transform ordinary candle holders into seasonal showstoppers that bridge the gap between autumn decor and Halloween ambiance. This project costs almost nothing if you collect fallen leaves yourself!
Choose leaves with interesting shapes and vibrant colors, then press them between book pages for a few days to flatten. Once dry, attach them to the outside of clean glass jars or votive holders using decoupage glue (or watered-down school glue works too).
Group several leaf-covered candle holders of different heights together on a simple tray or mirror. The warm candlelight glowing through the leaves creates magical autumn shadows that feel perfectly Halloween-appropriate. Add a few mini pumpkins or acorns around the base to complete the display.
7. Paper Bats on Sticks
Flying bats create instant Halloween drama and require nothing more than black paper, scissors, and sticks from your yard! This project is perfect for crafting with kids while keeping your decoration budget intact.
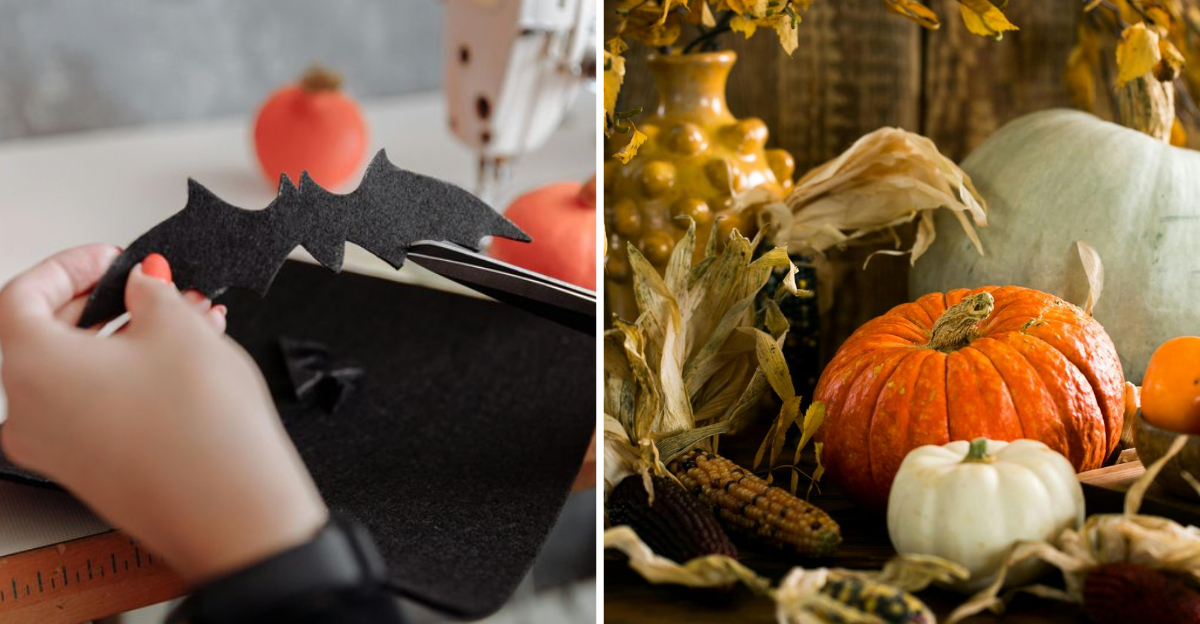
Cut bat shapes from black construction paper or cardstock you can find free templates online if you’re not confident drawing them freehand. Fold the wings slightly to give them dimension, then tape or hot glue each bat to a thin stick or skewer.
Arrange your bat sticks in a vase or jar filled with black beans or rice to hold them upright. Vary the heights for a dynamic look that appears like bats in flight. For added interest, include a few paper moon cutouts or stars on sticks among the bats to create a nighttime scene.
8. Pinecone and Gourd Arrangement
Nature provides the perfect materials for a Halloween centerpiece that transitions beautifully into Thanksgiving. Pinecones are free if you collect them yourself, and small gourds typically cost less than a dollar each at grocery stores during fall.
Spray paint some pinecones black or silver for a spooky twist on this natural element. Leave others unpainted for texture contrast. Arrange them in a shallow bowl or basket with mini gourds and pumpkins in traditional orange or painted colors that match your decor.
Add interest with Spanish moss draped throughout (available cheaply at dollar stores) and perhaps a few plastic spiders or skeleton hands partially hidden among the elements. This versatile centerpiece feels festive without being too explicitly Halloween-themed, giving you more bang for your decorating buck.

