15 DIY Home Makeovers That Give The Appearance Of High-End Design
Want to give your home a fresh, stylish update without draining your wallet? You don’t need a professional crew or a huge budget to achieve a high-end look.
With a bit of creativity, some basic tools, and a little weekend effort, these DIY projects can make your space look like a designer touched it.
Results may vary depending on skill level, but even small touches can make a big impact.
1. Open-Concept Living Room Remodel
Opening up space by removing a non-load-bearing wall between your living room and dining area can add instant luxury appeal. Begin by consulting with a licensed contractor to confirm which walls are safe to take down, and then proceed with careful removal using the proper tools, safety equipment, and professional guidance.
After removing the wall, patch and paint surrounding areas to create a seamless transition. The newly opened space will allow natural light to flow throughout, making your home feel significantly larger and more expensive.
Consider adding an architectural detail like a support column with decorative molding where the wall once stood. This small touch adds character while maintaining the open flow that’s characteristic of high-end homes.
2. Floating Shelves Installation
Custom floating shelves instantly elevate any room with their clean, minimalist appeal. Purchase pre-cut wood boards from your local hardware store or repurpose old wooden planks for a more rustic look. Sand them smooth, stain or paint to match your decor, then mount using hidden bracket systems.
The trick to making these look expensive is precision installation. Use a level and measure carefully to ensure perfect alignment. Space shelves at varying heights for visual interest.
Style your new shelves with a curated mix of books, plants, and decorative objects. The key is restraint leaving some empty space creates that high-end, intentional design look that expensive homes showcase.
3. Custom Accent Wall Painting
Paint transforms spaces faster than almost any other design element. Choose a focal wall in your bedroom or living room and give it special treatment with a bold color or textured finish. Geometric patterns created with painter’s tape can mimic expensive wallpaper at a fraction of the cost.
Try color blocking for a contemporary look, or experiment with ombré effects by blending two complementary shades. Another trick is using metallic paint for subtle shimmer that catches light beautifully.
If you’re feeling artistic, try your hand at a faux finish like Venetian plaster. YouTube tutorials make this surprisingly accessible for DIYers, and the textured, dimensional result looks remarkably upscale when done with patience.
4. Statement Light Fixture Updates
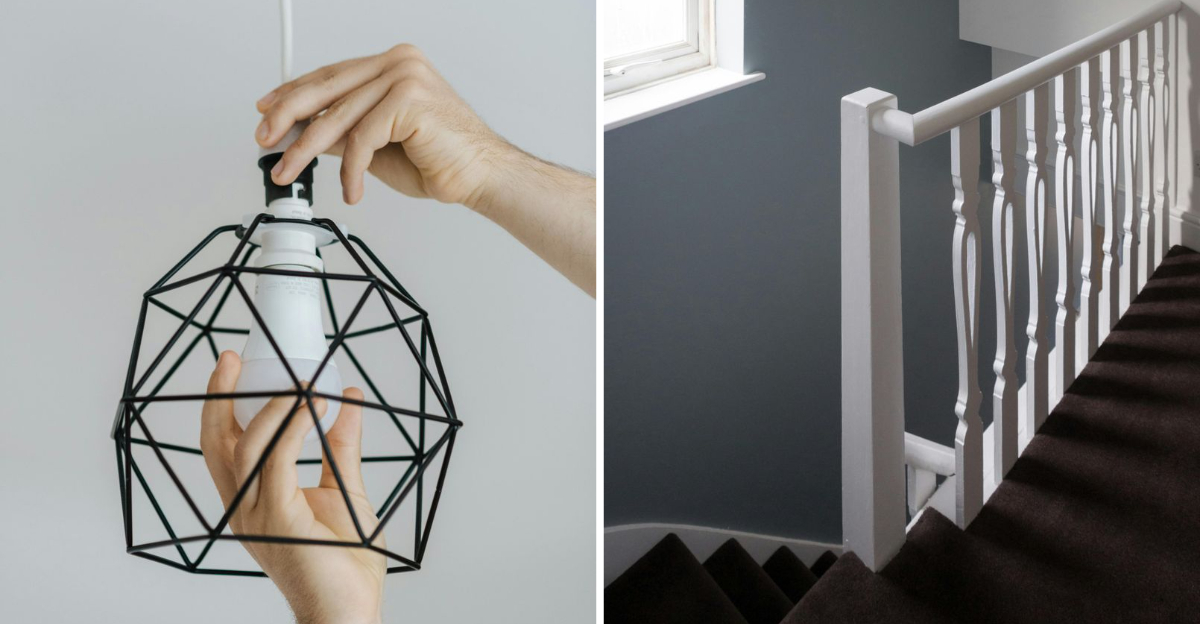
Lighting might be the single most transformative element in creating luxurious spaces. Replace builder-grade fixtures with dramatic alternatives even inexpensive options look high-end when thoughtfully selected. Large-scale pendants over kitchen islands or dining tables create instant focal points.
If buying new isn’t in your budget, transform existing fixtures with spray paint. Matte black, brushed gold, or aged brass finishes instantly modernize dated chandeliers. Add unexpected elements like wooden beads, rattan, or custom shades to basic fixtures.
Height matters too hanging lights at the proper level makes rooms feel professionally designed. For dining areas, fixtures should hang 30-36 inches above the table surface. This small adjustment creates proper proportion that screams “interior designer was here!”
5. Refinished Hardwood Floors
Hidden under old carpeting, you may discover original hardwood floors just waiting to be restored. Consider carefully removing the carpet, staples, and tack strips, and consult a professional if needed. DIYers can rent a floor sander from a local hardware store, but be sure to follow all safety instructions and use proper protective equipment. Start with coarse-grit sandpaper and gradually move to fine-grit for a smooth, polished finish.
The stain you choose dramatically impacts the final look. Darker stains like walnut or ebony create sophisticated, formal spaces, while medium tones like oak or cherry offer timeless appeal. Apply multiple thin coats of polyurethane for protection and sheen.
For truly authentic character, embrace some of the floor’s existing imperfections. Those small dents and variations tell a story and actually enhance the high-end appearance perfect flawless floors often look artificially new!
6. Bathroom Vanity Refresh
Bathrooms sell homes, but complete remodels are expensive. Instead, focus on the vanity the centerpiece of any bathroom. Paint existing cabinets using the same technique as kitchen cabinets, then replace the countertop with an affordable alternative like butcher block or a prefabricated marble-look option.
Mount a new mirror with character try a round shape or interesting frame instead of the typical builder-grade rectangle. Wall-mounted faucets appear ultra-custom but can actually be installed in an afternoon if your plumbing configuration allows.
Upgrading just three elements hardware, lighting, and faucet creates remarkable impact. Choose coordinating finishes for a cohesive look. This targeted approach delivers maximum visual improvement while keeping your budget intact and your weekend free of major construction!
7. Built-In Bookcases
Nothing says custom home like built-in bookshelves flanking a fireplace or window. The good news? You can create this look by combining ready-made bookcases with trim work. Start with basic IKEA BILLY bookcases or similar units, securing them to wall studs for stability.
The transformation happens when you add trim attach baseboard to the bottom, crown molding at the top, and vertical trim pieces to cover seams between units. Fill nail holes, caulk gaps, then paint everything the same color for that seamless built-in appearance.
Style your shelves with a mix of books arranged both vertically and horizontally. Leave some empty space and incorporate decorative objects for that curated designer look. This project typically costs under $500 but adds the appearance of thousands in custom carpentry!
8. Backsplash Installation
Kitchen backsplashes create immediate visual impact while protecting walls from cooking splatter. Modern peel-and-stick options have come amazingly far in quality and appearance, offering realistic stone and tile looks without messy mortar or specialized tools. For traditional tile installation, pre-mixed adhesive and simple plastic spacers make the job remarkably approachable.
White subway tile remains the most timeless choice, but consider unexpected patterns like herringbone or vertical stacking for designer flair. Contrasting grout dark with light tiles or vice versa emphasizes pattern and appears more custom than matching grout.
The finishing touch comes from proper edging. Metal tile trim creates clean transitions at countertops and cabinets. This detail separates amateur work from professional-looking installations. Even first-timers can achieve impressive results with patience and attention to detail!
9. Vintage Mirror Upcycling
Oversized mirrors create instant luxury by reflecting light and visually doubling space. Hunt thrift stores and flea markets for large mirrors with interesting frames even damaged ones with good bones can be transformed. Remove the frame carefully, sand rough spots, then apply primer specifically formulated for slick surfaces.
Gold leaf or metallic spray paint creates expensive-looking finishes. For an aged mercury glass effect, spray mirror edges with a vinegar-water solution before applying looking glass spray paint to the back. This creates that coveted antique patina that normally costs hundreds.
Placement matters almost as much as the mirror itself. Position your statement piece opposite a window to maximize light reflection, or create a focal point above a console table or fireplace. This high-impact accessory draws the eye while making spaces feel significantly larger and more luxurious.
10. Window Trim Enhancement
Basic contractor-grade windows lack the architectural detail that defines high-end homes. Adding substantial trim transforms these plain features into focal points. Start with primed MDF or pine boards cut to create a frame extending 2-3 inches around each window.
The secret to designer-worthy windows lies in layering add a simple sill at the bottom and decorative header at the top for dimension. This creates shadow lines that catch light beautifully. Install using finish nails and construction adhesive, then caulk all seams before painting.
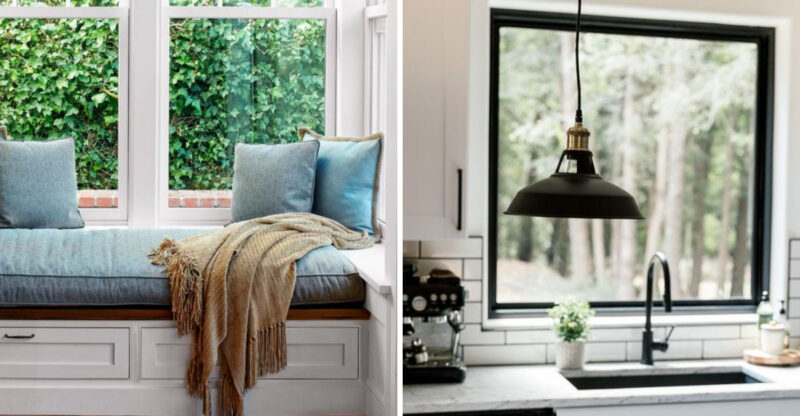
For maximum impact, paint window trim a contrasting color from your walls. Crisp white trim against colored walls creates classic sophistication, while black-framed windows deliver that coveted modern farmhouse look. This subtle architectural enhancement dramatically elevates your home’s overall appearance for minimal investment.
11. Stair Railing Update
Dated stair railings instantly reveal a home’s age, but replacing them creates remarkable transformation. Remove old balusters (the vertical supports) and handrail while keeping the newel posts (the larger supports at the ends). This preserves the structural integrity while allowing for complete style renovation.
Metal balusters offer contemporary sophistication mix straight and twisted designs for custom appeal. For traditional homes, painted wood balusters in simplified patterns create timeless elegance. The handrail material matters too stained wood offers warmth while painted finishes provide crisp contrast.
If your staircase has a knee wall instead of open balusters, consider adding picture frame molding to create visual interest. This simple addition transforms a plain wall into an architectural feature. Regardless of your style choice, this weekend project delivers dramatic before-and-after results that visitors notice immediately!
12. Modern Door Hardware Swap
Hardware functions as jewelry for your home small details with outsized impact. Replacing dated doorknobs with modern lever handles or matte black knobs instantly updates your entire house. This truly simple project requires just a screwdriver and about 15 minutes per door.
Choose hardware that complements your home’s overall style. Sleek nickel or brass levers suit contemporary spaces, while oil-rubbed bronze knobs enhance traditional homes. Consistency matters using the same finish throughout creates cohesive flow that feels intentionally designed.
Don’t forget hinges! Painting or replacing visible door hinges to match your new hardware completes the transformation. This often-overlooked detail separates amateur updates from professional-looking renovations. For under $300, you can replace every interior doorknob in an average home, creating immediate upgrade that everyone notices.
13. Indoor Plant Display Wall
Living walls create dramatic focal points while purifying air a combination that screams luxury design. Create your own using a grid of floating shelves, wall-mounted planters, or a repurposed ladder. The key is varying heights and plant varieties for visual interest.
Select plants based on your light conditions. Low-light areas thrive with pothos, snake plants, and ZZ plants, while bright spots support fiddle leaf figs and monstera varieties. Group plants in odd numbers and vary pot sizes and materials for designer appeal.
Black or white ceramic pots create modern sophistication, while terra cotta offers timeless warmth. Include trailing varieties that create vertical movement down walls. This living art installation transforms ordinary spaces into Instagram-worthy environments that feel curated and expensive, despite costing less than traditional artwork of similar scale.
14. Gallery Wall Arrangement
Professional-looking gallery walls transform blank spaces into personalized showcases. The secret lies in thoughtful arrangement and proper hanging. Start by gathering frames in complementary colors or finishes all black, all white, or mixed metals create cohesive collections with high-end appeal.
Lay out your arrangement on the floor first, experimenting with spacing and orientation. The most designer-worthy galleries maintain consistent spacing (2-3 inches) between frames. For foolproof installation, create paper templates of each frame, tape to the wall, then hammer nails through the paper before removing templates.
Elevate your gallery by incorporating unexpected elements alongside photos vintage mirrors, small sculptural pieces, or framed textiles add dimensional interest. This personalized art installation creates immediate impact while showcasing your unique style, making spaces feel thoughtfully curated rather than hastily decorated.
15. Recessed Lighting Installation
Lighting can dramatically transform a room. Recessed lights (also called can lights or pot lights) create a clean, modern ceiling design while offering evenly distributed illumination. Many retrofit options install directly into existing ceiling openings and can connect to current light fixture wiring.
Strategic placement is key, aim for one light every 4-6 feet, arranged in a grid pattern. In kitchens, position fixtures to brighten countertops where you prepare food. In living spaces, angle lights toward walls to highlight artwork or architectural details.
For flexibility, choose adjustable trim to direct light where you need it most. Energy-efficient LED versions provide dimming capabilities for ambiance. Because this project involves electrical work, it’s best to hire a licensed electrician unless you have proper training and experience. With the right installation, updated lighting can refresh your home without changing a single piece of furniture.


