Step by Step Tutorial for Building a Privacy Trellis
This post contains affiliate links, which means we may earn a small commission if you purchase through them — at no additional cost to you. Please see our policy page for more details.
Are you tired of feeling like your neighbors are always peeking into your backyard? Well, building a privacy trellis might just be the solution you’ve been looking for! In this article, we’ll how to build a trellis, perfect for adding a touch of charm to your outdoor space while also giving you some much-needed seclusion.
Whether you’re a seasoned DIY enthusiast or a novice looking for a fun weekend project, building a privacy trellis offers numerous benefits, including enhancing the visual appeal of your outdoor area, providing shade and support for climbing plants, and most importantly, giving you the privacy and tranquility you deserve in your own backyard. So, grab your tools and let’s get started on creating your own private retreat!
Things You’ll Need
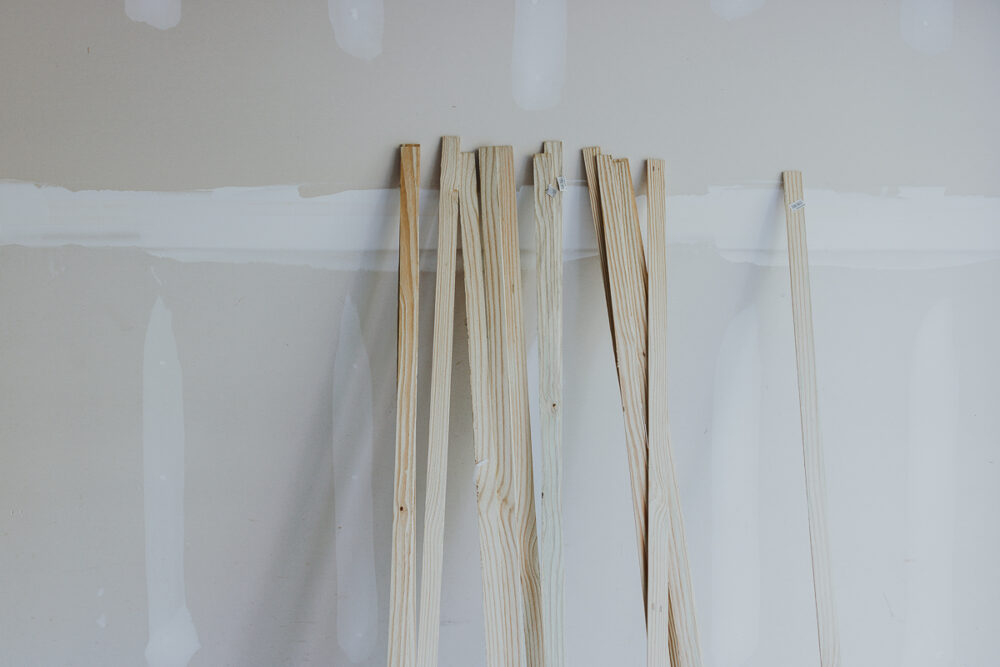
- Cedar Wood
- Pressure-Treated Pine Lath
- Pneumatic Stapler with Galvanized staples
- Galvanized Exterior Screws
- Drill with a Screwdriver Drill Bit
- Tape Measure (see How to read to a tape measure)
- Combination Square
- Table Saw (if needed)
How to Build a Trellis – Step by Step
A quick note. Our DIY trellis ended up being the exact dimensions of the lattice, so we didn’t need to cut any wood! If you do need to cut wood, you can just use a table saw and cut it down or have the hardware store make the cuts for you. We used pressure-treated pine lath to make the trellis as we couldn’t find any cedar lattice.
Expert Tip: In order to get even spacing between each lattice, take another piece of lattice and use it as a spacer guide for the existing pieces.
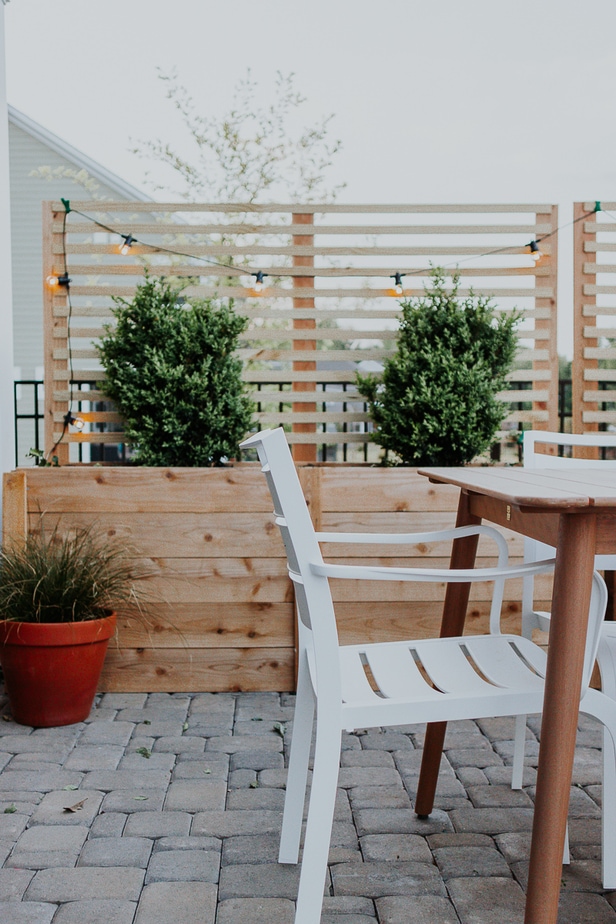
How to Build a Trellis for Privacy from Start to Finish
Total Time: 1 hour
-
Measure and layout Wood Trellis Frame

We found the easiest way to do this was to equally line up our three pieces of cedar wood on the floor up against the wall. The wall helped to stabilize and keep things nice and straight.If your garden trellis is going to be on the skinny side, you most likely only need two cedar supports on either side. Our trellis is wide so we used two supports on either side and one in the middle.
-
Attach Lattice to Wood Frame
Take your first piece of lattice and line it up on top of your wood frame, up against the wall. It should be at the very top of your frame. A combination square ensures your boards are level. Use your pneumatic stapler to attach the lattice to each “supporting” wood frame piece. We used two galvanized staples in each place where the lattice met the wood supports. In order to get even spacing between each lattice, take another piece of lattice and use this as a guide for the existing pieces.
-
Repeat to build Trellis
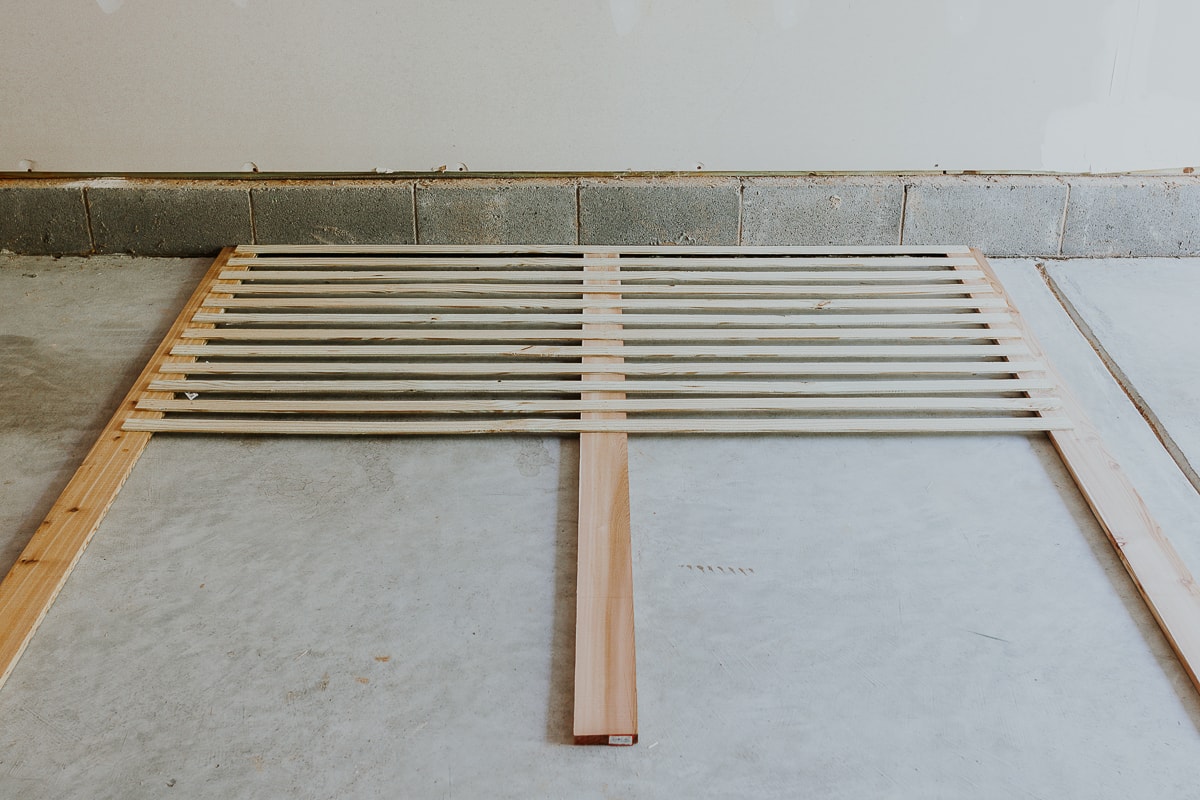
Repeat step 2 above making your way down the support way down until your trellis is complete.
-
Attach Wood Lattice to Existing Planter box or Wall
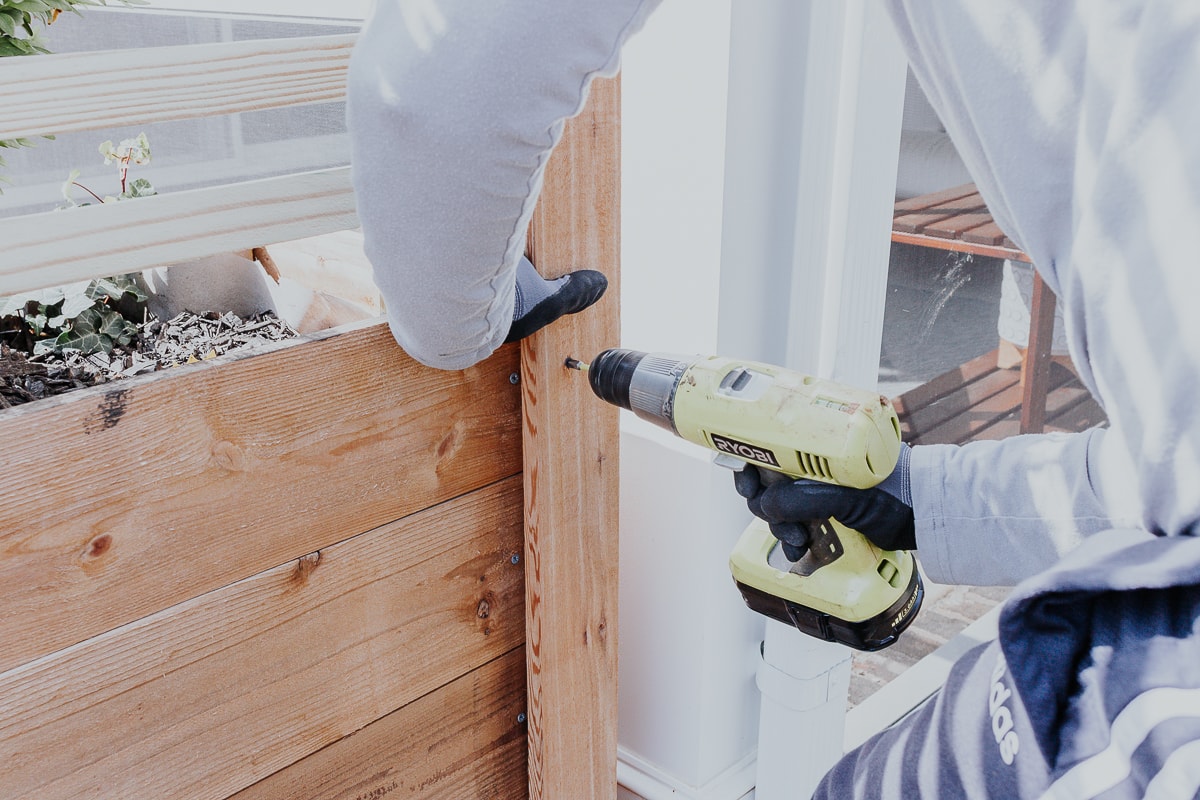
We already have existing cedar boxes that we wanted to attach our DIY trellis to. We used 2.5 inch galvanized exterior screws to attach our lattice to the cedar boxes. You can apply this same method and attach it to your home siding or even a wood fence.
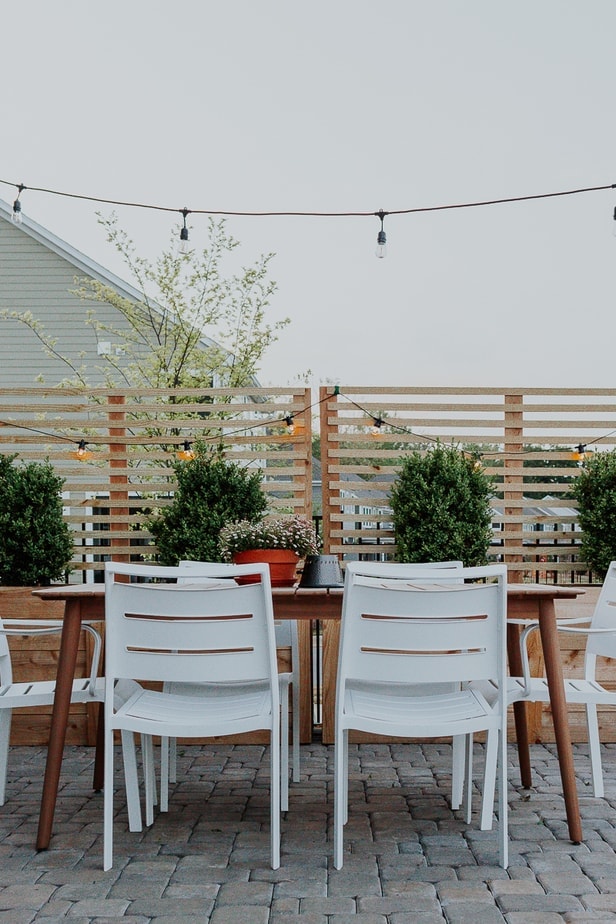
We decided to keep the wood bare (no stain or paint), since it’s cedar and pressure treated wood. The cedar planter boxes will naturally gray over time. It literally took us about 30 minutes from start to finish to build a trellis and it’s made the biggest difference in our backyard. We now have some privacy and will have even more as soon as these plants and vines mature.


Now that we have our trellis up, I wanted to add some climbing plants to it. So I thought it might be helpful to share these trellis ideas with you that I discovered during my research.

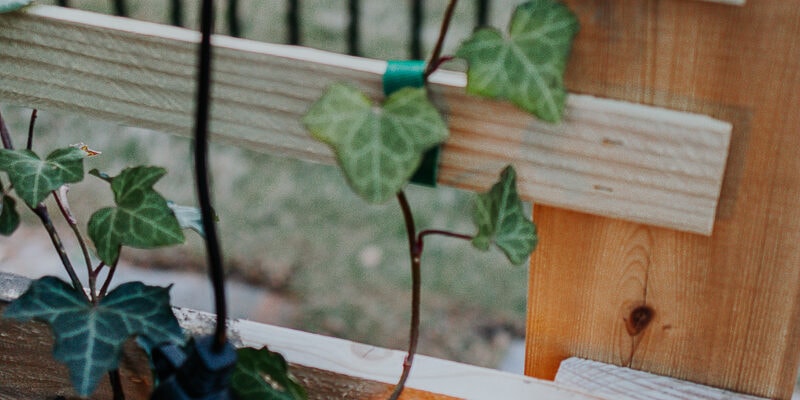
We ended up choosing ivy because it grows quickly and grows in sun or shade and provides a beautiful backdrop of greenery. However, I will have to keep my eye on it and cut it back as needed since ivy can take over and start to weigh down your garden trellis.
Some other ideas I was thinking of were climbing hydrangea (great for shade areas) as well as star jasmine. Star Jasmine is a beautiful evergreen and smells amazing! If you have the right soil and conditions for this plant, I highly recommend it. You also might want to consider a clematis plant for your trellis, since these plants climb really well and come in a variety of sizes and colors.
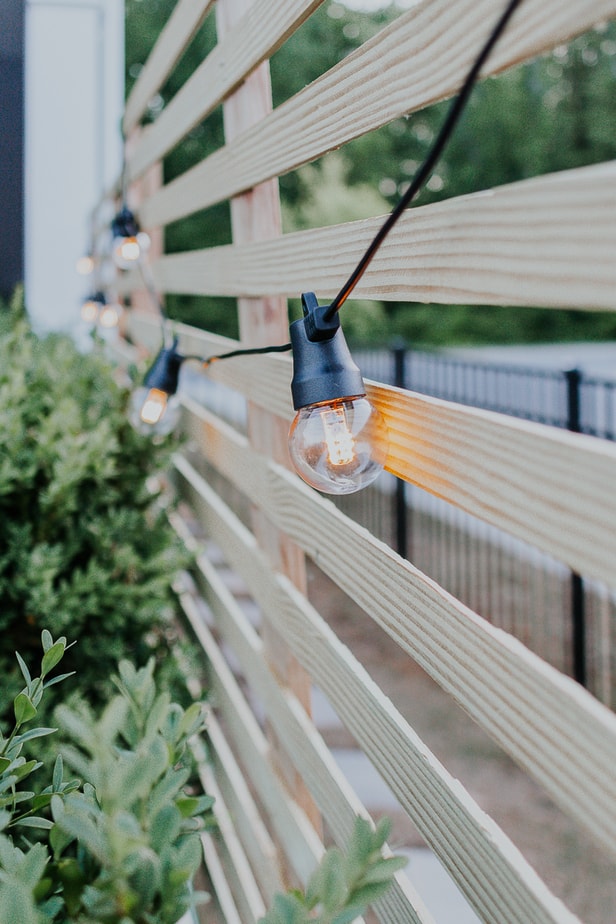
We don’t have an outlet nearby and I wasn’t about to start stringing all kinds of extension cords, so I chose these solar cafe lights to string on the top casually. The lights are a warm white and about 17 inches long, so they perfectly fit our trellis! I highly recommend these if you need a bit of ambiance in your outdoor spaces.
Frequently Asked Questions
How do I choose the right location for my trellis?
The location is primarily up to you and where you want privacy! If you want to grow plants on it, consider factors like sunlight exposure which is important for plant health (unless you choose a shade loving variety). Another option is use faux privacy screens that don’t require water or sunlight and look great day in and day out!
Do I need to anchor the trellis into the ground?
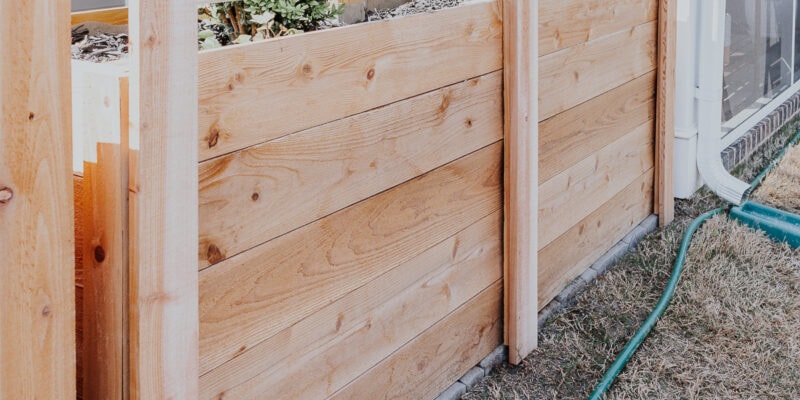
It’s generally recommended to anchor the trellis securely into the ground to ensure stability, especially for taller or larger structures. You can use post anchors, concrete footings, or bury the posts directly into the ground for added support. Alternatively, you can attach it to a large, heavy planter box, as we did here in this tutorial.
How do I maintain my trellis over time?
Regular maintenance helps prolong the lifespan of your trellis. Inspect it periodically for any damage, such as rot or loose connections, and make repairs as needed. Additionally, keep climbing plants trimmed to prevent overgrowth and maintain the trellis’s structural integrity. Depending on the material used, you may also need to repaint or reseal the trellis periodically to protect it from the elements. We find that we occasionally have to hammer in loose nails or replace them. But the maintenance has been fairly mild and we’ve had this trellis now for a couple years.

