How to Clean a Keurig (With & without Vinegar)

This post contains affiliate links, which means we may earn a small commission if you purchase through them — at no additional cost to you. Please see our policy page for more details.
Our Keurig is our go-to for a quick and convenient caffeine fix for many coffee lovers. But with daily use, it’s no surprise that the machine can start accumulating build-up, affecting our beloved brew’s taste. In this article, we’ll show you how to clean a Keurig (with and without vinegar.)
Word to the Wise: Descaling your Keurig can take up to an hour – so make sure you’ve had your first cup of coffee before starting this process!
Use the table of contents below to get to where you want to go.
How to Clean a Keurig with Vinegar

If you follow these steps and make sure to empty out all the vinegar – I promise you the coffee won’t taste like vinegar. To clean your Keurig with vinegar, follow these simple steps:
- Start by filling the water reservoir halfway with white vinegar, then fill the rest of the reservoir with clean water.
- Begin a brew cycle without inserting a K-cup. Turn on the machine, place a mug (or vessel of choice) in position, and run through the brew cycle until the reservoir is empty. Bonus: Use those mugs of hot vinegar for cleaning your kitchen!
- Fill the reservoir again but with just water and continue to run cycles until the water no longer smells or tastes of vinegar.
- Clean out the reservoir with hot soapy water and rinse, dry and replace.
- Remove the drip tray, water tank lid, and the K-cup holder and wash in hot soapy water. Rinse, dry, and replace.
- Use a microfiber cloth and some mild dish soap to wipe the exterior of the Keurig and the inner parts you can’t remove, like the needle.
- You can also use a small cleaning brush to help clean those harder-to-reach areas.
- Fill the water reservoir with clean, fresh water and install a new water filter cartridge (if using), and you’re done!
Why use Vinegar?
Cleaning your Keurig with vinegar offers several advantages. Firstly, vinegar is effective in descaling, breaking down mineral deposits that accumulate over time from water, thus maintaining the machine’s optimal performance.
Additionally, it helps remove any coffee or tea residue inside, ensuring the quality and taste of your beverages. Vinegar’s natural antibacterial properties contribute to disinfecting internal components, promoting a clean and hygienic brewing environment.
Cost-effectiveness is another perk, as vinegar is an inexpensive household item compared to commercial descaling solutions. Moreover, it’s an environmentally friendly choice, lacking the harsh chemicals found in some cleaners.
Be sure to rinse the Keurig thoroughly afterward to eliminate any residual taste or odor. Regular cleaning with vinegar is a simple and practical way to preserve your Keurig’s performance and extend its lifespan.
Why wouldn’t You Want to Use Vinegar?
While vinegar is a widely embraced method for cleaning a Keurig, some individuals may opt for alternative approaches due to specific considerations.
One common concern is the potential for a residual vinegar odor or taste, even after thorough rinsing, which could influence the flavor of brewed beverages. People sensitive to strong odors might find the smell of vinegar unpleasant, prompting them to seek cleaning solutions with milder scents.
Additionally, the acidic nature of vinegar raises concerns about its long-term impact on certain materials, such as rubber or plastic components. I’ve cleaned our Keurig with vinegar and with a descaling solution, and never had any issues, but it’s definitely something to keep in mind.
How to Clean a Keurig without Vinegar
Before we get started, we need to buy a Keurig descaling solution.
Keurig makes its own descaling solution that has good reviews. Amazon also sells a number of them. I use this one. It’s not expensive, and you get two full cleans out of every bottle. Plus, it works with other coffee machines, not just the Keurig
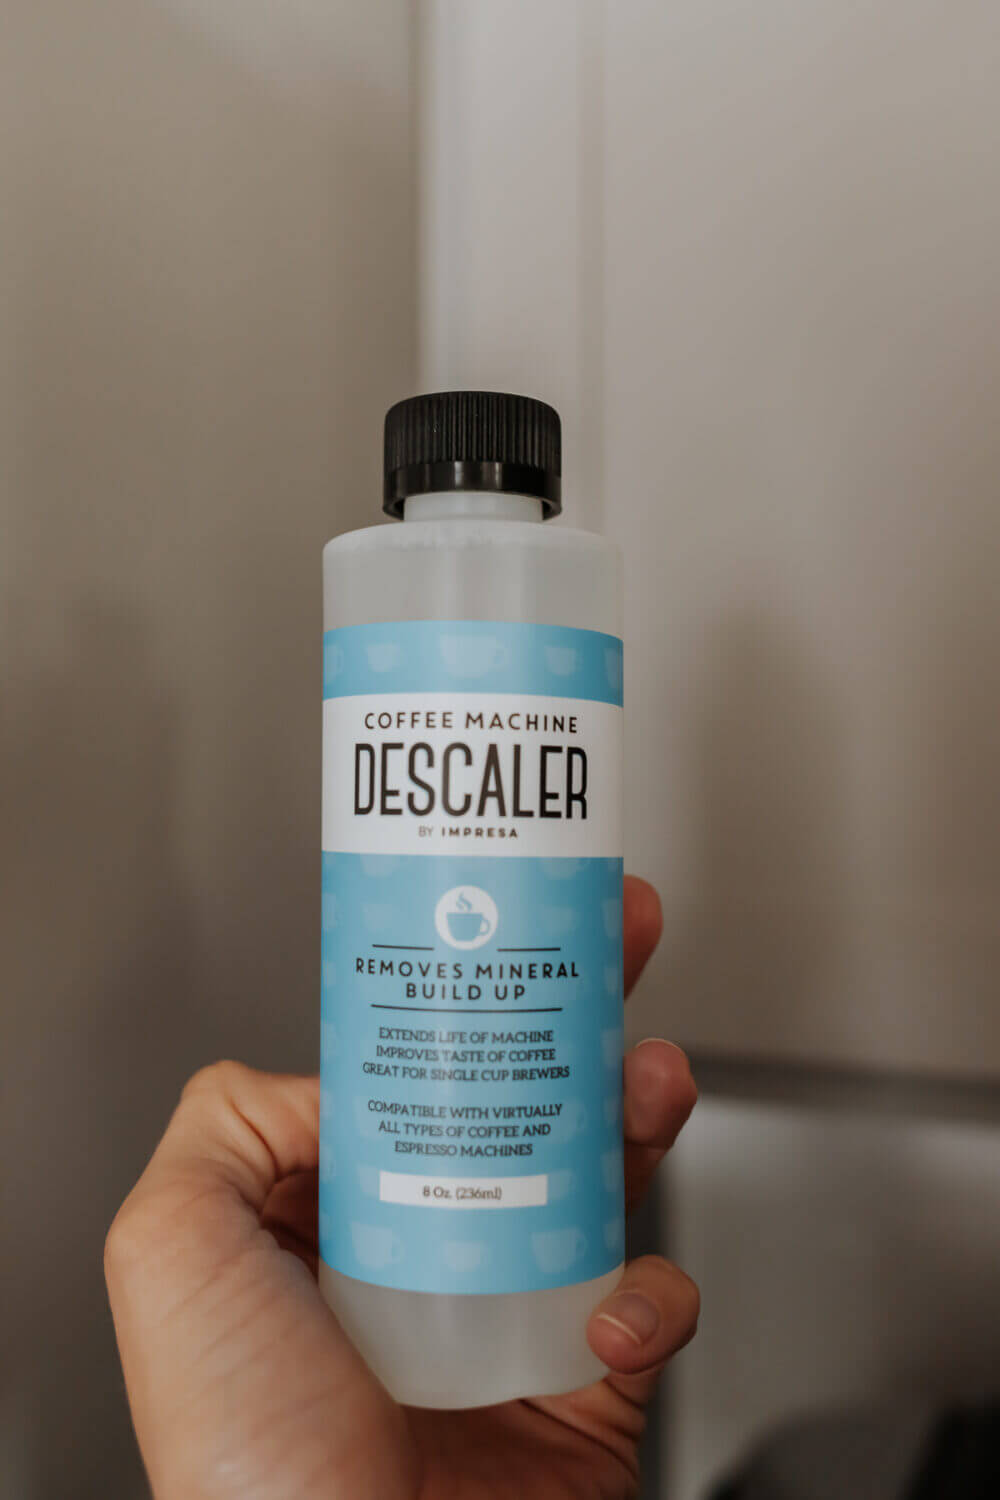
With any descaling solution, you want to follow the exact instructions on the back of the bottle – each one may be slightly different. The directions I list below are for
Read: The Weird but Effective Way to Clean Oven Racks.
How to Clean a Keurig Coffee Maker
Below, we’ll outline the steps to clean a Keurig using this descaling solution.
- Remove the coffee pod from the pod holder, water filter, and empty the water reservoir/tank.
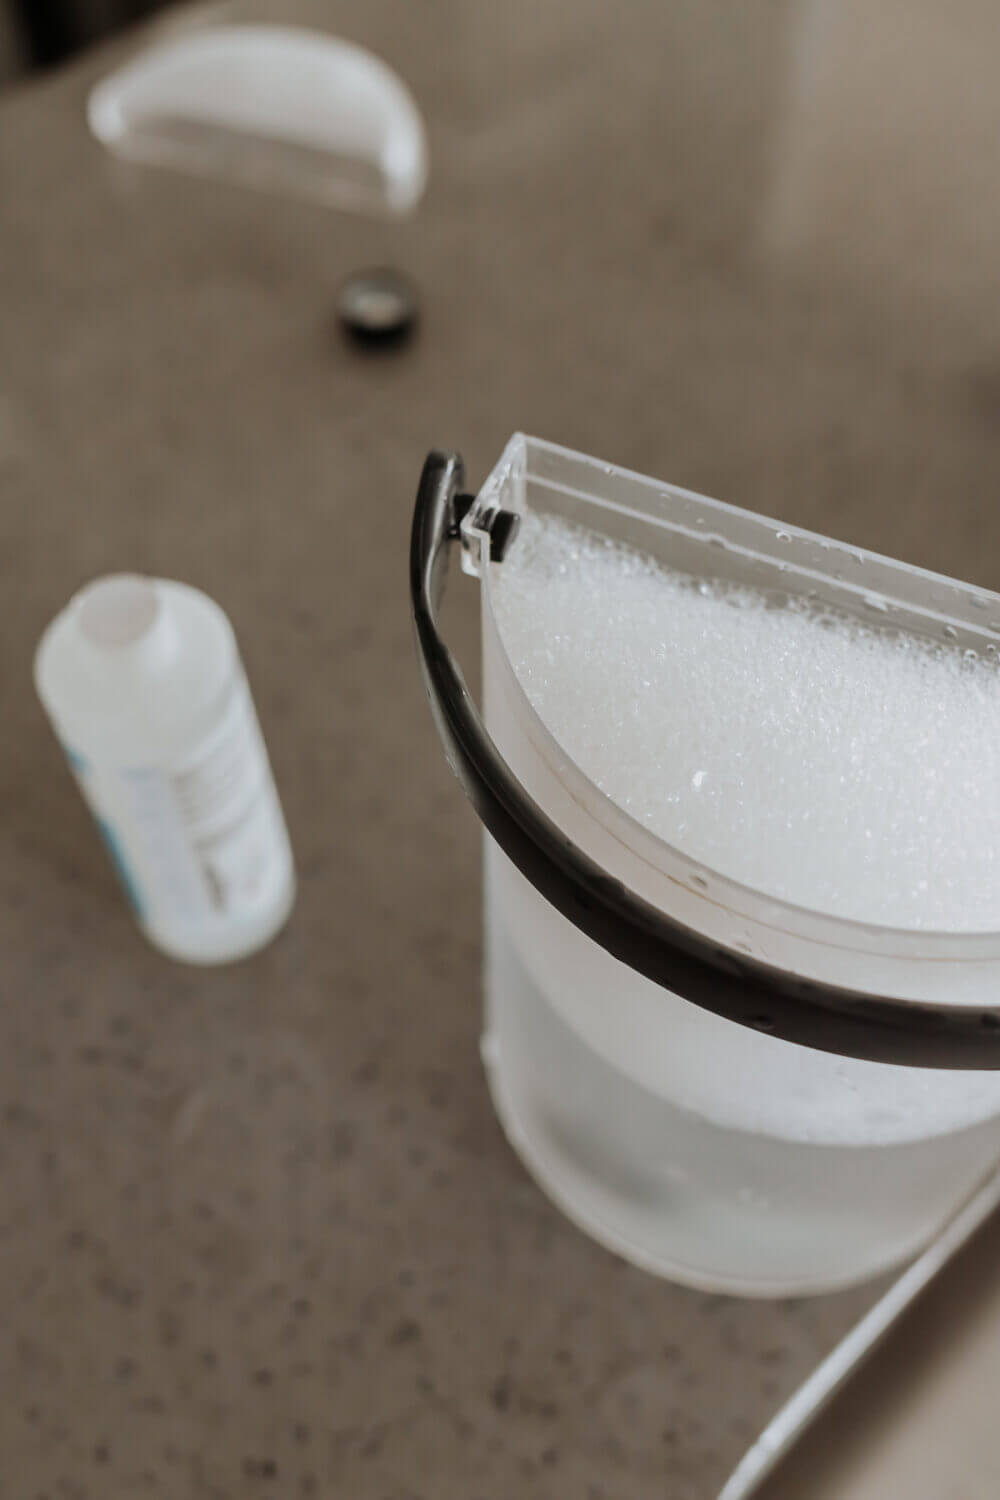
- Pour half the bottle of descaling solution into the empty reservoir. Then, fill the rest of the reservoir with water.
- Run the largest cup brew cycle on your machine (without a coffee pod) until the reservoir is empty or you get the low water signal. I use a large measuring cup to collect the brewed water.
- Let your Keurig sit for 30 minutes.
- Fill the reservoir to the top with water again and run it until it’s empty. Then, let it sit for 30 minutes again.
- Repeat step 5.
- Remove the drip tray, water tank lid, and the K-cup holder and wash in hot soapy water. Rinse, dry, and replace.
- Use a microfiber cloth and some mild dish soap to wipe the exterior of the Keurig and the inner parts you can’t remove, like the needle.
- You can also use a small cleaning brush to help clean those harder-to-reach areas.
- Fill the water reservoir with clean, fresh water and install a new water filter cartridge (if using), and you’re done!

Why We Need to Clean & Descale
Cleaning your Keurig Machine has several benefits:
Hard water can leave a layer of minerals on the parts of your coffee machine. Calcium carbonate is one of these minerals. When hard water is used in the machine, and it evaporates, the calcium carbonate will stay behind and can cause the machine to get clogged and not work as well. Plus, it can make your coffee taste kind of icky.

It’s also worth noting that your Keurig will run best on distilled or filtered water, as opposed to tap water, without all the minerals that can cause build-up.
How often should you clean & descale your Keurig?
You should repeat this process of descaling your Keurig about every 3-4 months. And I know this sounds gross, but I can always start to taste when my machine needs cleaning. The coffee really does taste better after a good descaling. If you use water filters with your Keurig, it serves as a good reminder. Each time you need to replace the filter – just give your machine a good cleaning first.
As you can see here, there are a number of important steps to ensure your Keurig machine continues to run smoothly and efficiently. Regular maintenance is key to ensure you can enjoy a consistently delicious cup of joe each and every time.
Furthermore, taking proper care of your Keurig can help extend its life and enhance its performance. So take the time to give your precious Keurig the attention and care it needs. You’ll really appreciate the taste of a freshly brewed cup of your favorite drink.


