Simple Design Updates That Can Refresh Old Wood Cabinets
Wood cabinets can start looking tired and dated after years of use in your kitchen or bathroom. The good news is you don’t need to rip them out and start over to get a fresh look.
With some simple updates, you can transform those old cabinets into something that looks brand new without breaking the bank.
These are general ideas and may need adjusting based on your cabinet type and condition.
1. Paint Them A Bold New Color
A fresh coat of paint works wonders on tired wood cabinets. White creates a clean, timeless look, while navy blue or forest green adds dramatic flair to your kitchen space.
Before painting, remove all hardware, clean thoroughly with a degreaser, and lightly sand the surface. Don’t skip primer – it helps paint stick to glossy wood surfaces and prevents stains from bleeding through.
2. Replace Outdated Hardware
Swapping out old knobs and pulls might be the easiest upgrade with the biggest visual impact. Modern brass handles or matte black knobs can instantly modernize your kitchen’s entire look.
Measure the distance between screw holes on drawer pulls before shopping. Hardware comes in standard sizes, so you’ll want replacements that fit your existing holes. Consider bringing an old piece with you when shopping.
3. Add Crown Molding To Upper Cabinets
Crown molding creates a high-end, custom look by drawing the eye upward. This simple addition can make stock cabinets look like expensive custom cabinetry for a fraction of the cost.
You’ll need a miter saw for proper angle cuts where pieces meet at corners. Pre-painted molding saves time, but raw wood allows you to match your cabinet color perfectly. Use finishing nails and wood glue for secure attachment.
4. Install Under-Cabinet Lighting
LED strip lights mounted under your upper cabinets create both practical task lighting and a warm ambiance. The added illumination highlights your countertops and makes the kitchen feel more open.
Wireless options eliminate complicated wiring and can be powered by batteries or plugged into nearby outlets. Look for models with remote controls or smartphone connectivity to adjust brightness and color temperature based on your mood or needs.
5. Create Glass-Front Display Cabinets
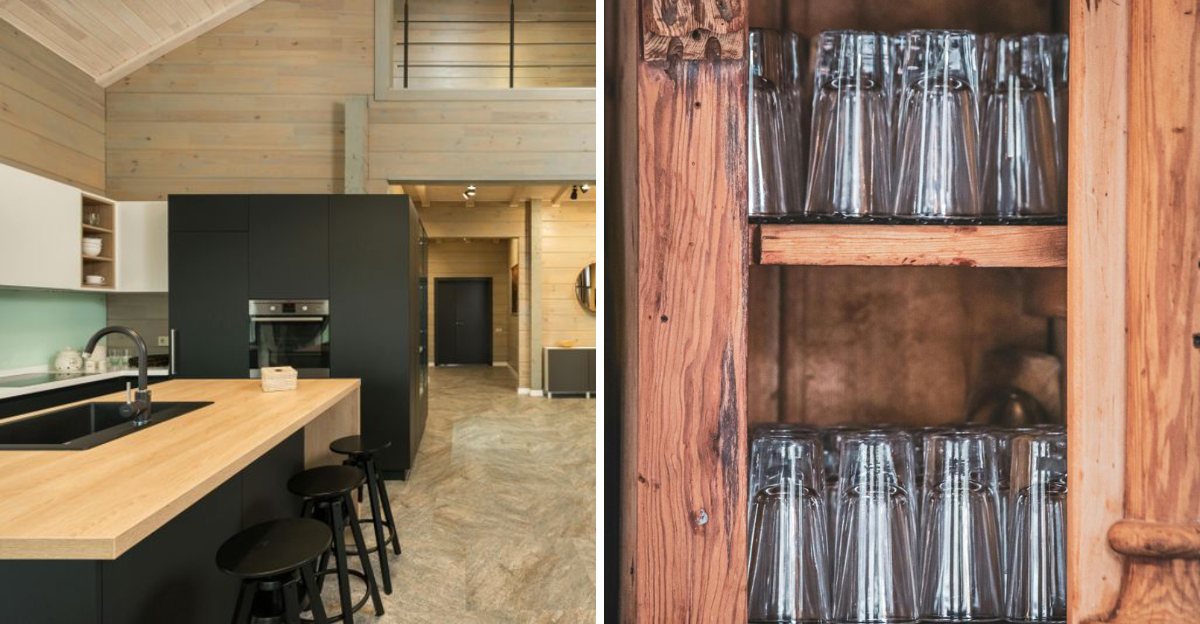
Removing cabinet doors and replacing them with glass inserts transforms ordinary storage into showcase pieces. This works especially well for cabinets where you store pretty dishes or glassware.
You can buy ready-made glass inserts or have them cut to size at a glass shop. For a budget option, remove doors entirely from a few strategic cabinets and paint the interior a contrasting color for an open-shelving look.
6. Remove Some Doors For Open Shelving
The open shelving trend remains popular for good reason – it breaks up wall-to-wall cabinetry and creates display space. Remove a few strategic doors, fill hardware holes, and paint the interior for an instant update.
Choose upper cabinets for this treatment rather than lowers, which need to hide less attractive items. Display your prettiest dishes, glassware, or decorative items here. Consider adding small puck lights inside for extra drama.

