9 Simple Kitchen Cabinet Changes That Could Transform Your Room
Is your kitchen feeling dull or outdated? You don’t need a complete renovation to breathe new life into this important space.
With just a few simple changes to your cabinets, you can dramatically transform your kitchen’s appearance and functionality. These budget-friendly updates can be done over a weekend but will make your kitchen feel brand new for years to come.
Results may vary depending on your kitchen’s layout, materials, and current condition, so it’s always wise to test ideas on a small scale first.
1. Replace Old Handles
Swapping out dated hardware is like giving your kitchen a fresh haircut! Those old, worn knobs and pulls might seem insignificant, but they actually make a huge visual impact.
I found this update incredibly satisfying because it’s so quick it took me less than an hour to replace all my kitchen handles. The hardest part was choosing from all the amazing options: sleek stainless steel, vintage glass, matte black, or even leather pulls.
When selecting new hardware, bring an old piece with you to ensure the new handles will fit your existing holes. Or, if you’re changing the configuration, fill old holes with wood filler before drilling new ones.
2. Add Soft-Close Hinges
No more slamming cabinet doors! This small mechanical upgrade brings luxury and peace to your kitchen space. When I installed soft-close hinges in my kitchen, the difference was immediately noticeable not just in sound reduction but in overall feel.
These special hinges catch the door just before it closes and gently pull it shut. They’re surprisingly affordable and can often replace your existing hinges without requiring new holes or major modifications.
If you’re not sure which hinges will work with your cabinets, take a photo of your current hardware to the home improvement store. Most soft-close hinges are universal, but cabinet styles can vary.
3. Repaint Cabinets
Did you know paint can be your kitchen’s best friend? A fresh coat in a new color completely reinvents your space without the hefty price tag of new cabinetry. I recently painted my dark cherry cabinets a crisp white, and visitors thought I’d installed brand new ones!
Though time-consuming, this project delivers massive results. Start by thoroughly cleaning the surfaces, then lightly sand them. Apply a good primer specifically designed for cabinets before your color coats.
When choosing colors, remember that light shades make small kitchens feel larger, while bold colors create dramatic focal points. Consider two-tone cabinets darker below, lighter above for a trendy, designer look.
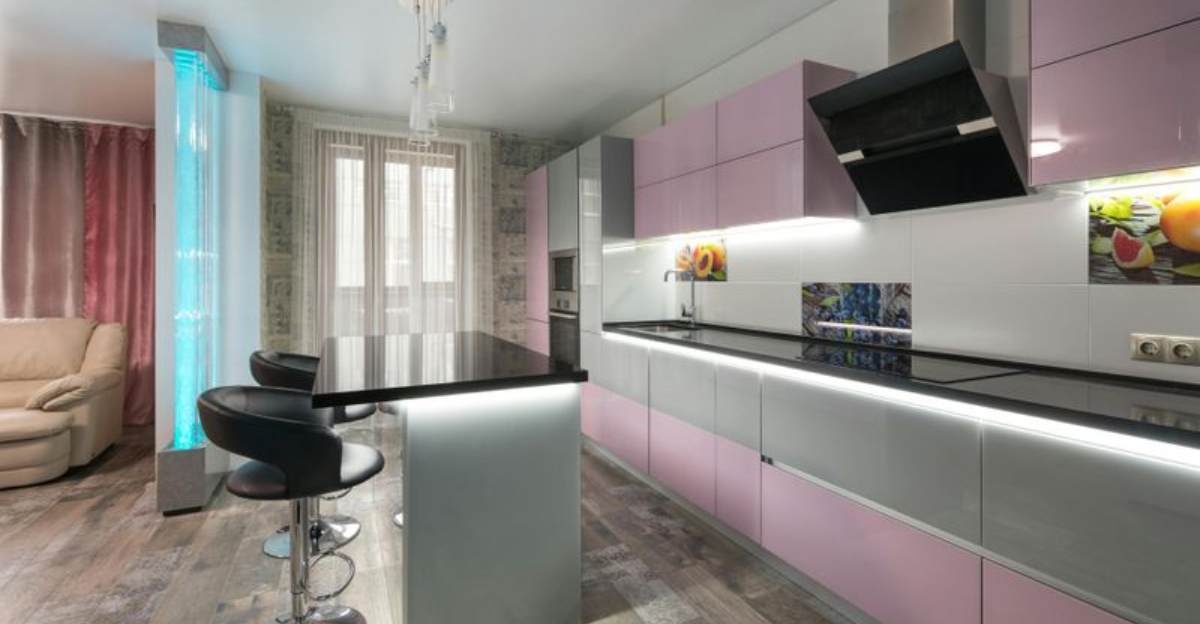
4. Install Under-Cabinet Lighting
Lighting changes everything! Adding strips of LED lights beneath your upper cabinets doesn’t just improve visibility—it creates ambiance that transforms your kitchen’s entire mood. My favorite part about this upgrade is how it highlights my countertops and backsplash in a way overhead lighting never could.
Modern LED options are energy-efficient, affordable, and incredibly easy to install. Many are peel-and-stick with wireless remote controls for brightness and even color changes. Some advanced systems can even connect to your smartphone!
For a clean look, hide the wires inside cabinet molding or behind the cabinets. This small addition makes cooking easier while adding a warm glow that makes the kitchen feel more inviting.
5. Open Up Upper Cabinets
Sometimes less is more! Removing a few strategic upper cabinets creates breathing room in a cramped kitchen. When I took down the cabinet above my coffee station, the entire kitchen suddenly felt more spacious and welcoming.
If you’re worried about losing storage space, consider which cabinets to remove carefully. Corner cabinets or those above high-traffic areas make good candidates. The empty wall space can become a canvas for open shelving, artwork, or a decorative backsplash that serves as a focal point.
This project requires some wall repair after removal, but the visual payoff is worth it. Your kitchen will feel more open and airy and sometimes that perceived spaciousness matters more than a few extra storage spots.
6. Add Glass Fronts
Want to know a designer’s secret? Replacing solid cabinet doors with glass instantly elevates your kitchen’s elegance factor. The first time I saw glass-front cabinets in a friend’s kitchen, I was amazed at how they made her modest space look like a custom design.
You have options here replace entire doors with pre-made glass versions or modify your existing doors by cutting out the centers and adding glass inserts. Clear glass showcases pretty dishware, while frosted or seeded glass provides a high-end look while hiding cabinet contents.
If tackling all cabinets feels overwhelming, try converting just a few strategic ones. Even changing two or three doors creates a custom look that breaks up wall-to-wall wood and adds depth to your kitchen.
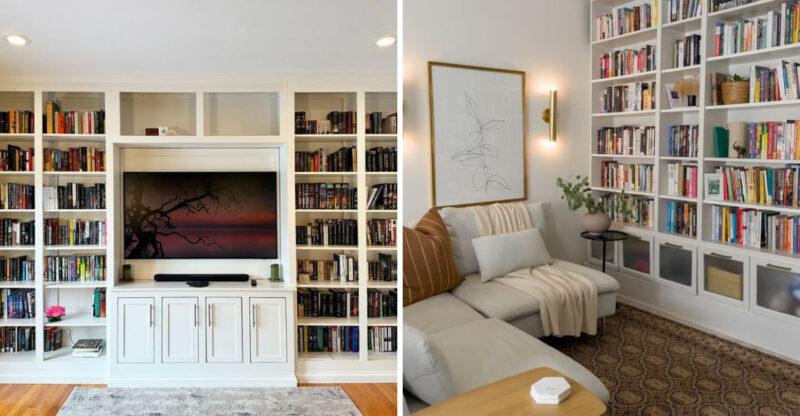
7. Remove Cabinet Doors for Open Shelving
Looking for a trendy update without major construction? Simply removing cabinet doors creates instant open shelving! When I first tried this in my kitchen, I was shocked at how modern it looked and how it motivated me to keep things organized.
Start by unscrewing the hinges and removing the doors. Fill hinge holes with wood putty, sand smooth, and touch up the paint. The interior may need fresh paint too, especially if it’s a different color than the exterior.
This modification works best with cabinets that hold attractive items like colorful dishes, glasses, or cookbooks. Arrange items thoughtfully by color or size, and don’t overcrowd. The beauty of this change is its reversibility if you don’t love it, you can always reattach the doors!
8. Update Crown Molding
Crown molding is like jewelry for your cabinets! Adding this finishing touch to the tops of your cabinets elevates them from basic boxes to custom cabinetry. I was stunned by how this small addition made my standard cabinets look high-end and intentional.
Home improvement stores offer various molding styles from simple to ornate. Choose one that matches your kitchen’s overall style clean lines for modern spaces or more detailed profiles for traditional looks. The molding can be painted to match your cabinets or in a contrasting color for added dimension.
For extra impact, consider adding molding in layers or extending cabinets to the ceiling with a soffit above the molding. This creates height and eliminates that awkward dust-collecting space between cabinets and ceiling.
9. Add Pull-Out Drawers
Hidden organization makes all the difference! Installing pull-out drawers inside existing cabinets combines style with incredible functionality. The first time I used my new pull-out spice rack, I wondered how I’d lived without it for so long.
These inserts transform awkward, hard-to-reach spaces into accessible storage. Think about what frustrates you most maybe it’s digging through a deep corner cabinet or stacking pots precariously. There’s likely a pull-out solution designed specifically for that problem!
Many options come pre-assembled and install with just a few screws. Popular choices include trash can pull-outs, spice racks for narrow spaces, and double-decker systems for under-sink storage. This upgrade not only looks sophisticated but actually makes cooking and cleaning more enjoyable.

