8 Creative Ways To Refresh Bathroom Walls Without A Full Remodel
Tired of your dull bathroom walls but don’t want to spend thousands on a full remodel? I’ve got good news for you! There are plenty of budget-friendly ways to transform your bathroom walls that won’t require knocking down tiles or hiring contractors.
These simple updates can make your bathroom feel brand new while saving you time and money. Results may vary depending on your bathroom’s condition and materials. These ideas are meant as general guidance and may not suit every space or surface.
1. Peel-and-stick Wallpaper
Modern peel-and-stick wallpaper is nothing like the tacky stuff from the 80s. These temporary coverings come in countless patterns and textures from subtle linen looks to bold geometric designs.
Application is surprisingly simple! Just measure your wall space, cut the paper to size, and smooth it onto clean, dry walls. The best part? When you’re ready for a change, it peels right off without damaging the surface underneath.
I recently used a navy blue botanical print in my powder room, and visitors always ask if I hired a professional. For small bathrooms, consider light colors or vertical patterns to create the illusion of more space.
2. Bold Accent Paint
Sometimes the simplest solution makes the biggest impact! Painting just one wall a bold color creates a dramatic focal point without overwhelming your space.
Deep emerald greens, rich navy blues, or even moody charcoals can transform a bathroom from forgettable to magazine-worthy. The key is balance keep your fixtures and other walls neutral to let that accent wall shine.
If you’re nervous about committing to a bold color, start small. Try painting the wall behind your vanity or toilet first. This approach works particularly well in powder rooms where you can be more adventurous with color choices since you don’t spend hours there daily.
3. Textured Paint Finishes
Want something more interesting than flat paint? Textured finishes add dimension to bathroom walls without major construction. Techniques like sponging, color washing, or Venetian plaster create subtle texture that catches light beautifully.
These methods are surprisingly DIY-friendly! Grab some glaze, a few tools from the hardware store, and watch a quick tutorial. Even beginners can achieve impressive results.
My bathroom used to feel flat and boring until I applied a subtle pearl finish that mimics the look of natural stone. The technique hides minor wall imperfections too perfect for older homes with less-than-perfect walls. Plus, many textured finishes stand up better to bathroom humidity than standard paint.
4. Decorative Tiles as a Border
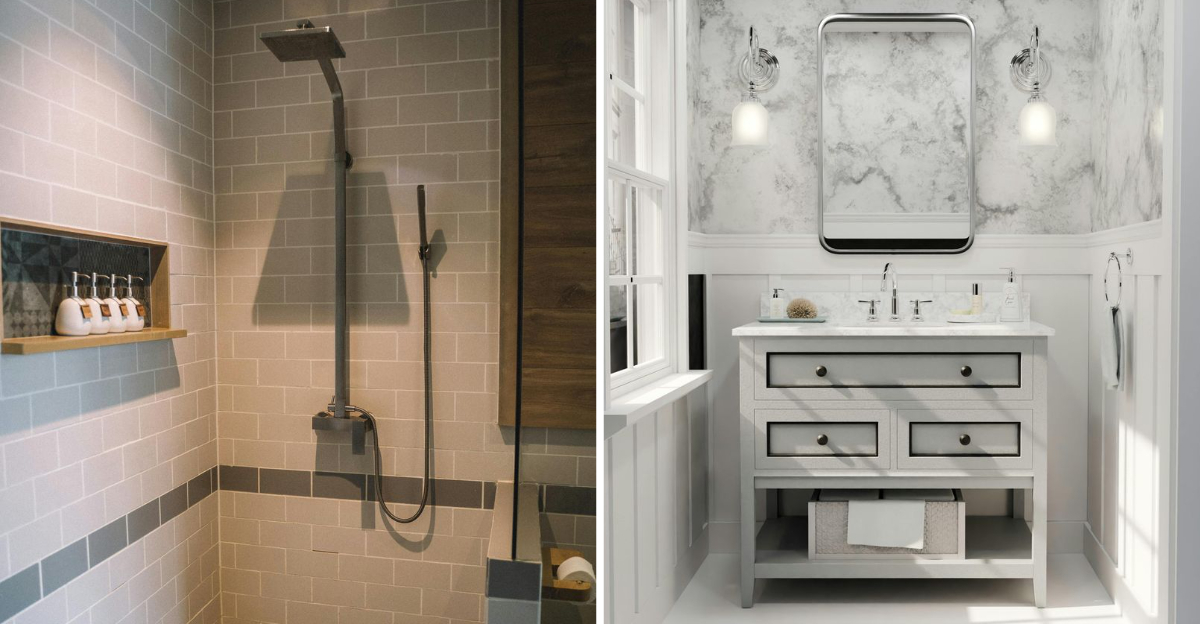
If you love tile but can’t afford a complete wall, consider adding just a decorative border! A single row of statement tiles creates a high-end look for a fraction of the cost.
Install them at eye level, around mirrors, or as a chair rail to divide wall sections. This approach works beautifully with existing plain tiles or painted walls. Glass mosaic, hand-painted ceramic, or patterned porcelain tiles all create different vibes.
Did you know many decorative tiles now come in peel-and-stick versions? I used these around my bathroom mirror, and they’ve held up perfectly to steam and occasional splashes. For renters, these removable options give you the tile look without losing your security deposit.
5. Removable Murals
Murals have evolved way beyond childish themes! Today’s removable mural options include sophisticated landscapes, abstract art, and trompe l’oeil designs perfect for creating a statement wall in your bathroom.
Unlike traditional murals that required artistic skill, these peel-and-stick versions install just like wallpaper but feature a single cohesive image. They’re particularly effective in small bathrooms where busy patterns might feel overwhelming.
A forest scene or beach vista can make your bathroom feel like a private retreat. My tiny powder room felt claustrophobic until I installed a misty mountain landscape mural that creates the illusion of depth. For maximum impact, choose a mural that contrasts with your bathroom’s style modern fixtures look stunning against vintage botanical prints.
6. Wall-mounted Art Panels
Art isn’t just for living rooms! Bathroom-friendly art panels add personality while standing up to humidity. Materials like sealed canvas, metal prints, or acrylic panels resist moisture damage.
Arrange several smaller pieces in a gallery wall, or make a statement with one large panel. The key is choosing pieces with sealed finishes and avoiding paper-based art that can warp.
How about creating your own custom panels? I took high-resolution photos of beach treasures, had them printed on aluminum, and mounted them in my bathroom. The metallic finish catches light beautifully and has survived two years of shower steam without issues. For a cohesive look, choose art that pulls colors from your towels or accessories.
7. Wainscoting or Beadboard Panels
Wainscoting adds instant architectural character to flat bathroom walls! These decorative panels traditionally cover the lower portion of walls, creating visual interest and texture.
Though it sounds complicated, modern options make installation surprisingly accessible. Paintable moisture-resistant panels come in sheets at home improvement stores and can be cut to fit your space. The classic white beadboard look never goes out of style, but don’t be afraid to paint it bold colors.
For my bathroom makeover, I installed beadboard halfway up the wall, added a thin chair rail trim at the top, and painted it all soft gray. The upper walls remained white, creating a two-tone effect that makes the ceiling feel higher. This approach also provides practical wall protection in splash-prone areas.
8. Floating Shelves with Decorative Backing
This clever hack combines storage with style! Install floating shelves against a section of wall covered in a contrasting material like reclaimed wood, corrugated metal, or patterned tile.
The backing material creates a defined zone that stands out from the rest of your bathroom walls. Your shelves then provide both functional storage and a display area for decorative items.
When I tried this in my bathroom, I used peel-and-stick wood planks behind three white floating shelves. The warm wood tone contrasts beautifully with my otherwise white bathroom, while the shelves hold plants, candles, and pretty containers for bathroom essentials. The entire project cost under $100 but completely transformed the space above my toilet from boring to boutique-hotel stylish.

