8 Weekend Renovation Ideas Favored By DIY Enthusiasts In San Francisco
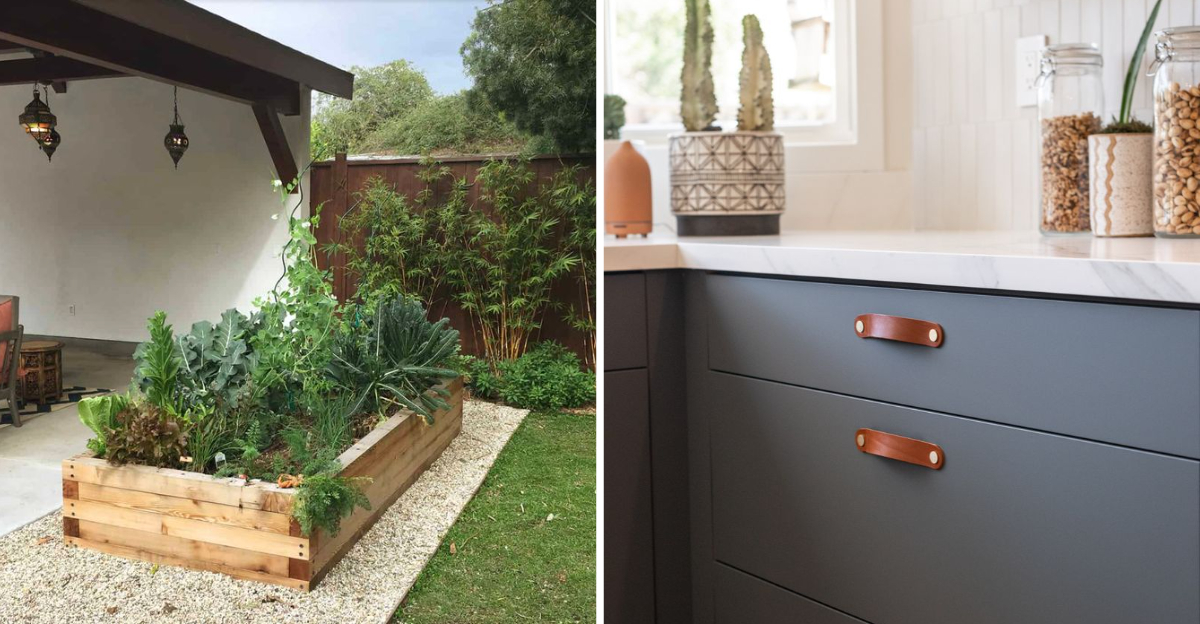
Looking to spruce up your San Francisco home without breaking the bank? DIY renovation projects can transform your space while keeping costs down.
Bay Area homeowners love tackling weekend projects that combine functionality with the city’s unique aesthetic sensibilities.
Here are eight popular renovation ideas you can complete in just a weekend.
1. Floating Shelves Installation
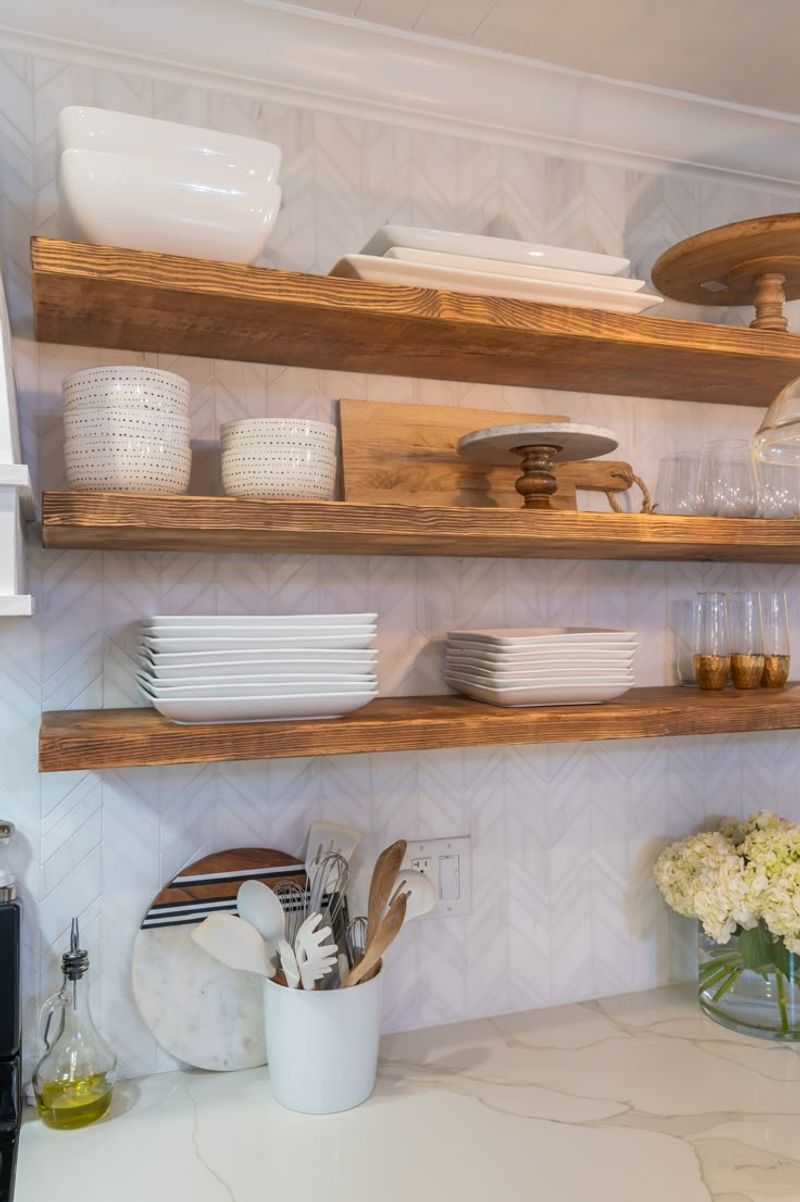
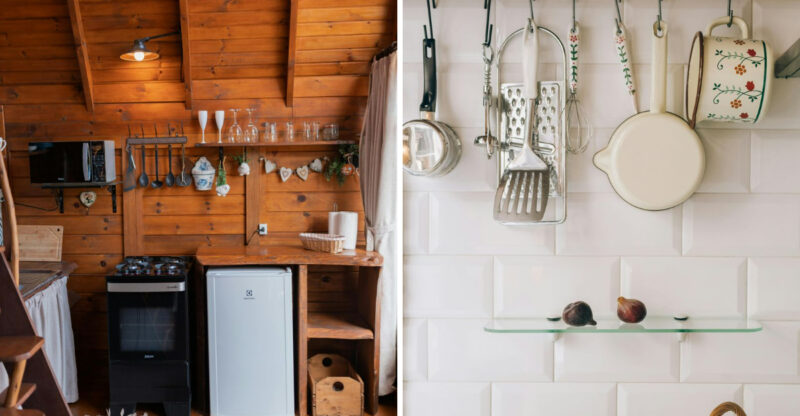
Did you know floating shelves originated in mid-century modern design? They’re perfect for San Francisco apartments where space comes at a premium. Installing these sleek storage solutions requires just basic tools and about three hours of your Saturday.
I recommend using reclaimed wood from local salvage yards like Building Resources in the Bayview district. This gives your shelves that authentic SF character while being environmentally friendly. For extra stability in earthquake country, make sure you locate wall studs or use proper drywall anchors.
My favorite part? The versatility! Use them in kitchens for spices, living rooms for books, or bathrooms for toiletries. Most homeowners complete this project for under $100.
2. Accent Wall Painting
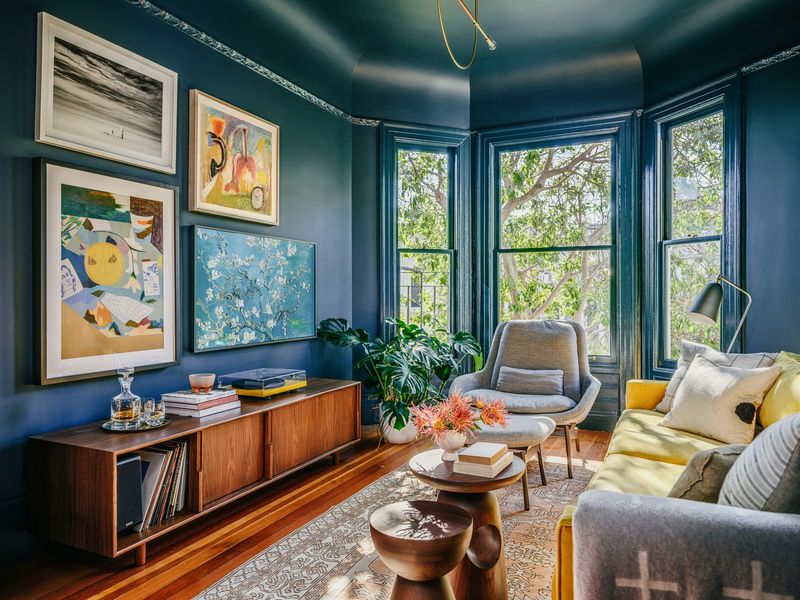
Transform any room with a bold accent wall! San Franciscans often choose colors inspired by our iconic landmarks Golden Gate orange, foggy blue-grays, or Victorian-inspired jewel tones.
The project typically takes just 4-6 hours, making it perfect for a Sunday project. Before starting, I always tape off edges and lay drop cloths to protect floors. Quality matters here invest in good brushes and rollers from Cole Hardware or Cliff’s Variety in the Castro.
One gallon usually covers about 400 square feet with two coats. Want something uniquely SF? Try creating a stenciled pattern inspired by local tile work or creating an ombré effect reminiscent of our famous fog rolling in over the hills.
3. Peel-and-Stick Backsplash
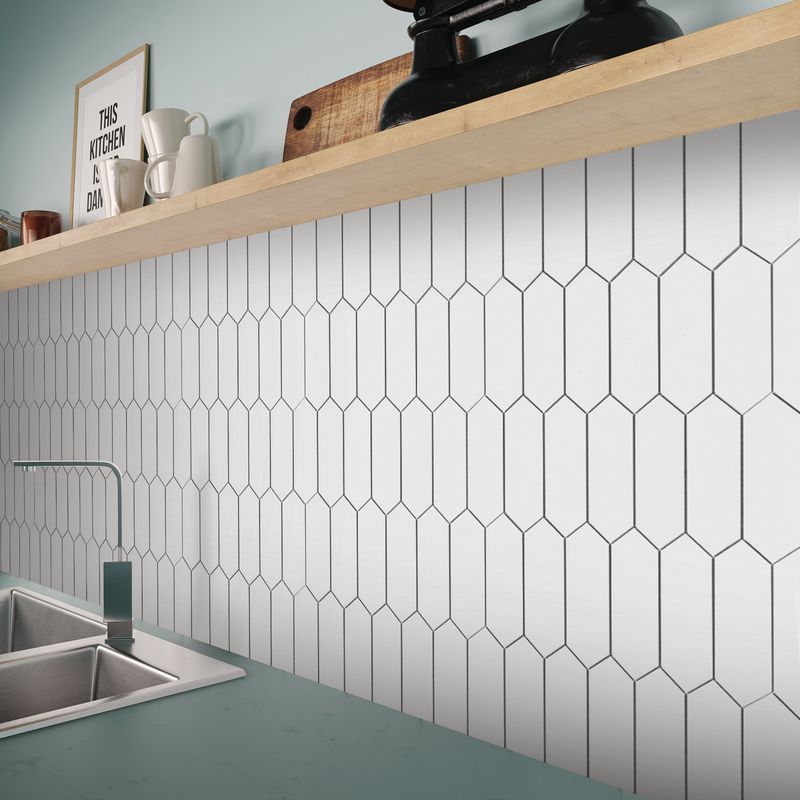
Renters rejoice! Peel-and-stick backsplash tiles offer a landlord-friendly way to upgrade kitchens without losing your security deposit. These adhesive tiles mimic ceramic, subway, or even Moroccan patterns that complement San Francisco’s diverse architectural styles.
It’s surprisingly simple measure your space, clean the wall thoroughly, and apply tiles starting from the center. Most SF DIYers finish this project in under 4 hours. Local shops like Floorcraft on Bayshore Boulevard offer great selections.
When working around outlets, I use paper templates first to ensure perfect cuts. The best part? When it’s time to move (we know how often that happens in SF), you can remove them without damaging walls. Total cost typically runs $30-100 depending on square footage.
4. Regrout Shower Tiles
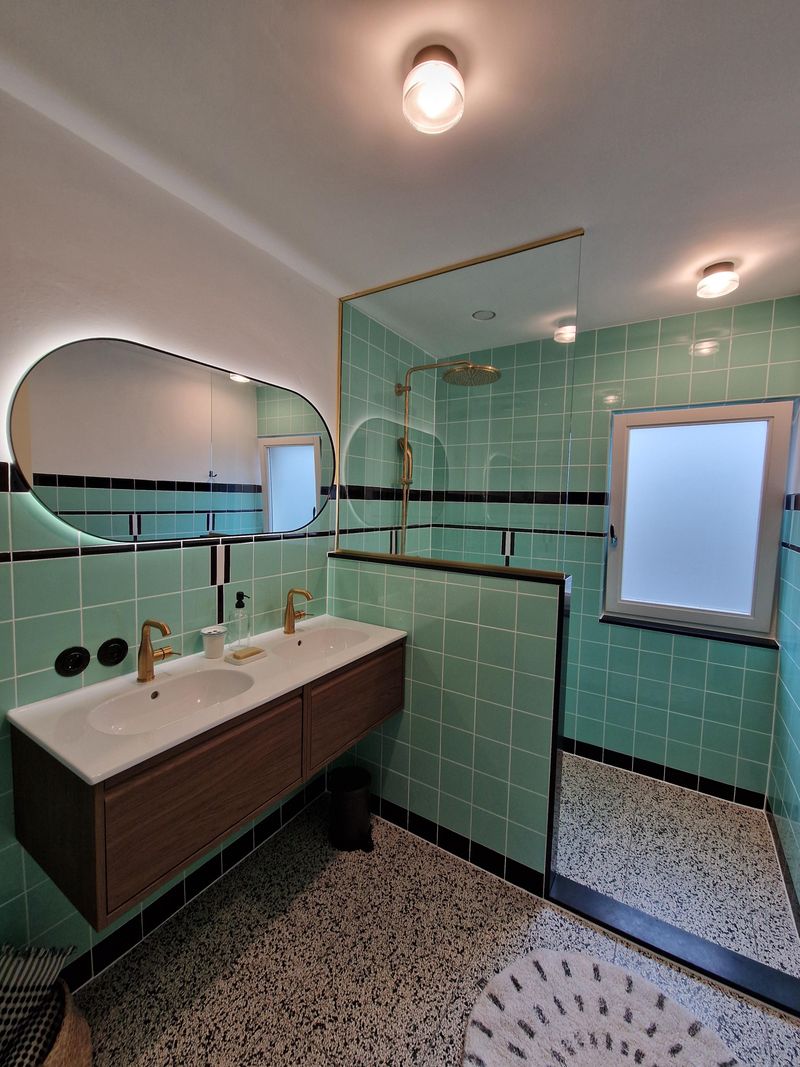
If your shower looks tired despite regular cleaning, regrouting might be your answer. This weekend project dramatically refreshes bathrooms in older San Francisco buildings where moisture issues are common. You’ll need a grout removal tool, new grout, sealer, and about 6-8 hours spread across two days.
Start by carefully removing old grout with a manual or electric removal tool. After cleaning thoroughly, apply new grout with a float, wipe away excess, and let it cure overnight.
Many local DIYers choose mildew-resistant formulas given our foggy climate. Where to find supplies? I’ve had luck at Cole Hardware locations throughout the city. Remember to match your grout color to existing tiles slightly darker shades hide dirt better in our historic bathrooms.
5. Replace Cabinet Hardware
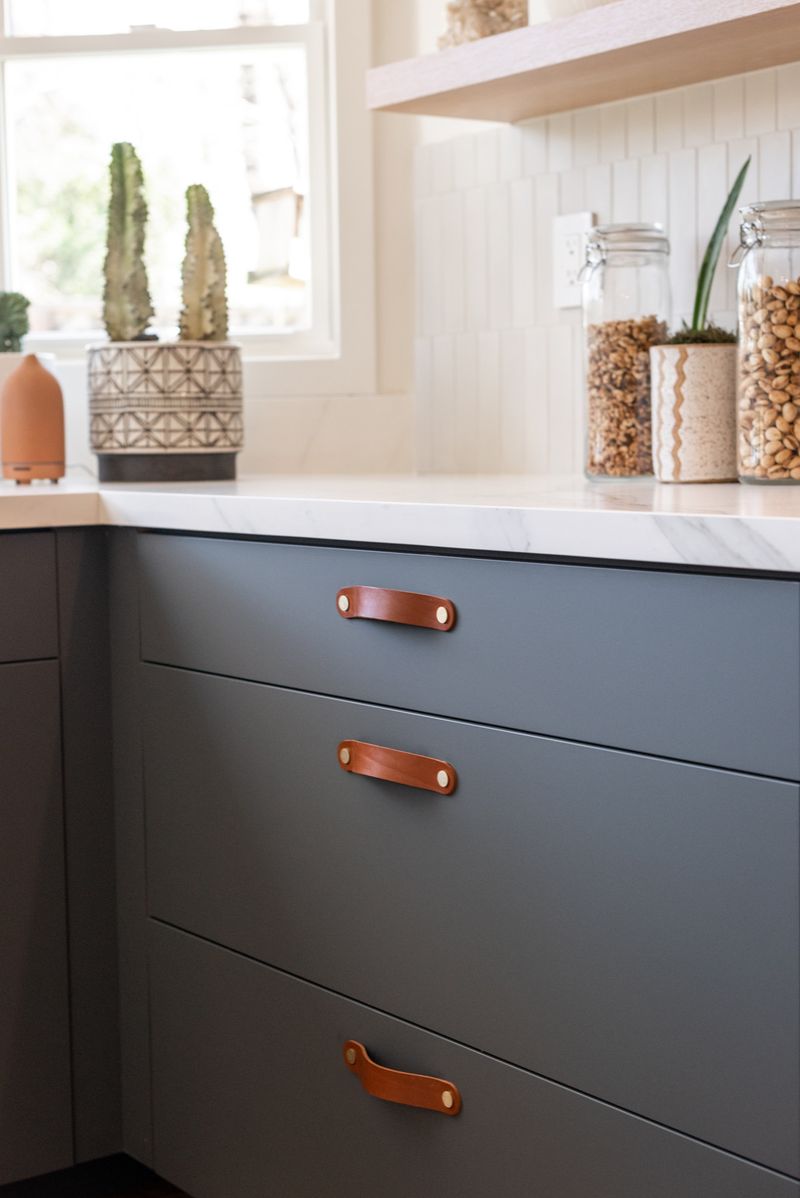
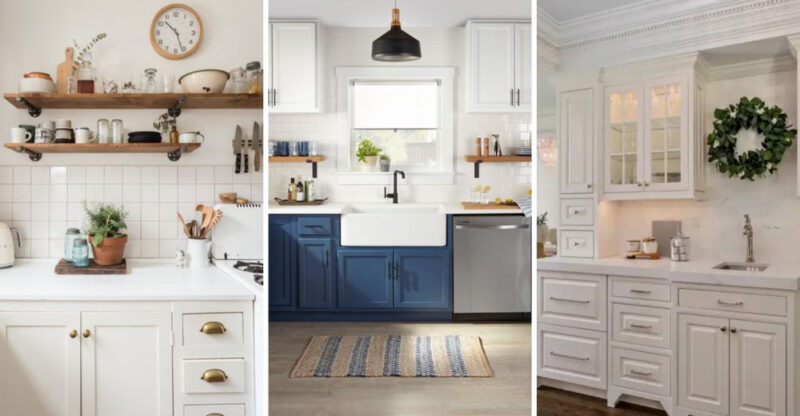
Swapping out dated knobs and pulls ranks as one of the easiest yet most transformative weekend projects. In just 2-3 hours, you can completely change your kitchen’s personality without major construction.
San Francisco’s eclectic design sense means anything from vintage brass to sleek modern handles works well. Before shopping, count your existing hardware and measure the distance between screw holes (usually 3 or 4 inches apart). Anthropologie on Market Street offers unique options, while Restoration Hardware in the Design District provides classic styles.
For budget-friendly alternatives, check out Community Thrift Store in the Mission. When installing, I keep the old hardware in labeled bags crucial for renters who need to restore original fixtures before moving. This simple upgrade typically costs $50-200 total.
6. Install Smart Thermostat
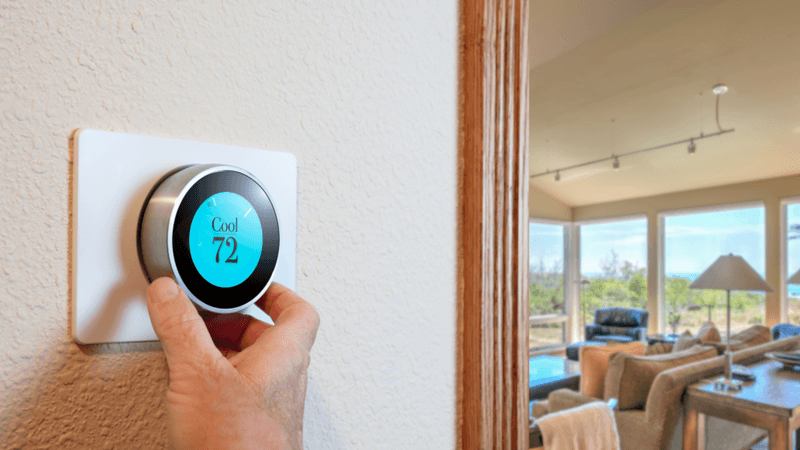
Smart thermostats are particularly valuable in San Francisco, where microclimates mean your Sunset District home might need heating while your friend’s Mission apartment needs cooling on the same day! Installation typically takes about an hour and saves money long-term.
First, turn off power at the breaker box for safety. Take a photo of your existing wiring before disconnecting anything. Most newer models like Nest or Ecobee come with detailed instructions specific to your heating system.
SF residents often qualify for rebates through PG&E or BayREN programs. The real magic happens after installation when you can program temperature settings based on your neighborhood’s unique weather patterns or control heating remotely when Karl the Fog makes a surprise appearance. Average cost runs $150-300 before rebates.
7. Build Outdoor Planter Box
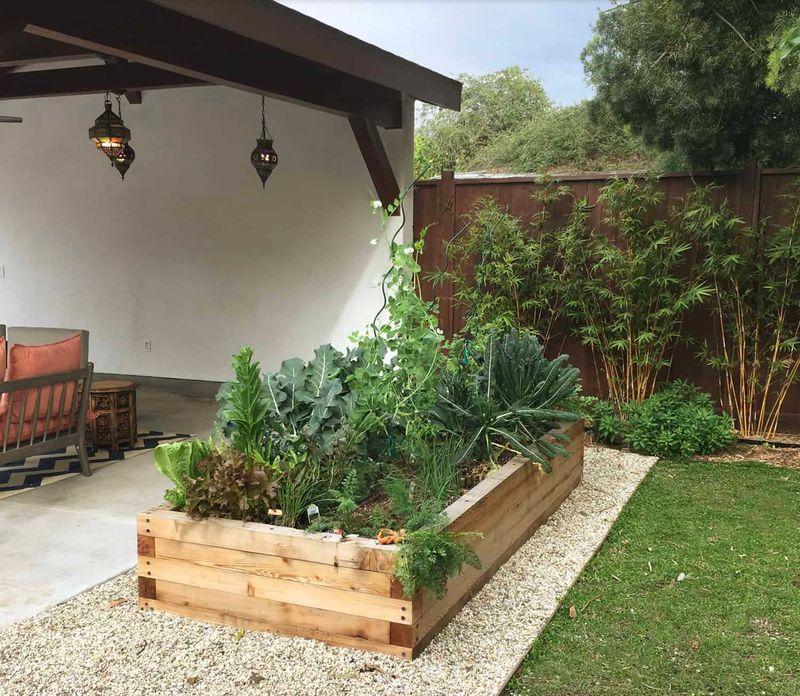
Urban gardening thrives in San Francisco! Building cedar planter boxes for your balcony, stoop, or backyard takes just 3-4 hours and creates perfect growing spaces for drought-tolerant natives or edibles. The project requires basic tools: a saw, drill, measuring tape, and screws.
Cedar works beautifully in our climate it’s naturally rot-resistant and develops a gorgeous patina over time. For materials, check out Discount Builders Supply on Mission Street. Most DIYers spend about $40-80 per planter depending on size.
When designing, remember our unique growing conditions add drainage holes, consider wind exposure (especially important for those near Ocean Beach or Twin Peaks), and choose appropriate depths for your plants. Line with landscape fabric before adding soil to prevent wood rot in our foggy environment.
8. Swap Light Fixtures
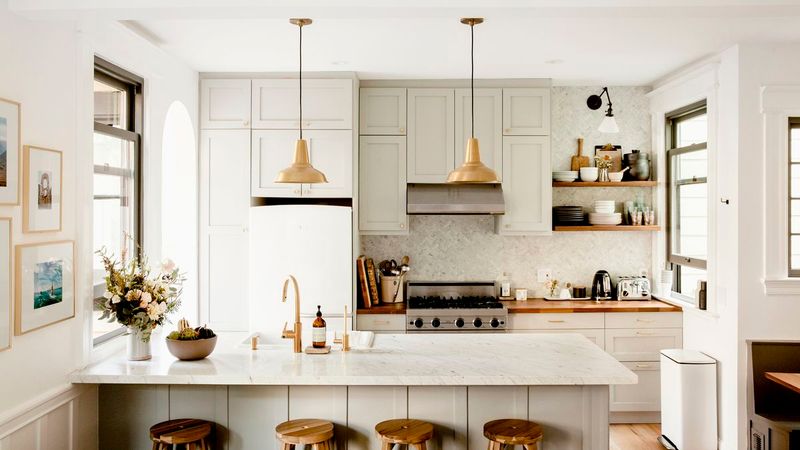
Lighting changes everything! Replacing outdated fixtures breathes new life into San Francisco apartments and Victorians alike. Most swaps take under two hours, requiring just basic tools and careful attention to electrical safety. Before starting, turn off power at the breaker box and test wires with a voltage tester.
San Francisco’s older buildings sometimes have surprising wiring configurations, so take photos before disconnecting anything. Local shops like Paxton Gate in the Mission offer unique fixtures that complement our city’s architectural character.
When selecting new fixtures, consider scale carefully San Francisco’s historic homes often have higher ceilings requiring larger pendants, while apartments might need space-saving flush mounts. Adding dimmer switches simultaneously (about $25 extra) creates flexible lighting for our famous foggy days and bright afternoons. Average project cost: $75-300.

