How to Build a DIY Concrete Side Table
This post contains affiliate links, which means we may earn a small commission if you purchase through them — at no additional cost to you. Please see our policy page for more details.
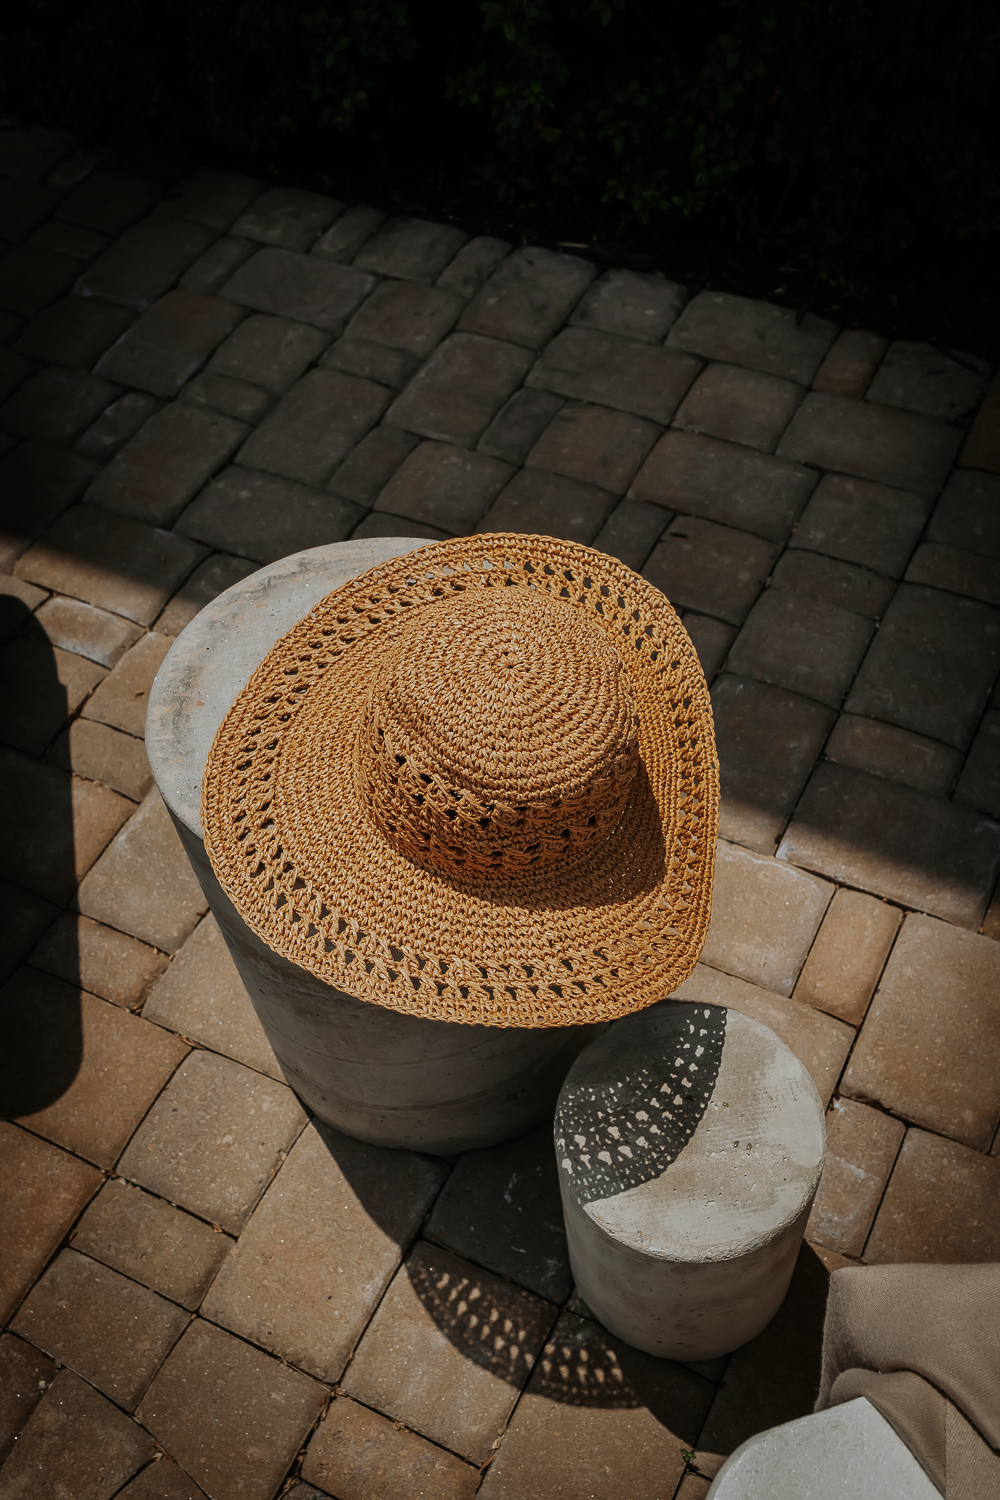
Like most of my DIYs, this project came about because I wanted something and refused to pay for it. In this case, we needed an outdoor side table for our firepit area, and I like those modern concrete ones. I made this DIY concrete side table in about two days, and it looks a lot more expensive than it is!
This project is a dang mess. If you don’t want to get dirty, this isn’t the DIY for you. Try my bar stool side table hack instead. But if you like these concrete tables and are willing to get a little dusty – then, by all means, proceed.
Pottery Barn, West Elm, and those stores have many concrete side tables, but you’ll pay a couple of hundred dollars.
Concrete is cheap; once you learn how to work with it, you can make all kinds of things – tables, planters, etc. There are some neat DIYs with concrete on YouTube, and you should search there when you get a minute. So inspiring.

Let’s get started with this concrete drum table.
Things You’ll Need
- Fast Setting Concrete – three 50lb bags
- Water
- 12-inch and 8 inch tube forms
- Hand Saw
- Orbital Sander
- Mask/Safety Goggles and Gloves – this is a MUST.
- Water Sealer
- Trowel Tool / long stick for mixing
- Duck Tape
- Flat Cardboard Piece bigger than 12 inches
- Something to Mix Concrete in (can be a wheelbarrow, mixing tub etc)
Notes: Some folks use a plastic bucket as a concrete mold. This makes the project even cheaper as the bucket is cheaper than the tube forms. However, I’ve heard that the concrete can get stuck to the bucket, even when using a release agent. I didn’t want to have to saw through a plastic bucket, and I wanted easy clean up, so I opted to use 2 tube forms instead. Make sure you do this project on a flat surface!
DIY Concrete Side Table

Step-by-Step Tutorial for a DIY Concrete Side Table.
Total time: 2 days
-
Prepare Tube Forms

Determine how high you want your table to be. For me, this was around 19 inches high. I cut my tube forms to be about 21 inches high and drew a mark on the inside where 19 inches was. Use a saw and CAREFULLY cut the tube forms. Then, duck tape your 12-inch form to a piece of flat cardboard. Duck tape it really well, so no concrete or water seeps out the sides at the bottom.
-
Mix Concrete Like This

Mix your concrete with water until it’s a peanut butter consistency. Tools like a long stick and a trowel help with mixing. This is the most back-breaking part of the whole project. It’s best to add water slowly until you work up to the right consistency. Here’s an article on it for reference. Wear a mask and safety goggles, and safety gloves. This is messy AF. We didn’t have a basin, so we used the other half of the tube form. Made cleanup a breeze.
-
Put Concrete into Tube Form Mold

Use your trowel to add a 2-3 inch layer of concrete to the bottom of the 12-inch tube form mold. Tap the sides to level out the concrete and remove air bubbles. Then, stick your 8-inch tube form inside the 12-inch tube form (try to center it as best you can). This tube form should REST ON TOP of the 2-3 inch bottom layer. Then, continue to add concrete around the sides of the 8-inch tube form until you reach your desired table height.
-
Let Concrete Dry

Once you are done adding concrete, use a mallet or stick to tap the sides of the tube form and get rid of air bubbles. You will see air bubbles rise to the surface and pop with each tap. I did this for a LONG time, and I still had air bubbles in my final product, so don’t go crazy. I like the look of some air bubbles anyways. Fast-setting concrete dries…..fast (in about 20-40 minutes). However, I let my concrete table dry for a good three hours.
-
Peel Away Tube Forms

Once the concrete is set, peel away the concrete tube forms. They get a bit soggy from the moisture in the concrete, so they just peel away. Getting them started is the tricky part; you might need to cut a slit in the top and start tearing from there.
-
Sand Rough Spots

Use an orbital sander with 120-grit sandpaper to smooth rough edges and remove any lingering tube form paper. Wear a mask and safety goggles, and safety gloves. I also recommend pants because the concrete bits that are sanded off can hurt when they hit your legs!
-
Spray with Water Sealer

Spray the table with a good concrete water sealer. Concrete is porous and can absorb water which can cause cracking and flaking. It’s important to reapply the sealer every few years to protect the table.
You can certainly paint your concrete tables using an exterior paint that’s made for masonry – but I kind of like the look of the concrete. It’s modern and the gray matches everything.
Also, I should warn you – these tables are heavy AF. Definitely grab somebody to help you move them around, or use a dolly. Yes, even with the hollow center!
Would I do it again? Definitely. I learned a TON this first go around. However, it is a messy job and HARD (read: your back will hurt for days), but just think, you can relax with a glass of wine on the table when you’re done!


