DIY Stud Earring Holder
This post contains affiliate links, which means we may earn a small commission if you purchase through them — at no additional cost to you. Please see our policy page for more details.
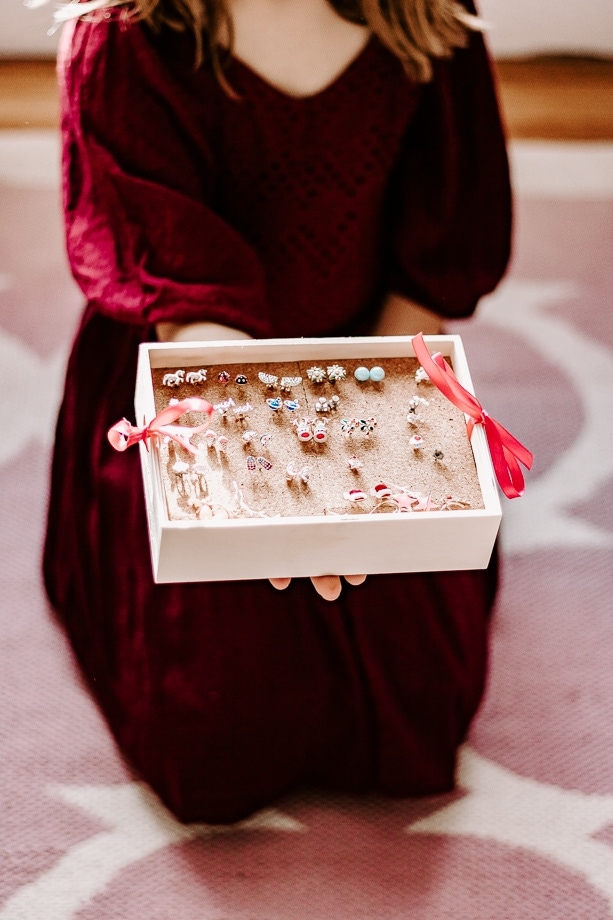
You’ll love this DIY earring holder. It’s pretty to look at, cheap to make (Dollar Store), and only takes 10 minutes from start to finish!
While you can definitely buy jewelry storage, it’s fun to create your own personalized things.
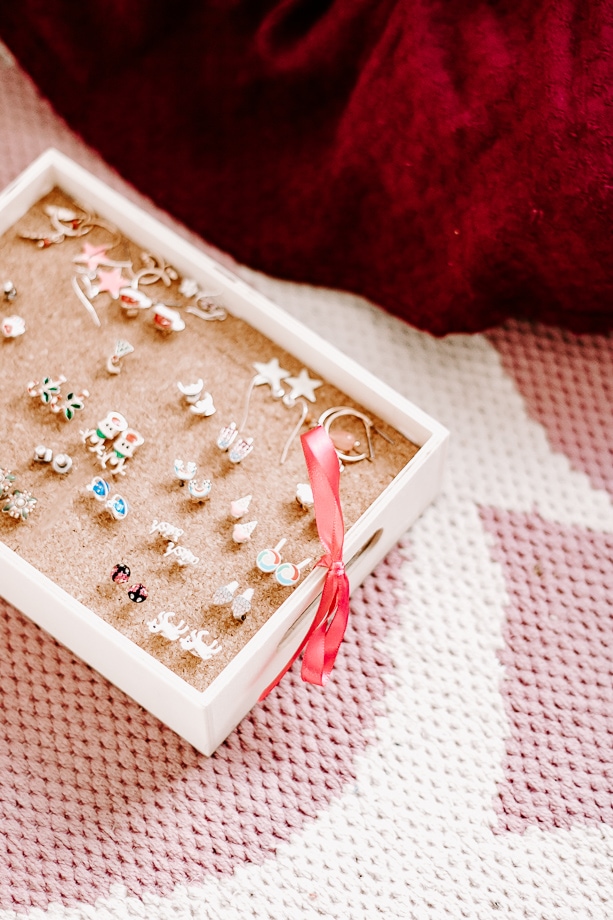
If you are making this earring organizer for your kids, you can even involve them in the process. I used a simple wood box I found from Dollar Tree. You can’t beat that price tag!
And then I used some cardboard and a bunch of cork squares to hold the earrings.


Cork is the perfect material for this because the earrings stick in there easily and they stay put. Plus, you can reuse it again and again and again. Just like a bulletin board.
Did you know that cork is also a natural material? It comes from the bark of the Cork Tree. I find this little fact so interesting.

You might be wondering; What do you do with the backs of the earrings?
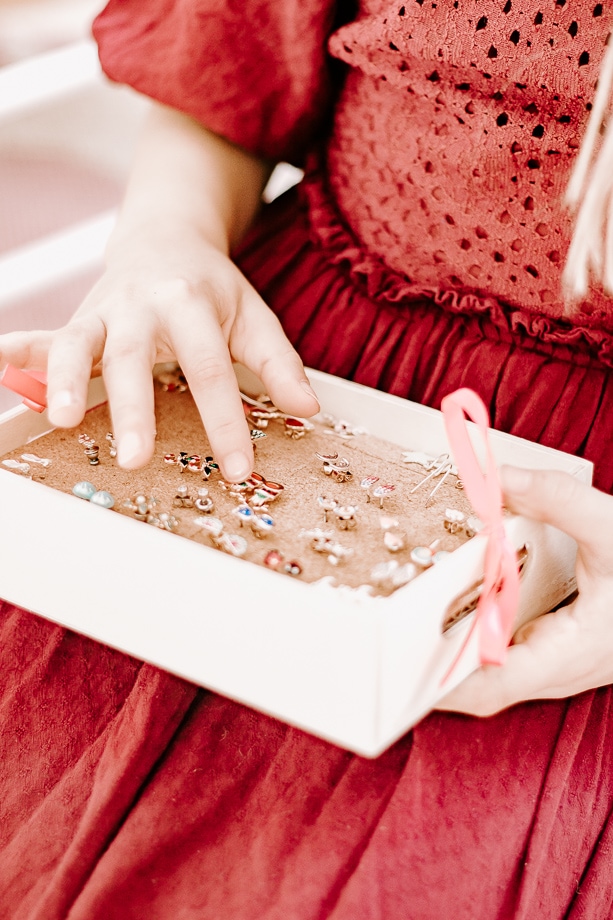
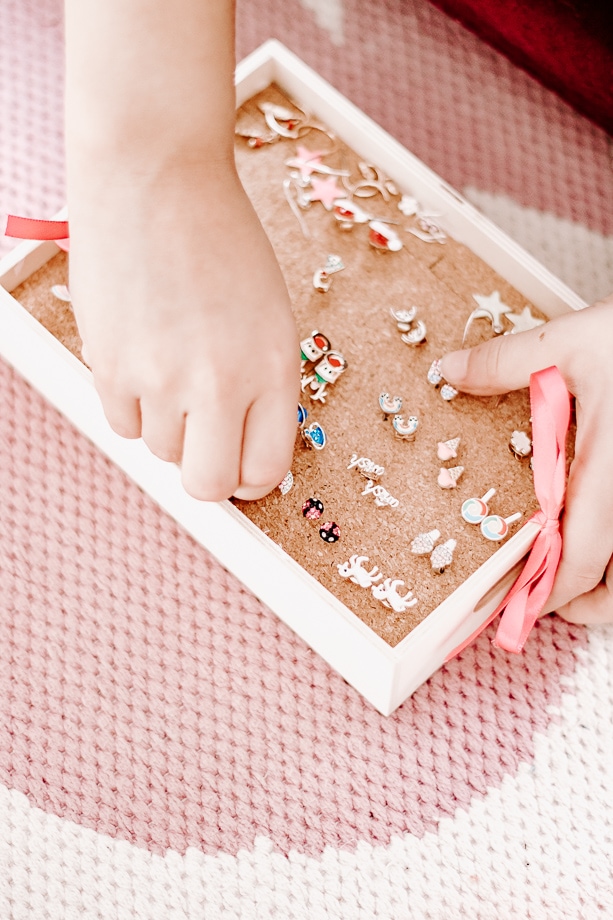
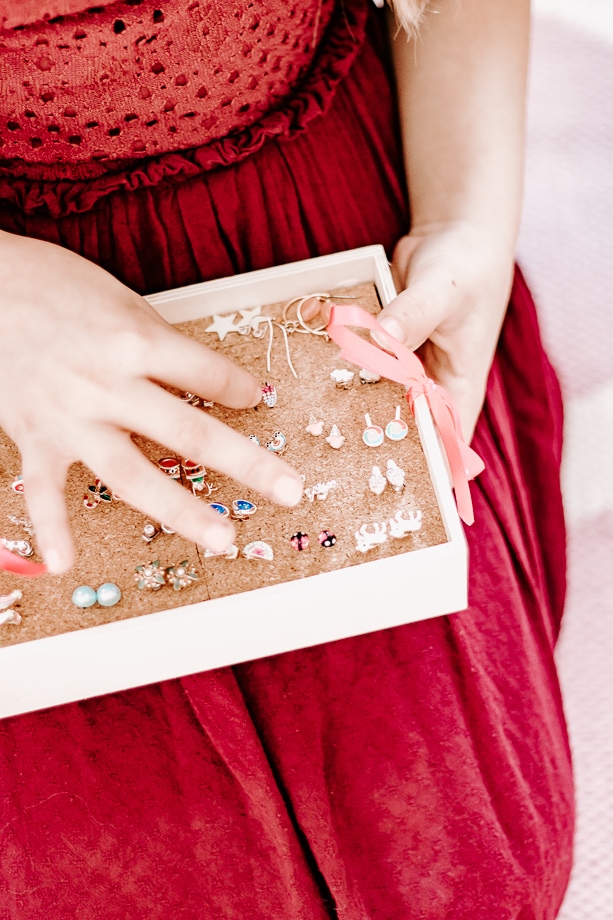
I found that you can stick the whole earring, including the backs into the cork jewelry box and it will still hold nicely.
This is really a great way to organize all your earrings and one of the more inexpensive earring holder ideas.
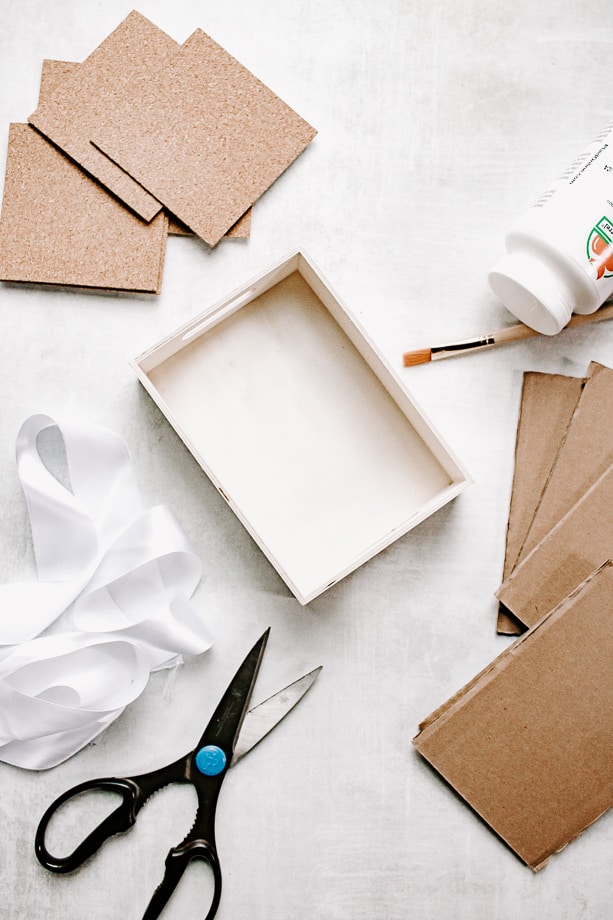
Things You’ll Need
- Cork – I used these cork squares
- Small box – any inexpensive box will do
- Glue (if cork doesn’t have an adhesive back)
- Scissors
- Cardboard
- Optional: paint, ribbons and other decorative accents – go wild!
Tutorial for DIY Earring Holder
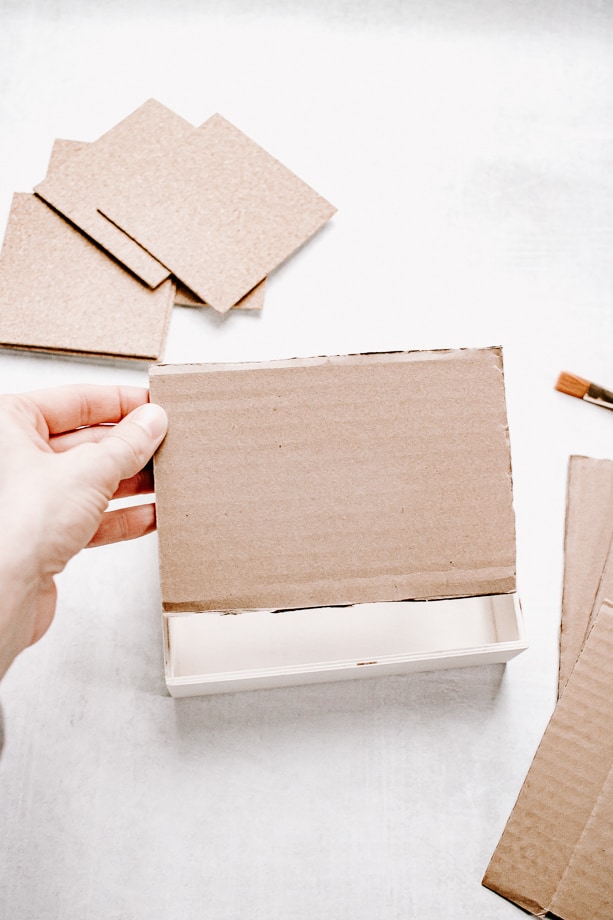
Step 1: Cut Some Cardboard
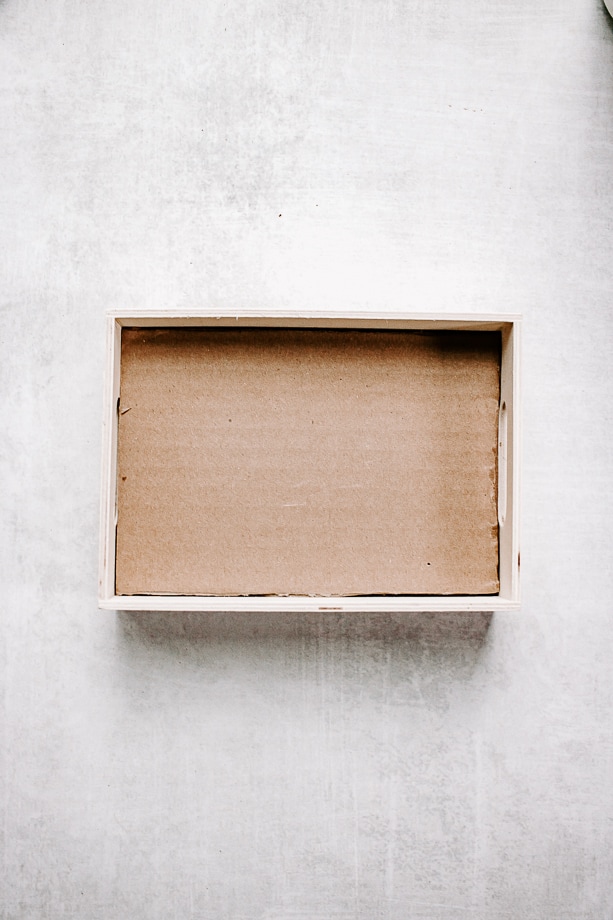
The first thing you want to do is cut some pieces of cardboard to fit down into your earring holder box. You want the cork part to be raised up, so we need something to take up some space on the bottom.
Most of us have a cardboard box lying around and this way you don’t have to waste all your cork filling up the bottom space.
Step 2: Layer in Cork Pieces
Now that we have a little cardboard platform in our box, we are going to make a couple of layers of cork to hold our earrings.
I used these craft cork squares. They have an adhesive back so you don’t even need to use any additional glue!
Expert Tip – to create a really smooth, nice-looking cork top – try to find cork that is larger than the size of your box. That way you will have minimal to no seams and it will look pretty and perfect.


These cork squares can also be cut easily to fit your earring holder. Just lay down some cork squares on the table and use your box as a tracing guide. Then cut along the traced lines.
Once you have your cork cut, you peel off the back and stick it down on top of your cardboard.
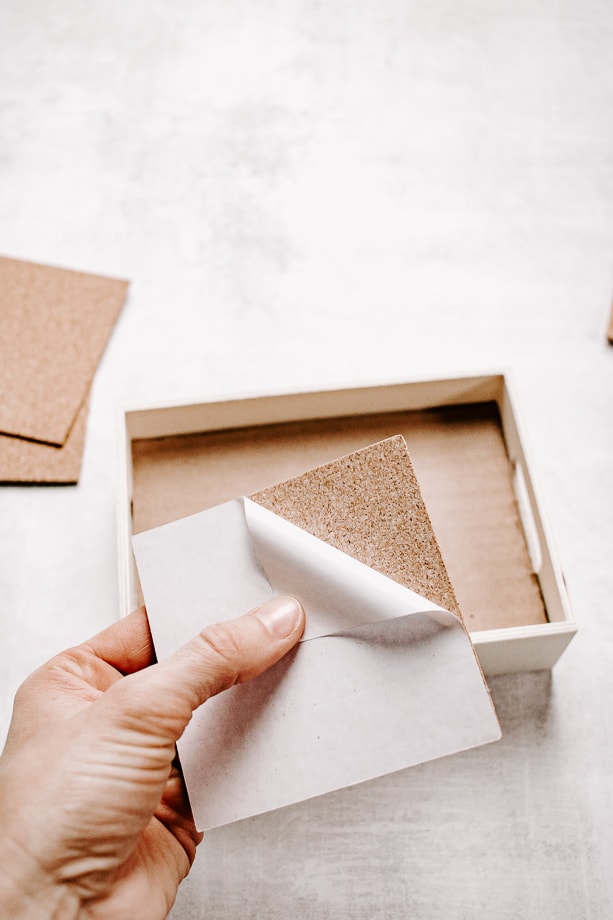
In my case, one cork square would not cover the wood box. So I decided the cleanest look would be to have a seam down the center of the earring holder and two smaller seams on the bottom.
And that goes back to my tip about finding cork that is at least as large or larger than your wood box. Minimal seams are best!
I did find that if you make pretty exact cuts, you can kind of squeeze the cork pieces together and the seam is almost invisible.
If you are using cork that doesn’t have a sticky back, you can simply use an adhesive glue to hold everything together.
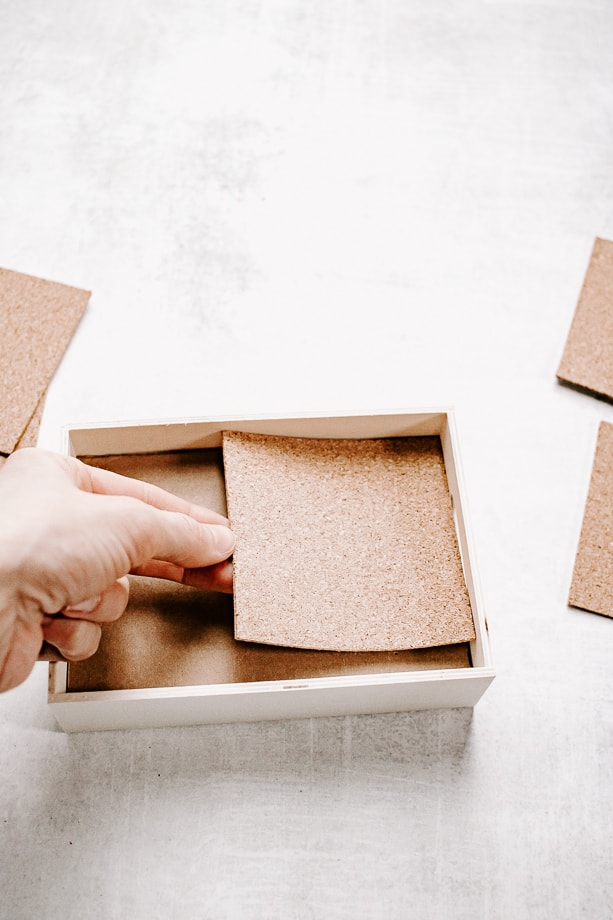
I decided to go with several layers of cork to create a nice cushy “bed”, if you will, to hold my daughter’s stud earrings.
Step 3: Decorate your Jewelry Box
You are basically done making your jewelry box at this point.
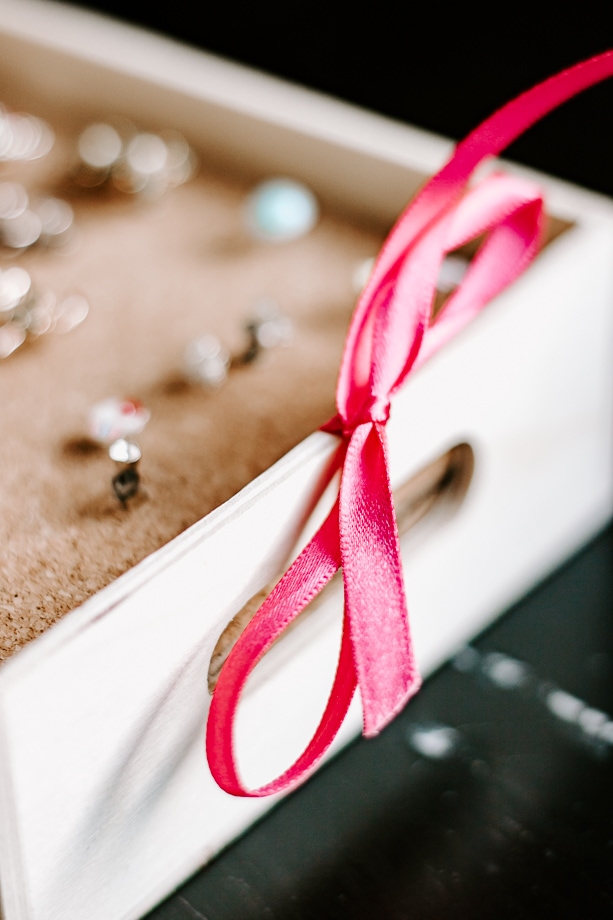
Now it’s time to unleash your creativity. Since I was making this for my daughter, I just added a few simple pink satin bows to the sides.
I also attempted one large white satin bow in the front.
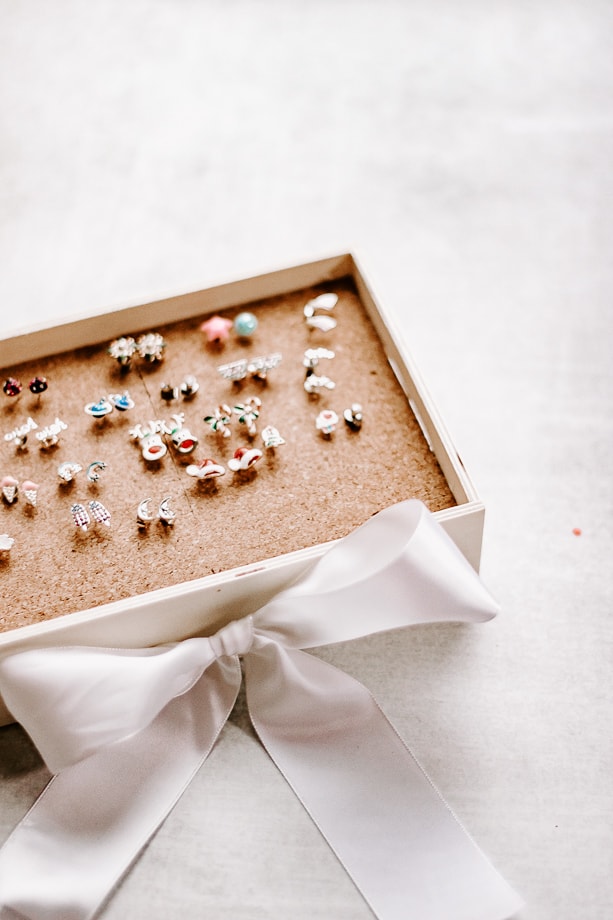
You can also paint the earring box a fun color or something that will tie into your bedroom. Add little leather handles, or cover your box with decorative paper. The sky’s the limit for how you can dress it up!
A Few More Tips
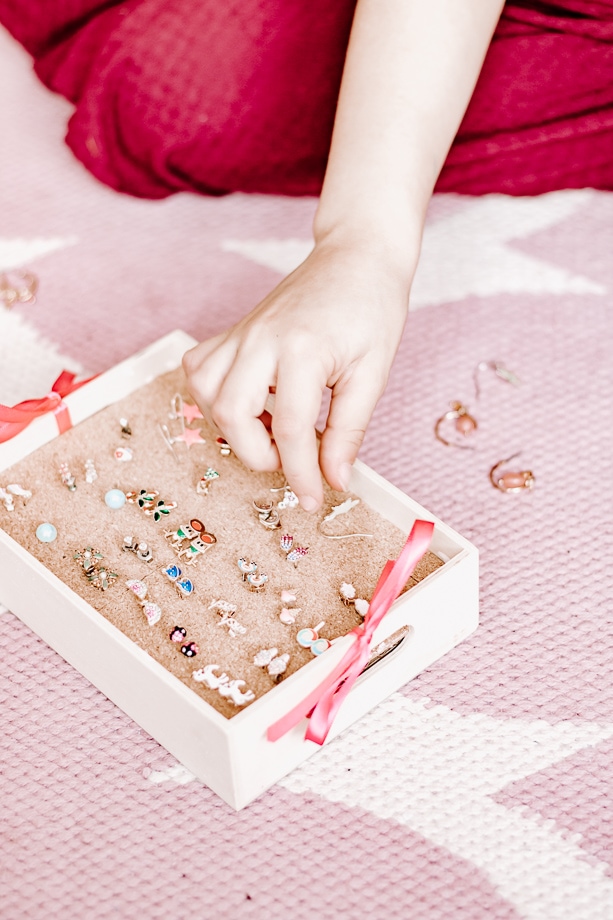
What about storing long, dangly earrings? For us, this earring holder also holds some long earrings too!
You can simply organize your earring box to hold studs on one side, and then lay your long earrings on the other side.

My daughter loves her new earring holder and the best part is – I don’t find earrings everywhere anymore! Now she can easily change out her earrings and organize them the way she wants.

If you prefer more of a wall jewelry organizer for your earrings, all you would need to do is purchase a framed bulletin board.
You can decorate it the same way as the earring box and hang it on the wall to hold all your earrings. Or you can make a fabric covered pinboard using a pretty linen fabric.
