How to Make a Fabric Pinboard
This post contains affiliate links, which means we may earn a small commission if you purchase through them — at no additional cost to you. Please see our policy page for more details.
Maybe you have an old bulletin board or cork board lying around that’s seen better days. Or, maybe you just don’t like how the plain cork is throwing off the vibe of your room. Today, I’m going to show you how to make a fabric pinboard – in just 4 steps!
This project will save your bulletin board from the garbage can AND give you a refreshing new piece for your walls.
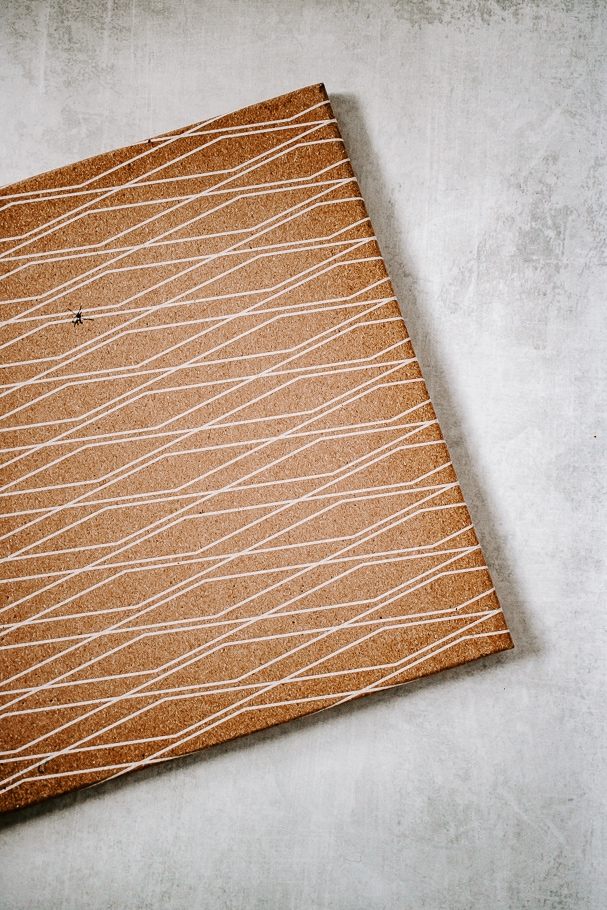
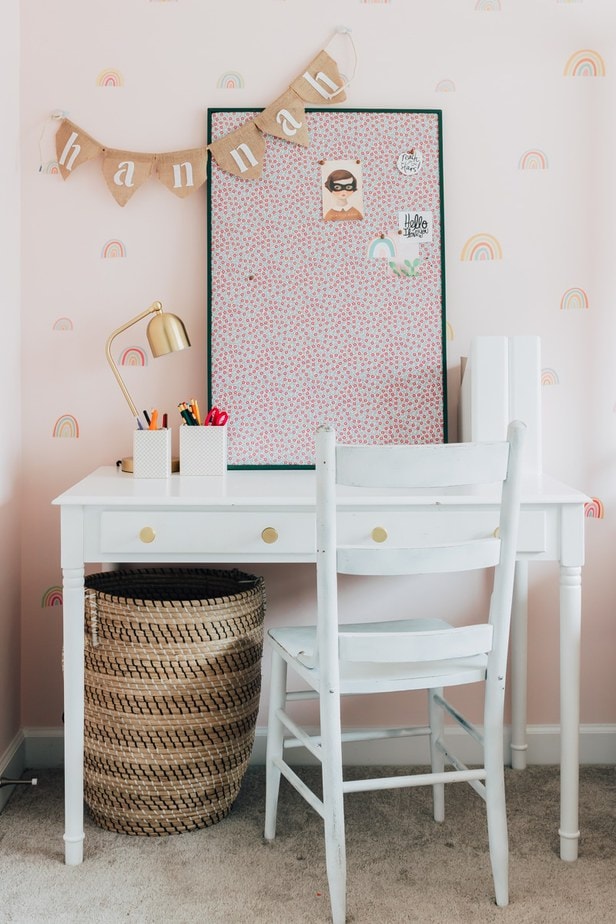
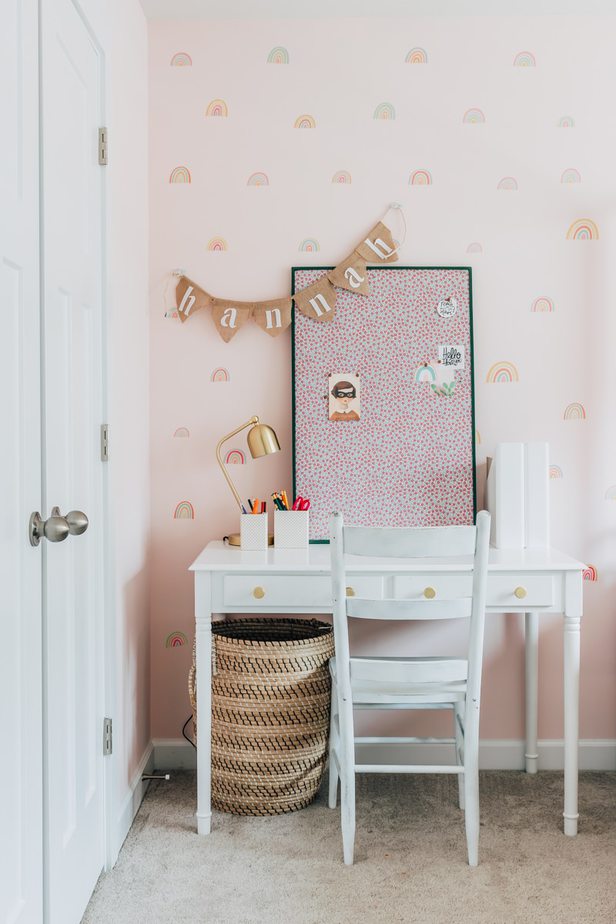
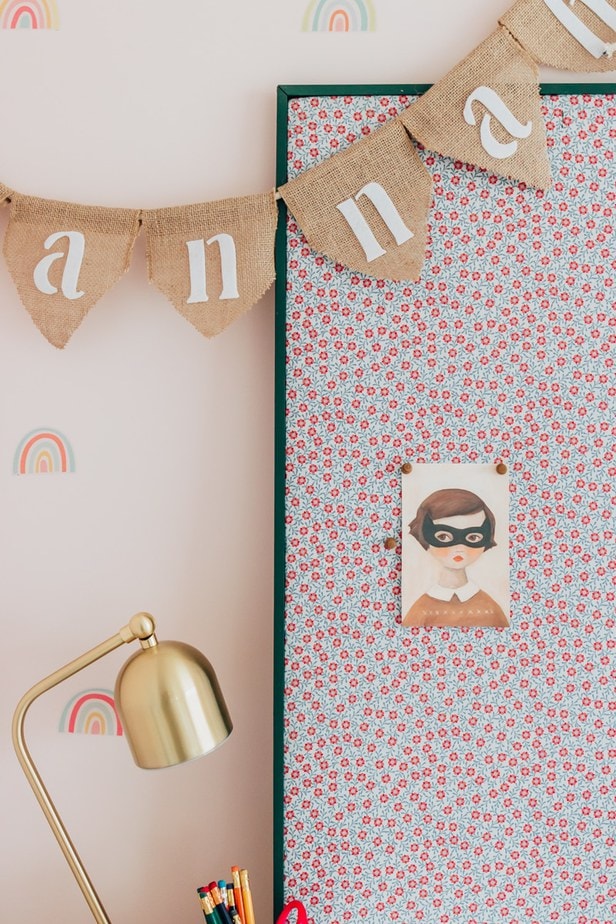
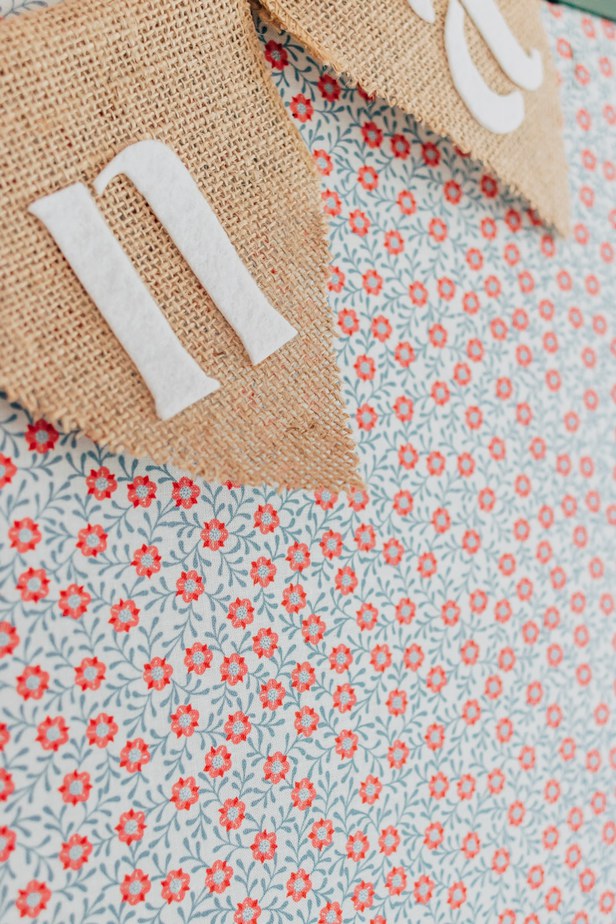
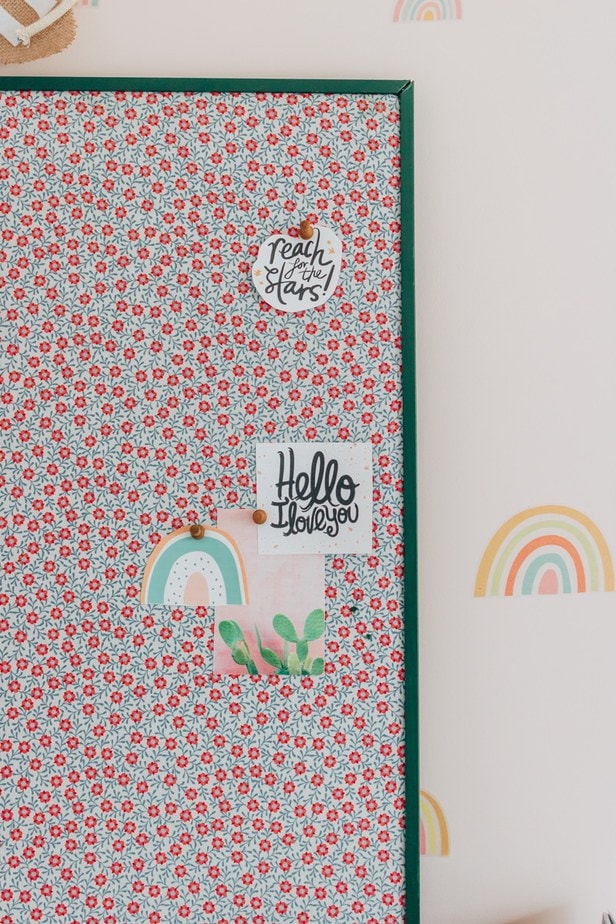
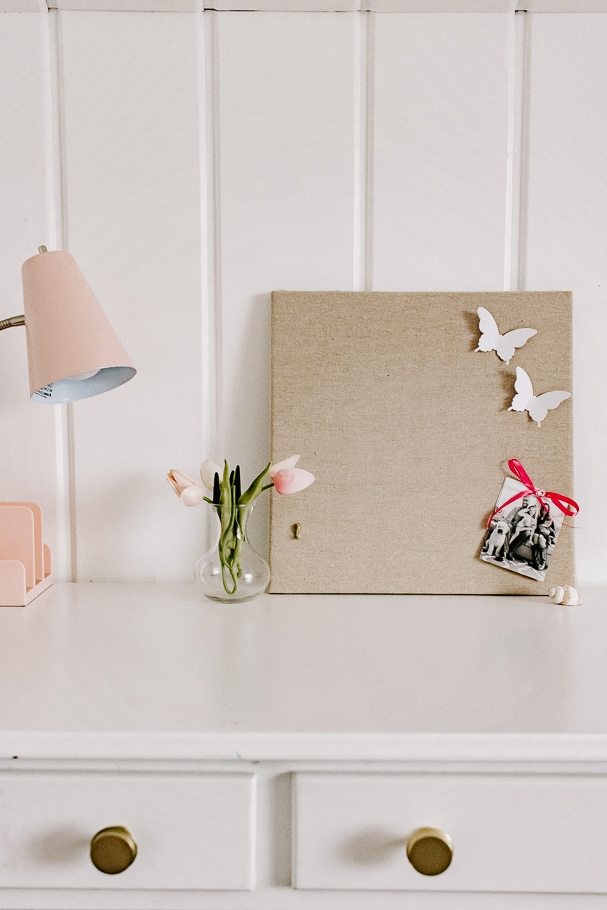
I was really inspired by the pinboard looks here on Decor Pad. You can use any fabric you want for this project. I used linen for the first pinboard and a cute, girly floral fabric for the thrift project bulletin board. This project also works with any size pinboard.
You will need an inexpensive light-duty staple gun and staples for this project. The staple gun you have will specify what type of staples it needs. They don’t cost a lot and you can buy them at hardware stores and on Amazon.
Just make sure it is a light-duty staple gun. (We are not using a heavy duty pneumatic staple gun that you would use for projects such as installing a stair runner.) That would probably be a little too rough on your cork board!
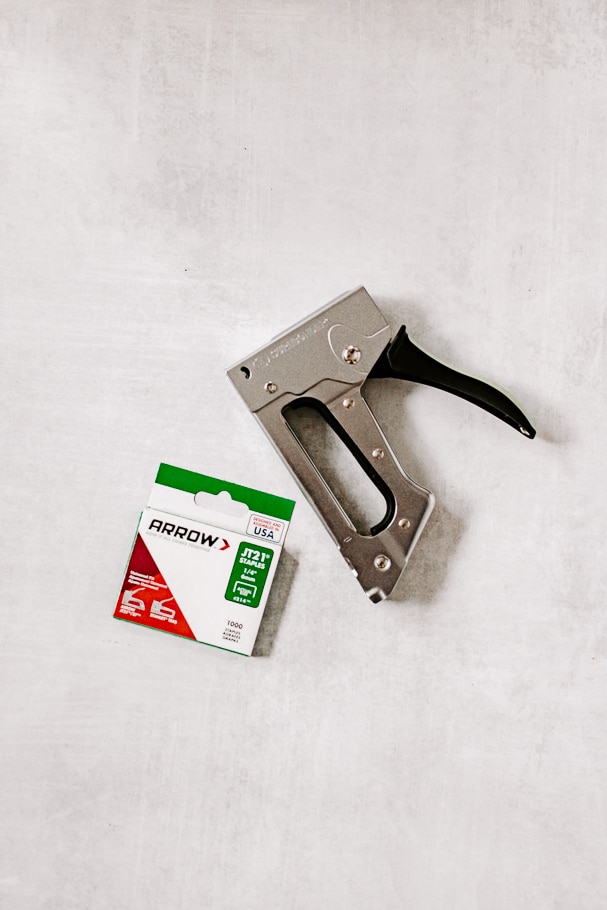
I’ve also included a short guide on how to load a staple gun. I was a bit clueless when I got mine despite the instruction booklet it came with. LOL.
Things You’ll Need
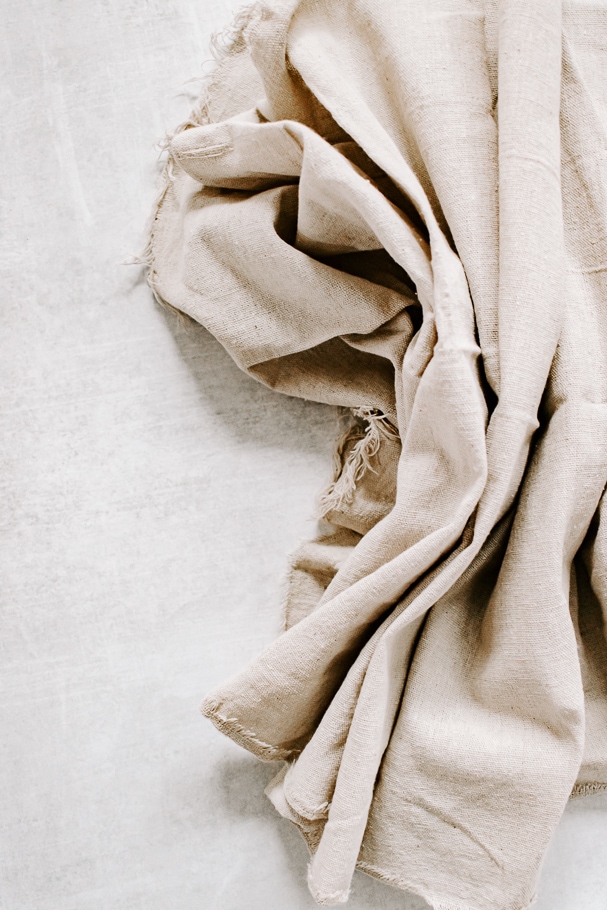
- Fabric of Your Choice
- Bulletin Board/Pinboard
- Staples for staple gun
- Staple Gun – I used this brand
- Scissors for cutting fabric
- Iron – to iron out the creases in your fabric!
- Spray Paint (if you want to paint the bulletin board frame)
- Screwdriver – to remove your bulletin board frame and re-attach
By the way, if you love easy DIY projects like this one, you definitely have to check out my DIY Peg Rail tutorial. You don’t need anything fancy and it’s such a practical project for your rooms.
How to make a fabric pinboard
Follow these steps to make your beautiful new DIY fabric bulletin board.
NOTE: For the thrift store/floral pinboard – the steps are the same. The only difference is I spray painted the frame first with Krylon Spanish Moss, then removed the frame with a screwdriver (carefully) before stapling the fabric. After the fabric was attached, I reattached the frame.
Step 1: Iron your Fabric
The first thing you will want to do is iron your fabric to remove the creases.

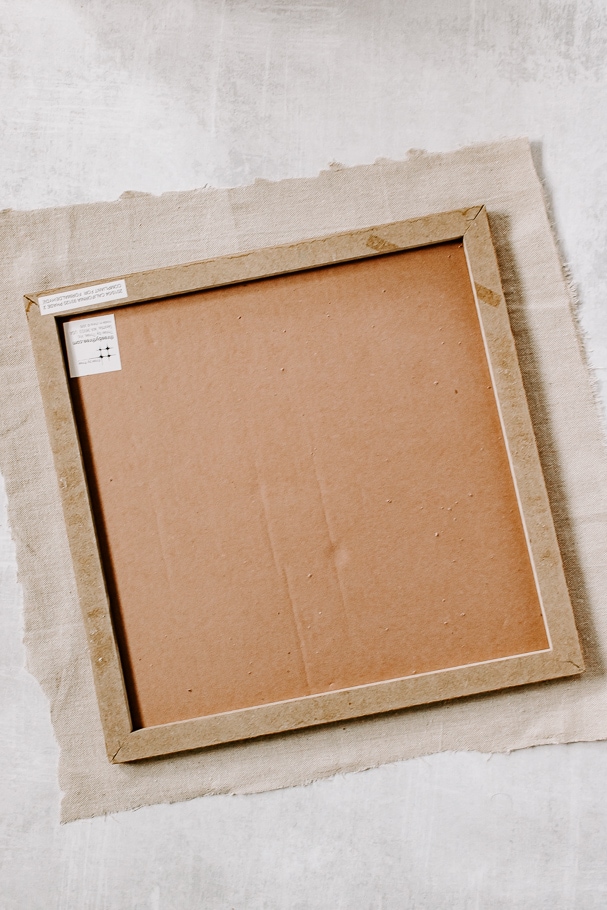
Lay your fabric down on a table or the floor. Place your pinboard upside down on top of the fabric.
Step 2: Cut your Fabric to Size
Cut your fabric so that it is slightly larger than your pinboard.
You don’t want to too much excess bulky fabric to staple, however, you want to ensure you have enough fabric to overlap the frame on the back.
Step 3: Staple the Fabric to Your Pinboard
Once you have the fabric cut, it’s time to staple it to the back frame of your pinboard. You can also staple this to your pinboard, if you are going to use the frame later.
Staple the fabric to the back of your pinboard while pulling it tight – you don’t want it loose or sloppy looking on the front side.
Do this all the way around, pulling the fabric taut as you go.
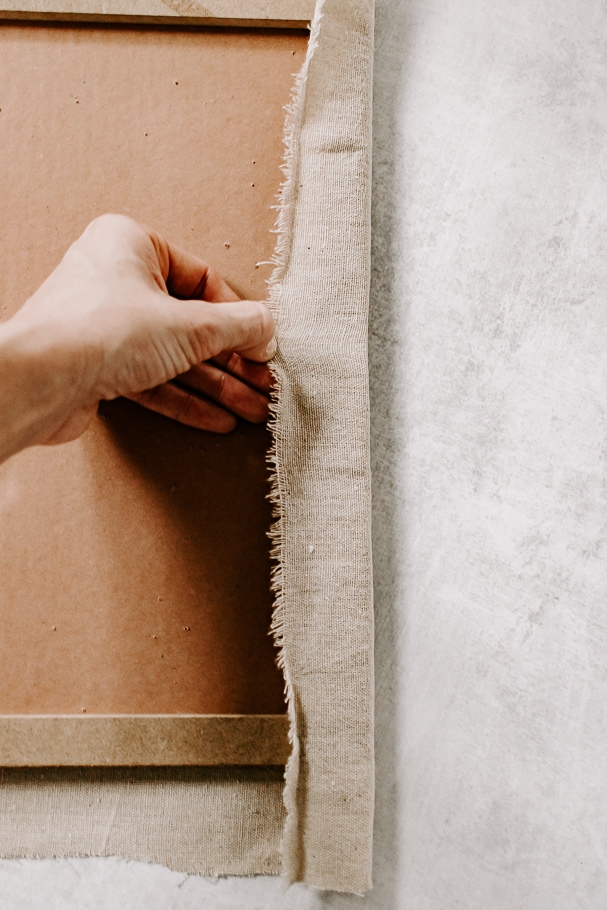
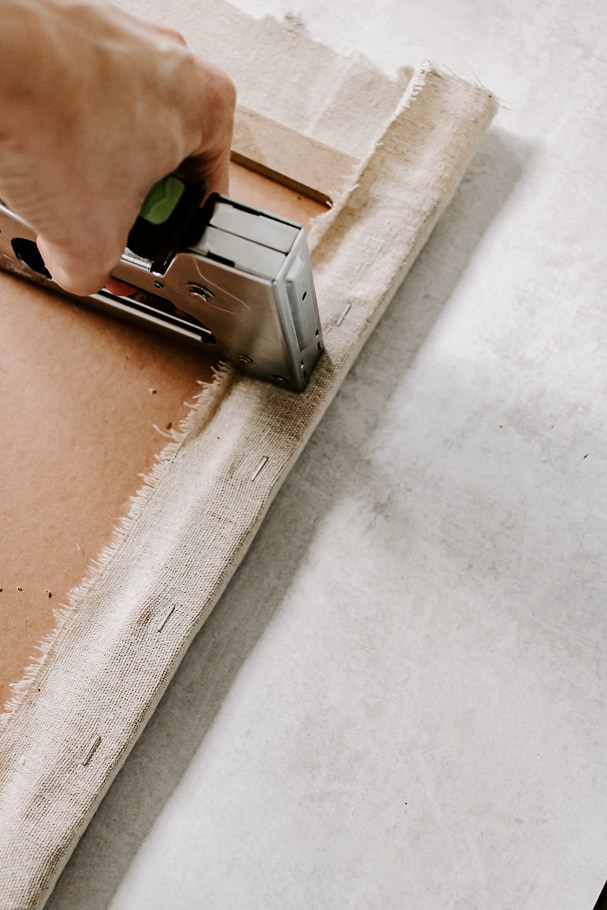
For the corners, neatly gather the fabric and staple it to the corner parts of the pinboard frame. Make sure to pull the fabric tight!! Don’t worry if it looks bunchy in the back, it should look neat and tidy from the front.
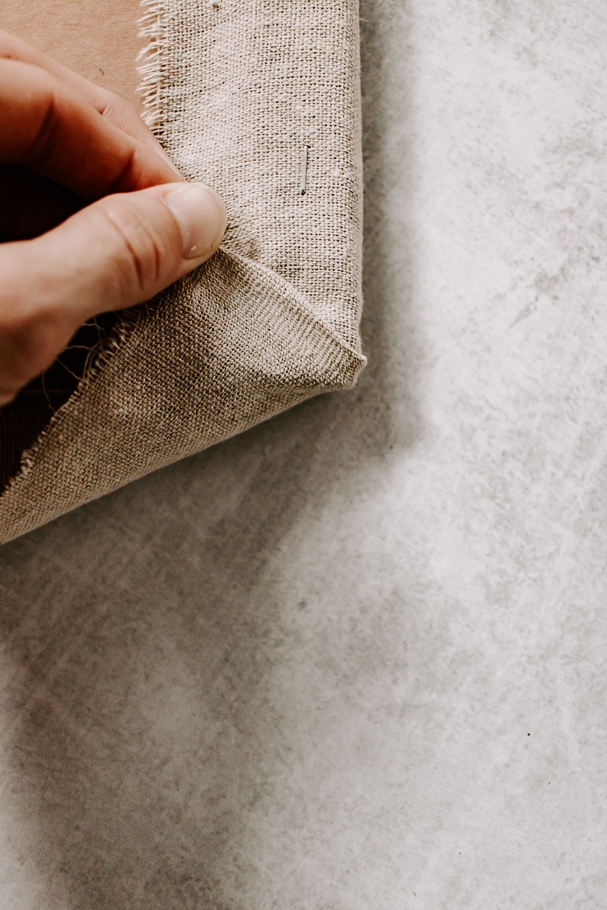

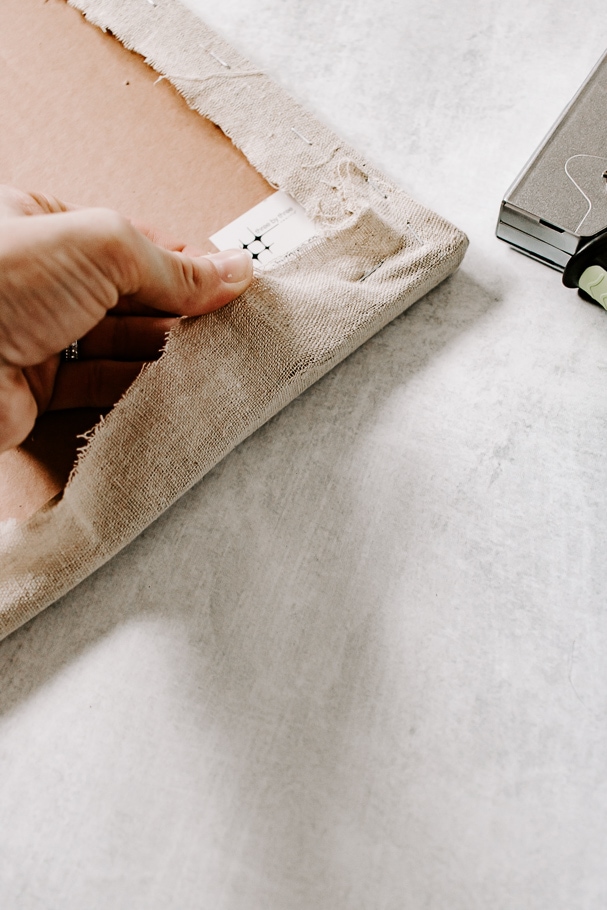
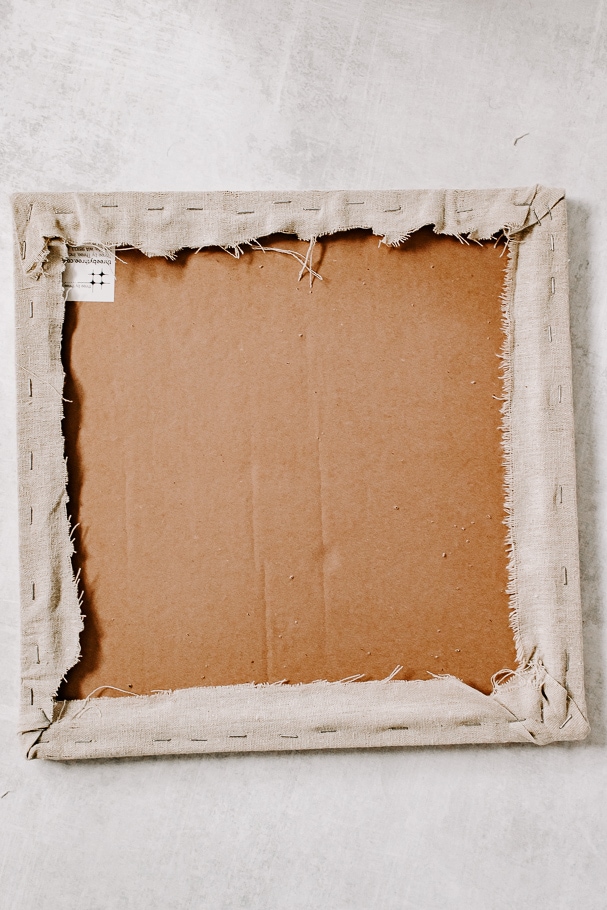
The back of your pinboard should look something like this when you are done.
I put my staples in pretty close together because I don’t want the fabric to have an opportunity to loosen up.
Step 4: Hang it up
The fun part! You can now hang up your new pinboard and enjoy. Since we covered the frame with our fabric, you may be wondering how in the world we are going to hang this?
There are so many ways you can do this!
- You can use these command poster strips and attach them to the back of the frame. You want to use A LOT of them to ensure it’s securely attached to the wall.
- Another way is that you can also use these eye hooks. Screw them right into the back frame through the fabric. Then use picture hanging wire and attach to each eye hook and hang from a nail.
- The easiest way? Don’t hang it at all! Lean it up against the wall above your desk. 🙂
How to Load a Staple Gun – Good Tip to know!
Follow these simple steps to load your staple gun! Please ensure you are using the right size staples.
- Flip your staple gun upside down (so the handle is on the bottom). There should be a little track release there that you can squeeze together and pull, and a track will slide out. There should now be a hollow space in the gun for where to insert your staples. My track does not come all the way out, but on some staple guns, it will.
- Insert your staples into the gun part, not over the track. Make sure your staple points are facing down, as shown in the picture above.
- Slide the track back inside the gun until you hear a ‘click’. Now just flip your staple gun around, so the handle is at the top.
- Now you are ready to use your staple gun!


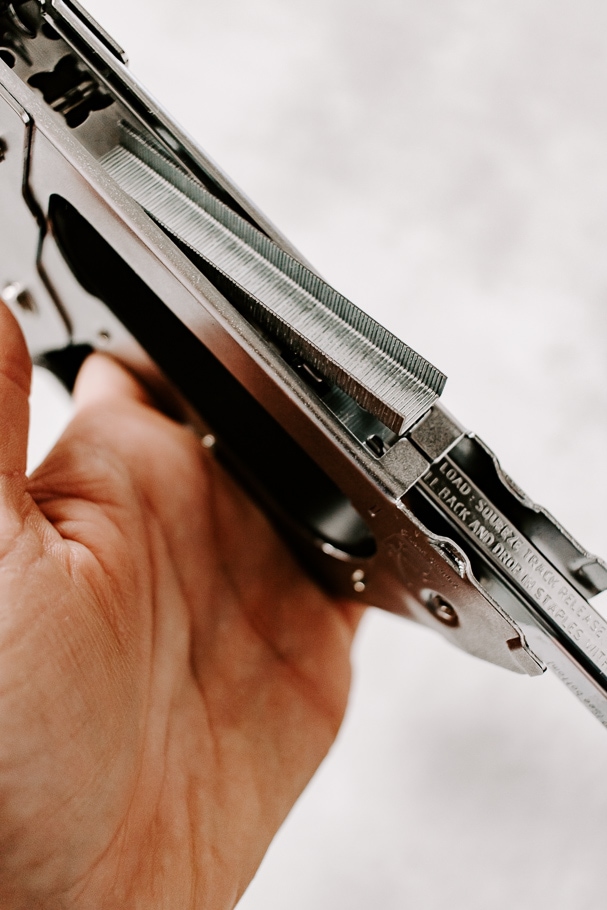
How easy was that!? After you do this, you can go back to step 3 and staple your fabric to your bulletin board.
Final Result
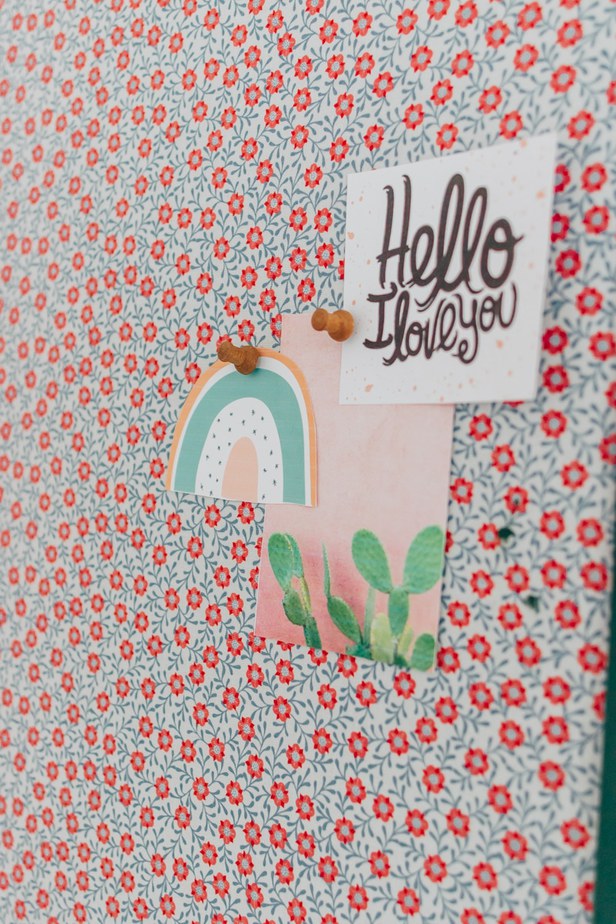
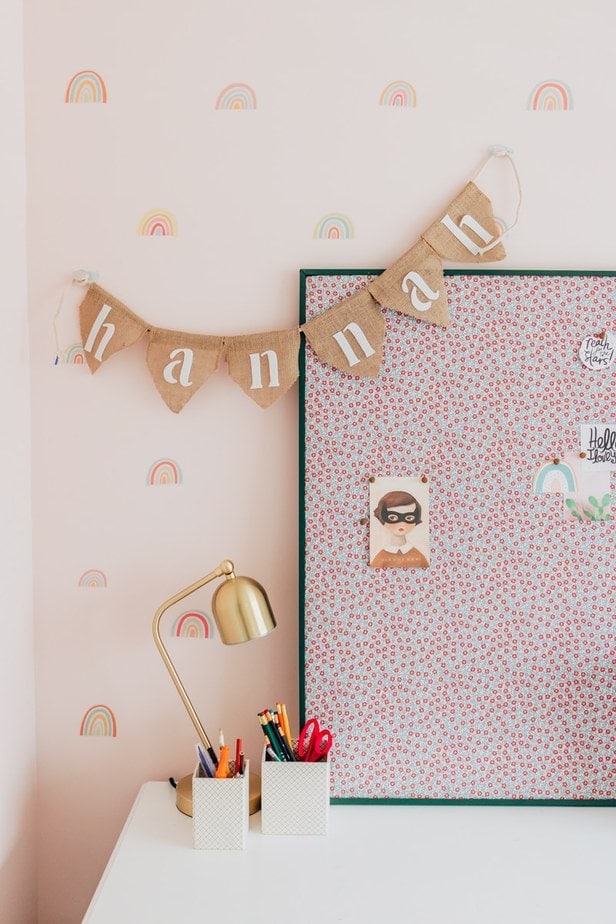
Now that you have this beautiful new fabric covered pinboard, it’s time to fill it with inspirational cards, drawings, and sentimental photos. Here’s a look at how our pinboard turned out. I love it!
