Pretty DIY Clay Jewelry Dish

This post contains affiliate links, which means we may earn a small commission if you purchase through them — at no additional cost to you. Please see our policy page for more details.
Embrace the charm of handmade decor with our DIY clay jewelry dish project! Perfect for adding a touch of whimsy and functionality to any space, these adorable dishes are not only delightful to create but also serve as versatile accents for organizing jewelry, keys, or trinkets.
In this beginner-friendly tutorial, we’ll guide you through the step-by-step process of crafting your own clay heart dish, from molding the clay to adding intricate details and finishing touches.
Whether you’re looking for a heartfelt gift idea or simply craving a creative outlet, this DIY project promises to awaken your inner artist and infuse your home with handmade warmth and character. So gather your supplies and let’s get crafting – your heart-shaped treasure awaits!
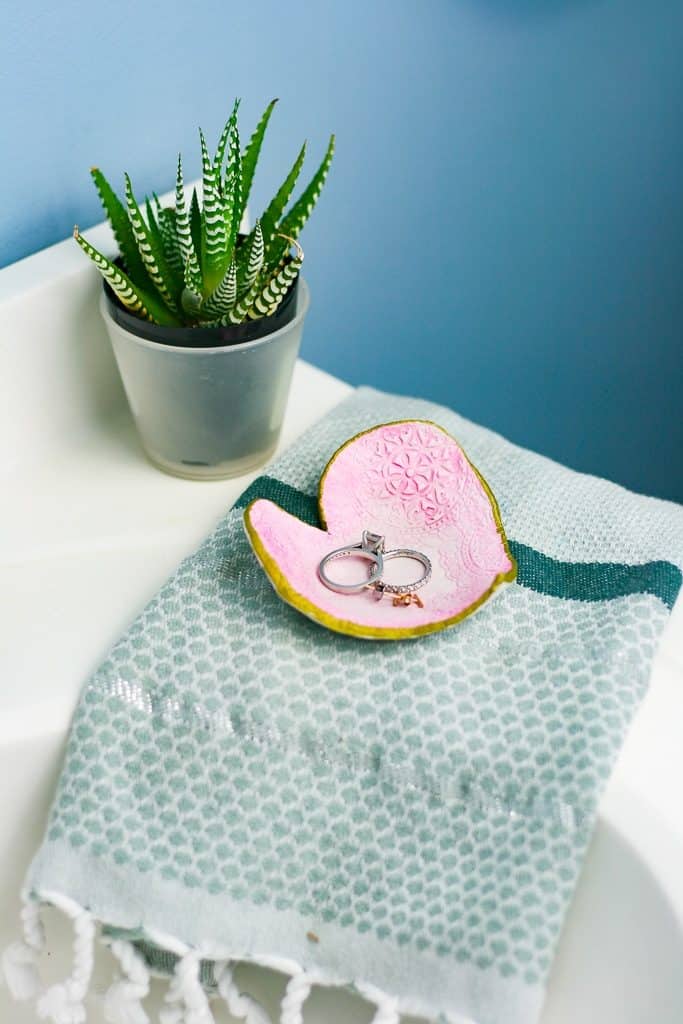
This tutorial is straightforward, but it will take a couple of days because you have to give your clay time to cure or dry. I gave it 48 hours before I painted it. I think it turned out cute, and I’m using it frequently already. I decided on the heart shape because, well, it’s almost Valentine’s Day!
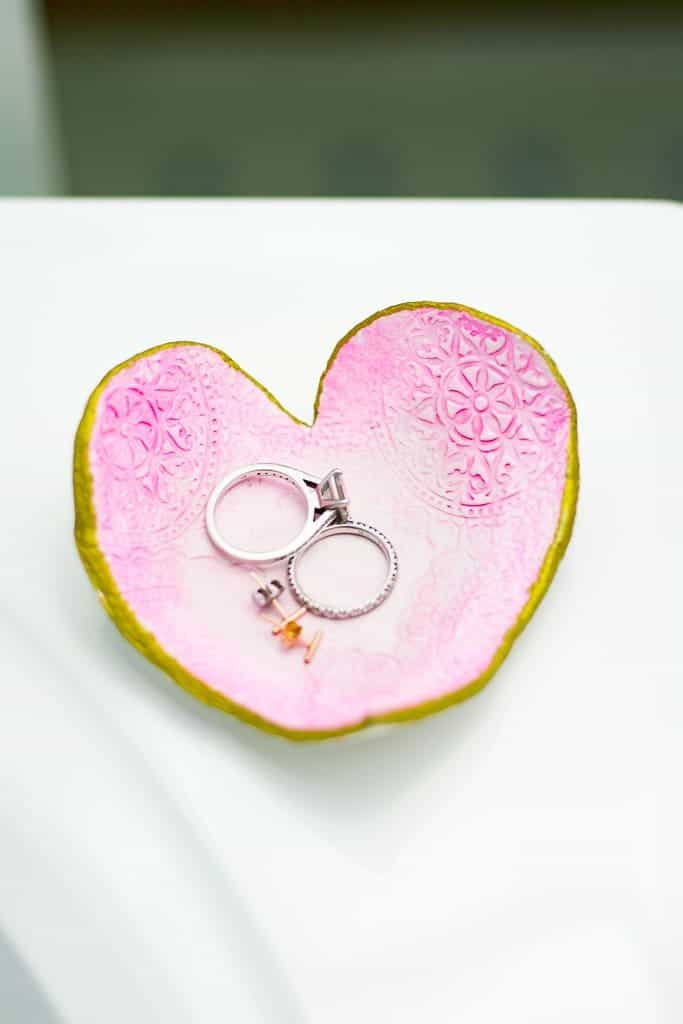
At the end of this tutorial, you will have a cute jewelry trinket dish for your rings and earrings.
Materials Needed
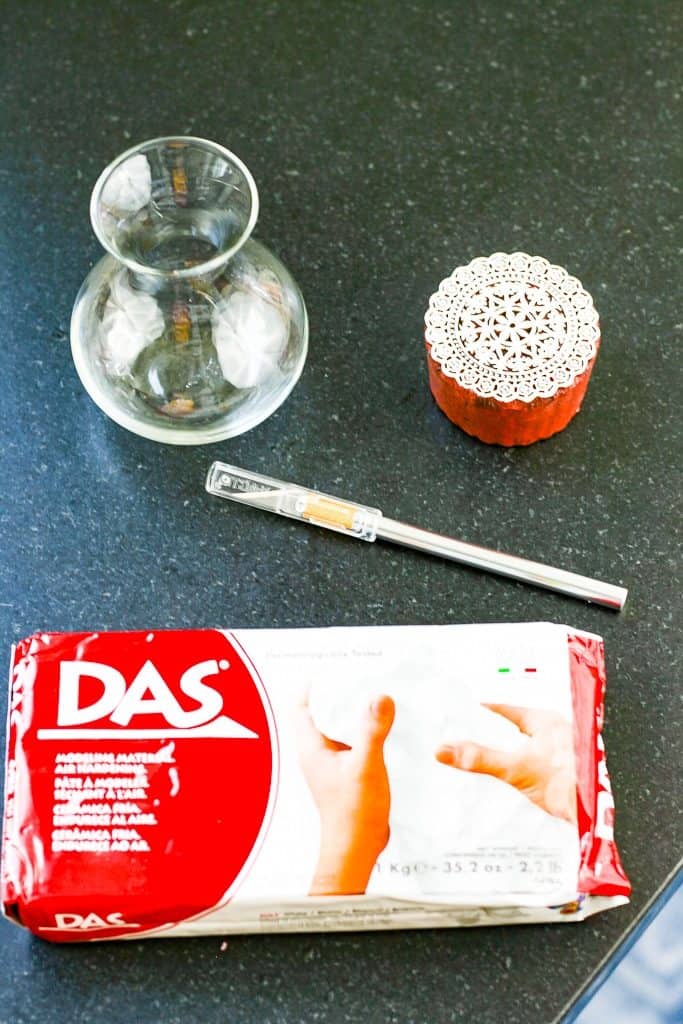
- Air Dry Clay – I used this brand of clay.
- A rounded dish or vase to shape your clay as it dries.
- Mason jar or rolling pin to roll out your clay. I used my kid’s playdoh roller!
- A butter knife or craft knife – I used this knife.
- Watercolor paints and a gold metallic Sharpie.
- Optional – A stamp with a fun pattern.
DIY Clay Jewelry Dish Tutorial
I recommend putting some lotion on your hands first – it makes the clay easier to work with and not as sticky (to you.) Grab a wad of clay and roll it out flat. You can use a mason jar or a rolling pin to roll it out.
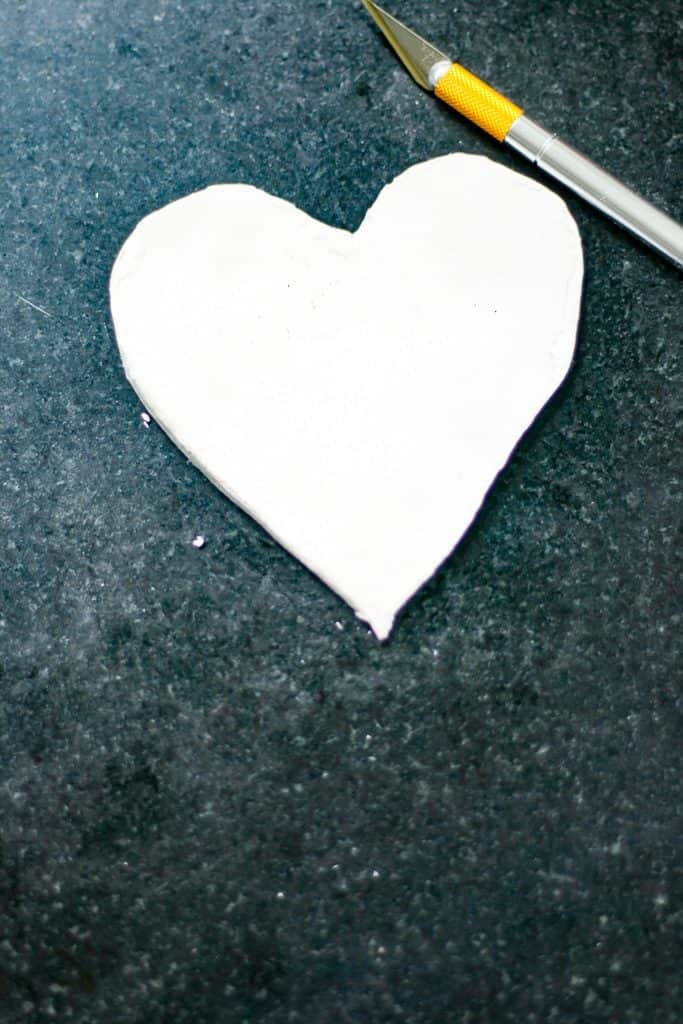
Cut a free-form heart out of the clay in whatever size you prefer. I kept mine relatively small. Remember that you want it large enough to fit over your form dish or vase as it dries ( to make the rounded shape).
I used my fingers to smooth out any cracks or marks I didn’t like. Then, I used my stamp to imprint just the edges of the heart. I didn’t make any stamps in the center.
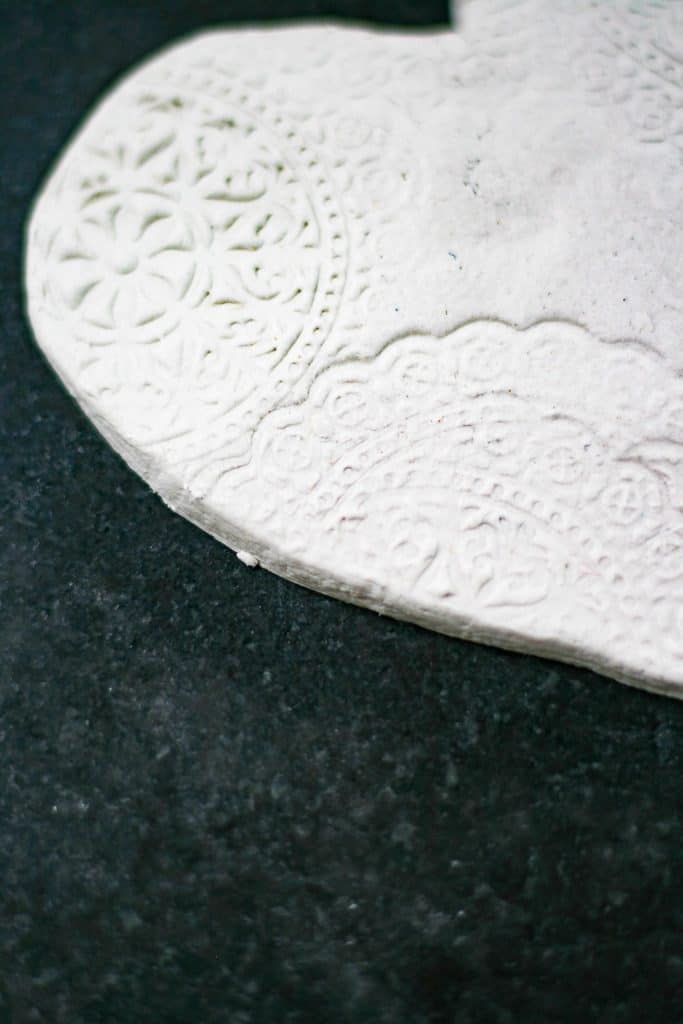
Once you are happy with your heart, you can carefully lift it on top of your dish or vase. I lightly shaped the heart over my little vase to get the edges rounded the way I wanted. Be careful not to press too hard, or you might ruin your stamp imprints.
I left it like this for 48 hours. The packaging for my clay says it fully cures in 36 to 48 hours. I would double-check your clay specs.
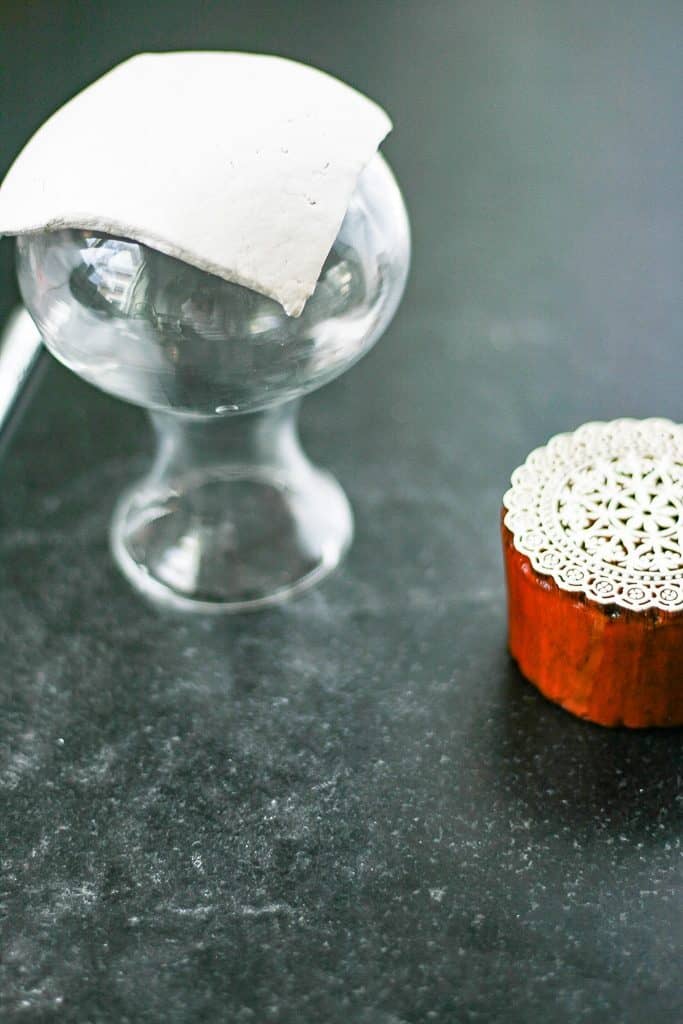
After 48 hours, I lifted it off the vase and started painting with watercolors.
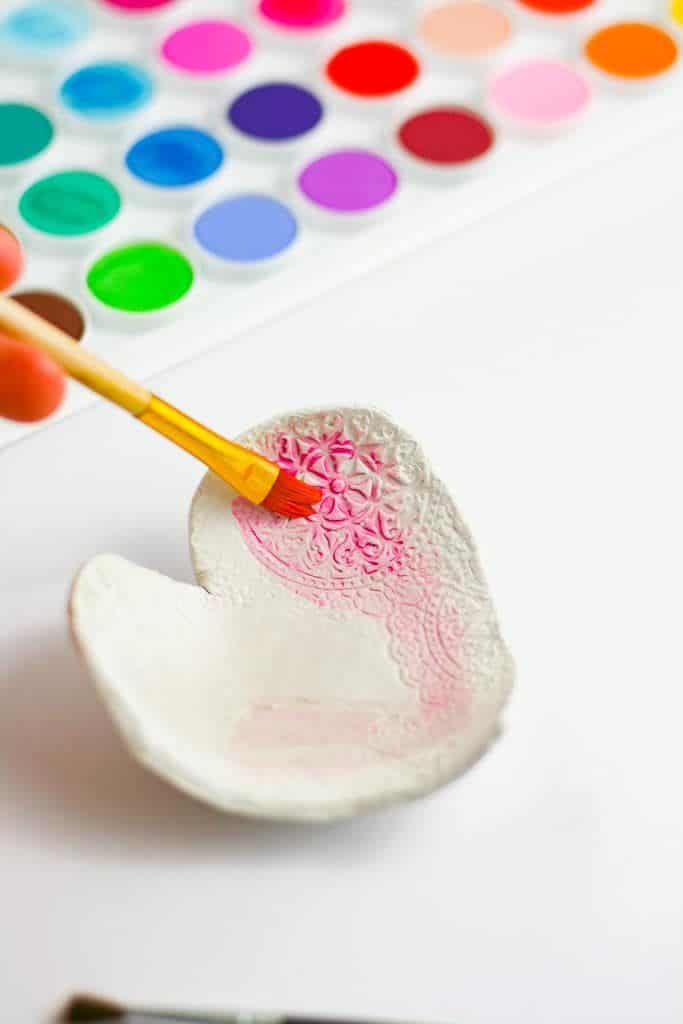
I made my edges a bit darker than the middle area. Or at least, that’s what I was trying to do! I took a gold metallic Sharpie and outlined the rim to finish it up. You could also use gold leaf to do this.
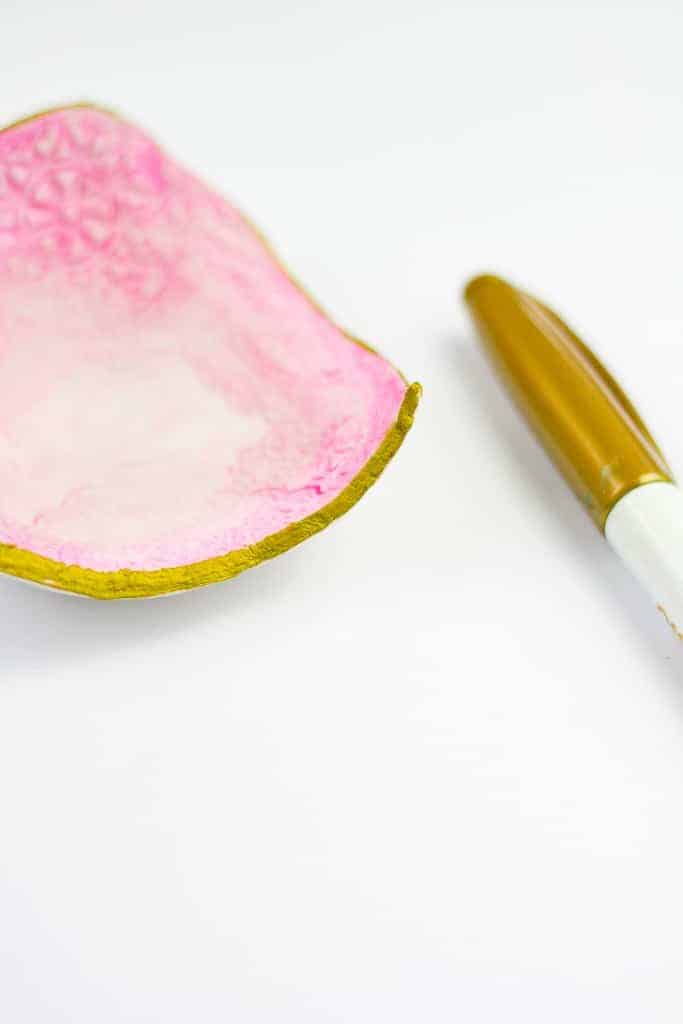
All done! And now I have a cute little jewelry dish. I also have tons of leftover clay for another clay project. You could also make one for loose change or office supplies, like paperclips. I can’t wait to make more!
