Beautiful DIY Hoop Wreath

This post contains affiliate links, which means we may earn a small commission if you purchase through them — at no additional cost to you. Please see our policy page for more details.
I love a good wreath. I’ve been into making these simple DIY hoop wreaths lately lately, and I’ll tell you why.
One – because you only have to craft one section of it. That makes it less expensive and quicker to complete.
Two – it has a simple and modern feel, a style I am drawn to.
Three – It’s easy to take apart and reuse the hoop for something else. Macrame? Christmas Wreath? Hula Hoop? (just kidding).
I used faux eucalyptus, coral peonies, and natural greens. I like how the green berries add some interest. Mixing faux with real florals in this wreath elevates the look. I picked everything up from Afloral and Michaels.
Afloral is an online retailer only. At Michael’s and Hobby Lobby, you can go in store and look at the flowers in person which is a plus. I go to Michaels to pick up craft supplies, so I always stop by the Floral area. I think their floral department has improved immensely. These are no longer the dust-collecting flowers and that your grandmother used.
Amazon is also really stepping up its game! And – two-day shipping?? Yes, please! Because we all want to make our wreaths NOW.
Speaking of Amazon, they spoiled me with their two-day shipping, so anything longer than that seems like an eternity. It took about a week for everything to be sent to me from Afloral. But Afloral is amazing so it’s worth the wait.
Ok, let’s get to it, shall we?
Things You’ll Need


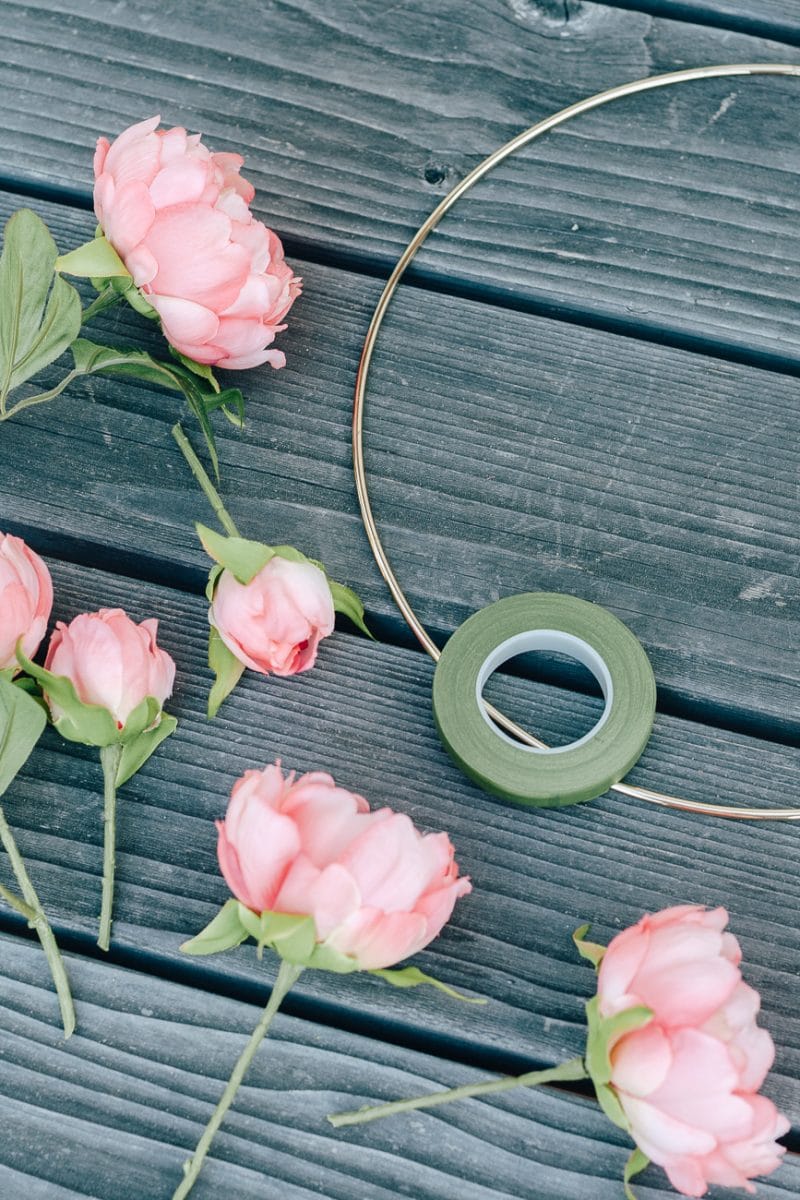
- Hoop Wreath – I used this gold 12-inch one. You can also use an embroidery wreath.
- Faux Eucalyptus, faux peonies, greens from your yard, faux berries – I bought everything from Afloral and Michaels
- Floral tape
DIY Hoop Wreath Tutorial


Step 1: Lay out your Materials
The first thing you want to do is lay out your materials. Since I bought peony “bouquets”, I snipped each peony off the bouquet and just left a little stem.
Step 2: Attach Greenery First as a Base
I started by attaching my green eucalyptus. I used the tape to wind the eucalyptus stem around the hoop. I used two eucalyptus bunches – each applied in opposite directions (stems touching).
Step 3: Attach your flowers
In the middle area where the eucalyptus stems were touching – I attached my three peony flowers, covering over the taped eucalyptus stems.
Step 4: Attach your Real Branches Last
Lastly – I snipped off some green berry branches from the yard and attached those where I needed an extra POP. That was it!
I love inexpensive projects. This hoop wreath is fun and surprisingly meditative to make. I’m not getting “woo-woo” on you, but I find craft activities like macrame and candlemaking therapeutic and good for the soul.


Perhaps I will try the real feel flowers or the seeded eucalyptus next time next time. I love the different green and coral colors of the peonies. It screams SUMMER.


