DIY Macrame Feathers – Easy Step by Step Guide

This post contains affiliate links, which means we may earn a small commission if you purchase through them — at no additional cost to you. Please see our policy page for more details.
Make your own DIY Macrame Feathers with this easy and simple tutorial. This article has been shared over 80k times – why don’t you join us?
Let’s learn how to make DIY macrame feathers!
These feathers look so cool and take no time at all to complete once you get the hang of it.
What can you do with macrame feathers?
You can use them as a single decor piece! So cool in a minimalistic way.
Or, string them from a funky stick in your yard to make a boho wall hanging! Very earthy.
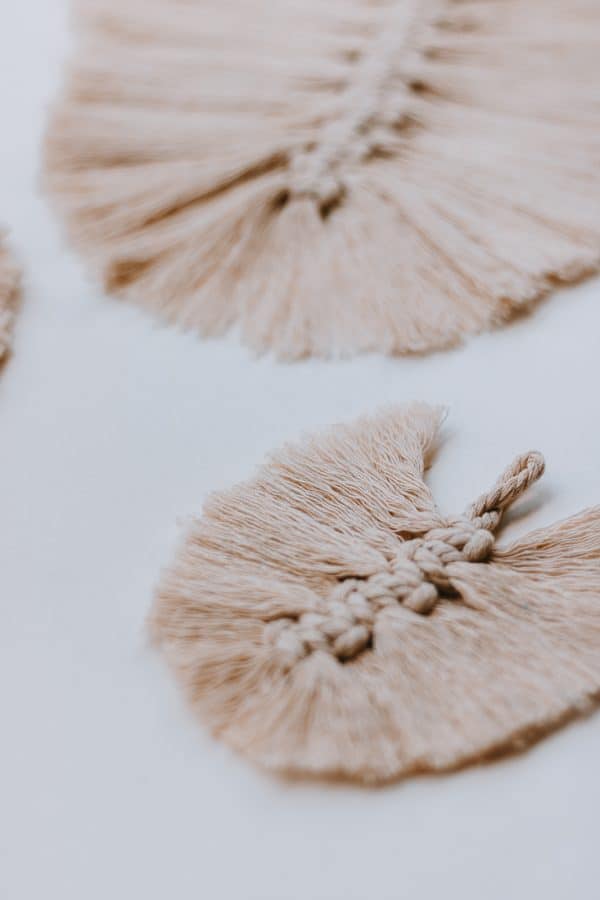
These are just really fun to make as well.
Ok, guys let’s get to it.
Things You’ll Need
- Macrame Cording – I used this one
- Sharp Scissors – I used these fabric scissors
- Stiffening Spray
- Wire Brush
- Tape Measure – to measure your cords
DIY Macrame Feathers – Step By Step
First, we’re gonna cut our cords. Then, we’ll get to the feathers!
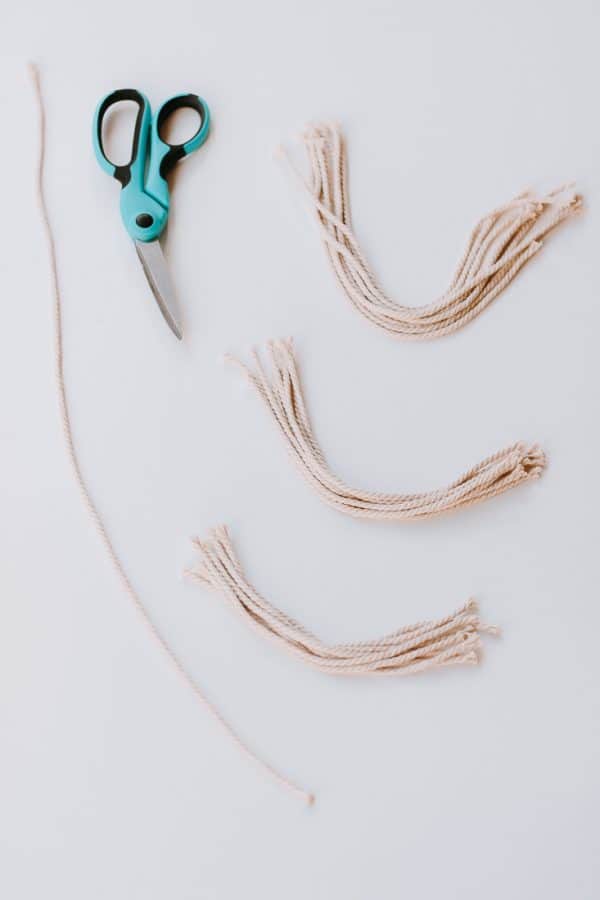
Cut the Following Lengths of Cord:
—Large Feather – 1 – 24″ inch piece, 10 – 12″ inch pieces, 10 – 10″ pieces, 10 – 8″ pieces (31 total cords)
—Smallish Feathers – 1- 12″ inch piece, 6 – 6″ inch pieces, 4 – 4″ pieces, 4 – 3″ pieces (15 total cords)
If you look at a feather – it is slightly wider at the base and gets skinnier toward the top.
So we start with the longest cords first, then go to our medium-sized cords and finally end with the smallest cords.
Here’s how you Make Feathers
I put this into a full picture tutorial for you. All you need to do is follow these numbered steps.

Step 1
First, take your longest cord and fold it in half. For the large feather, this is the 24″ piece. For the smallish feathers, this is the 12″ one. This long piece is the “spine” of our feather.
Then, take one of your longest cords and fold it in half. Place it perpendicular under the spine of your feather to the right as shown in picture #1 above.
Step 2
Take another one of your longest cords and fold it in half.
Pull the loop part through the loop of the first cord you laid down (not the spine). Pull it through over the spine part of your feather.
Step 3
Take the ends of the first cord and pull them through the loop of the second cord. I hope this is making sense! You should have something that looks like picture #3.
Step 4
Now pull the cords tight! Yay! You made your first knot on the spine.
Step 5
Now we are going to repeat Steps 1-4, but we are going to switch sides. So take another one of the longest cords and fold in half. Place your loop on the left side (instead of the right) as shown in picture #5.
Step 6
Now take another cord, fold in half, and loop it through the loop on the left. Pull the ends up and through this loop. Look at picture #6 for reference.
Step 7
Pull each cord tight and keep alternating sides – right, left, right, left, etc.
Once you use up all your longest cords, switch to your medium cords, following this same process. Then switch to your smallest cords.
Step 8
You should have something that looks like picture #8!
Step 9
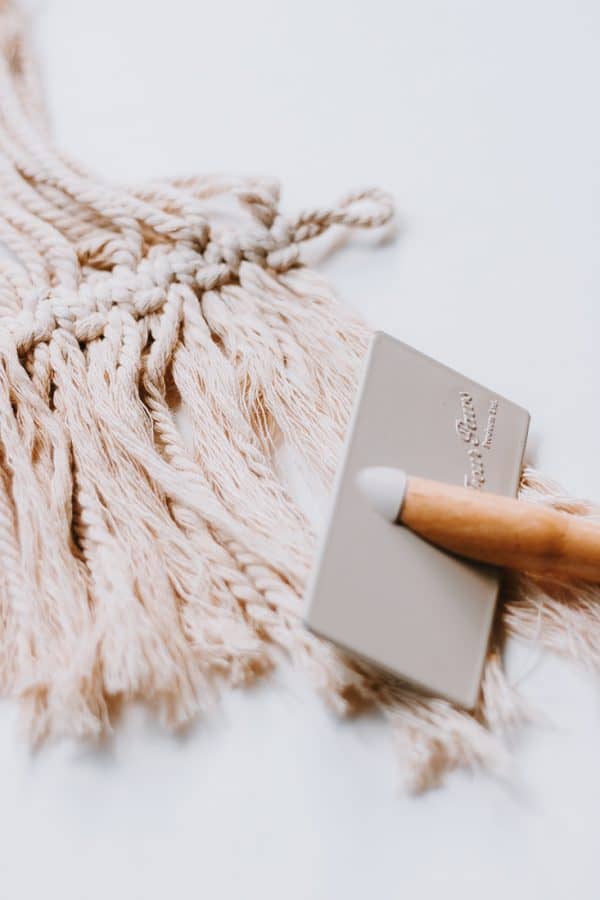
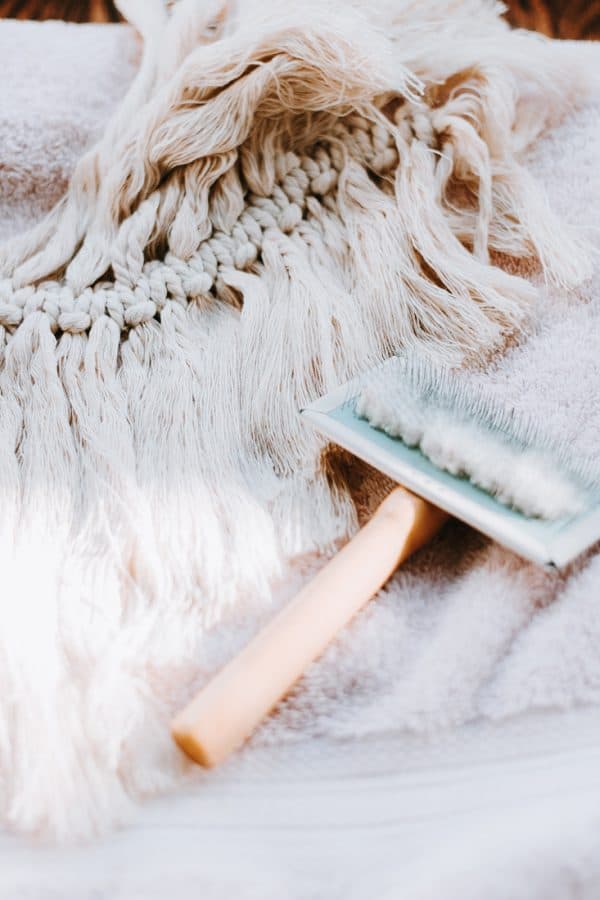
Once you use up all your cords, you will brush them out with your wire brush to create the strands. Hold the spine at the same time so you don’t accidentally pull off any knots.
Hint: If you find that your spine still extends pretty long, you can just trim it to even it up.
You can also unravel the cords first with your fingers. I brushed them out on top of an old towel so I didn’t damage any surfaces.
I had to brush pretty hard to get these nice strands!
Flip your feather over and brush both sides to ensure all the cords all brushed out.
Step 10
After you brush it all out, take your scissors and trim up your feather.
Step 11
Spray your feather with stiffening spray to stiffen up the feather so it lays flat when it’s hanging.
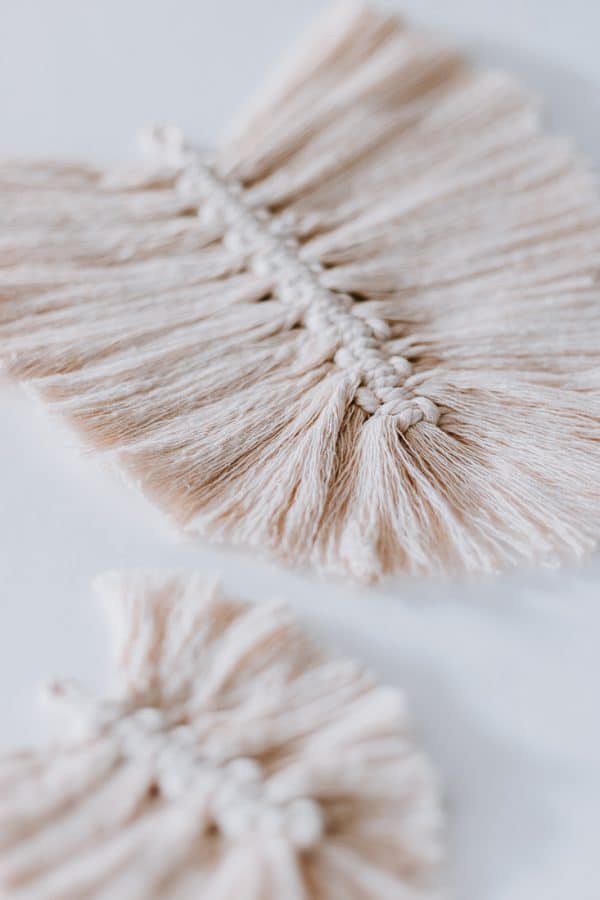
Follow this same process to make the smaller feathers or any size you want!
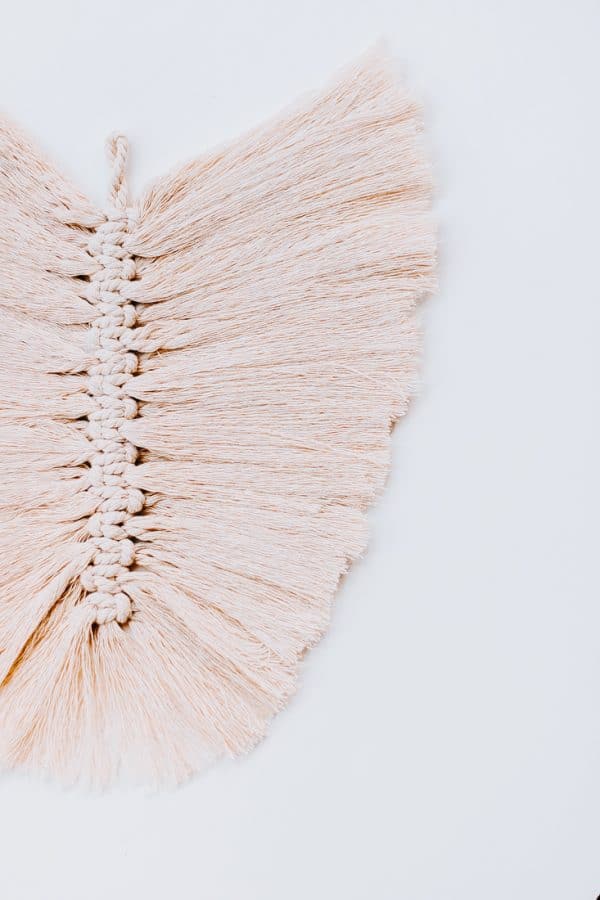
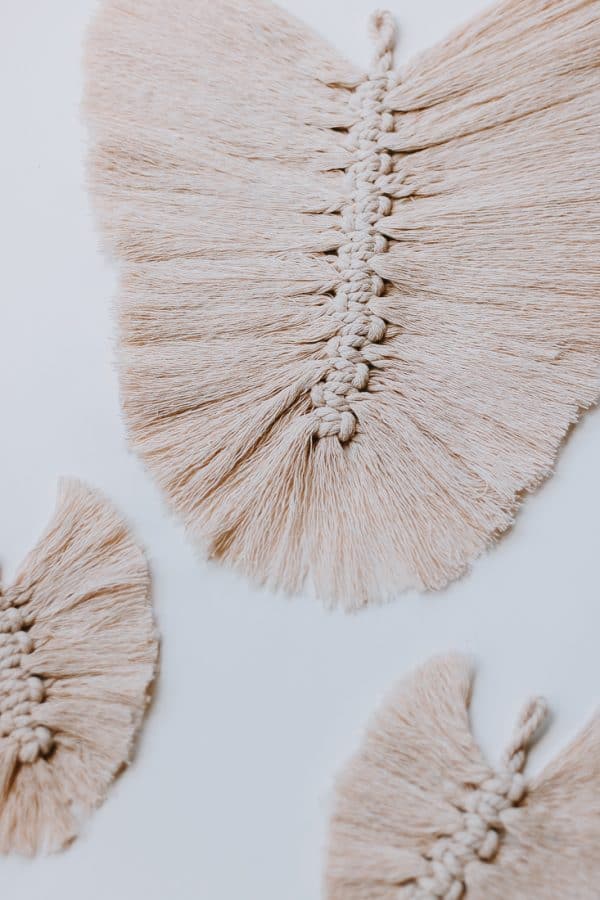
To make a wall hanging as I mentioned earlier, all you need to do is grab a dowel or stick and attach the stiffened feathers. A wall hanging won’t work without stiffening them up though, the feathers will be too floppy.
You could also make a cool framed picture out of them, which is what I plan to do!
Glue down your feathers to a piece of foam board or heavy cardstock and frame them up.
How are your macrame projects coming so far? I hope you guys are enjoying this activity as much as I do. More projects to come!
More Macrame Posts you Might Like
- Basic Macrame Knots
- Macrame Projects for the Beginner
- DIY Macrame Jar Hangers
- Simple Modern DIY Macrame Wall Hanging
Thanks so much for visiting my corner of the web today!
Xo Karen


