Simple DIY wood laptop stand

This post contains affiliate links, which means we may earn a small commission if you purchase through them — at no additional cost to you. Please see our policy page for more details.
An easy tutorial for making a DIY Wood Laptop stand with basic tools.
I now have a wood laptop stand and it was seriously a cinch to make.
Sprucing up my cloffice was just the push I needed to get going on this project. I thought – if I’m going to make this workspace look nice, then it’s going to be functional and comfortable too.
I was *literally* tired of looking down all the time. Using my laptop and my cell phone daily was putting a permanent knot in my neck, was ruining my posture and was probably causing me a few extra headaches every month.

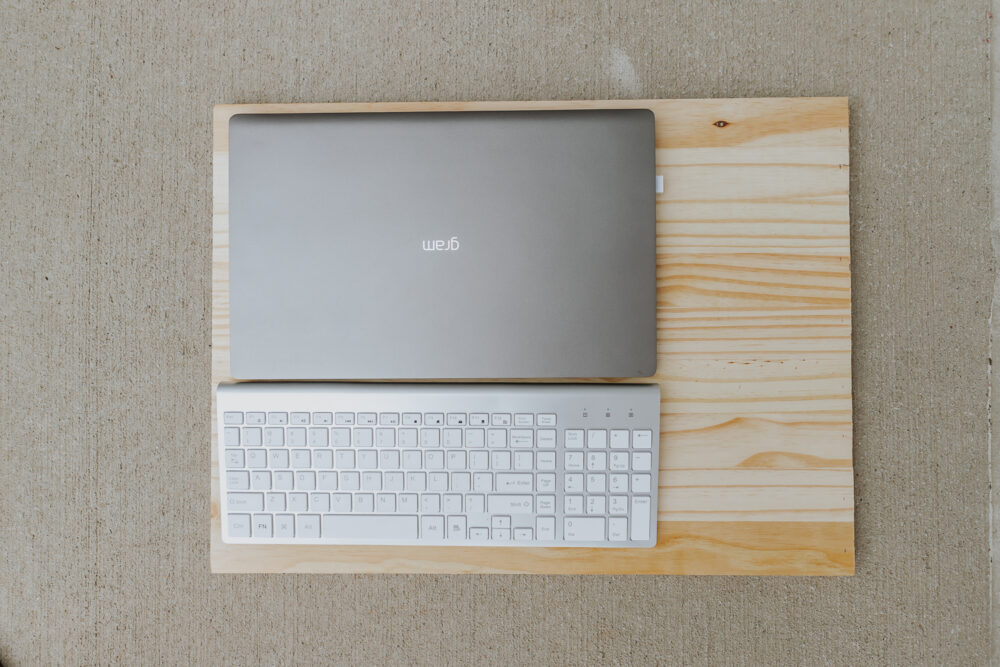
So now I look at my screen at eye-level! (Or almost I should say). Plus, I have a handy little space to store my keyboard, mouse and notepad after each day. Note: you’ll need to invest in a separate mouse and keyboard with a laptop stand.
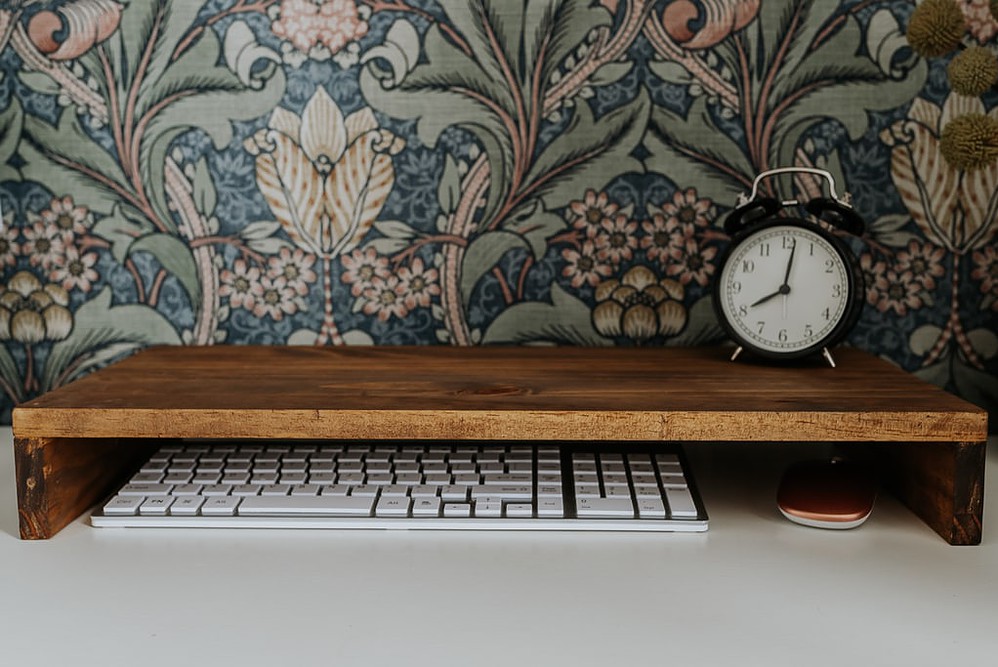
I made this laptop stand from wood because I like the look instead of the techy looking ones or cardboard (yes you read that right), I already had the wood and I like to make stuff. This has a scandi vibe to me – it’s simple and warms up the space!
If you have a kink in your neck, too – then this is a good diy project for you. And you don’t need much wood. In fact, I used scrap wood in our garage (I’m determined to use every last bit). Use up your leftover wood pile or use cheap plywood. It all works.
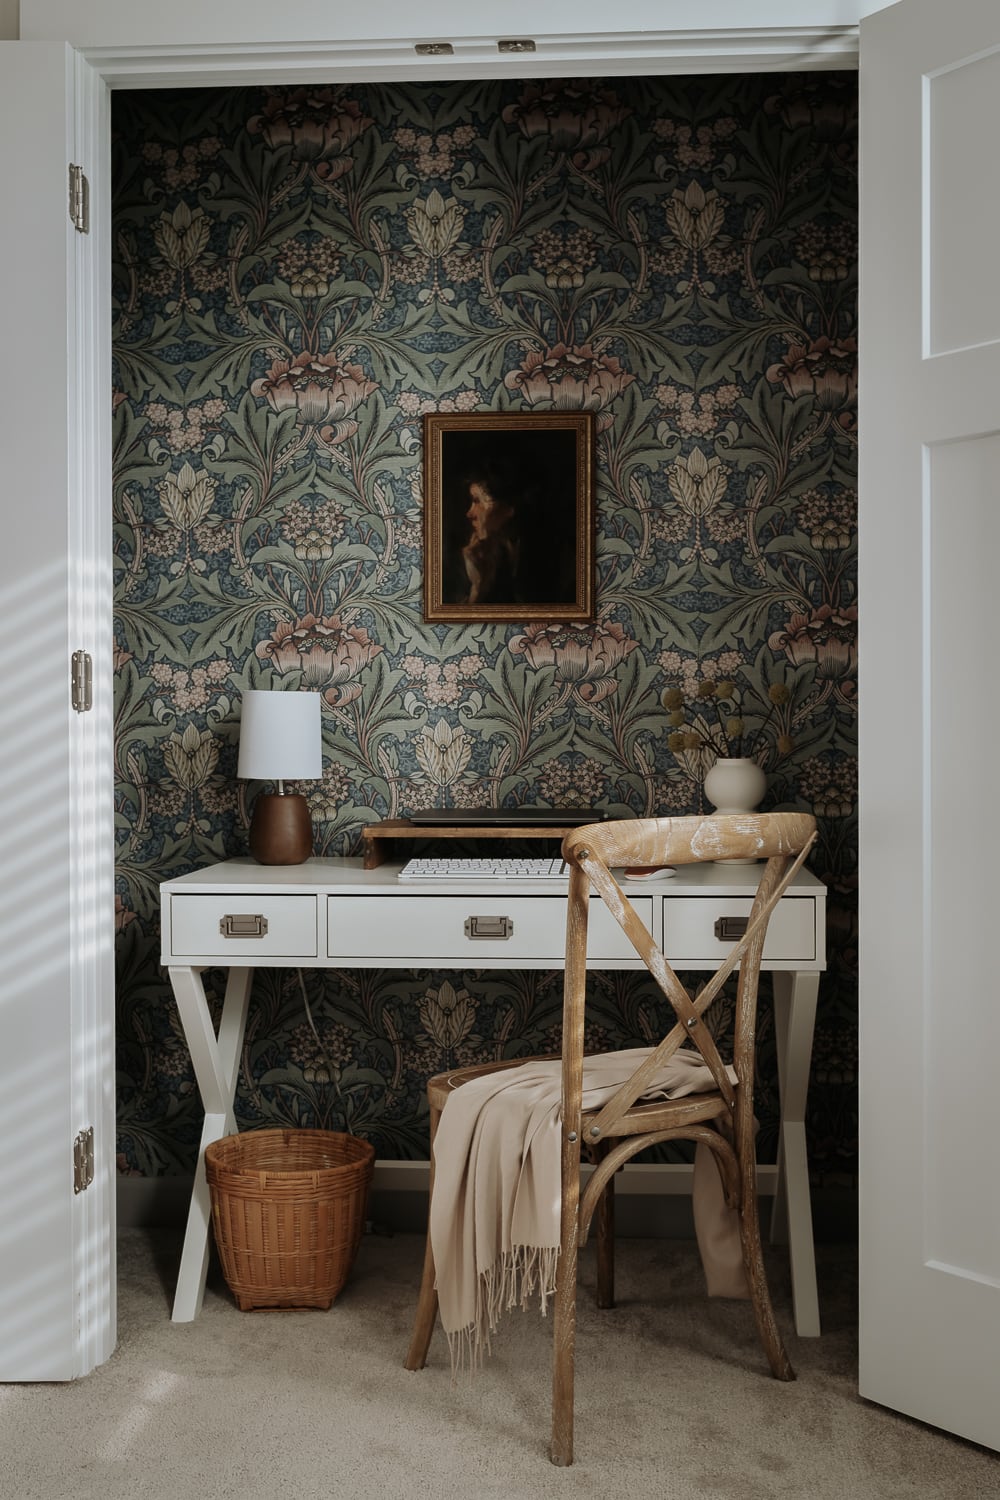
Come to think of it, this would probably work as a monitor stand as well. For inspiration – I linked my favorite laptop stands at the bottom of this post under More Laptop Stand Ideas.
Things You’ll Need
- Wood (one board should be wide enough to hold your laptop – I used pine)
- Circular Saw or Jigsaw or Table Saw
- Tape Measure
- Orbital Sander
- Wood Glue
- Clamps (I used my right angle clamp)
- Brad Nailer and Brad Nails (or you can use a drill and screws)
- Paint or Stain (Optional)
- Polyurethane or Danish Oil
Finished Project Size
Here are the final dimensions of my laptop stand. I wanted the top to be slightly larger than my laptop so I had some extra space for pens and other desky things.
—Length: approximately 21 and 9/16th inches
—Width: approxmiately 9 and 7/16th inches
—Height: approximately 3 inches
cut list
I made the following wood cuts from one 3/4 inch pine project panel:
Of course, you will want to measure your particular laptop and make sure these dimensions will fit. Otherwise, you may have to tweak the measurements a bit to comfortably fit your particular laptop.
is it ok to put a laptop on a stand?
Yes it is ok. You will not ruin your laptop by putting it on a wood laptop stand. In fact, you might just improve the air flow to your machine, as well improve your posture and overall comfort. Oh, and it will no doubt keep things looking less cluttered.
How to make a DIY wood laptop stand

Step by Step instructions for how to make a wooden laptop stand.
Total time: 1 day and 1 hour
-
make these wood cuts

You will need the following pieces of wood:
One top piece measuring approxmiately 21 and 9/16th inches long by 9 and 7/16th inches wide.
Two wood pieces (the legs) measuring 9 and 7/16th inches long by 2 and 1/4 inches wide
You can make these wood cuts using a circular saw, miter saw, or jigsaw. It’s just cutting a straight line (no angles) so it’s not hard. -
glue laptop stand together

Now we are going to attach the two legs to the top of the laptop stand. Put a thin lin of wood glue on the leg and top piece and use your finger to spread it. Wood glue takes about 6 hours to dry, but really should be “cured” for 24 hours with stressed joints.
-
clamp and nail

I use clamps to hold everything together, including my right angle clamp to ensure everything was straight. You can also use a square to double check your angles. Your laptop stand should remain clamped for at least 8 hours (so the glue has time to set). I also popped a few brad nails through the top on each side to reinforce the connection there. You can also use a screw and a drill (but the screws will be noticeable so you might want to countersink them). You could also use pocket hole screws through the legs into the top if you own a kreg jig.
-
sand laptop stand

After your laptop stand is fully assembled, you can use an orbital sander to sand down the rough edges and get it nice and smooth. I use a 180 grit sandpaper for this.
-
paint or stain (optional)

Now it’s time to make it look perrrrty! I stained mine early american again (I know, I just love the stuff.) Feel free to paint your laptop stand to match your desk area too!
-
protect with varnish

Final step! Cover your laptop stand with a couple coats of polyurethane. Instead of using poly, I used Danish Oil. It provides a bit of warm color and varnish in one step. I don’t think it protects as well as polyurethane, but I like the color and warmth it adds to the final piece. You can read more about the difference between the two here. Why did I apply a varnish? To prevent stain from rubbing off on my laptop/desk area and I’ve been known to leave coffee cups e v e r y w h e r e on my desk area and this will no doubt prevent pesky coffee rings.
And that’s it! I gotta say this simple laptop stand really spruced up my desk space (and my neck is feeling much better these days, thank you).



This laptop stand is portable though, so if you decide one day you want to work from your couch or your kitchen table – you can just pick it up and move it.

Of course, if you want to buy a laptop stand, I picked out some pretty ones below. For all cloffice sources, please see this post here or shop my home!
shop the space
Here are sources for this space! Click on any photo to get more product details.
Have a great week ahead!
xo karen


