Macrame wall hanging with beads

This post contains affiliate links, which means we may earn a small commission if you purchase through them — at no additional cost to you. Please see our policy page for more details.
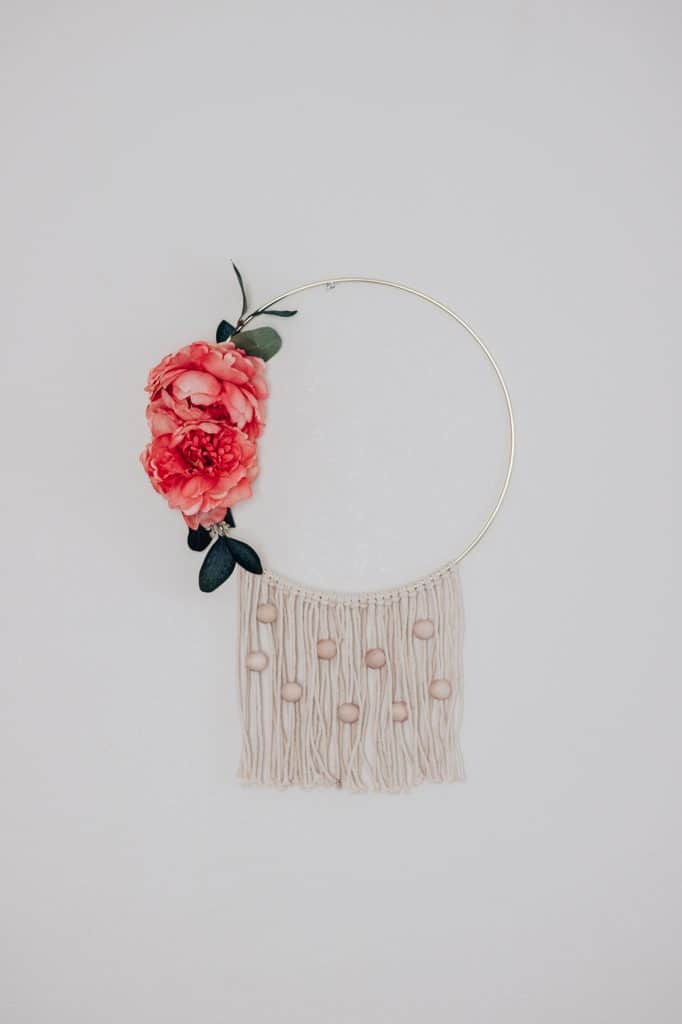
Great Tutorial for the easiest diy wall hanging with beads. Uses basic macrame knots, wooden beads and some faux flowers!
By now, you know how popular these macrame wall hangings have become. I’m sure you see them all over Pinterest and social media these days. In fact – some people are making a full time living making these beautiful macrame wall hangings.
Have a look at Etsy to see what I’m talking about. They can be really expensive! But these wall hangings are truly amazing works of art and I am always ALL for supporting small shops and designers with their craft.
Today I want to show you how to make the easiest wall hanging ever! I’ve been wanting to make a little something for my daughter’s room once we are moved back into the house.
In case you are just joining me, we are currently renovating our 1920s craftsman. With our renovation, the rooms are changing a bit. My daughter will have a new bedroom and I’m having a lot of fun planning it all out. With her help of course. 🙂
Since my style is really leaning towards minimal, neutral and warm – I thought a DIY wall hanging would be a perfect addition. It gives some texture to the decor and it’s fairly minimal. And since I’m always trying to do things on a budget, I figured I would make one myself.
Only I don’t have a lot of time. So this has to be the quickest and easiest wall hanging ever.
I hope you guys enjoy this quick tutorial!
DIY Wall Hanging Tutorial
Materials Needed
- Cotton Macrame Cording – I used this one
- Hoop in any size you want – I used a 12 inch one I had but Amazon sells the hoops too. You can even use embroidery hoops! Love that look too.
- Wooden beads – I used these 20mm beads
- Faux Flowers (optional – I added some to make it a bit more whimsical and girly)
Follow these Steps


- Start by cutting equal lengths of macrame cord. It doesn’t have to be perfect – I made mine about 14 inches each, give or take.
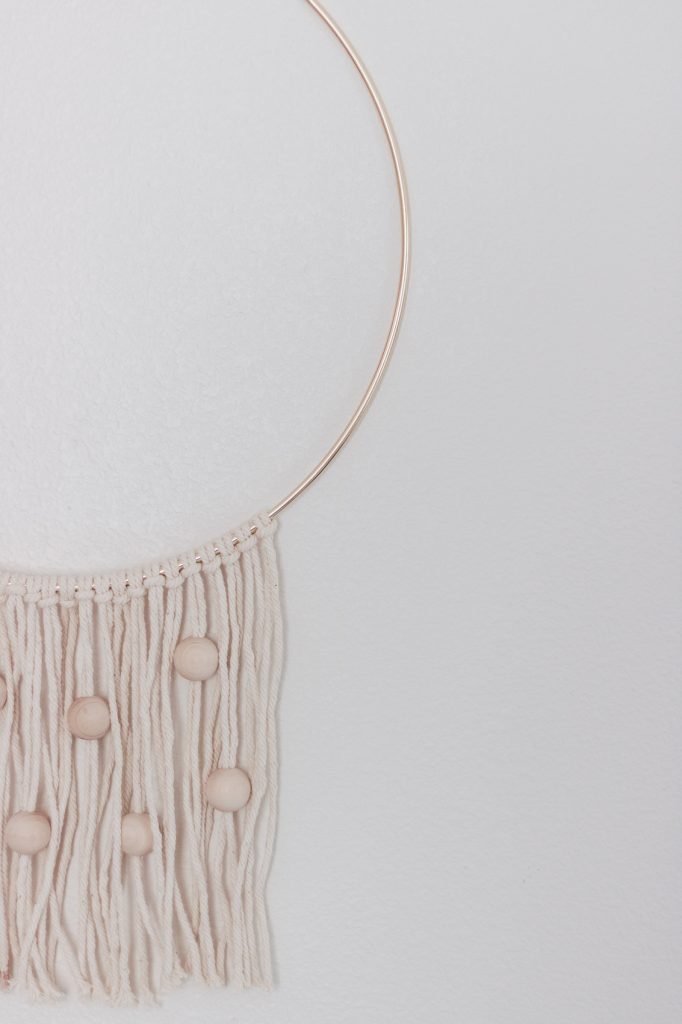
- Fold each cord in half and tie each onto the hoop using a lark’s head knot. (PS: Learn how to do a lark’s head knot here).
- I tied exactly 28 lark’s head knots onto the hoop. You can do more or less depending on how wide you want it to be.
- Taking two adjacent macrame cords at a time, string the wooden beads on, spacing them out as you see fit. I tried one cord and the beads would slip off. Two cords were perfect, although it does take some finesse to string them through the beads.
- Evenly cut the bottom so it’s nice and straight.
- Optional – take a collection of beautiful faux flowers and greens and attach them to your hoop on one of the sides. I used floral tape to attach them and I found working on the back side of the hoop to be the easiest.
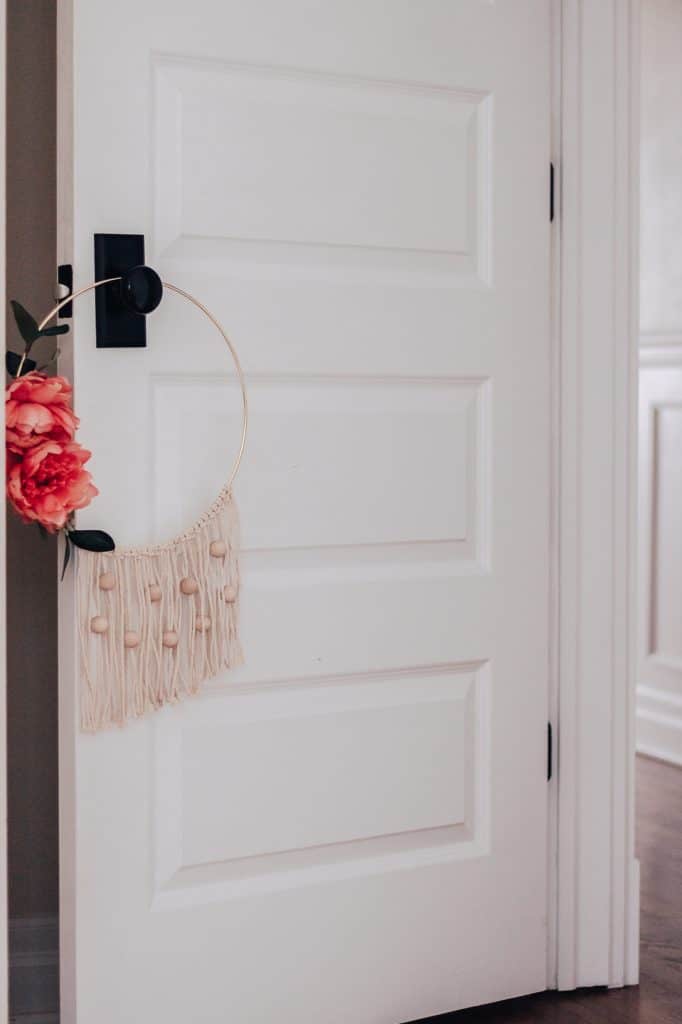
I hung it up on her bedroom wall here in the rental just to show you what it looks like (we have rental furniture here too).
Cute, right?
Literally, this is the easiest DIY wall hanging to complete. The other thing you can do here to add some pizazz is dip dye the ends. The cotton cording picks up dye fairly quickly. I didn’t have my dyes with me since they are stored at our reno house and I sure as heck didn’t want to buy more.
This is a great project to complete in a weekend and even have your kids help.
What do you guys think of these wall hangings – yay or nay?
By the way – check out my other posts on Macrame:
Basic Macrame Knots: Step by Step
Thank you so much for visiting with me today and reading my posts – I appreciate it more than you know.
xo Karen


