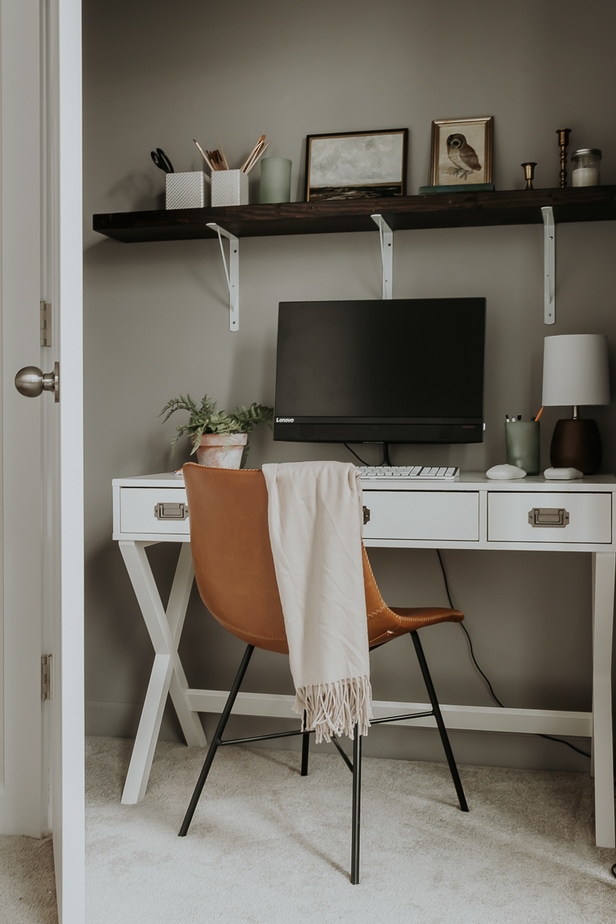
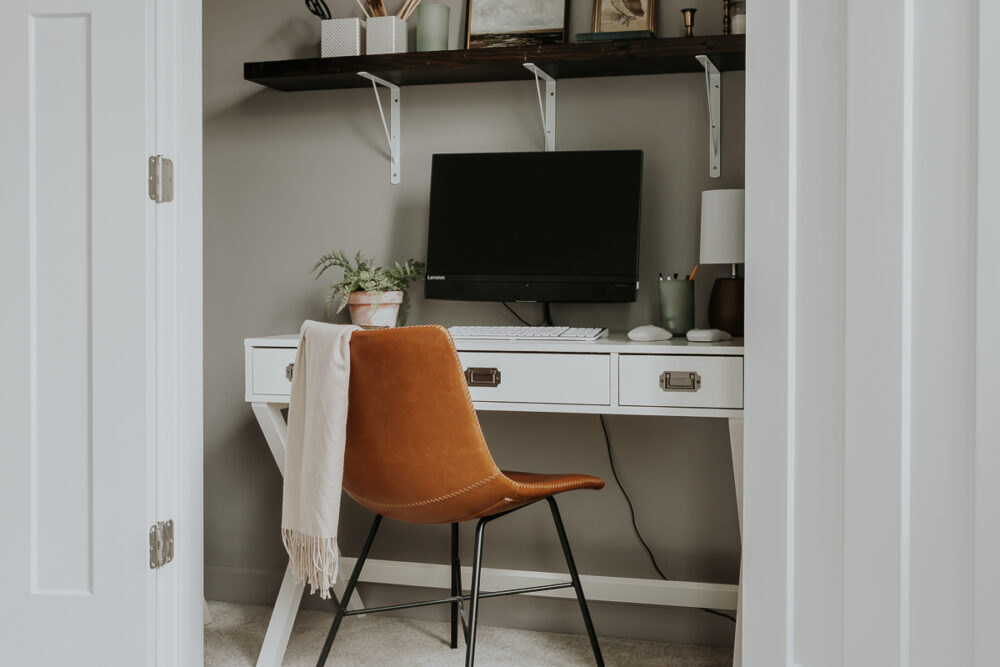
Our Cloffice Space- Before and After
This post contains affiliate links, which means we may earn a small commission if you purchase through them — at no additional cost to you. Please see our policy page for more details.
Want to see me transform our closet into an office? Read on! It doesn’t take much to create a DIY cloffice, and you can get as fancy as you like.
True to my style, I kept my closet office classy and somewhat minimal. Why a cloffice? Why not just put your desk in the room?
There are so many good reasons to consider a cloffice. Maybe you want to utilize an underused closet in your home. Maybe you have a bedroom that also has to be an office? I chose a cloffice because my office is also in our guest bedroom.


I wanted there to be a true separation of space when guests are staying.
In addition, having the desk area in your closet frees up a lot of space (provided that you are okay with emptying out a whole closet).
It also feels much cozier, and you can get a little more creative in your “cloffice” because, at the end of the day, you can shut the door on it.
I considered wallpaper, but I ultimately decided to keep things budget-friendly and use leftover paint from the garage. (In fact, it’s the same paint I used on our painted sideboard.)
Update!
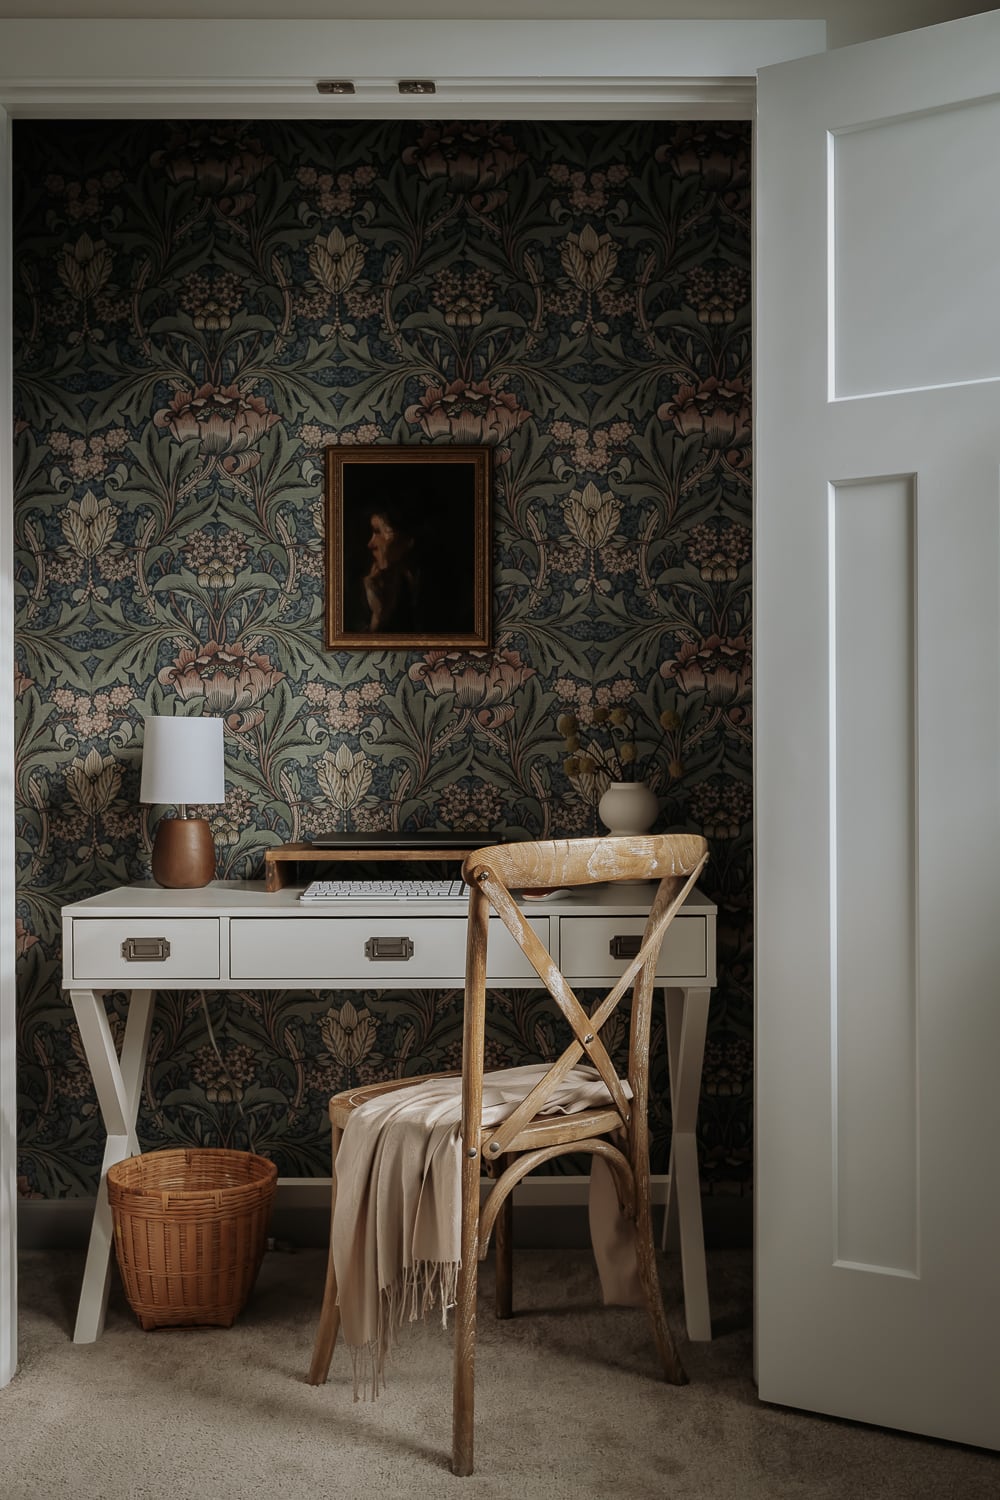
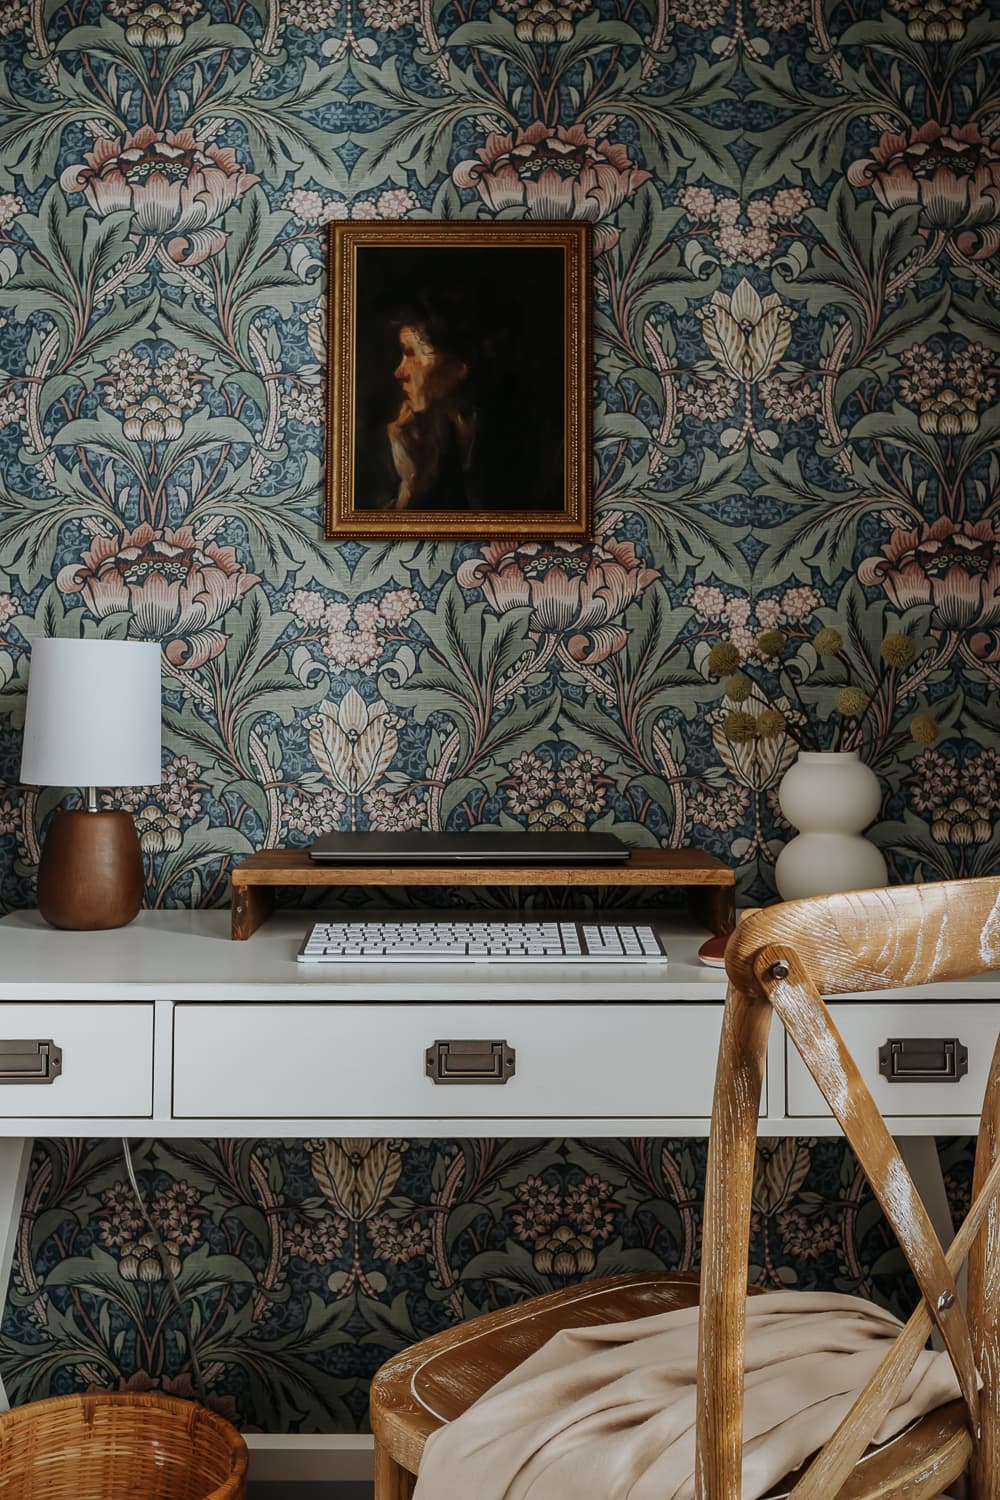
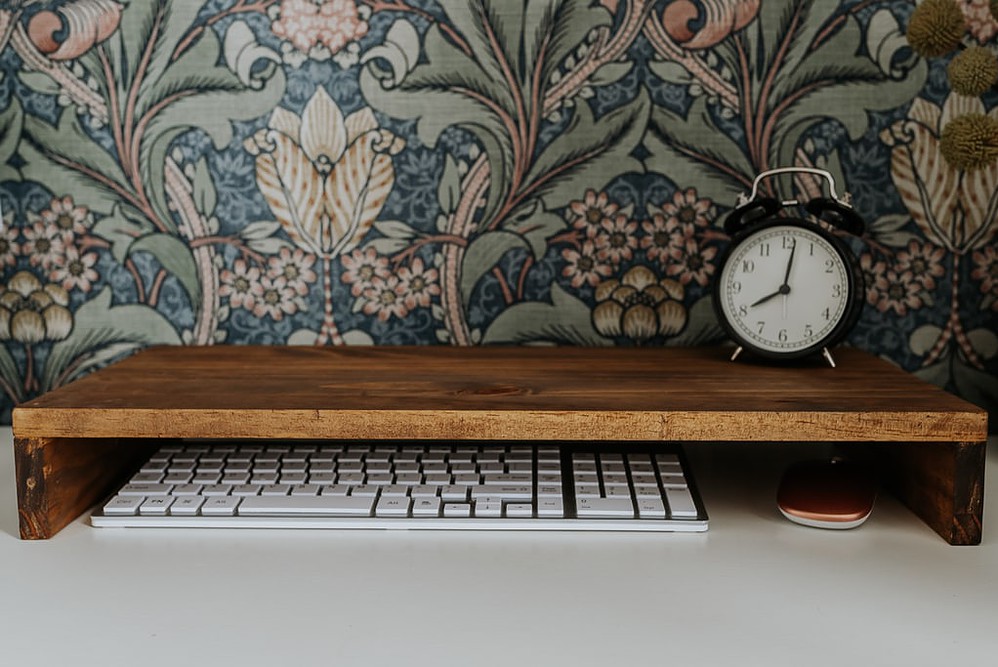
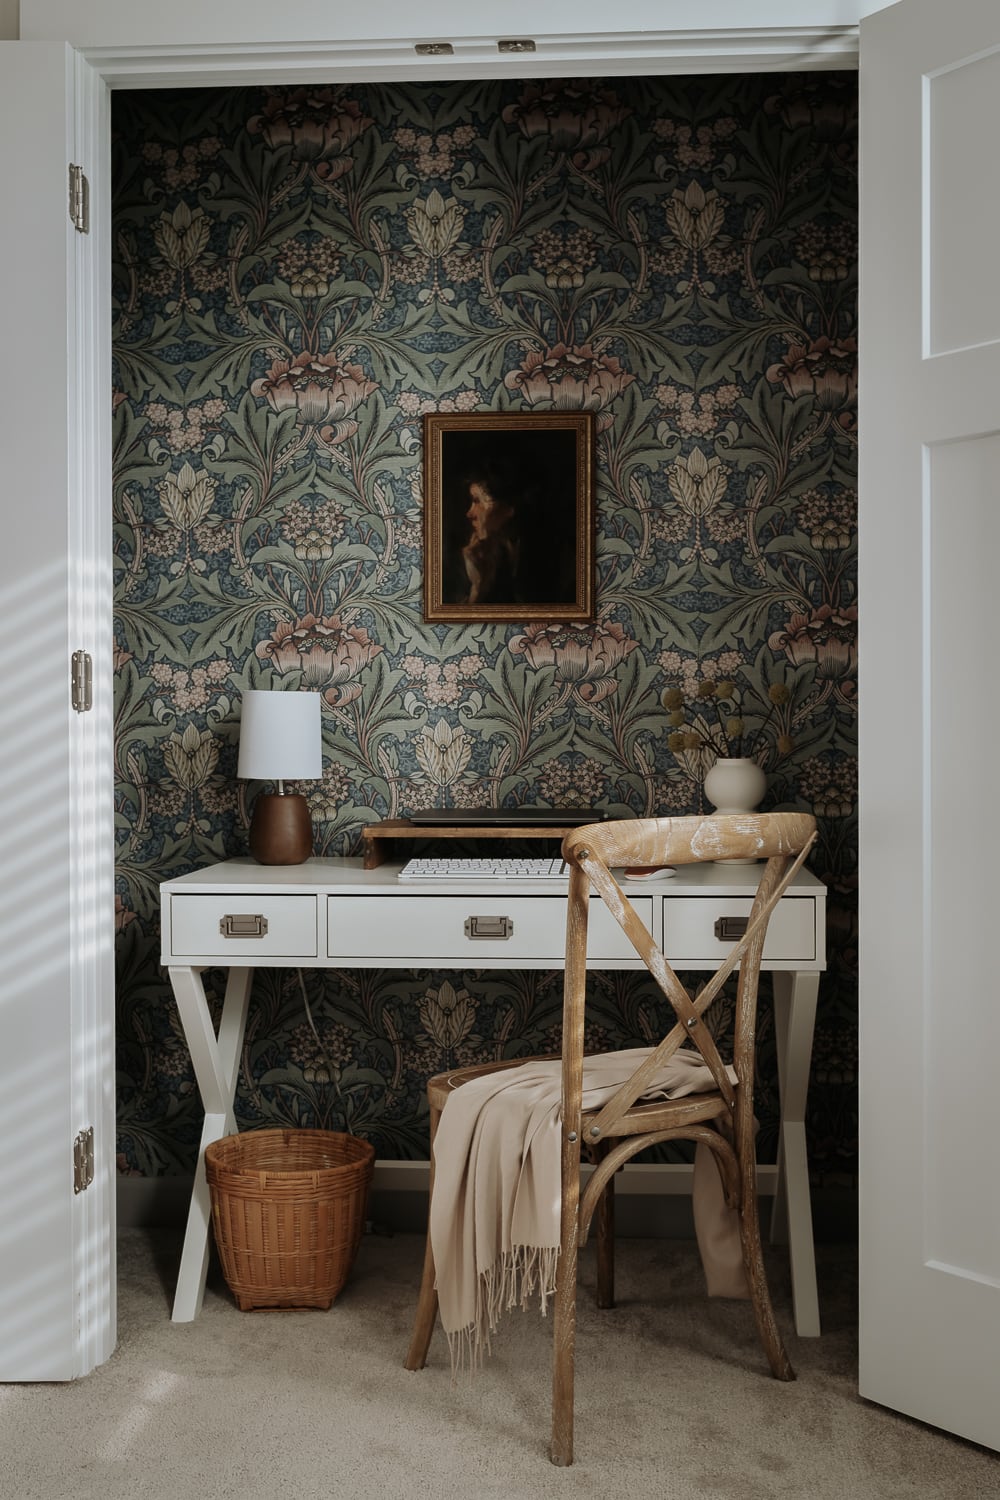
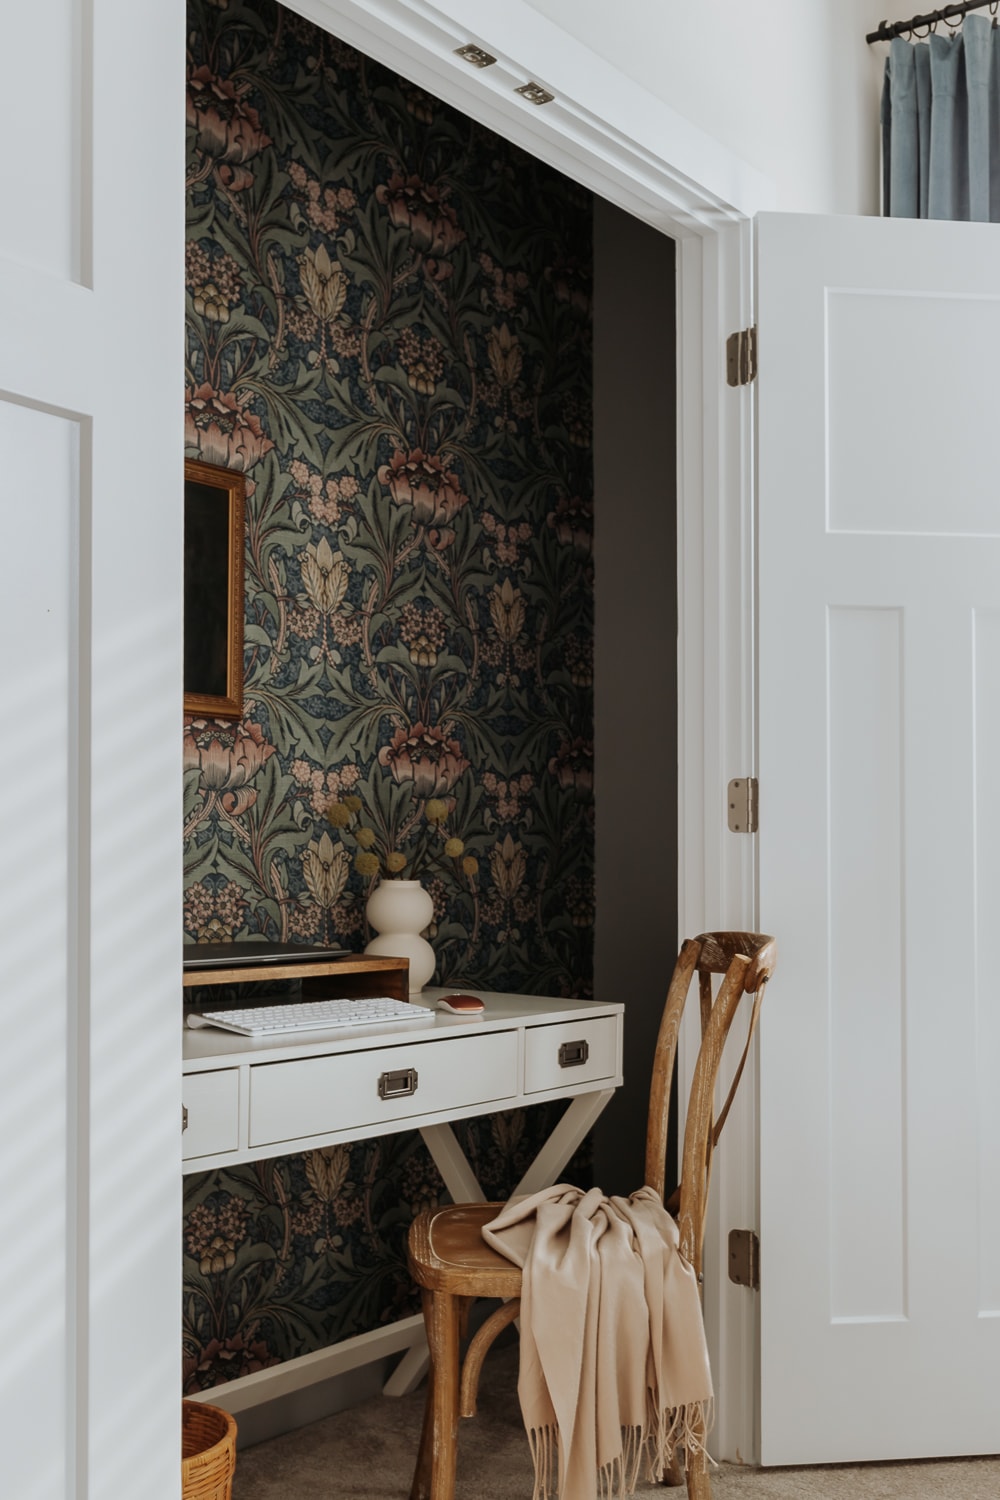
I hung some wallpaper! Here’s how this cloffice is looking today. Feel free to peruse the photos at the bottom to see the before look of this space.

How to Create a Closet Office
Before we start, there are a few considerations to think about.
—>Will your existing desk fit in your closet? If not, you will have to either buy a new desk or create a built-in desk. Most desks should fit in a standard closet. Whether or not you can fully close the doors is another factor!
—>Do you have an outlet in your closet? Every office needs at least one outlet! If you don’t have an outlet in your closet (I do not), you can either have one installed by an electrician or use a power strip with a long cord and run it to the outlet nearest your closet. This is not the prettiest option, but it does work, and you can hide the cord with baskets, drapes, or rugs.
—>How Much Storage Do you need? Everyone has different storage needs, and it’s good to get the wheels turning to determine how you want to organize your office closet. I’ll go through some cloffice storage ideas later in this post.
—> What’s your budget? You will most likely have to spend some money on creating your cloffice. Determine your budget first!
1. clear the closet
You want to start with a clean slate, so go ahead and clean out that closet!


Remove any wire shelving that’s in there.
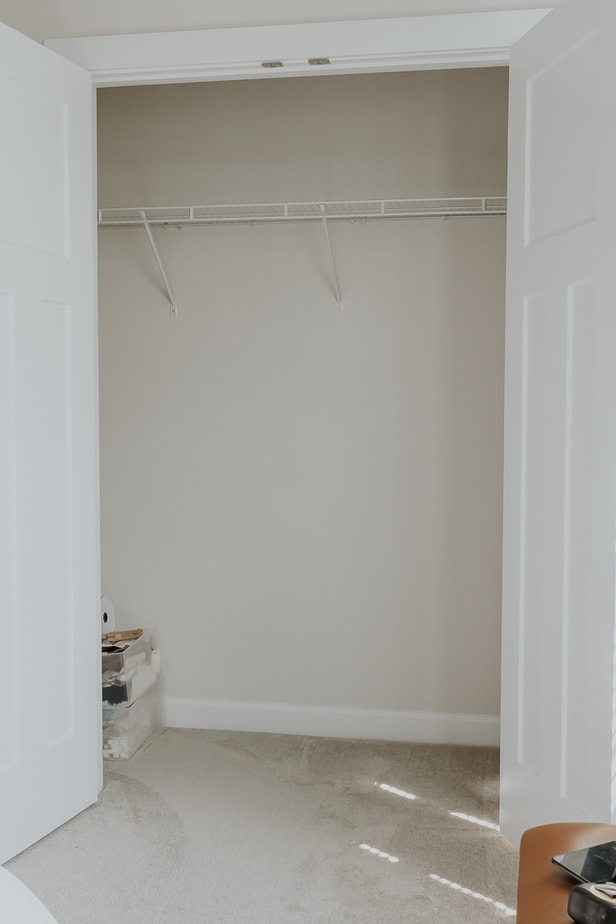
Declutter and/or find a new place to store your items.
Give your closet a good cleaning and repair any holes in the walls from the old shelving.
2. Treat the walls
Consider what you want your backdrop to be.
Because it’s a nook in a closet, this is the perfect opportunity to go a little wild. Make it dark. Make it light. Install some molding. Hang some wallpaper!
What looks good with your existing desk furniture and decor? What’s your budget?
Since I was trying to keep this budget-friendly, I used the paint I already had in the garage. (The color is Rocky Bluff by Sherwin Williams.)
3. plan out storage
Install your Storage! This can be as simple as a shelf or as elaborate as a whole storage system.
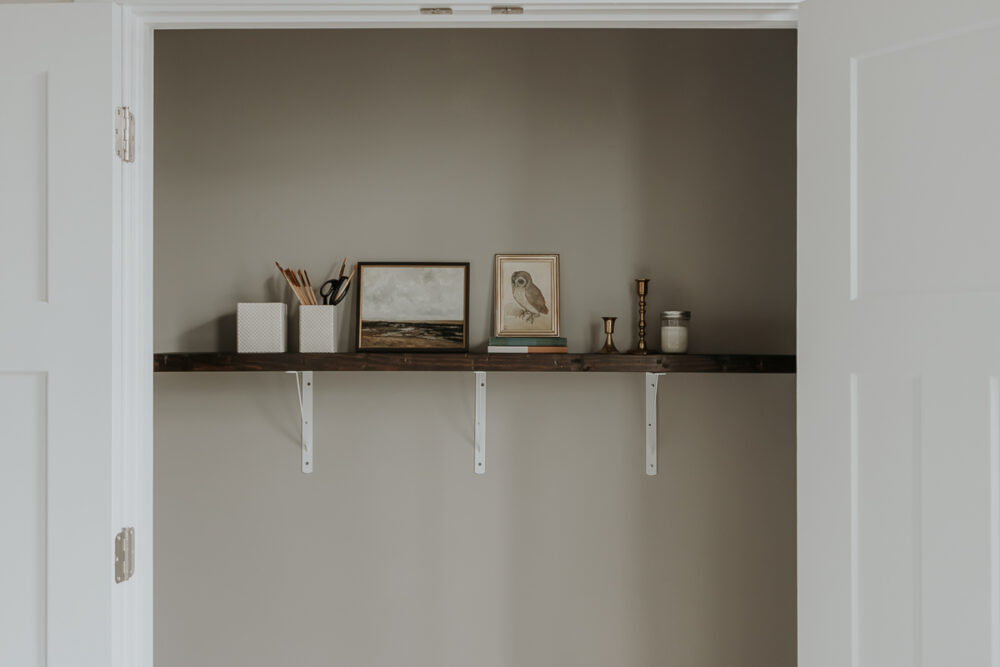
I bought three shelf brackets and drilled them into the studs. Then, I used this reclaimed wood shelf we had in the garage as a shelf. Easy!
The container store also sells these Elfa Systems if you need a lot of storage compartments.
You can buy these floating shelves and fill them with baskets and accessories.
I also really love these drawer units on wheels. You can move them around, and they look sleek enough to be out in the open.
You can also use them as the “legs” for your desk. IKEA has a great option for setting up your own desk.
Make sure to set up your power situation so you are ready to plug everything in.
4. decorate
The final step is also the most fun: You get to Decorate!
Lamps, artwork, greenery, and other accessories are a fun way to personalize your cloffice area.
Homegoods, Target, and IKEA are great places to look for stylish office decor and accessories.
A candle is always good for those days when you want to work with some ambiance and a soothing scent.
Remember that you can utilize all the walls within your closet area, so grab some pinboards for notes and important papers (or make your own linen pinboard!).
Cloffice Before
Here’s a look at my first attempt at our cloffice. It’s fun to see this space evolve over time.


