How to Paint a Sideboard in 6 Easy Steps

This post contains affiliate links, which means we may earn a small commission if you purchase through them — at no additional cost to you. Please see our policy page for more details.
An in-depth tutorial on how to paint a sideboard from start to finish, including what paint and brushes to use.
If you are wondering how to paint wood furniture (the right way), then you are in the right place.
There are tons of tutorials online for painting furniture, but not all of them are accurate and you may end up with subpar results.
This method is the best way to achieve a near-perfect finish on your painted furniture, that will last forever.
If you follow me on Instagram, a while back I posted on this wood sideboard that I scored from the thrift store.

The size was perfect. The overall look was not.
I’m planning to use it in our eat-in kitchen area.
I’m excited about decorating this area and my husband is excited about outfitting the sideboard into a kegerator for his homemade beer. (I’m terrified. NOOOOO!)
Hopefully, if I make this look nice enough he won’t want to ruin it with a giant beer spout coming out the top.
Let’s make sure we have everything we need.
Things You’ll Need when Painting Furniture
Here is a rundown of everything you need and why you need it. You might be tempted to skip some of these items but they all serve a purpose.
Paint
Before buying any paint, determine the look you are going for first.
If you want more of a sheen to your furniture, I recommend latex paint in a satin or semigloss finish. If you want more of a matte look to your furniture, try using a Chalk Paint, like Annie Sloan or Rustoleum Chalked Ultra Matte Paint.
These paints may claim “one-coat coverage” or no sanding or priming needed, but I find I always get better results when I paint furniture the right way. The one time I didn’t use a primer, my paint started to peel away from the edges. It was not fun. So now, I always sand and prime.
Primer
Alright, so you will need a primer.
Why? Because primers will give you a better end result. They block stains and odors and cover old colors. They also help your paint adhere better. No peeling paint!
I have used both Kilz and Zinsser Primers and both worked well. I recommend Zinsser just because it’s much easier to clean up and less fumey.
Foam Roller
You will want a good foam roller brush because that will give you the evenest application. Use a 4-inch size roller. This will allow you to paint corners and tight spaces more easily. You can pick them up at hardware stores. Sometimes they say “cabinet foam roller” – that’s the one!
You can use a foam roller to apply the primer, paint, and polyurethane.
Paintbrush
The brush I love the use when painting furniture is an angle sash Purdy XL Nylon/Polyester blend. Wooster also makes one. I find them to be comfortable when using and these brushes give me a smooth application; plus the angle makes it easier to tackle the corners.
Tack Cloth/shop vac with brush attachment
There’s lots of sanding going on.
Paint + sanding dust = ewwwww.
You want to remove every speck of dust from your furniture after you sand it. A paper towel just doesn’t do it. I wish it did. Tack cloths are gross and sticky, but they will remove all that sanding dust for ya!
Another alternative? A shop vac with a brush attachment. That’s my next purchase.
Screwdriver
You’ll need a screwdriver to remove all the existing hardware and hinges.
Sandpaper or Orbital Sander
If you can swing it – the orbital sander is best! It’s one of my favorite tools in the garage. But an orbital sander doesn’t get into those little corners anyways.
Regular old sandpaper is good too. You’ll want to get the following grits: 80, 150, 220.
Safety Gear (the basics)
Safety first, always. Wear a mask. Safety goggles. And gloves.
How to Paint a Sideboard
Still with me? Great! Let’s get painting.
Step 1: Remove Any Existing Drawers/Cabinets/Hardware.
The best way to paint a piece of furniture is to remove the drawers and cabinet doors (if you have them). Trust me, I’ve tried to work around this and the paint gets sloppy and you’ll end up crying (or just really upset).
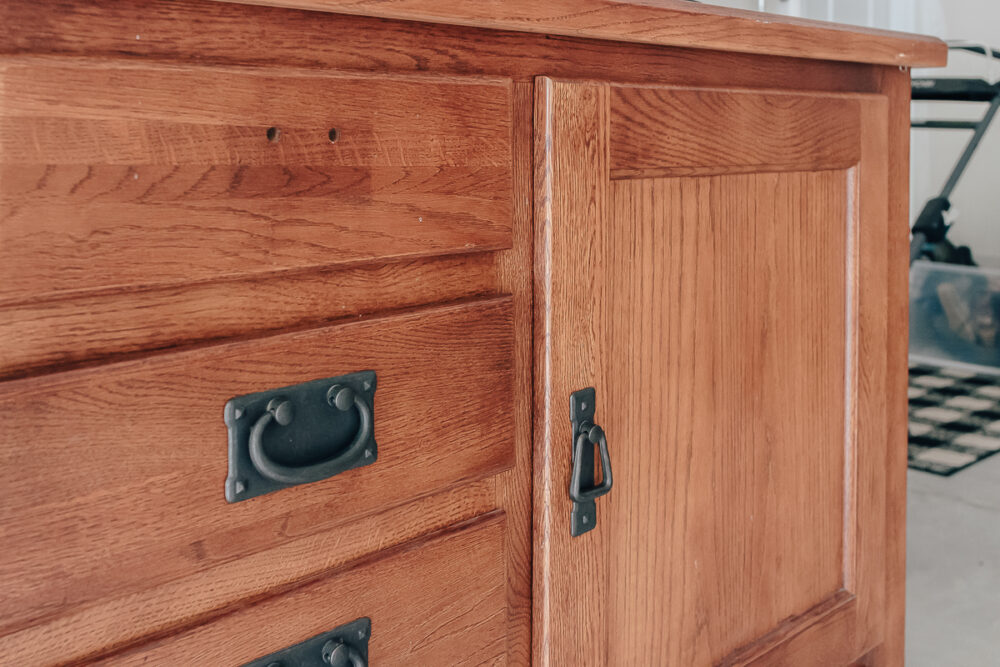
You want each surface to be uncovered so you can ideally get your foam roller in there. The foam roller will give you the best finish, so make it easy on yourself and remove the drawers so you have more surface area to work with.
It’s also much easier to paint your cabinet doors and drawers when they are off. I find it much easier to paint the little sides and things like that.
Along with the drawers and doors, you’ll also want to remove the hardware. Which you might be replacing anyway?
Step 2: Sand it.
This is not a rough sanding, but rather an initial sanding to take off any existing varnish and to give your primer better sticking power. The sideboard I’m working on had a glossy finish to it as well as a few dings and scratches, so I used an 80 grit sandpaper with my orbital sander to work off the shine and blend in the scratches.

If you don’t have an existing varnish, then I recommend using 150 or 180 grit sandpaper.
If you are using an orbital sander, be gentle here. You don’t want to sand so deeply that you leave circular sanding marks in the wood.
You can repeat the sanding on the doors and drawers. I am skipping the back – no one will see it!
Here’s another point to consider. Depending on the condition of the existing paint or stain, you may need to use a stripper (like Citristrip) on it first. Stripping can be a lot easier than trying to sand off peeling paint or varnish, especially if your piece of furniture has a lot of intricate details in the wood that would be hard to reach with a sander.

I’ll do a post on how to strip furniture soon since I just did this on a wood stool for my kids playroom.
Once everything is sanded, use a tack cloth to remove any dust and debris.

This is so important! The primer and paint will embed dust into the paint and the end result won’t look right. Tack cloths are gross but they do a good job at removing all that sanding dust.
Step 3: Prime it.
Ok, I know that some tutorials out there say that you don’t have to prime furniture. I have better results when I start with a primer.
Why prime first?
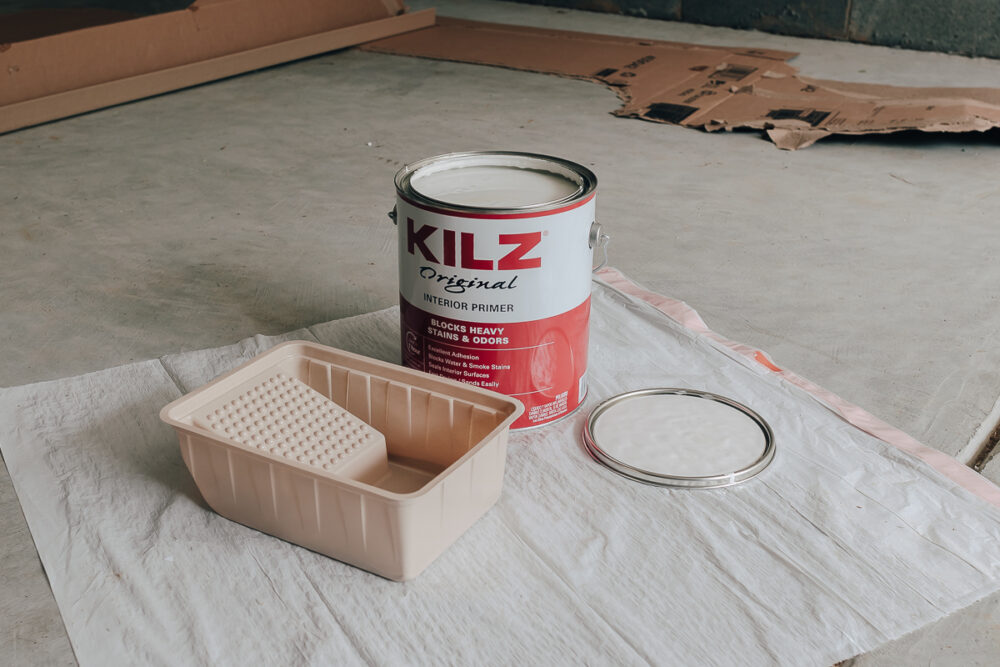
Priming will not only give you better results, but it also helps seal in odors (especially important with thrifted furniture), helps block stains from coming through the paint, and better hides existing paint colors.
I recommend using water-based primers like Zinsser because the clean-up is SO much easier. I learned this the hard way when I used Kilz’s original oil-based primer. It worked fine, but the clean-up. Good lord.
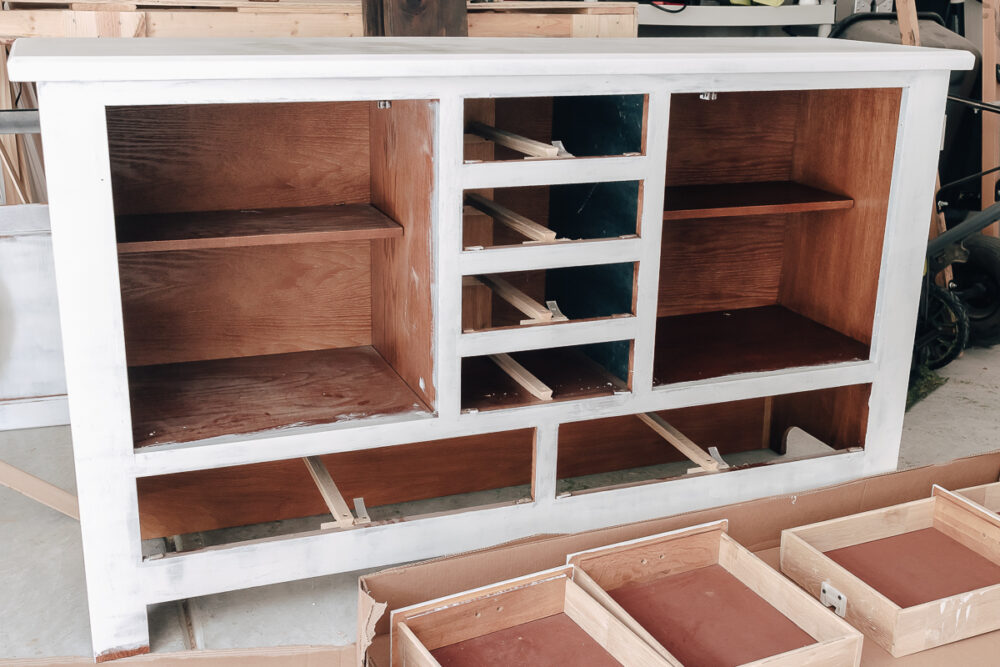
It’s important to wear a mask and gloves and safety goggles and to do this outside because despite what people say, there is an odor. Use a foam roller and an angle sash nylon/polyester brush to apply this primer.
Because of the odor, I let my Kilz primer dry for a week (it says you can paint over it an hour). Truthfully, I did this right before I left for vacation so it had a week and a couple of days to dry. When I got back, I didn’t notice the odor that much anymore.
Zinsser Primer does not have as much of an odor, just FYI.
Step 4: Sand it again.
You might notice that you have some drips in your primer paint.

You want to sand those off because they will be visible in the final paint coat. You may need to use 150 grit sandpaper on the drips if they are stubborn, but for the most part, I recommend using 220 grit here.
This is an even lighter sanding than in Step 2. This light sanding will also give your latex paint better adhesion.
Step 5: Paint it.
Now it’s time to paint!
I am using semi-gloss latex paint in the color Rocky Bluff from Lowe’s. I’ve also had a lot of success with Rustoleum’s Painter’s Touch Ultra Cover and Behr Paints. I like the furniture to have a slight sheen and this also makes it easier to clean off dirt and smudges.

You can look into using a Chalk style Paint, like Annie Sloan. This will give you a more Matte Finish.
Also worth noting: Both Behr (Home Depot) and Valspar (Lowe’s) make a Cabinet and Furniture paint. I haven’t tried those yet but it’s worth checking into.
Apply your paint with a foam roller and an Angle Sash Nylon/Polyester Paint Brush (for the corners and detailed areas). I usually apply 2-3 thin coats.
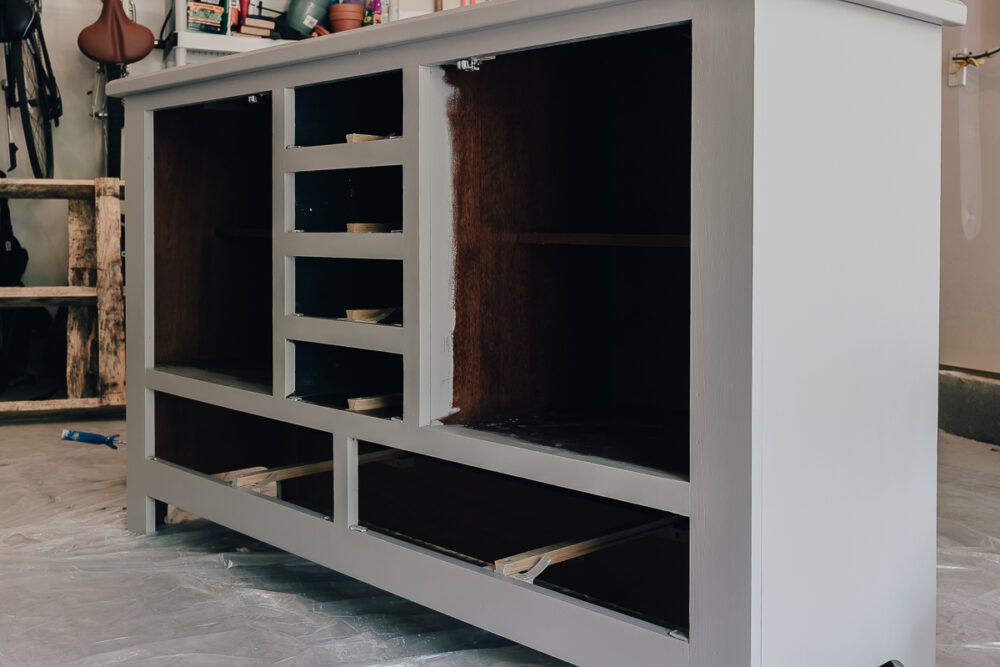
Don’t forget to paint your drawers and cabinet doors, too.

To keep things easy with this project, I’m applying peel and stick wallpaper to the inside. Then I don’t have to bother with painting it! I like this faux wood wallpaper in black.
Allow your paint to dry overnight.
In the morning, check your furniture for drips or splotchy-looking paint areas. You can lightly sand these off and repaint them.
step 6: Protect it.
Final step!
After your paint is fully dry, you’ll want to protect it with a coating or two of Polycrylic (water-based). I chose a Gloss Finish, but they also have a matte, semigloss, satin, and ultra-flat finish too.

You can apply this with a paintbrush in the direction of the wood grain. Ploycrylic looks kind of milky when you open the can but it dries clear.
You will want to give this at least 24 hours to cure, if not 48.
Then, you are finished!
All you need to do is reattach your hardware and cabinet doors.
Frequently Asked Questions and Helpful Tips
These are some questions I had when first starting out so I figured it would be helpful for you too!
Can you Paint Wood Furniture without sanding?
The answer is; it depends.
If your wood furniture was already painted and it’s not chipping or peeling, you can get away with not sanding it and just priming and repainting.
If your wood furniture has a glossy look or varnish on it, you will want to strip that off before repainting so your paint doesn’t eventually peel. You can use something like Citristrip or sand it off.
If your wood furniture is in rough shape – peeling paint, cracked or damaged – you will have to sand that down first.
Do I really need more than one coat of paint?
I know a lot of paints out there tout “one-coat coverage” and things like that, but I always do more than one coat and encourage you to do the same.
Why?
Because inevitably you will have some uneven paint marks and areas where the coverage wasn’t 100% in some spots. It’s hard to tell initially, but once it’s dry you will see it right away.
If you want the project to look as good as possible, definitely throw on another coat (or two!)
Do I really need a primer?
When painting wood furniture, yes I think you need a primer. You run the risk of having your paint peel off in the future. Priming the furniture gives it a smooth finish, blocks odors and stains, and gives your paint better adhesion.
I would be so upset if I painted a whole piece of furniture only to have it start chipping on me later on!
How do I remove old Cabinet Hardware Holes?
Sometimes when you thrift a piece of furniture, you not only want to change the hardware – you want to change the hardware holes completely. On this sideboard project, I had to do that.
You’ll want to use Wood Filler (not Wood Putty).
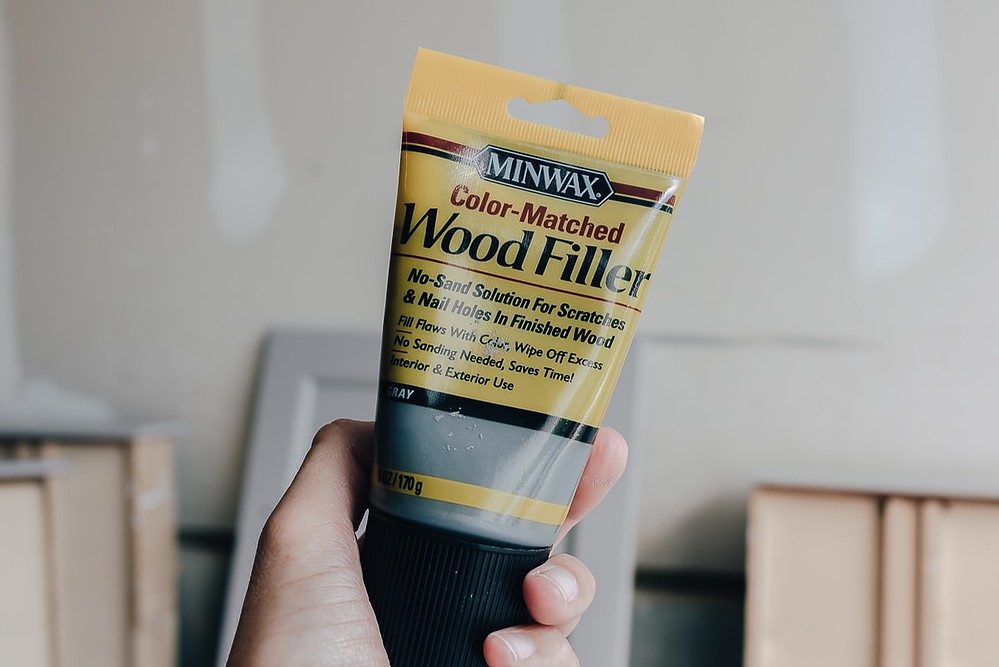
Wood Filler comes in different colors and stains. If you are painting furniture, the colors don’t really matter since you will just paint over it. Wood filler hardens and adheres to the wood after drying. Wood Putty does not harden, so make sure you get the right stuff.
Here’s how to do it.
Take some wood filler and fill up the holes, then use a putty knife to even it out with the surface of the wood. You want to let it dry before sanding it down and then repainting. And don’t forget to use your tack cloth in between sanding and repainting, folks!
furniture painting Wrap up
So, here’s how my furniture piece started.

And here’s how it ended!
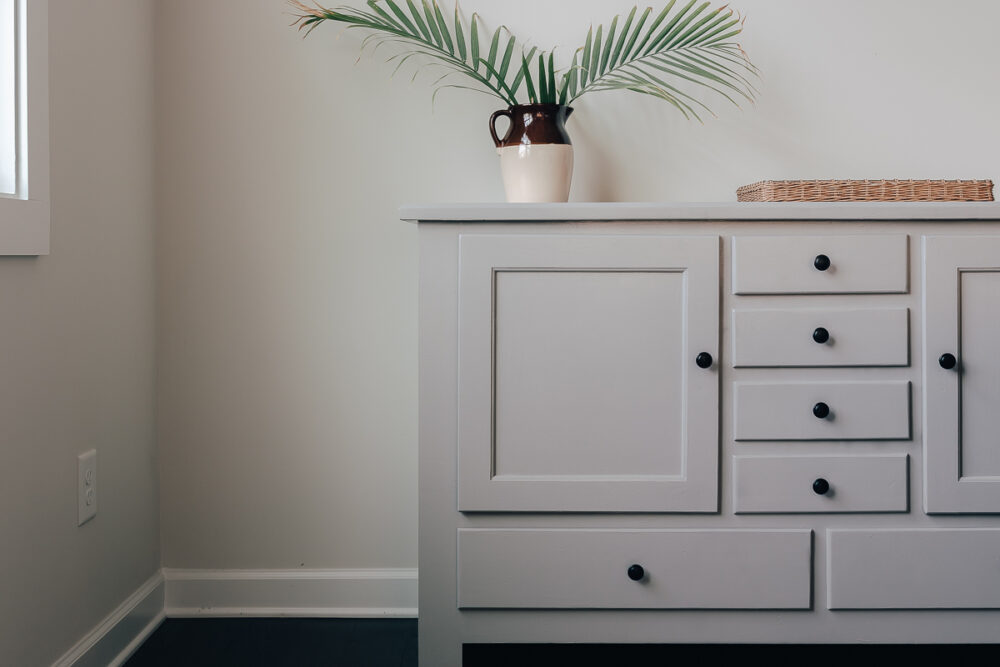


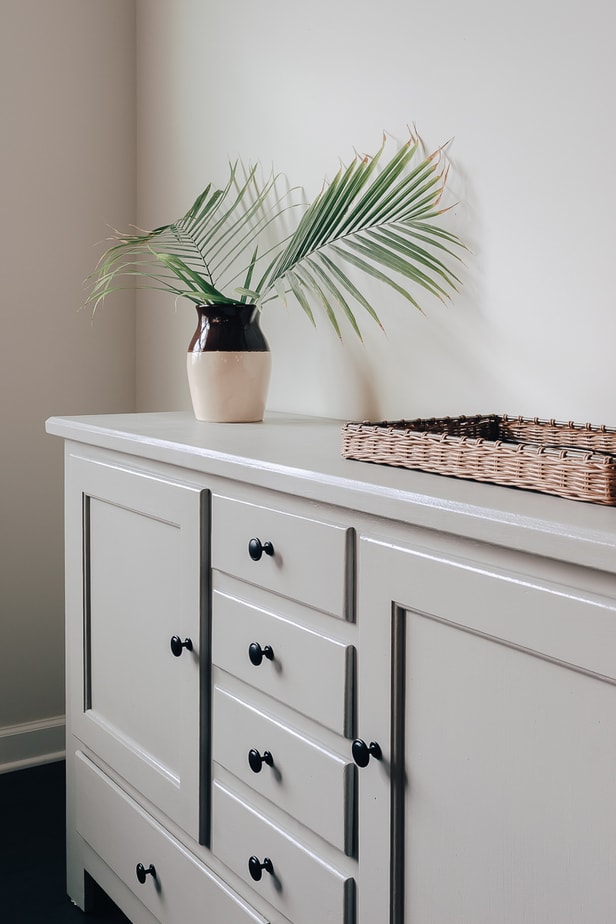
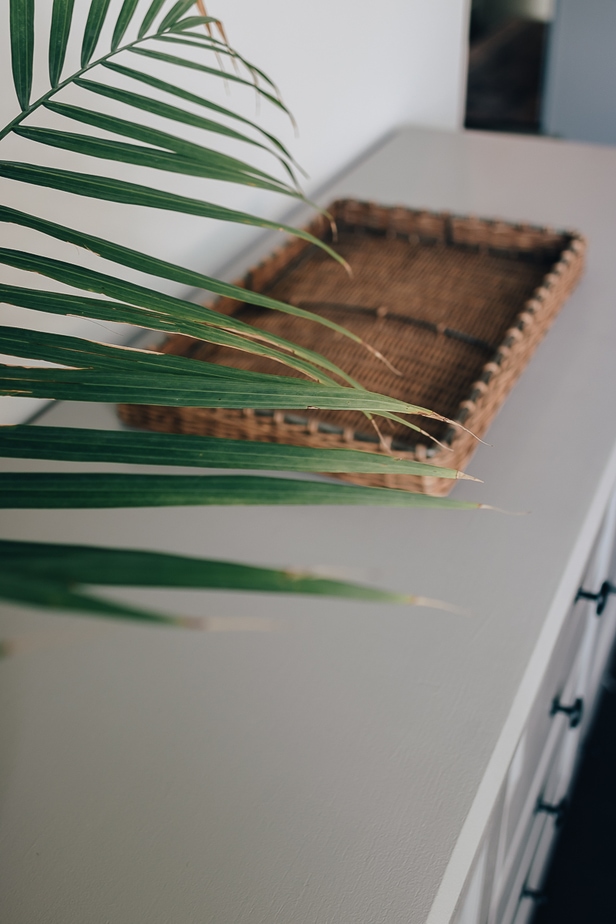
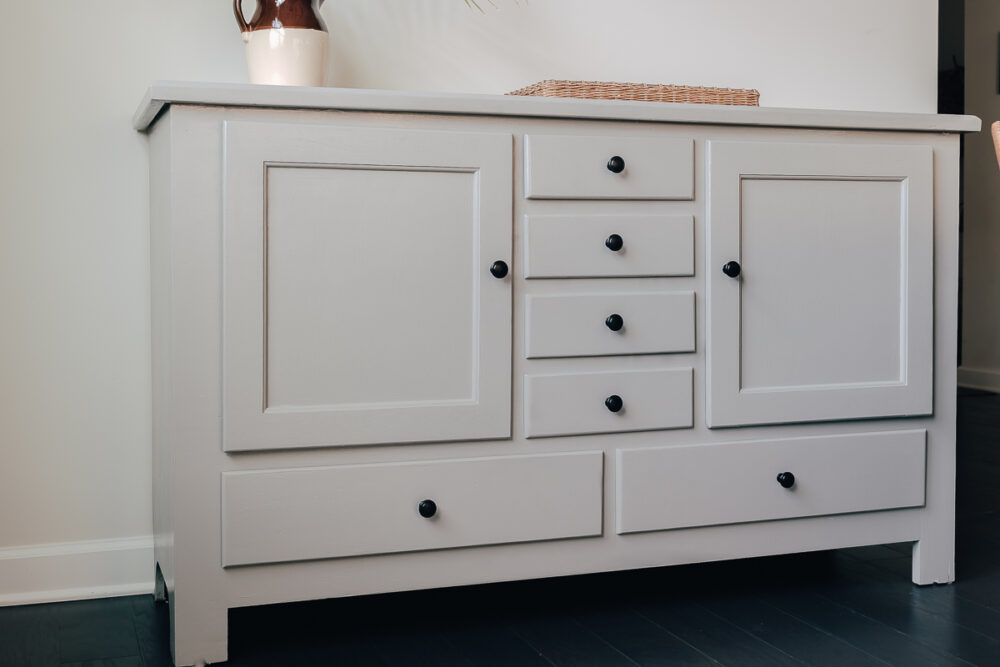
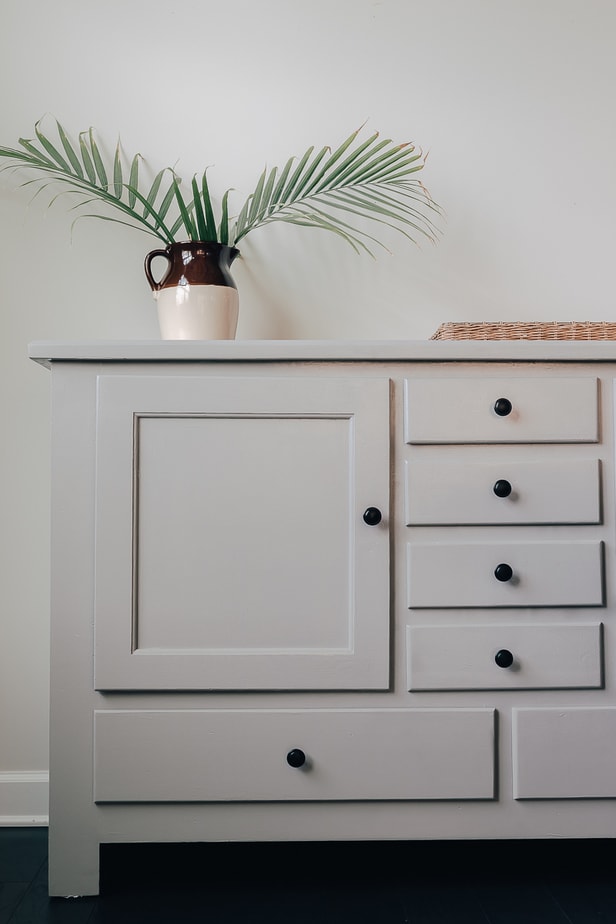

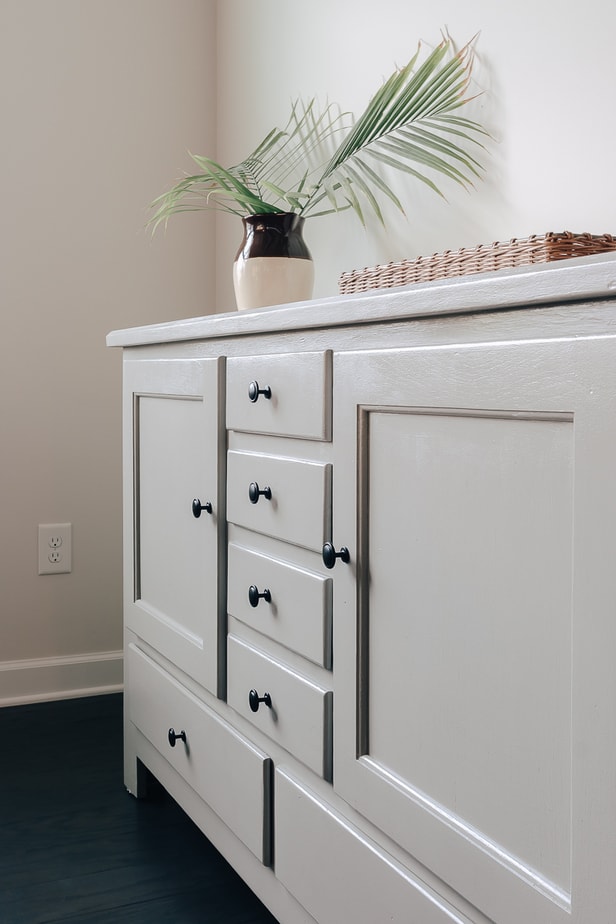
Furniture painting is definitely a lot of work but the rewards are big. You can transform practically any piece of furniture into something beautiful again.
Next time you go thrifting, be sure to keep this post in mind. Maybe that furniture piece just needs a new look?
Feel free to reach out to me here or on Instagram with questions/comments! And tag me so I can see your pretty work!
xo Karen


