Before + After: Playroom Makeover Reveal

This post contains affiliate links, which means we may earn a small commission if you purchase through them — at no additional cost to you. Please see our policy page for more details.
Welcome to the final week (week 8) of the One Room Challenge – when you get to see all the final reveals of these bloggers’ spaces.
There is no week 7 because I had no updates to share! I was hoping for a braided rug addition but it just didn’t work out in time, unfortunately.
Before we get into the final reveal, let’s take a quick look at what this playroom looked like before.
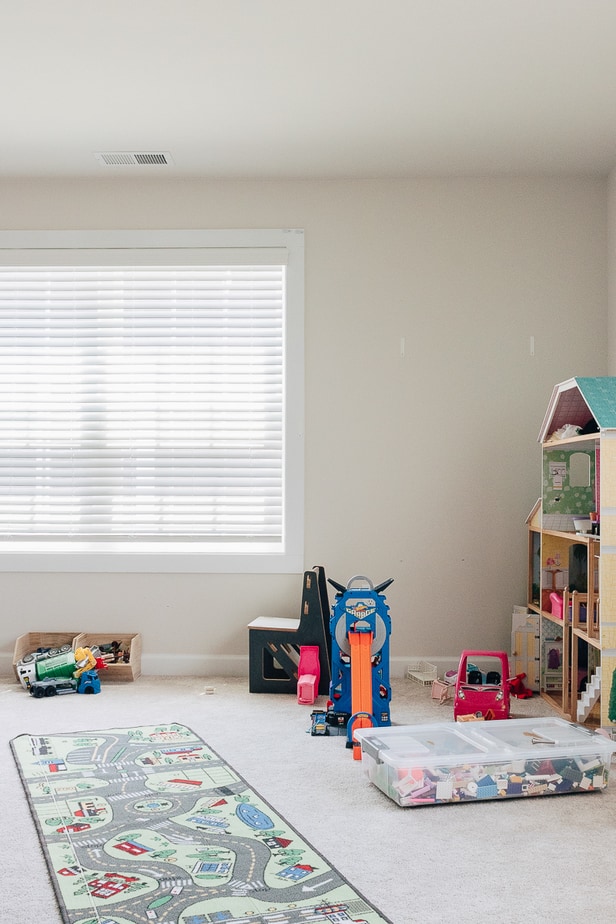

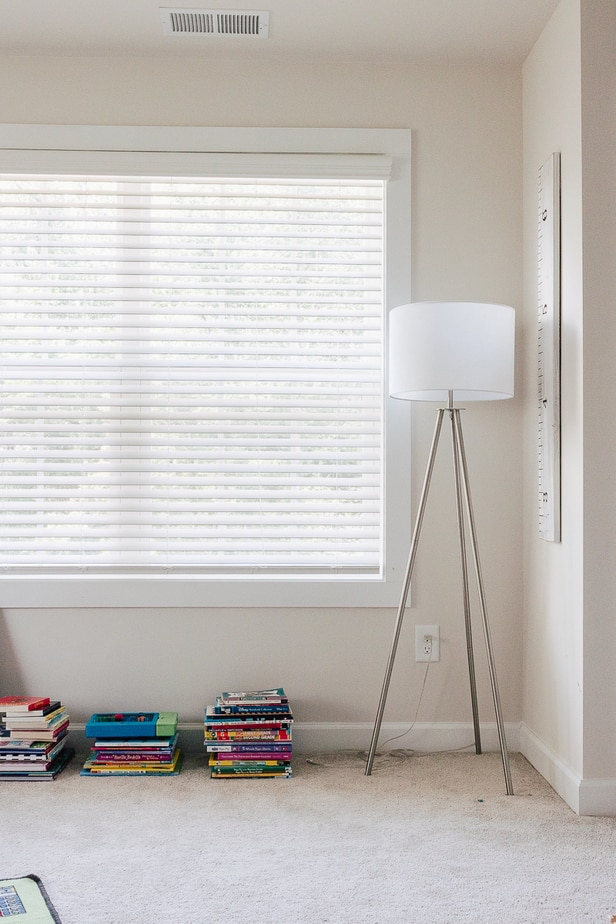


Not very exciting, was it? The room was lacking good storage for toys, color and an organized art table for my kids. Overall it was just very bland. No character or charm!
Playroom Updates
Our playroom is going through a few changes! I wanted to update you on the latest. You can still see the original playroom design below – it hasn’t changed too much from this.
The biggest difference is the addition of our board and batten focal wall.I love molding and I love moody paint colors, as shown in these moody bedroom ideas. They are such a source of inspiration to me.
So with approximately $62 in lumber and supplies from Home Depot, and with some leftover navy paint from our grid wall project – I made a cool art focal wall.
1. Took Down The Navy Drapes.
I still love them, but they felt too heavy for the room and kids and curtains don’t mix in a playroom. At least not in ours.
2. Installed Board And Batten
I installed a half wall board and batten on the accent wall for a focal point and painted it dark navy (Hale Navy by Benjamin Moore.) Smudges be gone!
3. Added Artwork
I leaned up some art, big and small, against the wall (held in place with mounting putty and command strips). Could one of the frames break again? Yes, but there is no longer a gallery wall– so it’s an easy fix. Plus, this is a great way to show off my kids creativity!
4. New TV Console
We purchased a new TV console with storage. Not really shown in these photos yet – coming soon.
5. Cleaned Up!
Every now and again we need to clean up in this room. I went through old toys with my kids and donated what we could.
Expert Tip: Have a giant wall in your playroom you don’t know what to do with? Perhaps install a little molding, paint it a dark color to hide dings and smudges, and install some meaningful art above it. Voila!


Playroom Makeover Original Reveal
And here is the final reveal!


The most expensive purchase for this makeover was the new light fixture from Crate and Barrel. There is nothing like the feeling of getting rid of an old boob light! It feels so fresh and updated.
We already had most of the other accessories in this room, so it was just a matter of finding their rightful homes in this playroom. Hopefully, that new braided rug will make its way in here soon.
I linked everything for this room below (including some similar finds that I DIY’ed.)
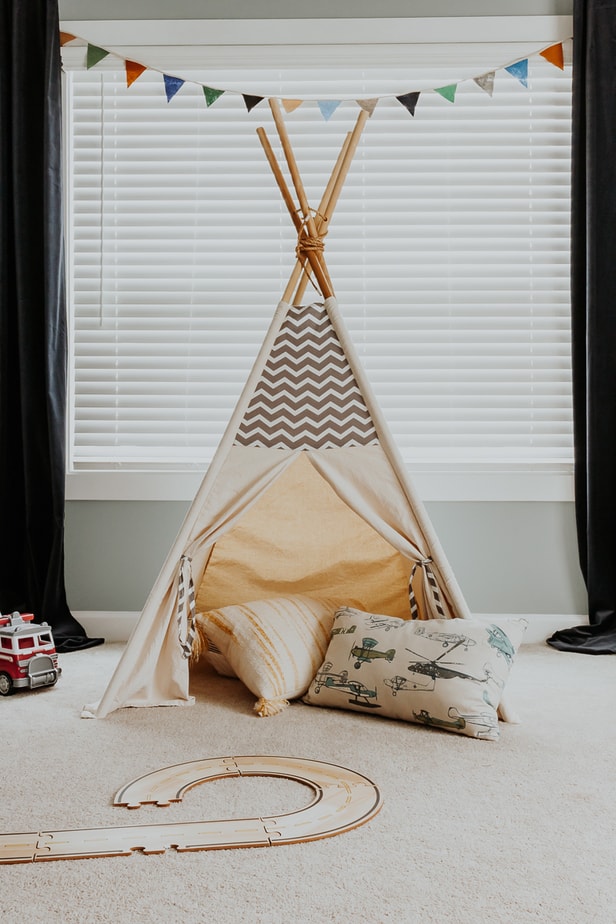
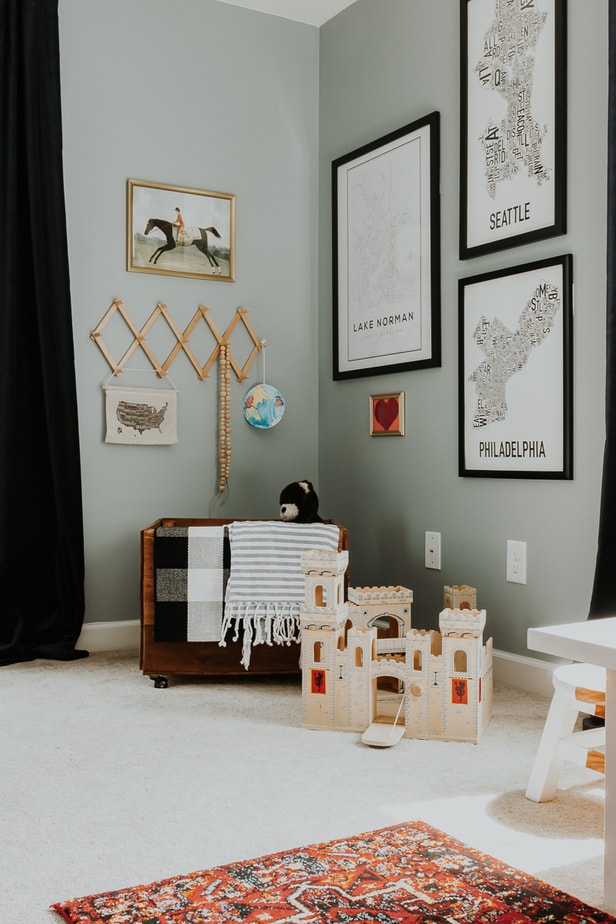
The artwork above the TV console and the horse print on the other wall is from my own vintage print shop. I had them printed at Walgreens for less than $20 and already had the frames. And the two fabric buntings were handmade.

One wall called for more of a statement piece of art and I love this hip-hop print that I got from Etsy and had printed at Walgreens.
To soften the windows a bit and add some more complimentary colors, I chose deep navy velvet drapes from IKEA. They are inexpensive but don’t look or feel that way.

I reused our existing toy cube storage and reorganized it a bit. It took a lot of decluttering but it feels nice to only have toys in here that my kids actually play with. I stacked some of their favorite books on top and bought a cute bubble lamp from Target. It has a built-in dimmer for cozy movie nights!


One of the projects I tackled during this challenge was making my kids a toy box. This room was lacking color but also warmth, texture, and charm. I definitely wanted to bring in more of those beautiful wood tones. This toy box is on castor wheels, so my kids can pull it around the room wherever they want!

The toy baskets were a Studio McGee find at Target. There is something about these rustic baskets that add so much to a room. I highly recommend them!

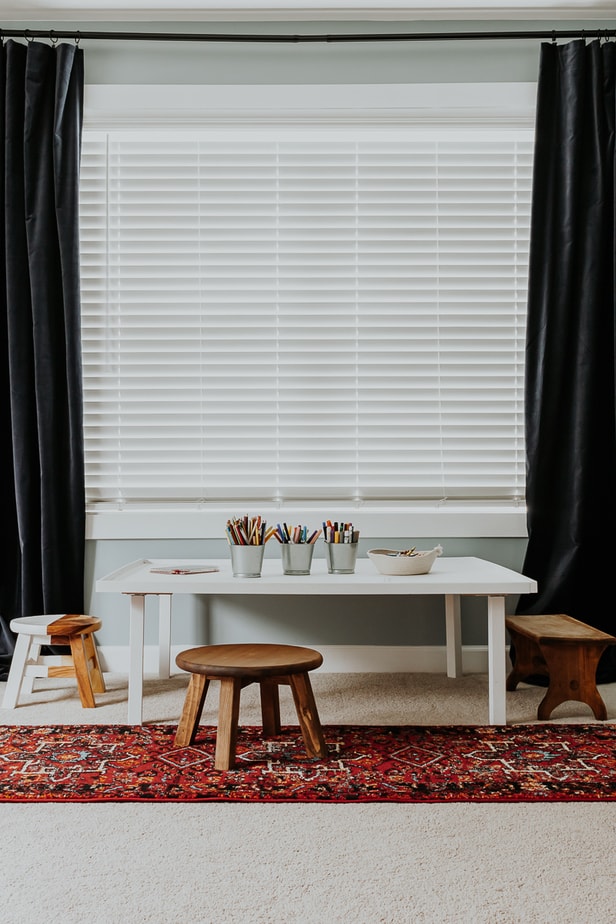
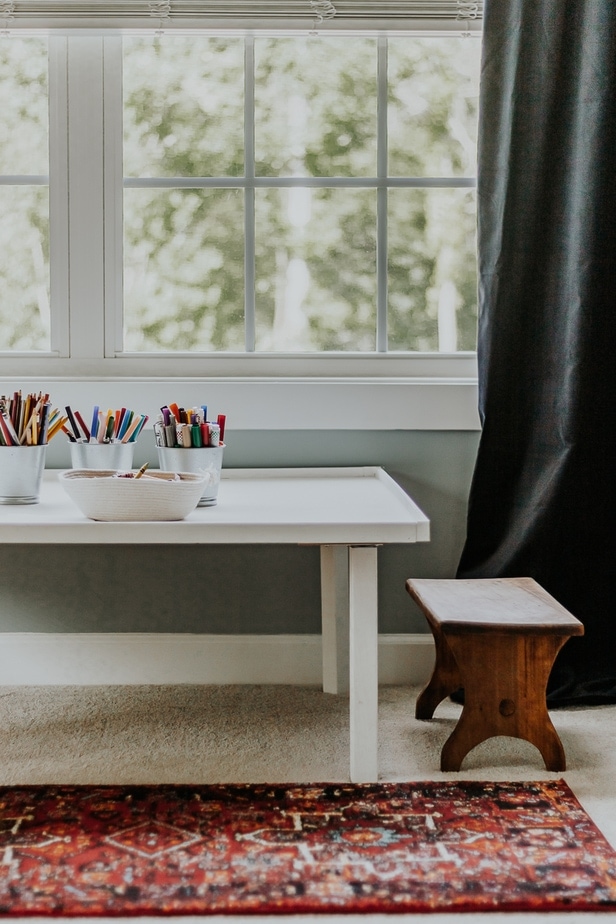
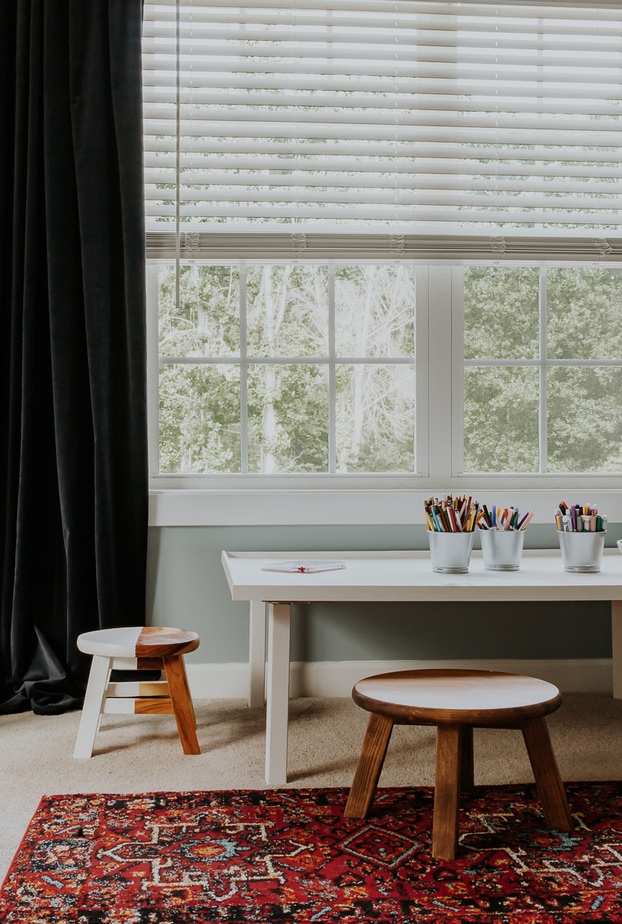
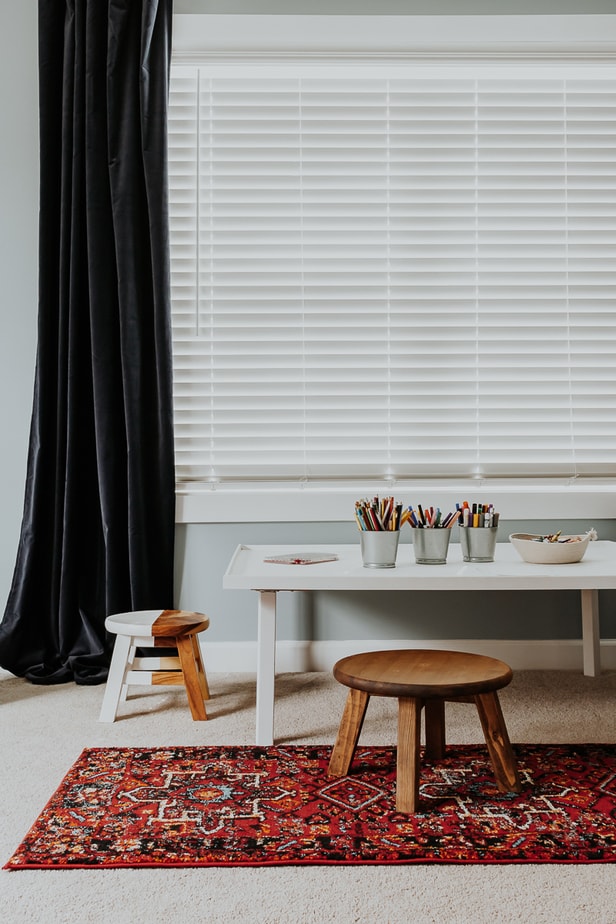
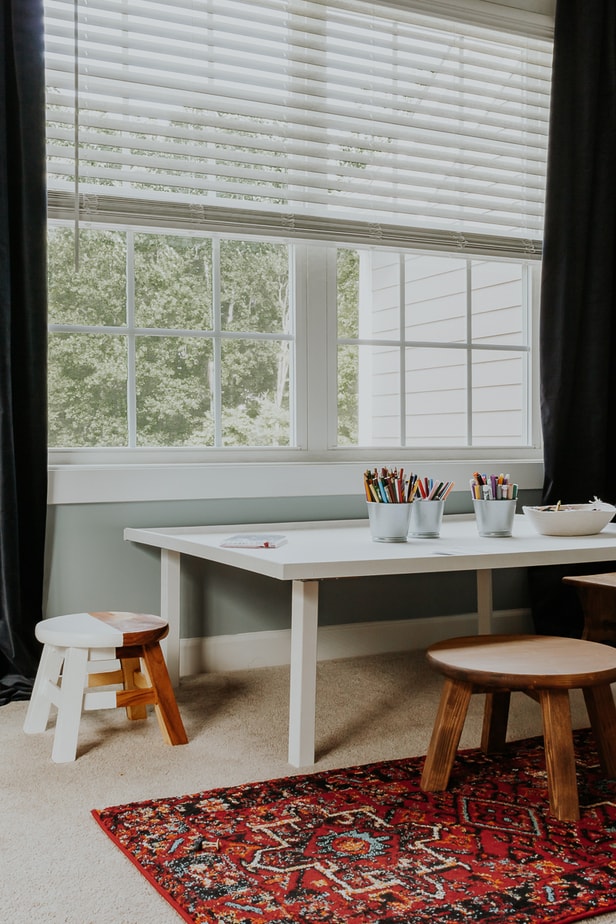
Now about this art table. I used the existing kids playroom table and got rid of the old chairs. The stools feel much more charming and fit the table better. I organized their art supplies so now it’s easy for them to grab paper, stickers, and markers. We occasionally eat lunch up here at the art table as a treat!
I made this wood stool for their art table and scored another vintage stool from the thrift store. The third stool is a HomeGoods find. When I say I tried to save money – I really mean it! The stools not only serve as little seats for the art table but they’re also side tables for when they eat snacks next to their chairs.


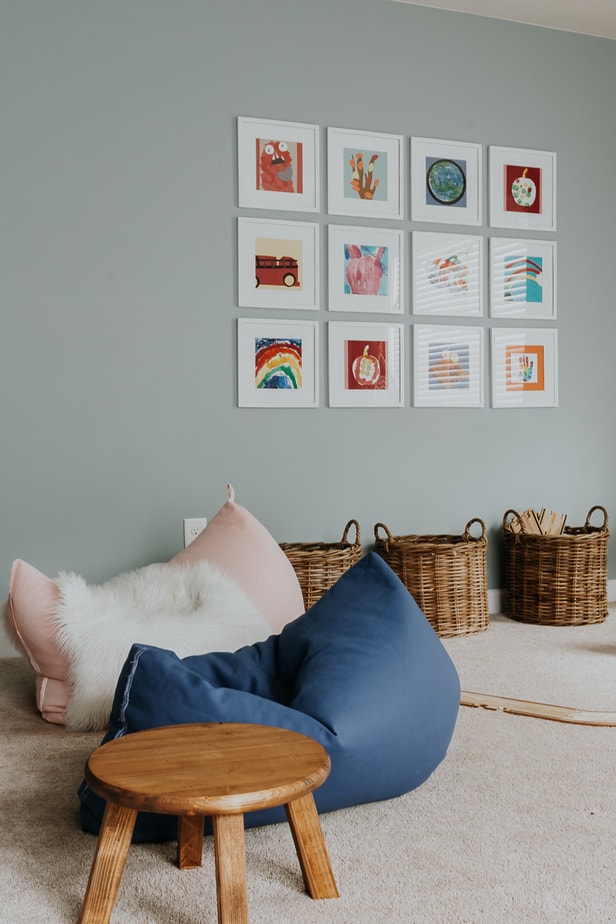
Ideally, I want a sectional couch in this room. But since we are trying to do this all on a budget – I ended up sewing two bean bag chairs. (These bean bag chairs from Serena and Lily were my inspiration!) My heart skips a beat every time I walk in and see them sitting in their cozy bean bag chairs – I’m just feeling so happy that they use them!


I didn’t have a huge budget for this playroom. I DIY’ed through a lot of the projects and reused what I could. The major impact was getting some color in here. I just love this wall color – it’s Stardew by Sherwin Williams. I used my kids own art for the gallery wall and repainted the black gallery frames white.
And – that’s a wrap for this makeover!
Resources
Click on any photo to shop the source.
xo Karen


