Easy DIY Board and Batten Half Wall
This post contains affiliate links, which means we may earn a small commission if you purchase through them — at no additional cost to you. Please see our policy page for more details.
An easy-to-follow tutorial for installing a board and batten half wall.
Want to know an easy way to upgrade a blah space? Install board and batten!
It’s not only beautiful, but it can also help your rooms feel larger, too. You might think that this is totally beyond your skill set but I’m here to tell you that it’s most definitely not.
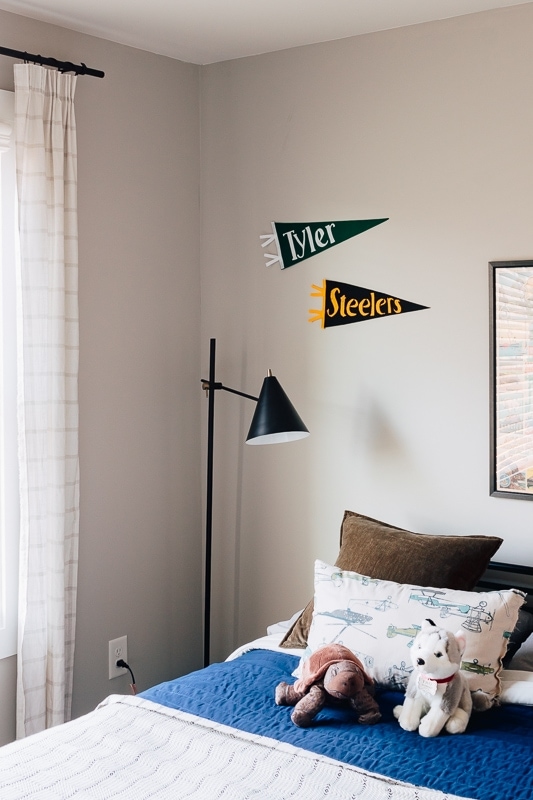
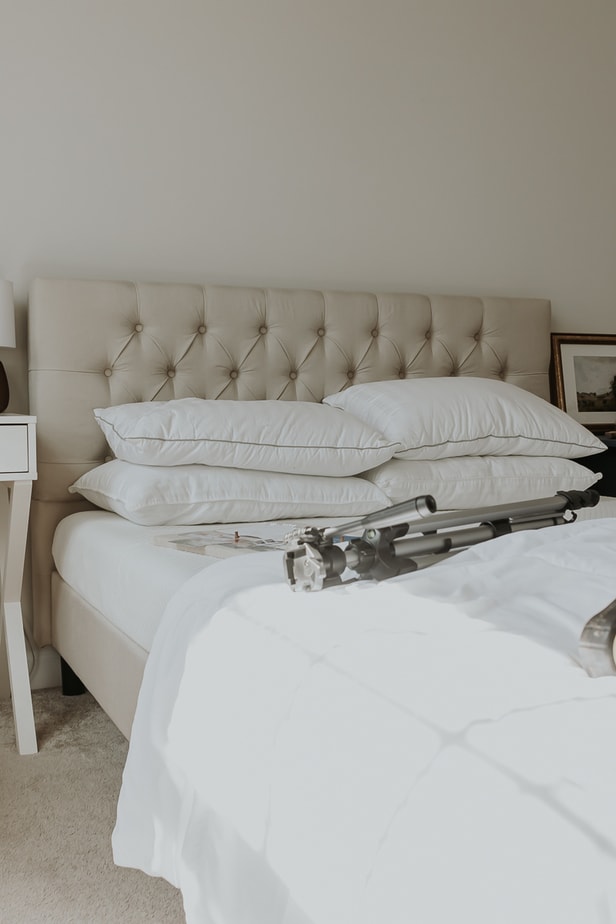
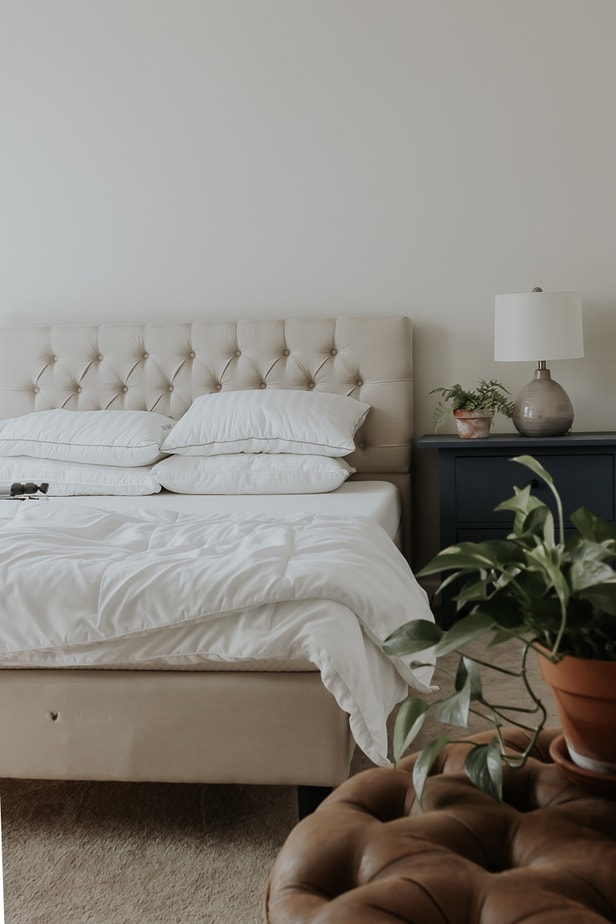
You can absolutely install board and batten yourself. So, stay with me because I will go through the whole process with you. But first, here’s a peek at how our guest bedroom looked before.
BORING. That’s all I can say. Well, and messy.
Things You’ll Need
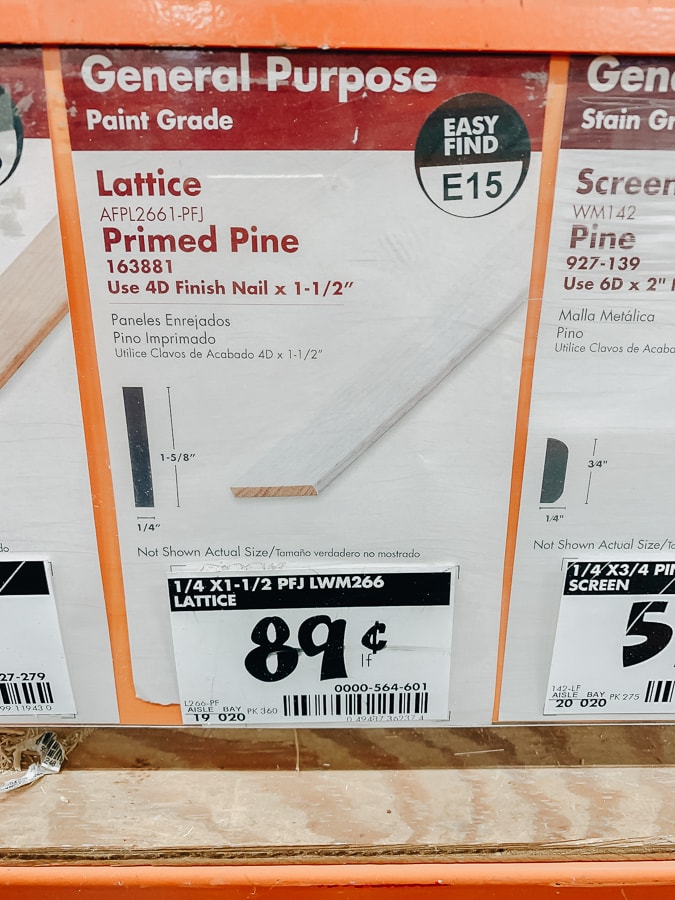
- Primed Pine Lattice
- Construction Adhesive
- Flat Pine Molding (for crown molding) and/or Stop molding for top of half wall board and batten
- Tape Measure
- Level and Square Tool
- Stud Finder
- Painter’s Caulk
- Caulking Gun
- Brad Nailer
- Circular Saw or Miter Saw or Hand Saw!
- Paint / Paintbrush
Ok, but why did you use lattice? We had thin baseboards installed at the bottom. Instead of ripping those off and starting over, we needed to find thinner boards that would line up with the baseboard. Lattice was a perfect width!
If you don’t have baseboards yet, you can use the standard / thicker boards for your board and batten – like this. If you are in the same boat as us with those thin baseboards, then lattice boards might just be a good solution for you.
Board and Batten Half Wall – step by step
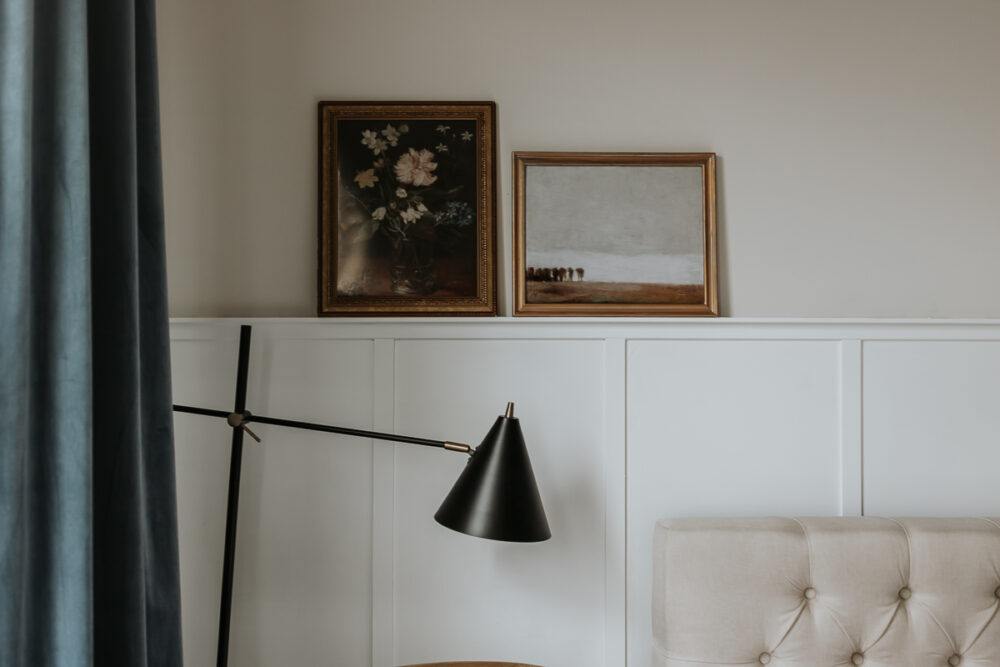
In this post, we will learn how to Install a Board and Batten Half Wall from Start to Finish.
Total time: 2 days
-
Measure Your wall
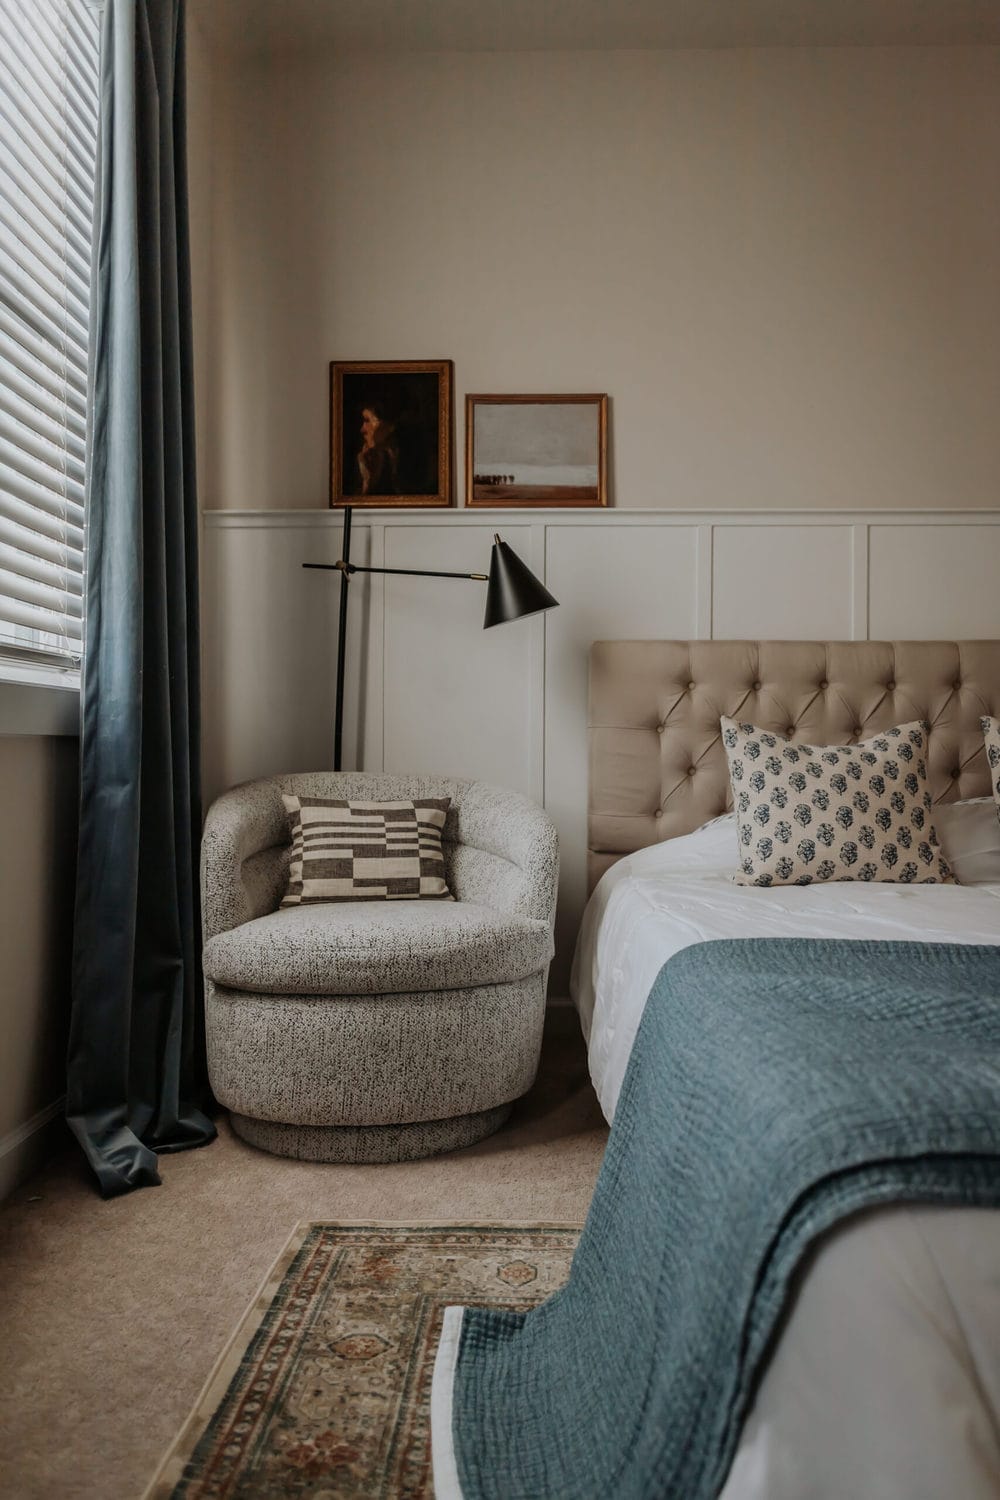
The first thing you want to do is measure how tall you want your board and batten to be on the wall. This is totally up to you! I wanted ours to come out above the headboard on the bed.
Measure from the existing baseboards up the wall. It’s helpful to create a mark here so you know where to lay your top moulding piece.
Then, measure the dimensions from wall to wall. This measurement will help you determine the spacing of the boards and how many you will need. You want to take outlets and things like that into consideration.
You don’t want one of your boards to run into an outlet. For me, I spaced my boards about 15.5 inches apart. That’s the best I could do with the funky placement of the two outlets on that wall.
-
Attach Top Rail First

Cut your top moulding piece(s) to the dimensions of your wall. You can use a saw to do this. You can even have it cut at the hardware store.
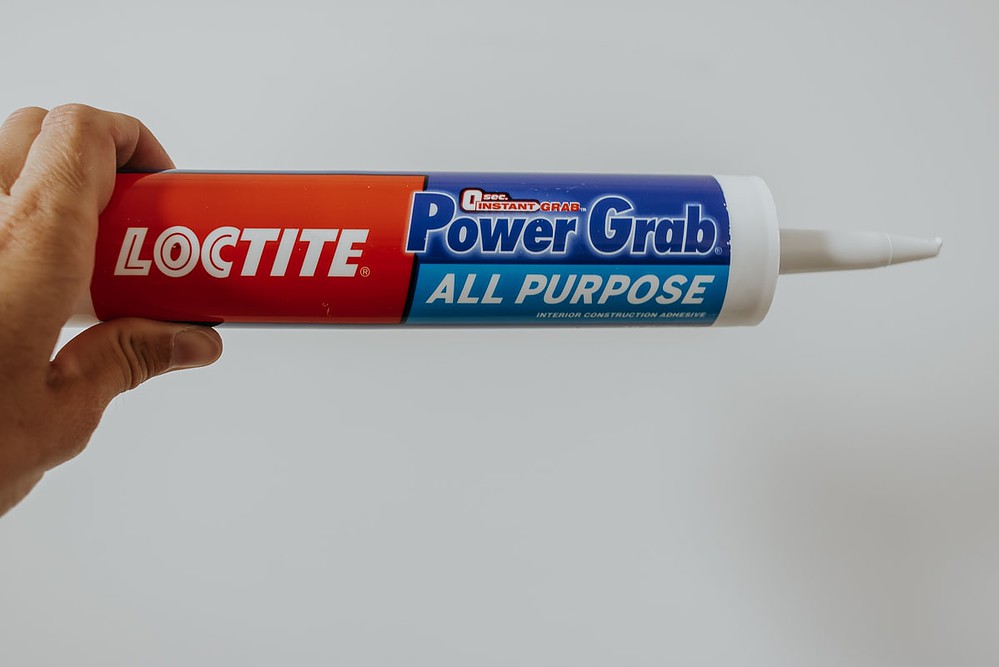
Then, you want to take your top moulding piece (I call it the cap), and cover it with a layer of construction adhesive.Place it on the wall where you made that top measurement line from Step 1. Before the adhesive sets (you have about 10 minutes or so), take your level and ensure the moulding is completely straight across the wall. Use some pressure and hold it there so it adheres.
After you feel like the construction adhesive is starting to set, you can walk away. I’ve also seen some tutorials where they take painter’s tape and tape it up there. I’m not sure if that works – I guess it depends on how heavy your moulding is.
-
Attach Boards to Wall
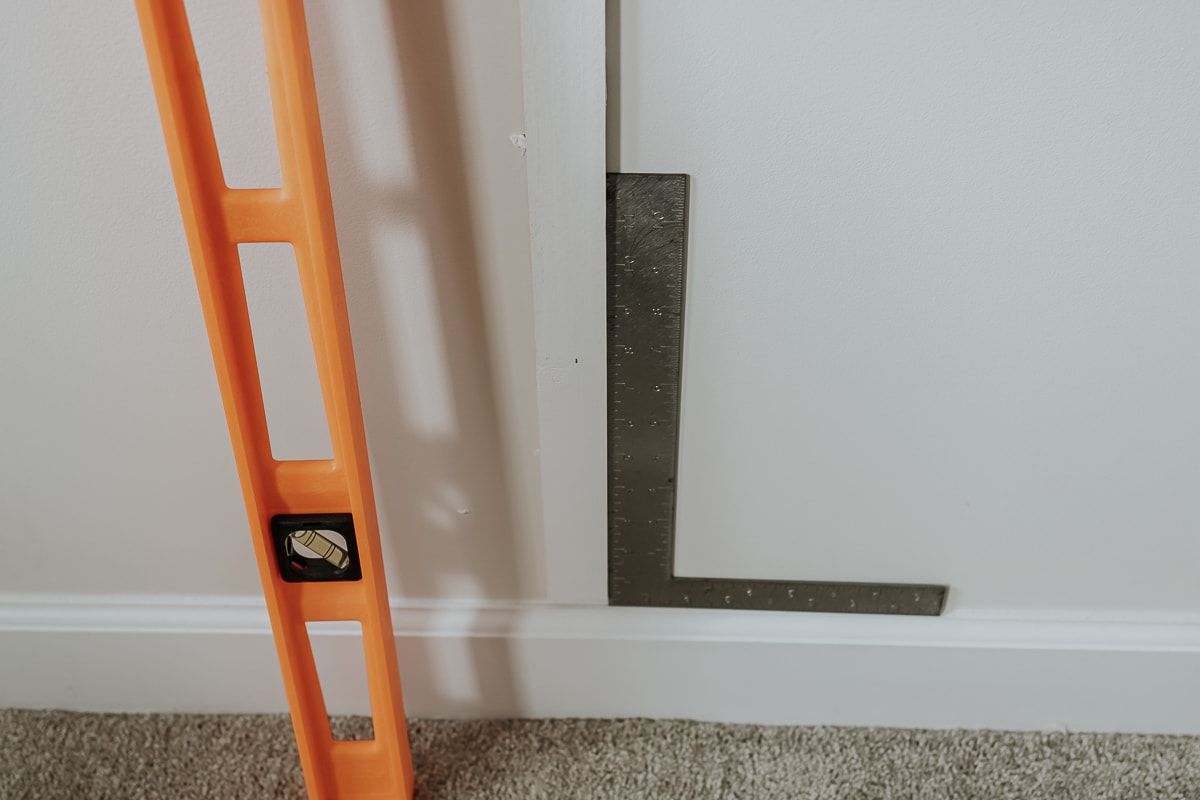
Now we are going to attach our boards for our board and batten.
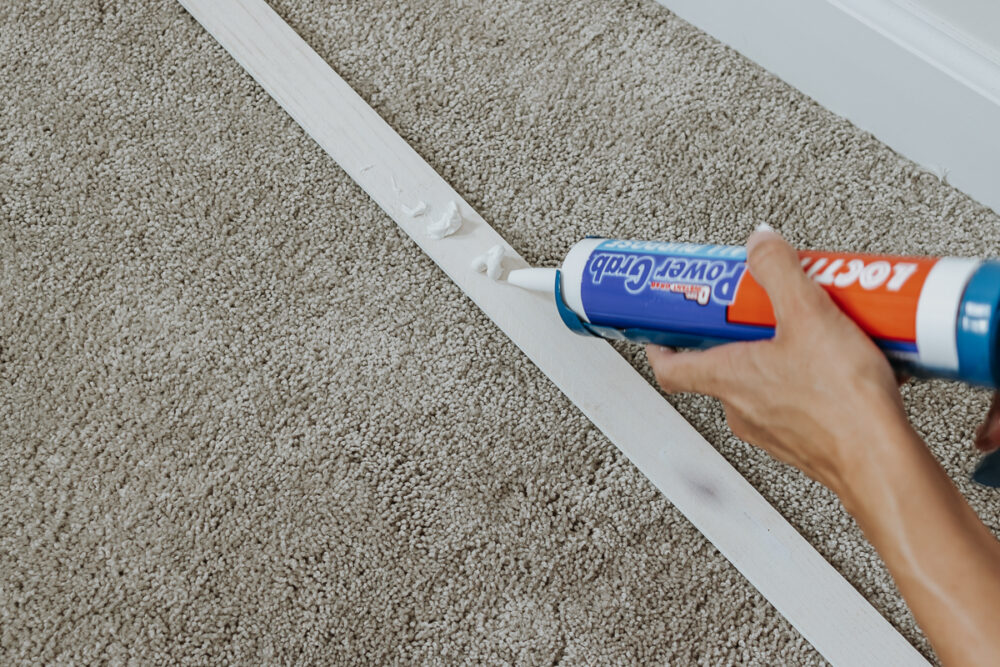
Walls and floors are not always even all the way across, so I recommend measuring and cutting each piece as you go.I cut all my boards at the same time, but some of the pieces ended up a little short. So, to avoid that mistake – you might want to double and triple check each board measurement.
I also made a “spacer” out of a scrap piece of moulding that was the exact dimensions of the space in between each board. Then I could just hold it up and line up the next board very easily.
To attach each board, cover the back of the boards with a layer of construction adhesive. Then place them on the wall where each board is supposed to go.

Before the adhesive sets, use your level to ensure the board is straight up and down, and then double-check its square with the baseboards using the square tool.
Repeat this step with each board.
-
Install Top Shelf (optional)

Cut your top-shelf piece(s) to fit the width of your wall.
Then, cover the wall and the top of the top Moulding piece we put up in Step 2 with construction adhesive.
Place your shelf on top of your moulding and up against the wall and use the level again to ensure it’s straight.(It should be if your top moulding is straight, to begin with!)
You will have to use some pressure and stay there until the adhesive sets a bit. I used a tiny board, so it kept wanting to fall right off. I figured it’s fifteen minutes of my life so I just sat there until it stuck. -
Nail your Boards

This step might be optional, the construction adhesive does a pretty good job. But since most walls are not straight, you may notice some of the boards popped off in some places.
After the construction adhesive has cured (about 24 hours in most cases), you’ll want to put a few brad nails in each piece for extra staying power.
The top shelf is a little tricky, but you can pop a brad nail into the back near the wall so it hits the stud and the top moulding piece. You will have a tiny little nail head poking out the top, so if this bothers you, just skip it.
I’ll be leaning art on the shelf and painting it so it doesn’t bother me.
-
Use Painter’s Caulk

This is probably the most important step (aside from making sure your boards are straight).
Use Painter’s Caulk to cover the small gaps where the boards and moulding meet the wall. You want to make sure you are using painter’s caulk (it will say “paintable”.)
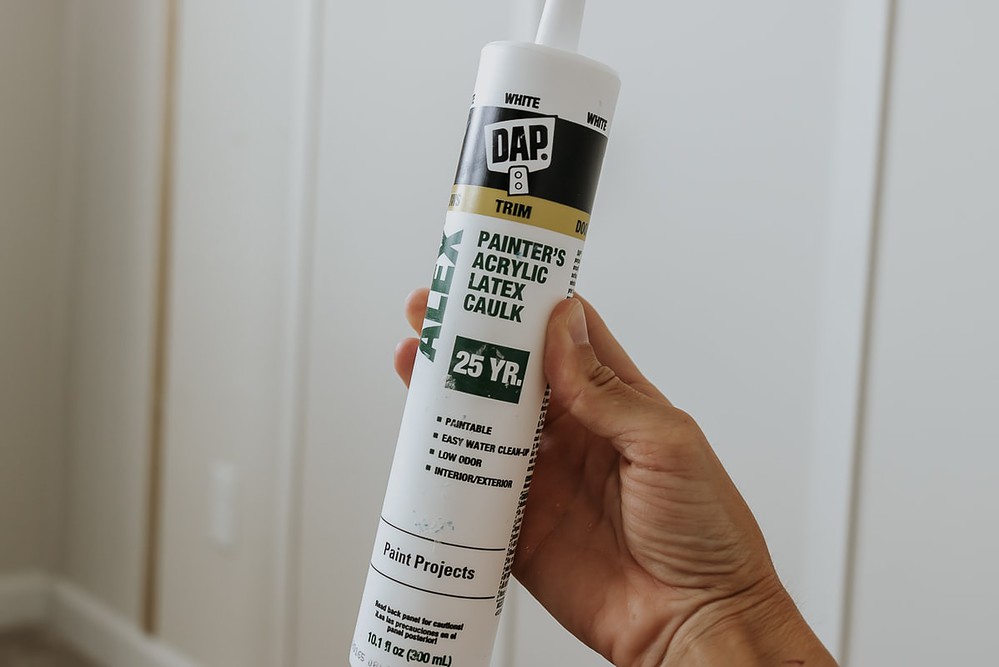
You can use a caulking gun for this task – it makes life much easier.
I just use my finger to smooth it out. I did this for each piece of moulding.For the nail holes and the gap between my two wood moulding pieces; I used wood filler. It comes in different colors but since I’m sanding it and painting it, the color doesn’t matter.
Wood filler hardens and can be sanded afterward so your seams are barely noticeable. I recently used this to fill in some old cabinet holes. It’s great stuff to have around.
After you have caulked everything; let it dry. Then, you’ll want to sand the heck out of your board and batten wall. If you have chunky, dried pieces of construction adhesive you can use an orbital sander or a putty knife to scrape those off.
After sanding, use a tack cloth or vacuum with the brush attachment to pick up all the dust.
-
Paint It

This is my favorite part because painting is where the whole board and batten project comes together.
I used basic white paint in an eggshell finish by Sherwin Williams.
After your paint dries – you are done!

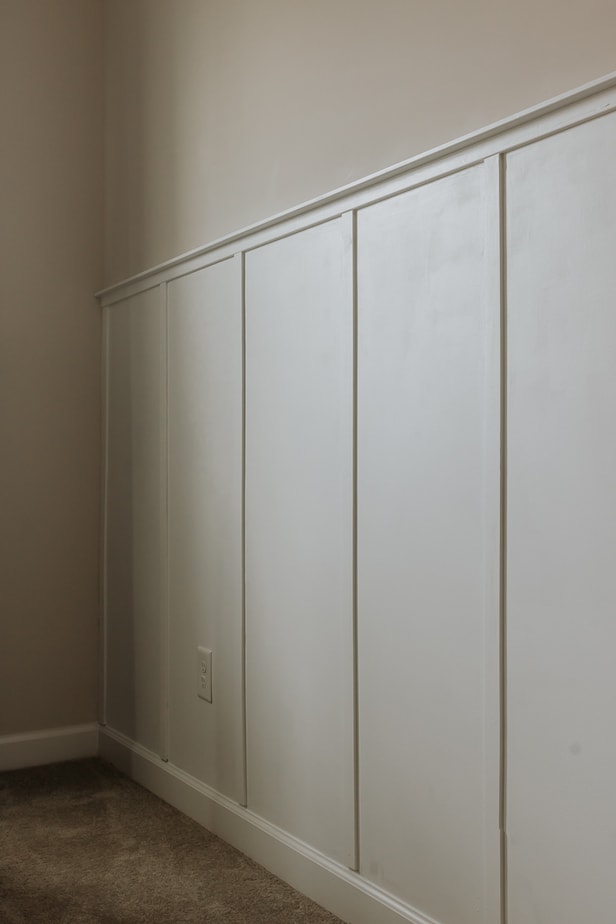
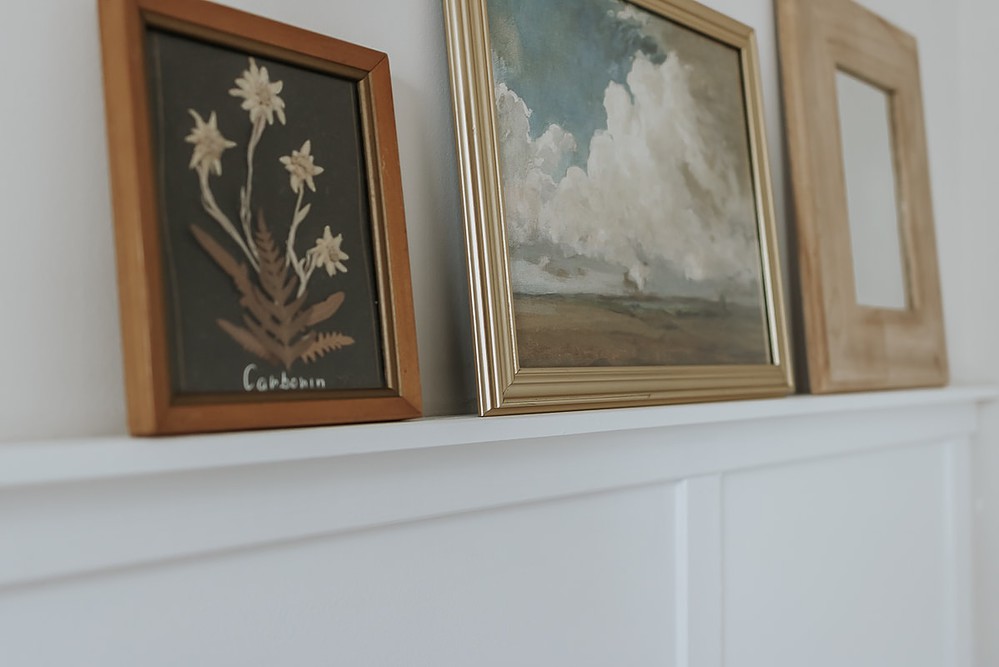
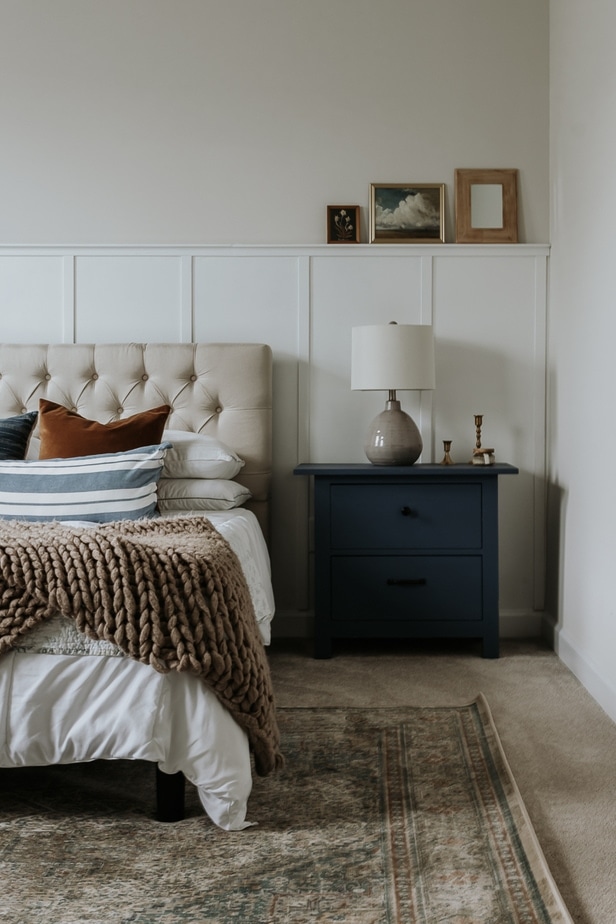

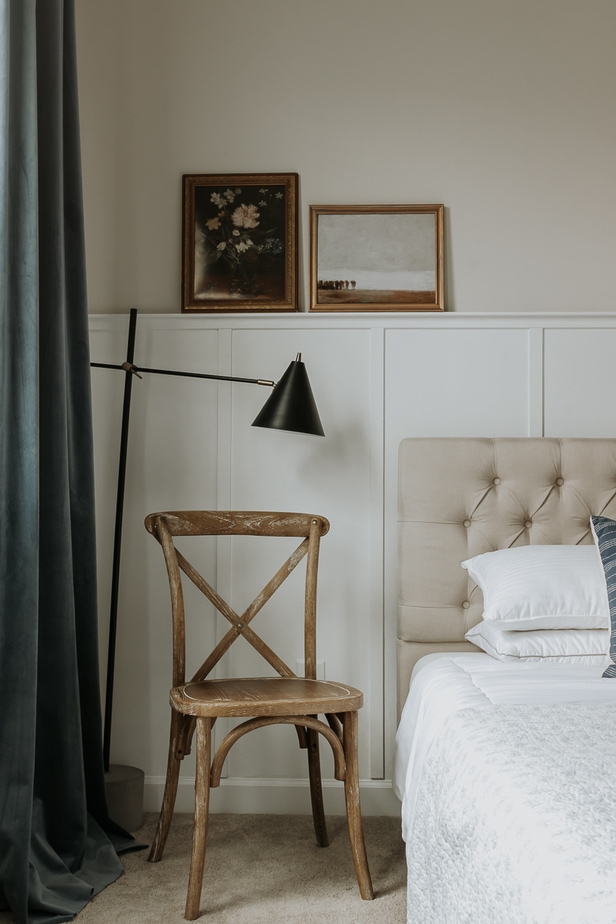
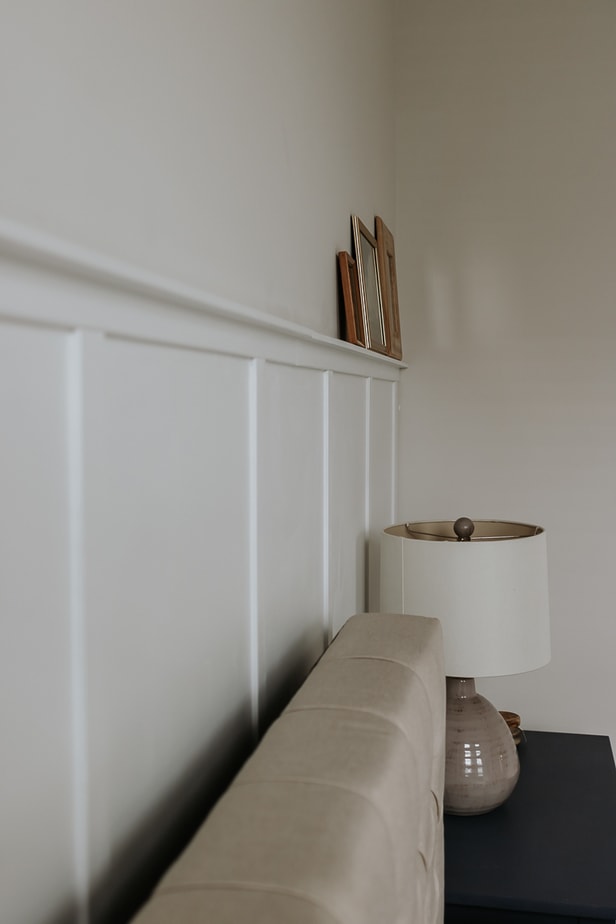
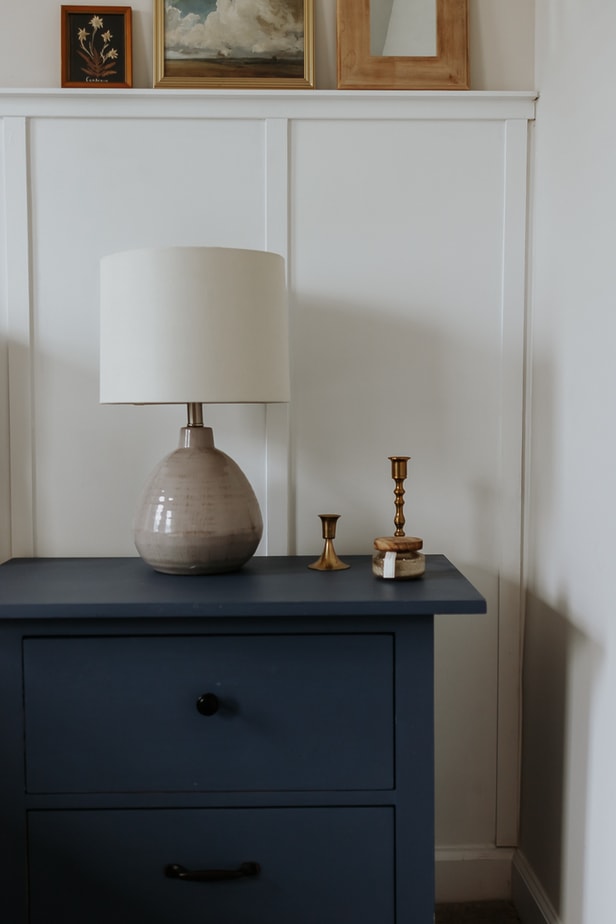
I just love how this turned out. And now I’m obsessed with putting it in every room. It’s funny how that happens once you complete these easy wood projects.
Thanks for visiting today!
Xo Karen

