How to Make a DIY Wood Pedestal for your Decor
This post contains affiliate links, which means we may earn a small commission if you purchase through them — at no additional cost to you. Please see our policy page for more details.
One of my goals this year is to get more into woodworking. I started by making simple peg rails, a wood bench, and even some spice drawer inserts.
I’m excited to share my latest wood project with you. Have you seen these really cute farmhouse-style wood pedestals everywhere lately?
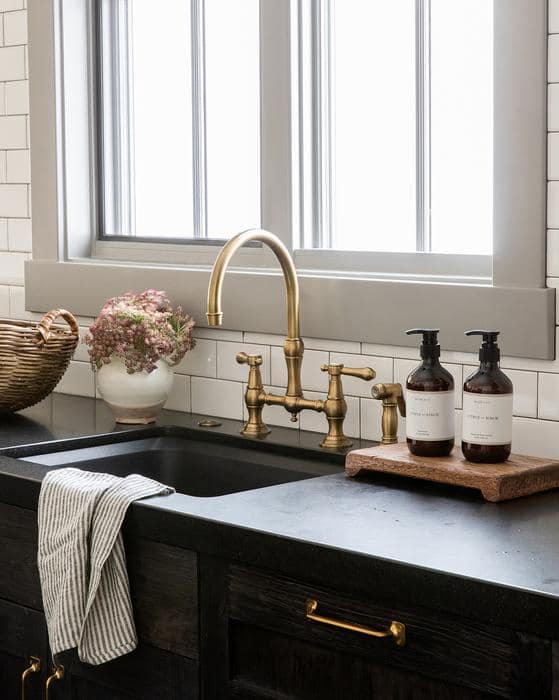
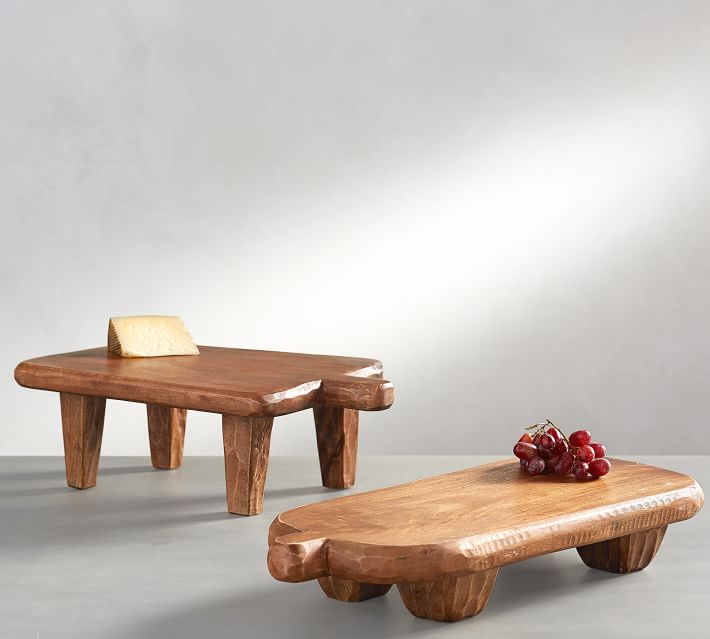
Well, today we are making our own DIY wood version!
The best part about this pedestal project is that you only need two cheap pieces of wood.
- 2×4.
- 2×6.
That is all. Ok, well that and a few tools.
This DIY project is going to be filed under scrap woodworking projects because you don’t need that much. In fact – I didn’t buy anything new for this DIY wood pedestal. I used all the scrap wood, screws, and stain we have in our garage.
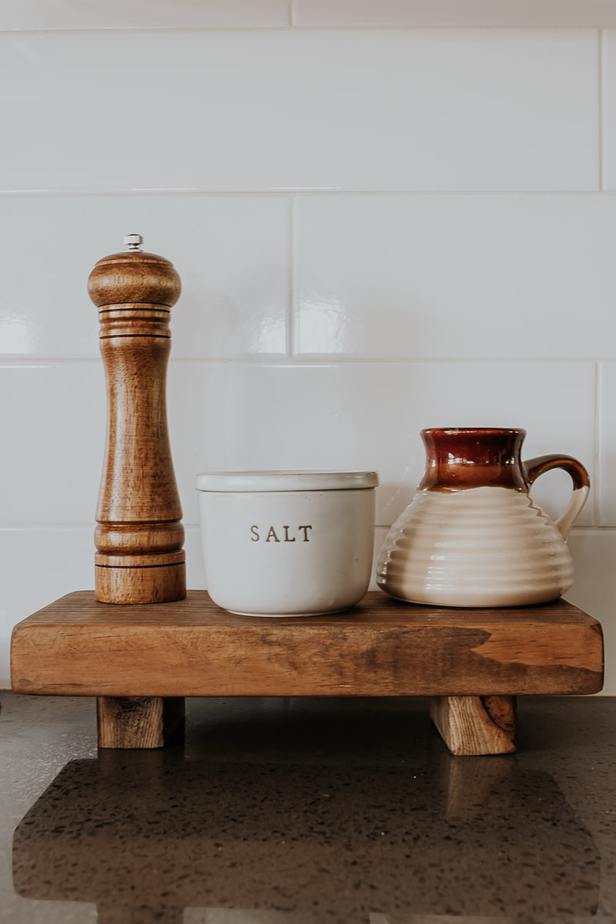
I made a wood pedestal for my kitchen and one for my bathroom. You can use these wood pedestals to hold soaps, cooking oils and salts, and even to decorate your bookshelves.
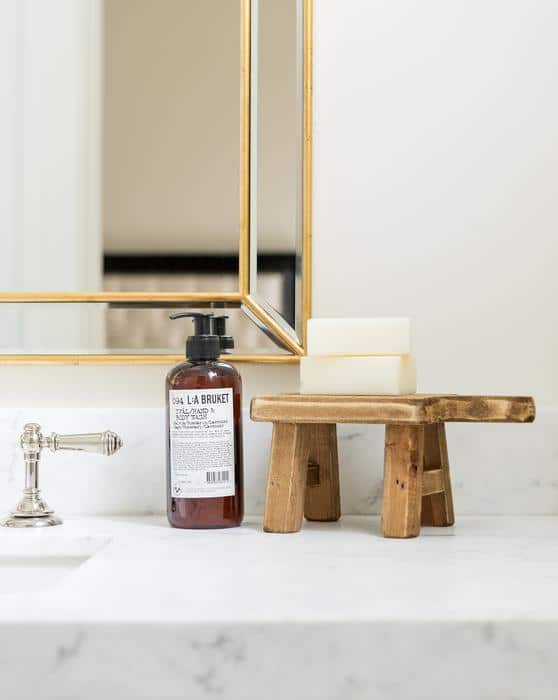
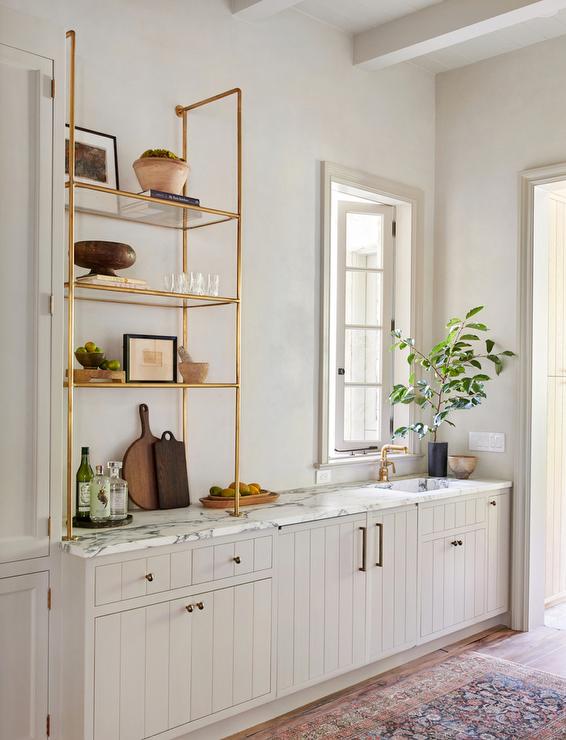
While you can buy them, it’s much more fun (and cheaper) to create your own. Let’s get started.
Things You’ll Need
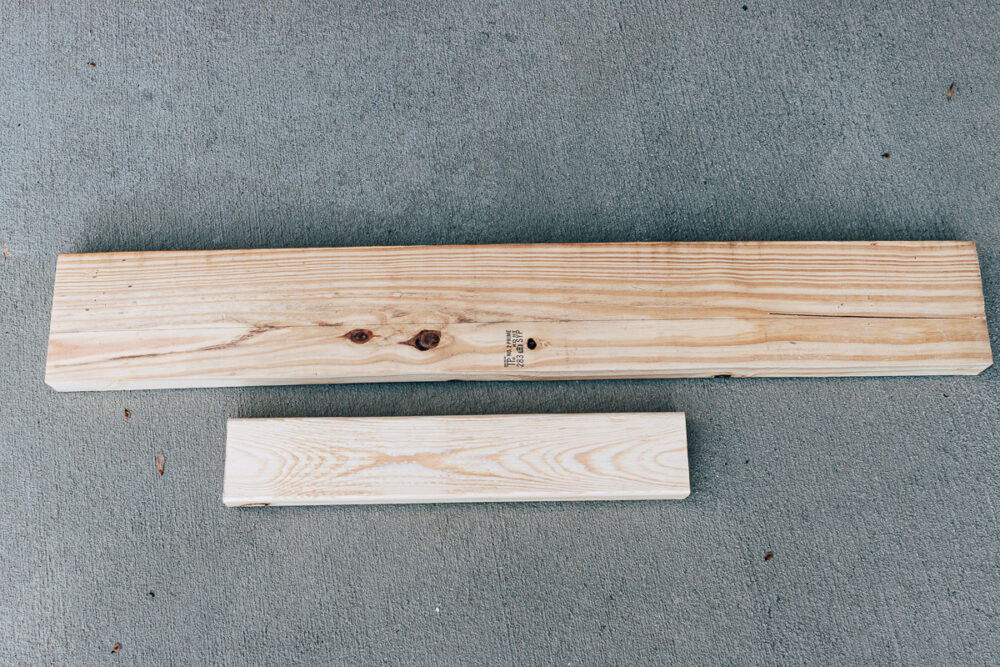
- 2×4 and 2×6 Pine Wood
- Table Saw or Circular Saw
- Wood Glue (optional if not using screws)
- Wood Screws – Use 2 or 2.5 inch screws
- Orbital Sander or Sandpaper
- Drill
- Drill Bit and Screwdriver Bit
- Wood Stain of Your Choice ( I used Early American)
- Polyurethane
- Tape Measure – see how to read a tape measure for help.
How to Make a DIY Wood Pedestal
Follow these 5 steps to make your wood pedestals.
Step 1: Measure Your Pedestal
How big do you want your wood pedestal to be?
I actually brought the wood into my kitchen and placed my cooking oils/salt/pepper mill on it. I wanted it to be just the right size.
One pedestal measures 12 inches long.
My second pedestal measures 9 inches long.
I eyeballed a good measurement for the feet – which came out to be 1.5 inches wide for each one. (Each wood pedestal has two feet.)
Since I’m using cheap 2×4 and 2×6, each pedestal is a thickness of 1.5 inches.
Step 2: Cut wood to size
Now that I have my measurements, I just need to cut my wood down to size.
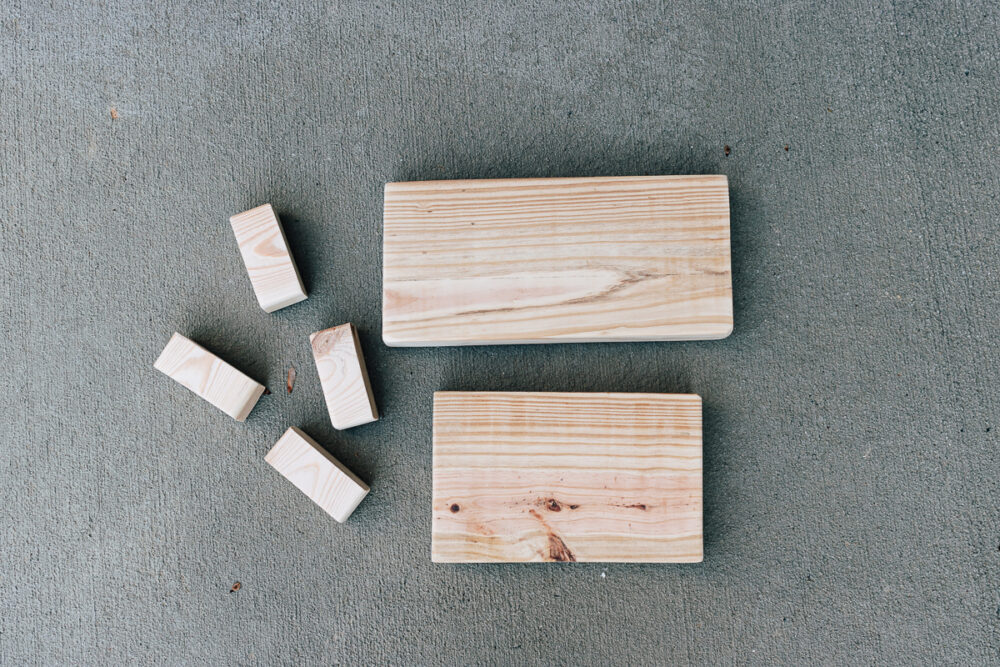
Using my table saw, I cut a 12-inch and 9-inch piece from the 2×6.
I cut 4 – 1.5 inch wide pieces from the 2×4.
Step 3: Sand your Wood Pieces
You’ll want to sand your freshly cut wood pieces so they are nice and smooth and ready to stain.
One of my tricks for making cheap pine wood look more interesting is to use my orbital sander to create rounded edges.
The rounded edges help the wood look aged and take away those rough straight edges that scream – “I’m cheap wood from Home Depot!”
You can also use a wire brush attachment on your drill and go hog wild on making it look more distressed.
I find that rounded all the edges does the trick for me.
Now your wood will scream “I’m aged and from an old flea market in Nantucket!” (or something like that…)
Step 4: Attach Feet to Pedestal Top
Let’s put our wood pedestal together!
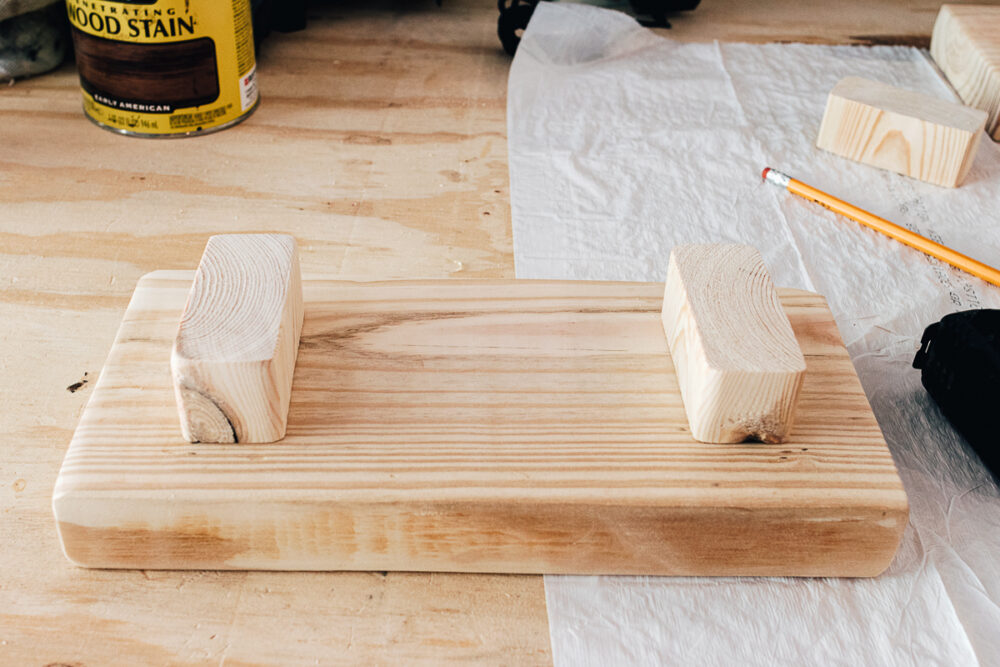
Before we go attaching things, you want to mark off on each pedestal where you want your feet to go.
Ideally, they should both be in even places under the pedestal top or it will look weird.
I measured about 1 inch from the top and bottom and 1.5 inches in on each side. Feel free to use that measurement or find your own!
There are three ways to attach your feet to the pedestal.
ONE // You can use wood glue.
Make sure to put wood glue on the pedestal part and the feet and rub them together a bit. It helps the wood glue bond. If you want extra bonus points, you can also use clamps to ensure a tight bond.
TWO// You can use a drill and screws, which is what I did.
But first, I wanted my screws to be a little receded from the edge of the wood – so I didn’t scratch up my countertops.
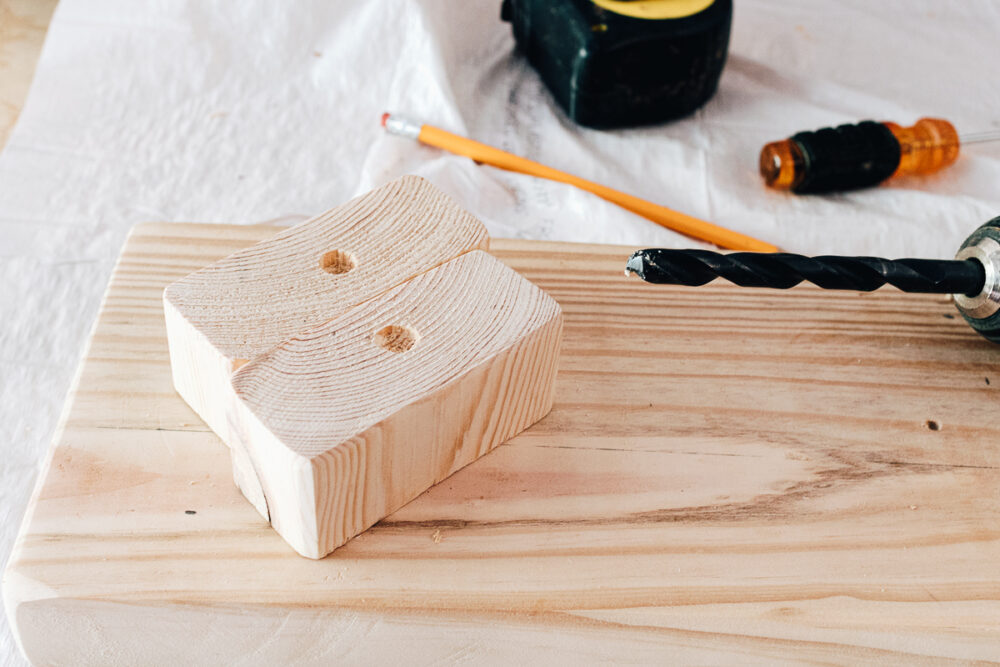
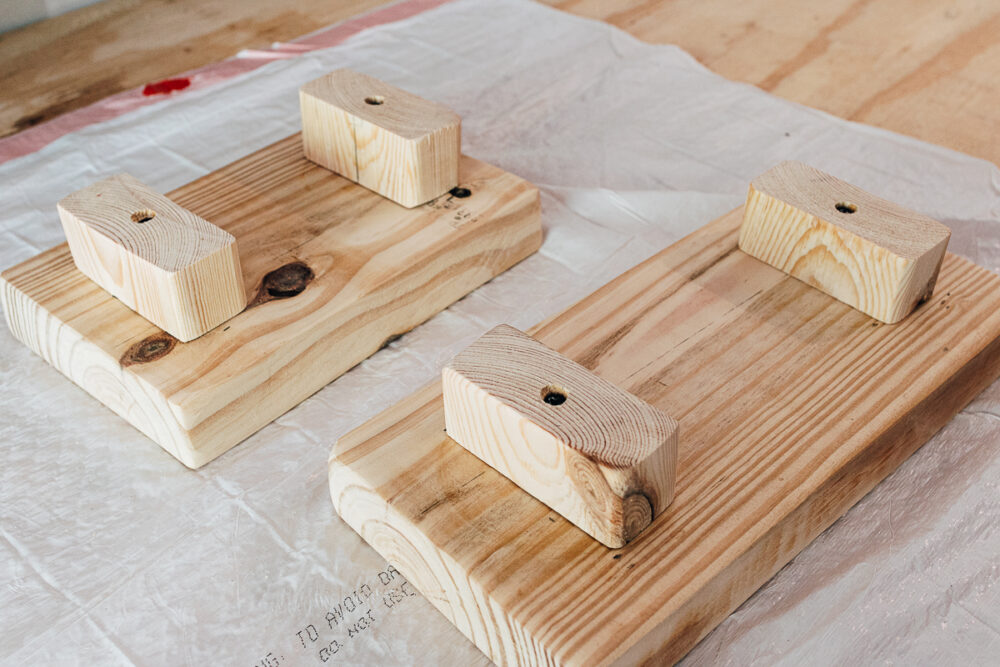
To do this, use a 1/2 inch drill bit and create a little shallow hole. Then use a screwdriver bit to screw your wood screw into the hole. The screw will sit inside the hole and not be poking out on the bottom.
I only used 1 screw per foot. I only needed a total of 4 screws.
THREE// You can do a combo 1-2 method. The ol’ one-two punch.
Pick whichever method tickles your fancy. Any works!
Step 5: Stain your Wood Pedestal
And now we have a little pedestal! How cute is this!?
We just need to stain it up and make it look all pretty.
I’m going to do a post soon on all the different types of wood stains on PINE wood. I think this would be helpful for you guys to see.
My favorite stains at the moment are Special Walnut and Early American.
Early American has this warmth to it that can’t be beaten (in my opinion), so I used that for this project.
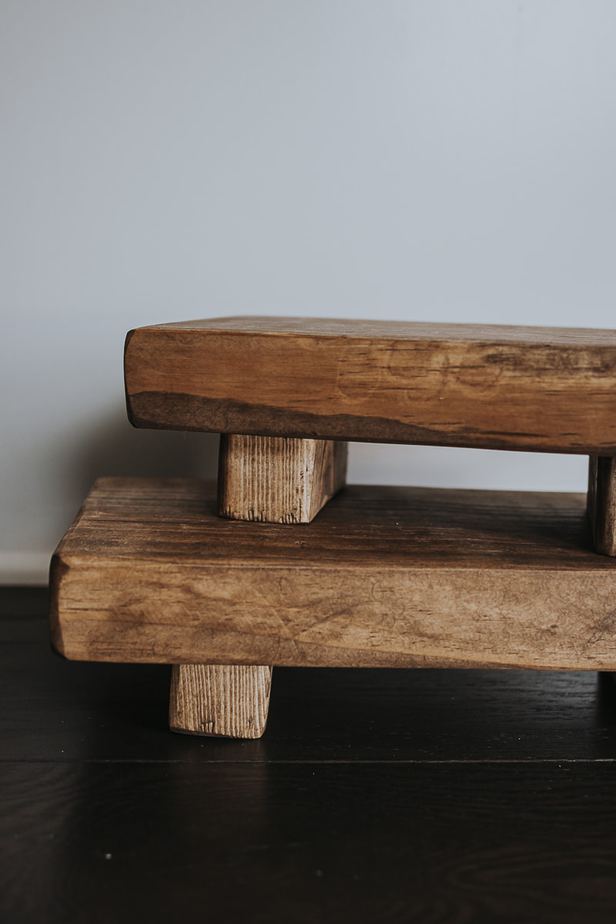
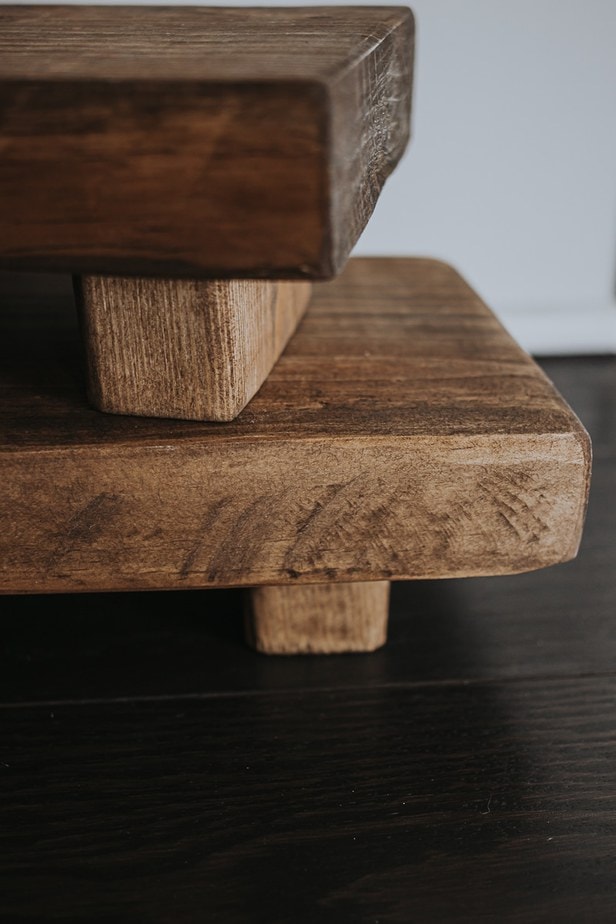

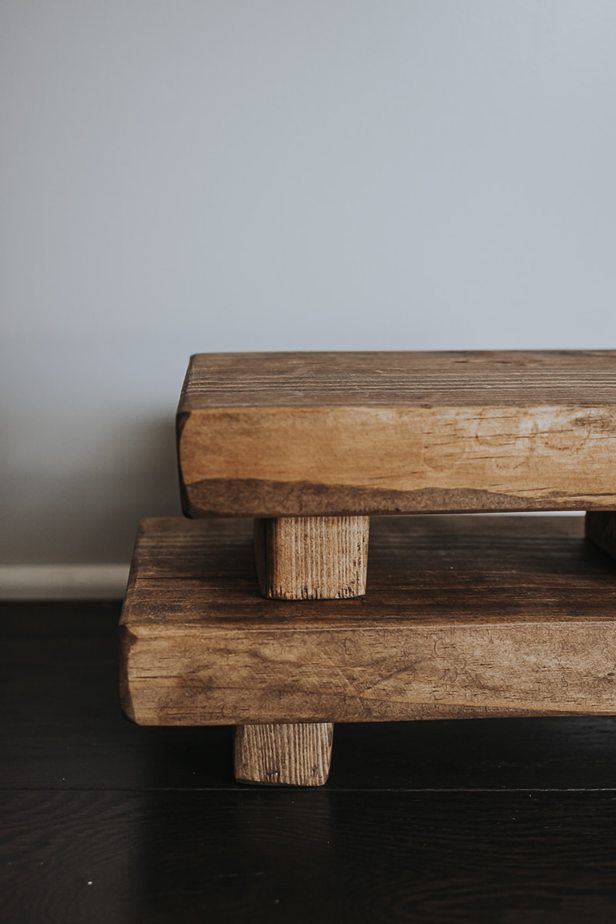
You can use a paper towel or a ripped-up old rag to apply your stain. Or a foam brush.
I’m becoming a real lazy stainer.
I don’t even wear gloves, but you really should because stain can be hard to remove from your fingers. Plus, now that I’m thinking about it, do I really want stain absorbing into my skin?
Make sure you allow your stain to dry before applying a thin layer of polyurethane.
You’re done!
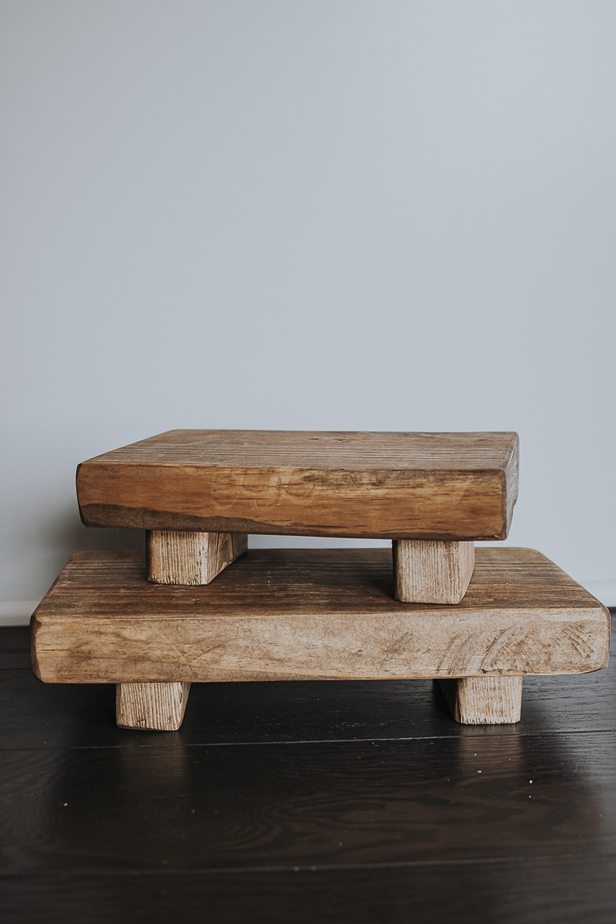
Now you have this adorable DIY wood pedestal.

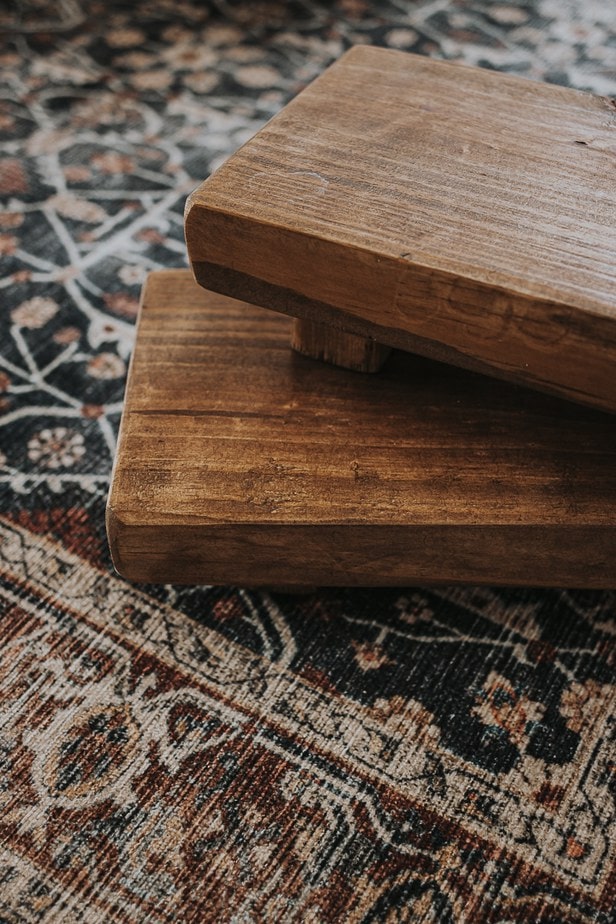
I’m using the longer one next to the stove and the shorter one in my bathroom.
It adds warmth and character and breaks up our gray stone counters a bit more.
It’s such a cute farmhouse DIY!
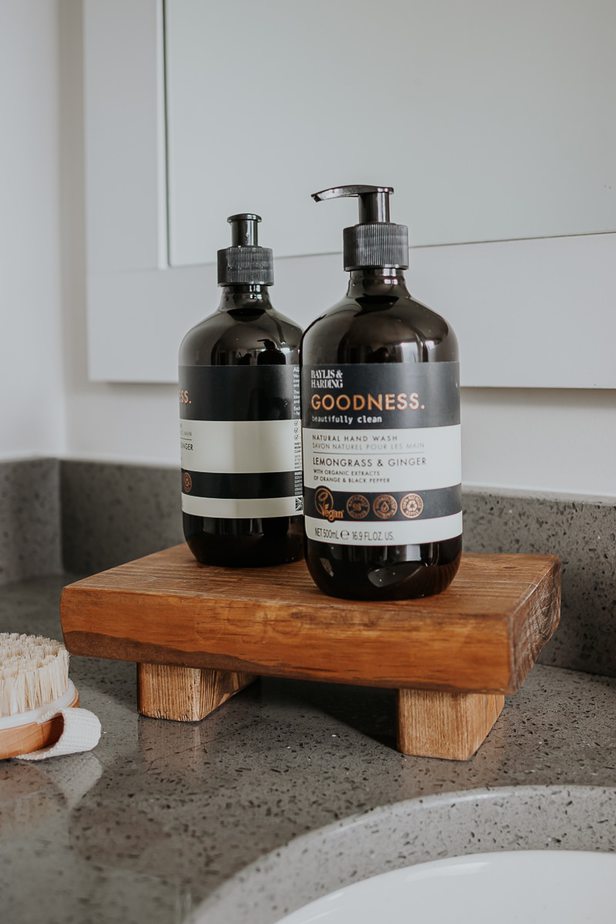
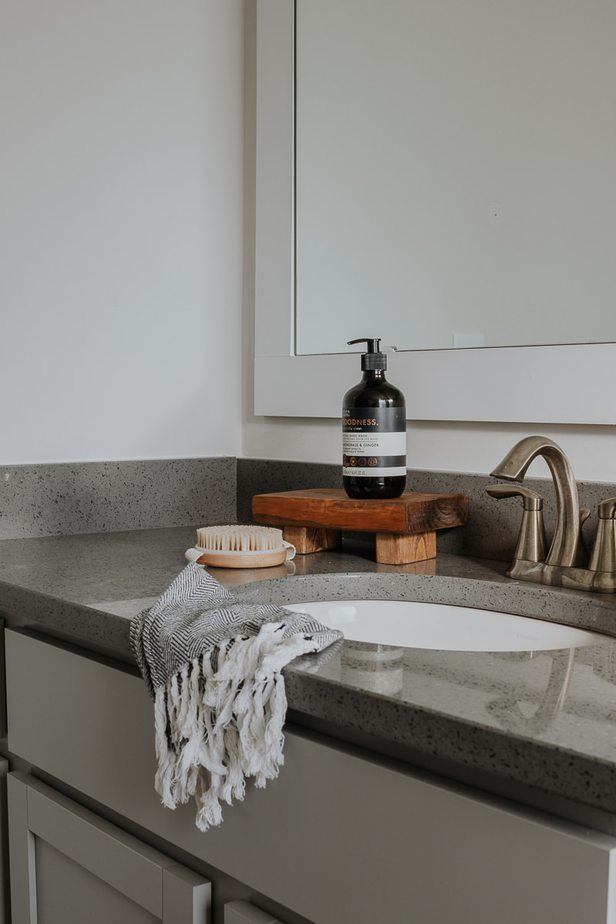
Even my husband said he likes it – and trust me, that’s saying something because he is PICKY.
I hope you guys liked this DIY wood pedestal project.
Be sure to tag me on Instagram (@decorhint) so I can see your handiwork!
xo Karen

