How to Make a Simple Wood Bench for less than $10
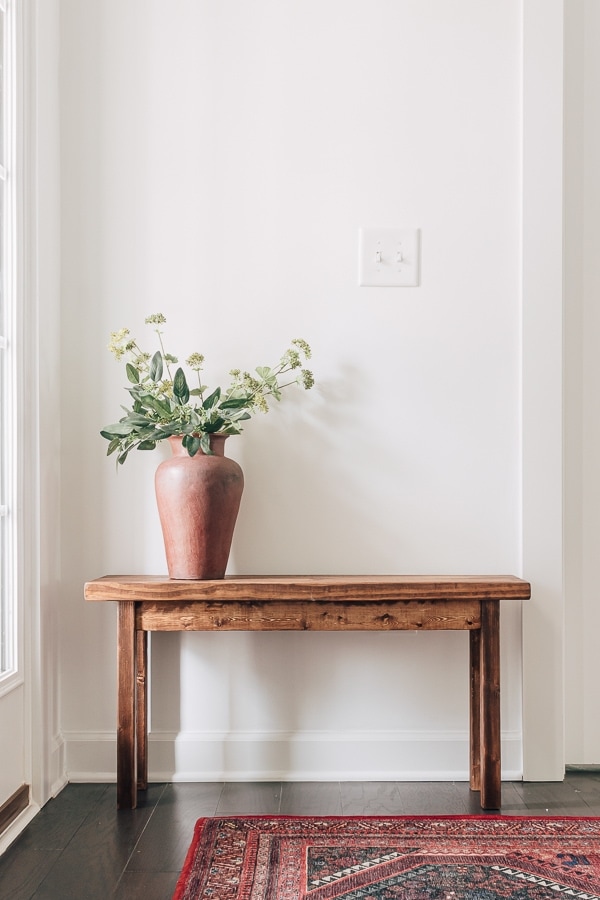
This past Christmas gave me some time to tinker around with our new Kreg Pocket-Hole Jig. I had the perfect project in mind: a rustic wood bench for our foyer.
I wanted the bench to look old and aged, like something you would salvage from an old farmhouse or country flea market. Here is a quick preview of the finished product. Pretty, isn’t it? 🙂

I’ll show you how I was able to “age” the bench with just an orbital sander. And the best part? This bench only cost me around $8 in Pine lumber from Home Depot. You need a total of three 8 foot boards for this bench. That’s it. And I have some wood leftover!
Related: DIY Peg Rail
There is so much value in making your own wood projects. You can build something to a specific size and color stain you want, without shelling out hundreds of dollars.
You’ll be able to reuse these wood tools over and over again for new projects. Trust me, they will pay for themselves quickly.
The Kreg Jig makes this bench incredibly sturdy and a breeze to put together; it’s amazing!
The toolset comes with just about everything you need, including the drill bits and pocket hole screws.
Things you’ll need
- Kreg Pocket Hole Jig (We used the 320)
- Pocket Hole screws 1.25 inches long (coarse)
- Drill
- Clamps
- Combination Square
- Miter Saw (or just have the hardware store cut your wood)
- Orbital Sander
- Shim (about ¼ inch thick)
- Wood Stain (we used Special Walnut) and Foam Brush or Rag
- Polyurethane
- 2x10x8 pine – cut to 35 inches long
- 2x2x8 pine- cut 4 legs at 16.5 inches long each
- 1x3x8 pine firring strip – cut two pieces at 27.5 inches long and 2 pieces at 4.5 inches (this is going to be the “skirt”)
For reference: the “skirt” of this bench is that little strip of wood that goes all the way around the bench right under the seat. I’ve also heard this called an “apron”. It not only makes the bench more secure, it also dresses it up quite a bit.
How to Make a Simple Wood Bench
Cut all your wood pieces first – then you just need to make the pocket holes and screw the bench together.
You’ll have the following pieces:
- One bench seat
- Four bench legs
- Four Skirt pieces – two long and two short

Step 1: Make Your Pocket Holes
We are going to create a series of pocket holes in our wood pieces. We do this by using a Kreg Jig.
This video is useful for learning how to use one.
Joining wood together this way makes for incredibly sturdy and strong joints – you’ll see and feel the difference in the final project.
It also hides those ugly screws from plain sight.
First, you’ll make two pocket holes on both ends of each “skirt” wood piece. I clamped everything to a scrap piece of wood for extra leverage.

The pocket holes are a little tricky to make with the smaller skirt pieces but still doable. The pocket holes will just be right next to each other on these pieces.
You’ll also make two extra pocket holes at the top of the two long skirt pieces.
We measured 6 inches in from each end and made our pocket holes there. This is for securing the top wood seat to the frame/skirt of the bench.
Here’s a picture showing you the pocket holes in each piece:

Step 2: Attach Bench Legs to the Skirt
We wanted the skirt pieces to be a little recessed.
To do this, you just need to take a shim and stick it underneath the skirt piece when screwing it to the leg piece. This will create an even recessed look all the way around.

Use a combination square to ensure the legs and skirt attach perfectly straight.
You’ll want to use 1.25-inch pocket screws and make sure you clamp your wood pieces together tight to ensure a tight joint.
Repeat this process until each leg piece is secured to the skirt pieces.
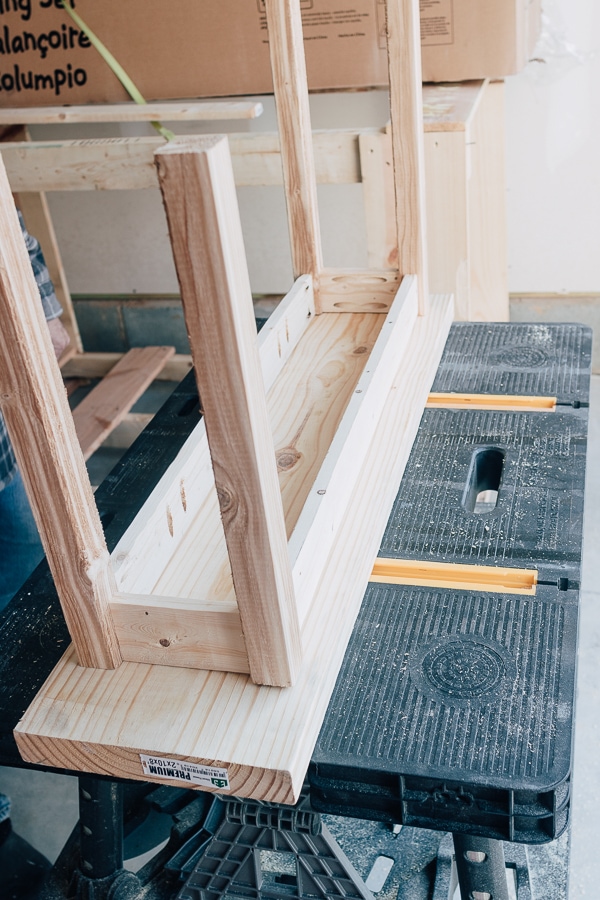
You should have a frame that looks like this:

Step 3: Attach Top Seat to Bench Frame
Now, all we need to do is drill the frame to the top seat with those extra pocket holes we made in the long skirt pieces. Each one should have a total of four pocket screws.

Step 4: Sand and Stain your Bench
We have a bench!
Now we just need to sand it down and stain it.

I used the orbital sander with coarse grit sandpaper to round down the edges of the bench and give it more of an aged look.
See the rounded edges here?

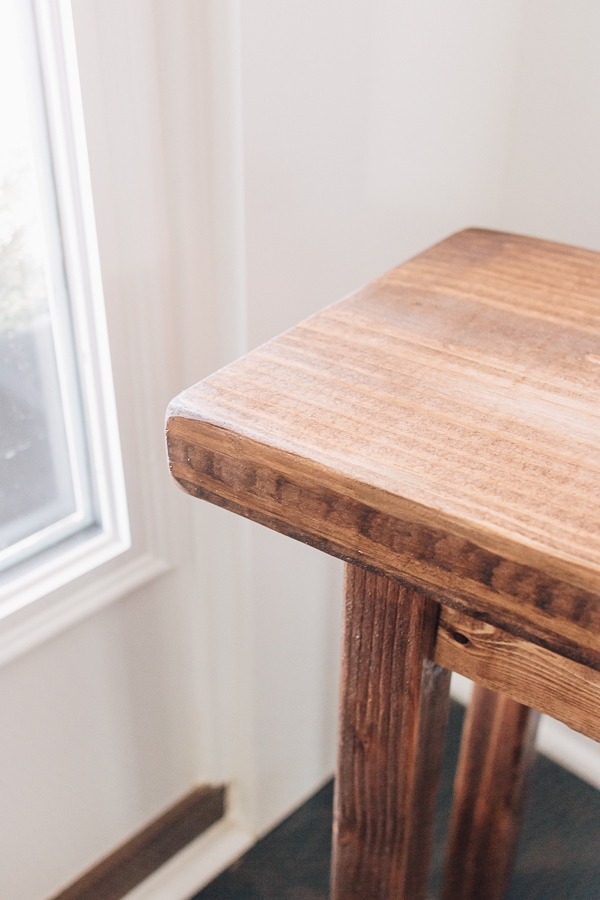
To make these rounded edges, carefully move the sander down each of the seat edges, until they’re rounded. Be careful not to apply too much pressure.
Honestly, don’t worry if you sand off too much – it will probably just add to the character of the rustic bench.
Rounding down the edges like this will take away that cheap lumber look from the wood.
Don’t forget – this is only an $8 dollar bench but we want it to look more expensive than that.
After it’s sanded down, wipe away the excess sawdust with a tack cloth and apply your stain. We used Special Walnut. It’s one of my favorite stains for Pine wood.
I recommend you try a few different stains on a scrap piece of wood until you find one you like.
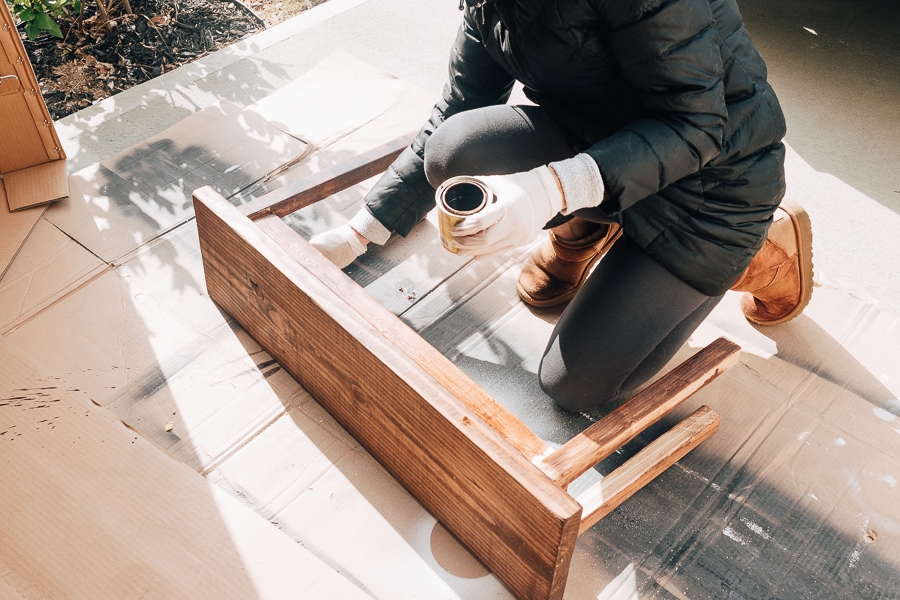
Finally, finish it up with a coat of clear Polyurethane. This helps protect the wood and seals in the stain.

That’s it! Can you believe that you just made such a pretty little rustic bench? I ended up putting some furniture pads on the bottom so they don’t scratch the hardwood floors.
(Note to self to buy brown furniture pads!)

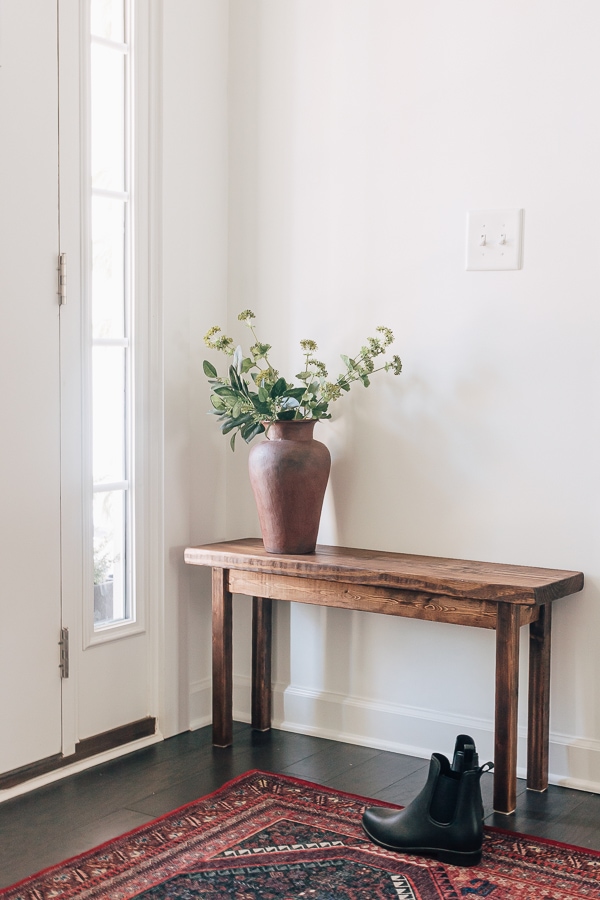


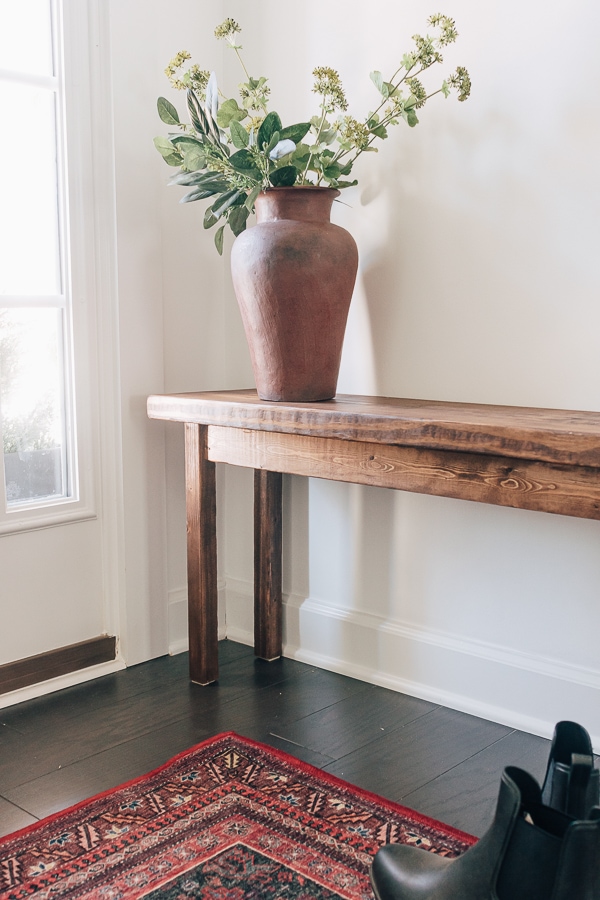
This one was made to fit perfectly in our foyer, and I can’t tell you how much I’m in love with this little bench.


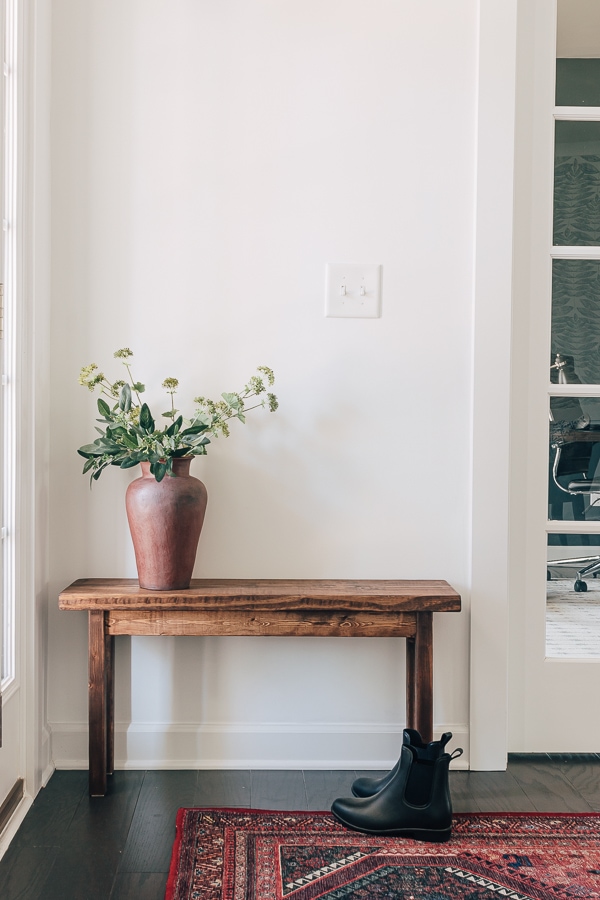
Now I’m thinking up my next project with the Kreg Jig. It made this bench so easy to put together. I highly recommend it for your home projects!
xo Karen

