How to Make a Bean Bag Chair For Kids – Easy Tutorial
This post contains affiliate links, which means we may earn a small commission if you purchase through them — at no additional cost to you. Please see our policy page for more details.
Today I’ll teach you how to make a bean bag chair.
This project is for you if…
- You want a bean bag chair for your kids.
- You want to pick your own fabrics for the cover.
- You don’t want to spend a hundred dollars or more (are you kidding me with this?)
- You are not that good at sewing (because you don’t have to be to do this).
- You have patience and are ok vacuuming up tiny little beads for the next three weeks.
Still with me?? Yay! You’re in luck. Because this is the easiest bean bag tutorial ever. And you can be sloppy at sewing, like me.

This tutorial came about because I’m in the middle of the One Room Challenge.
I’m totally revamping my kids playroom, but in true “DECOR HINT” fashion, I’m keeping costs low and trying to DIY what I can.
My kids previously had these old Pottery Barn ‘Anywhere’ chairs in there that were starting to fall apart. Plus, they were not as comfortable as they grew and kind of babyish looking. Not for my 8 and 5 yr old anymore!
In an ideal world, I’d love to get a sectional (hint: I got a sectional) or some sort of modular furniture to fill out this room. And we will definitely do that when the budget allows.
For now, bean bag chairs it is.
When I started looking online at buying some bean bag chairs – holy cow! – I could not believe the prices of these things!
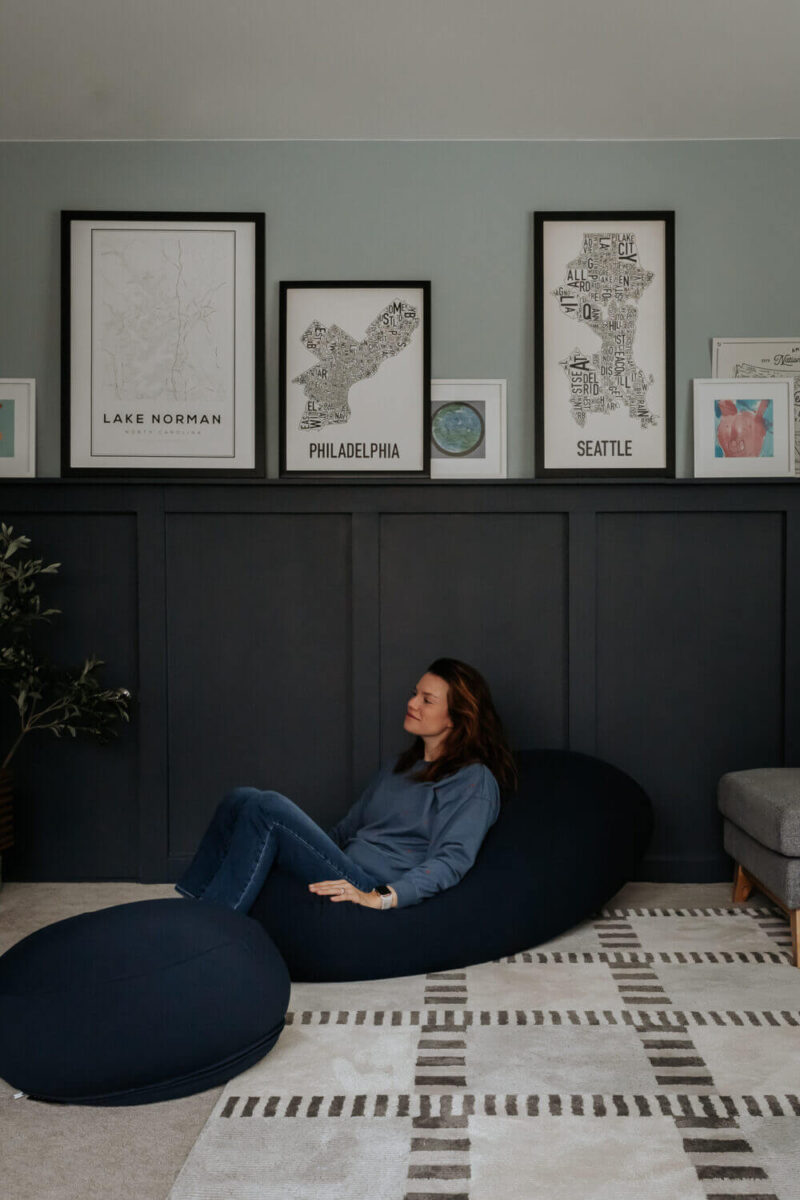
Update: Moonpod sent me one of their chairs.
Even the crappy ones on Amazon were $100 or more and had ‘meh’ reviews and ugly, shiny covers. Why are they shiny!?
I was really inspired by these Newport loungers on Serena and Lily.
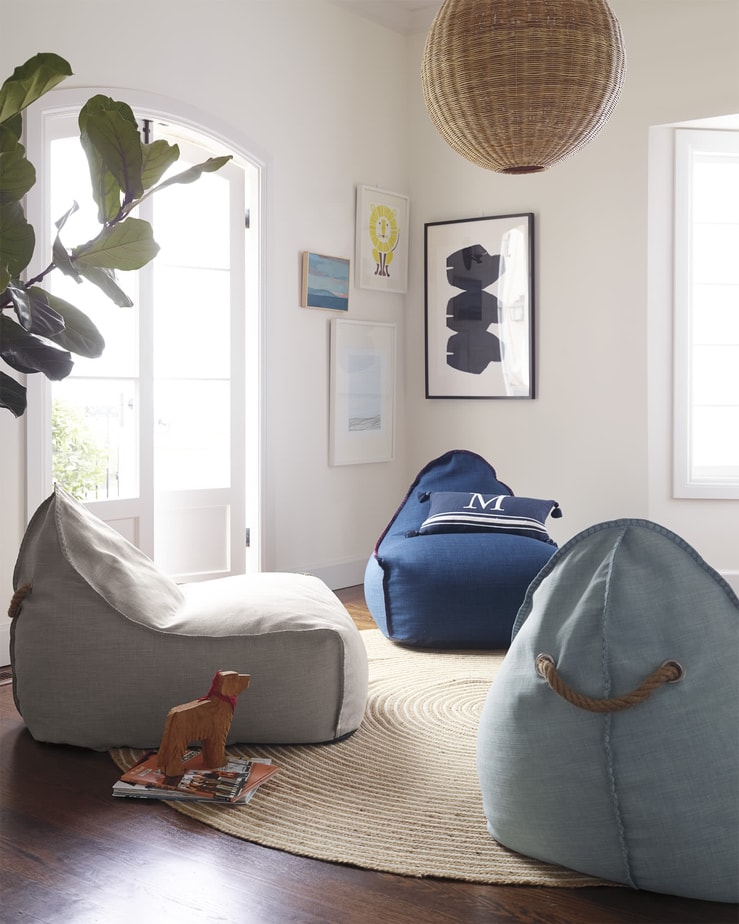
But I don’t have $500 right now to spend on two loungers. What I do have is champagne taste on a beer budget. ; )
So instead I used the Serena and Lily Loungers as my inspiration to make my own.
I went online looking for tutorials to get me started. Honestly — not that many good tutorials out there.
So I pieced together what I could and came up with my own idea (loosely based on the “lounger chair above”.)
At first, I was thinking I would cut each piece and then sew it all together. But, then I remembered that I’m crap at sewing. Oh, right.
I came up with a seriously easy way to do this. You don’t even have to sew one of the sides!

And they don’t look half bad. Actually – they look pretty good!
Plus, I was able to choose the fabrics I wanted – no shiny materials in this house!
If you are looking for a circle bean bag chair tutorial – this is not going to be it. These are bean bag boats. They look better than the circles to me. (Again – look at those Serena and Lily loungers!?)
I chose this duck canvas from Joann for its durability, price, and color options. (I chose the Lotus Pink and Royal colors in case you are wondering).
My husband does not think this fabric is super soft but it’s nothing a faux sheepskin rug on top won’t take care of. And my kids didn’t even notice.
Let’s get started.
Things You’ll Need
- 2 Yards of Fabric (for each bean bag) – I used this Duck Canvas
- Sewing Machine and Thread
- Bean Bag Filler – I used this one – a total of 3 bags of filler for two bean bags so 1.5 each
- Iron
- Fabric Scissors
- Vacuum (for cleanup LOL)
NOTE: I opted NOT to make an inner lining for the bean bag filler. I am not too worried about stains and having to wash the material. If I need to refill the beans at some point, I will just make a small rip in the seam. I can always make a cover later and use it over this one. If you want to make an insert and washable cover – you will need another 2 yards of fabric (a cheap drop cloth would do it) and a zipper (20 inches is good) so you can open and close the top bean bag cover. If you feel like your kids will really beat these things up – an inner liner/insert holding the beans is a safer bet.
How to Make a Bean Bag – Step by Step
Step 1
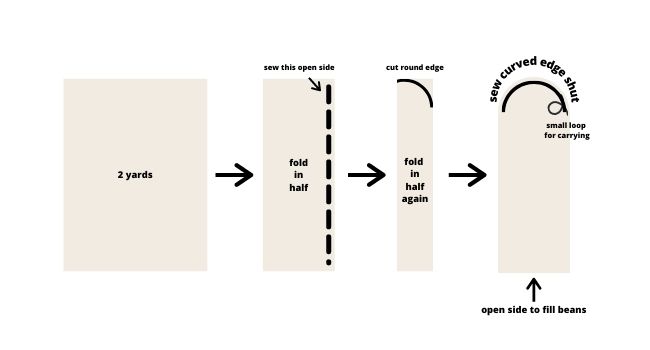
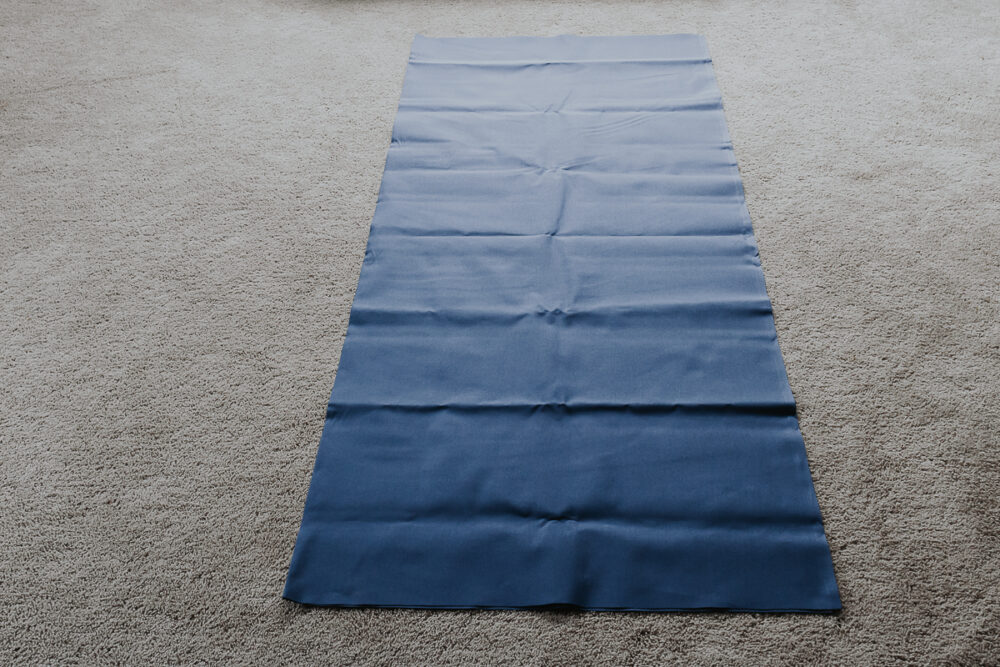
Lay your 2 yards of fabric out on the floor. Fold it in half the long way. This means that one long side will be a fold, not open.

I cut off about 2 feet from the bottom – you can do more or less depending on how big and long you want your bean bag.
Sew a seam (make it tight stitches) along the OPEN long side of the fabric. You will now have a closed sack with two open sides on each short end.
Step 2
Fold your sack in half again, so the ends meet up as best as possible.

Starting from the inner corner, cut a triangle shape or a half rounded edge off the top. Doesn’t really matter the shape.

When you open the sack back up, you’ll see an even triangle/semi-circle at the top.
Step 3
We are going to sew this end shut, but before we do – take a small scrap piece of fabric or a leather strap and fold it in half to create a loop. (I used a zigzag stitch on a small length of fabric to keep it from fraying).
Sorry, I didn’t get a picture of that but I will add it to the video.

Place the loop on the inside of one of the corners of the semi-circle and sew it in with the seam. Make sure to sew tight stitches or even a zigzag or serger stitch.
These bags are going to take a lot of abuse!
Step 4
Flip your bean bag sack right side out. The loop should be on the outside and you will have three closed sides and one large open side at the bottom.
This is a good time to iron your bean bag and try to get all those creases out.


Carefully fill the bag about 2/3 of the way full with beans (or insert your inner bean bag lining). Then, you can either hand sew this end shut or sew it closed with your sewing machine.
I tried this so many different ways and found the easiest way to be keeping the opening big and just dumping the beans in there.
It takes some finesse but totally doable. You can use pins or wonder clips to keep this end closed while sewing.
Make sure your bag is not overfilled or it will feel like sitting on a rock.
You want there to be some give and wiggle room.
And, it’s worth mentioning one more time – make sure this end is closed up nice and tight!
Step 5
Now you may be thinking – this doesn’t look like a bean bag??
This looks like a floor pillow! And it could be if they wanted to lay on it.
But Wait!
To get that boat/seat shape, you will take your bean bag and flip it on its side. Voila!
Enjoy Your New DIY Bean Bag!
Moment of truth.
Grab your kiddos – or you! I tested this first and it’s pretty comfy. Sit your butt down near the bottom and the back of the bean bag part supports your back.


And there you have it. It’s like a little boat seat! Or a banana-shaped chair? Or a gaming seat?
Not bad. Not bad at all. And I saved almost $50/bag doing this myself.
Perfect for kiddos and much better looking in my opinion than those other bean bags. Will these last forever? Well, I doubt my kids will want to take them to college. 🙂
But hopefully, they will get us through the next couple of years (or I’ll even take a year) until we get a nice comfy couch in there.
You can even make some little pillows or throw some faux fur on top for added comfort.
I hope you enjoyed this tutorial. Be sure to follow along in this One Room Challenge to see how this playroom takes shape.
Thanks for being here today!
PS: Now, you can vacuum all the beans you spilled out. LOL.
Xo Karen


