How to Stain Pine Wood for a Rich, Luxurious Look
Do you want to give your pine wood a luxurious, rich look? In this blog post, I will teach you how to stain pine wood using simple steps that anyone can follow. I will also provide tips on how to achieve the perfect finish.
Why does pine wood get such a bad rap? Sure, it’s not as strong as oak or maple. But with the right treatment, pine can be quite beautiful! And one of the easiest ways to give pine a luxurious look is by staining it.
Staining pine wood is pretty simple. And fun. I consider the wood my canvas and the stain my “art”. I’m here to tell you that yes, pine wood furniture and projects CAN look like a million bucks. You don’t need to shell out tons of money for expensive wood unless you want to.
I work with pine for many reasons.
First, it’s readily available. I can run to Home Depot or Lowes and pretty much find whatever size wood I need. Second, it’s cheap. I’m not an expert woodworker so if I screw up (which I do a lot, trust me), you won’t find me crying in my scrap wood pile. Third, it’s easy to work with. Pine is considered softwood. This means it’s not as hard as some other woods so it’s easier to cut, drill, and sand. Pocket screws go into pine wood like buttah.
Finally, I like the way it accepts stain. And with the right prep work, materials and supplies – you will like it too. Read on to learn about our method.
How to Stain Pine Wood
Getting that million-dollar look when staining pine takes a good amount of prep work and I use a four-step process. The steps in the process are (1) to sand the wood, (2) condition the wood, (3) stain the wood, and finally (4) topcoat the wood. I’ll go through each step in more detail now.
You’ll want to have the following tools/materials on hand: Orbital Sander, Lint Free Rags, Foam Brush, Small Paintbrush, Your Favorite Wood Stain, Pre-Stain Wood Conditioner, a medium sized paintbrush and Polyurethane.
Sand the Wood
The first step in the prep (didn’t mean to rhyme there) is to sand the wood. I recommend using an orbital sander. The orbital sander is one of my favorite woodworking tools. It makes the job much easier and the results more uniform. You can buy the hook and loop sanding discs in bulk on Amazon.
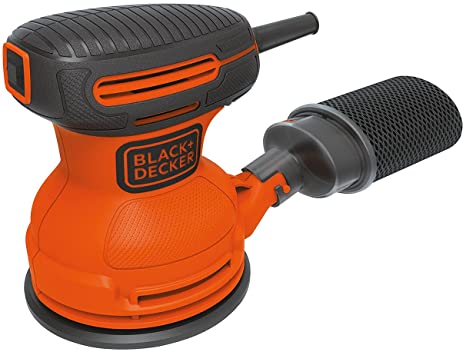
I start off using lower grit sandpaper, like 80 or 120 grit. By the way, as a rule of thumb, the lower the grit, the coarser the sandpaper. Pine can be a little rough to start and I like a medium grit to shape the wood, take off the rough surface, and round some of the straight edges. An orbital sander is a great way to distress your wood if you want a more vintage farmhouse look.
I always finish the sanding process with fine-grit sandpaper, no less than 220 grit. This grit leaves the wood with a nice smooth surface and avoids those ugly swirl marks that you sometimes get with an orbital sander.
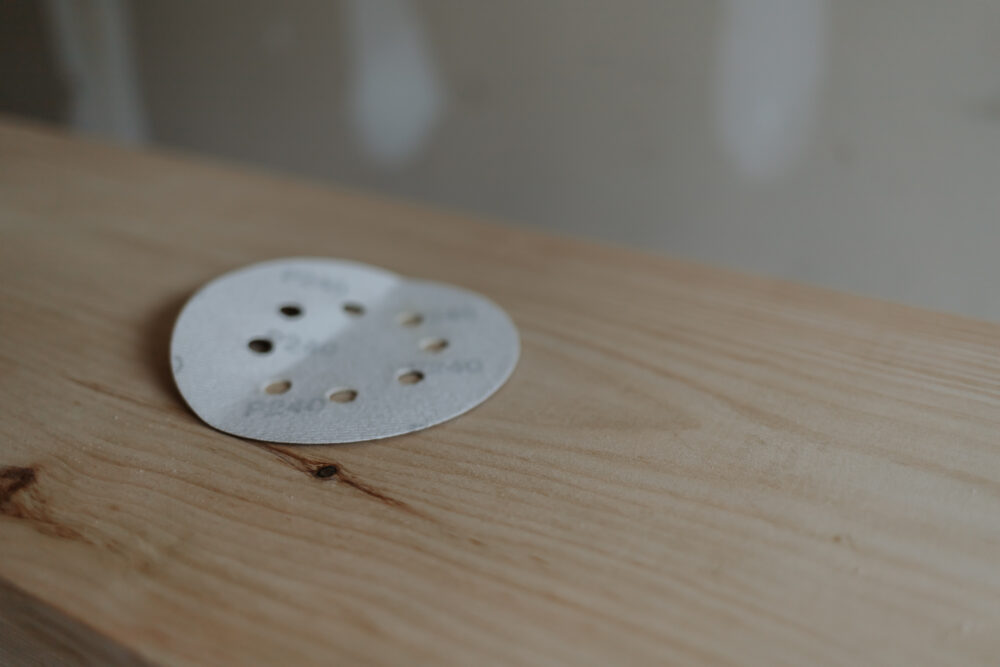
Once I’ve gone over the entire piece with 220-grit sandpaper, I remove any dust that’s been created with the brush attachment of the vacuum cleaner or a tack cloth.
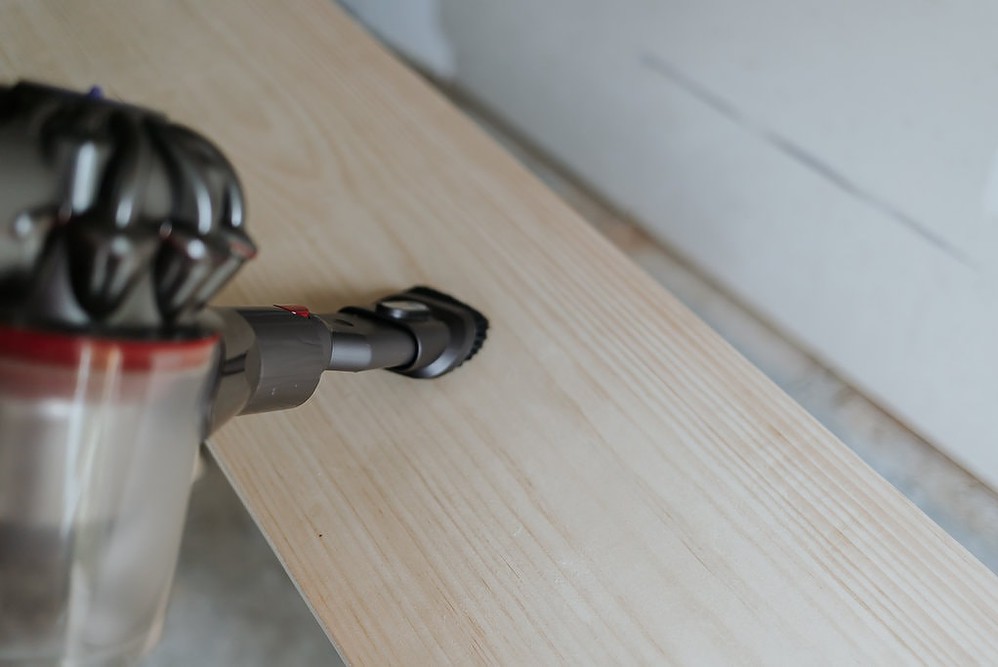
The tack cloth is just a piece of lint-free fabric that helps pick up any residual dust from the wood before you move on to the next step. It’s sticky and makes your hands feel gross, but it’s worth it.
Condition the Wood
The second step in the prep (haha) is to condition the wood. I like to use a product called Pre-Stain Wood Conditioner. You can find this at any home improvement store or online.
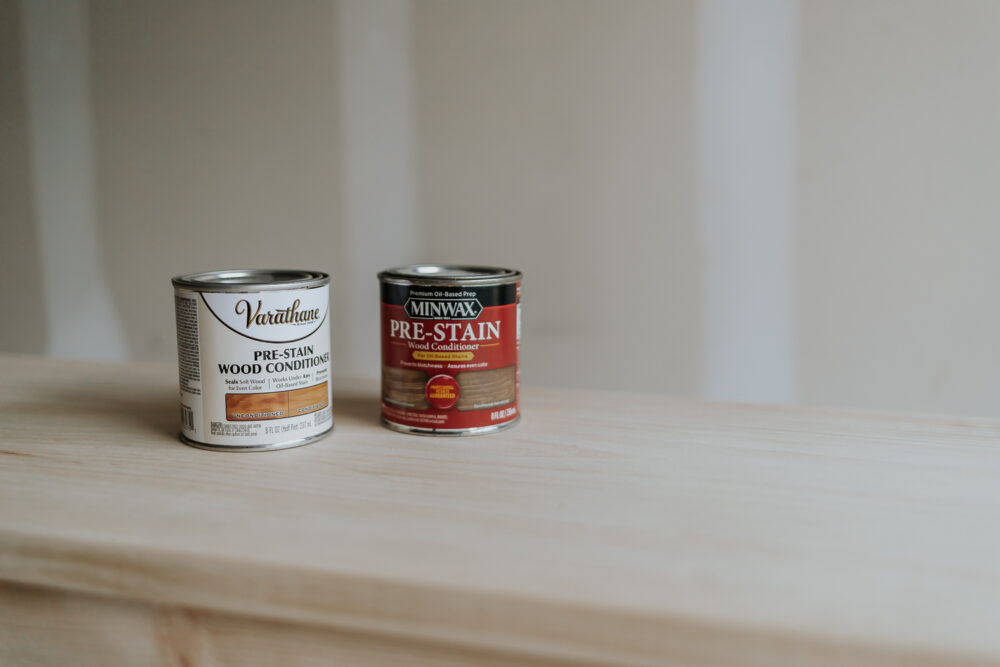
The conditioner helps the stain penetrate evenly into the wood and prevents it from looking blotchy. THIS IS HUGE and you don’t want to skip this step. It gives the wood a more professional look in the end.

Here’s how I apply Varathane wood conditioner. I use a clean, lint-free rag and generously apply the conditioner to the entire piece. Then, I let it sit for about 15 minutes before wiping off any excess with another clean, lint-free rag. That’s it! The wood is now ready to be stained.
NOTE: Both Minwax and Varathane make a wood conditioner. You want to refer to the individual instructions on your specific variety – believe it or not they both have different times for allowing the conditioner to soak and different ways of applying it.
Stain the Wood
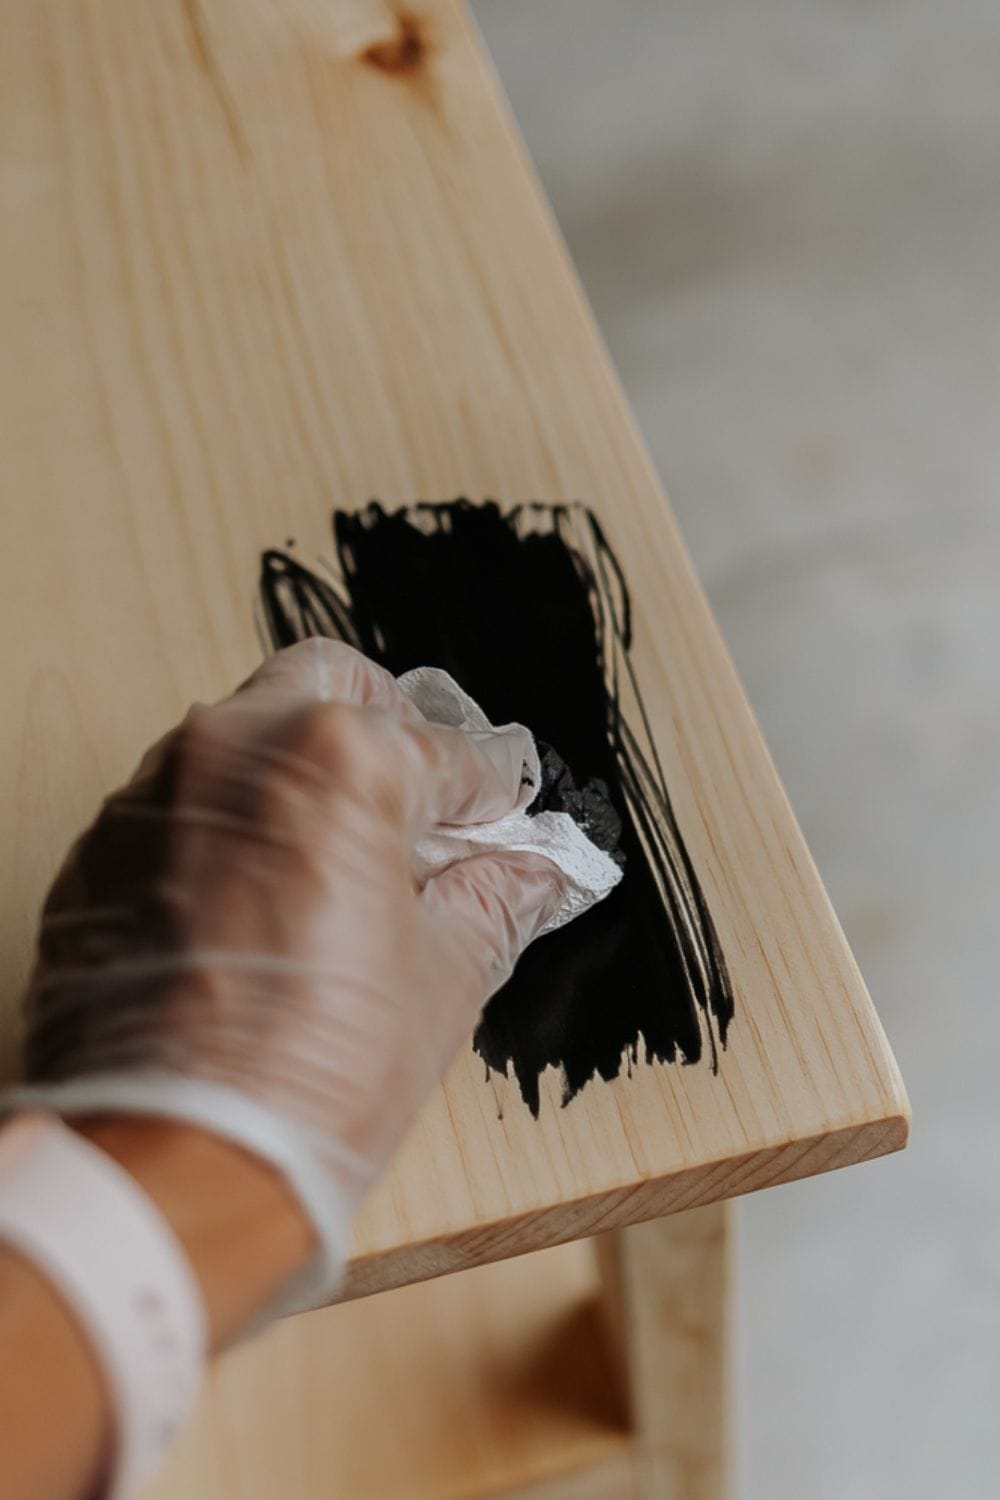
Next, you will need to apply the stain. I recommend using a rag for this step. Once you have applied the stain, you will need to wait for it to dry. This usually takes around 24 hours or so.
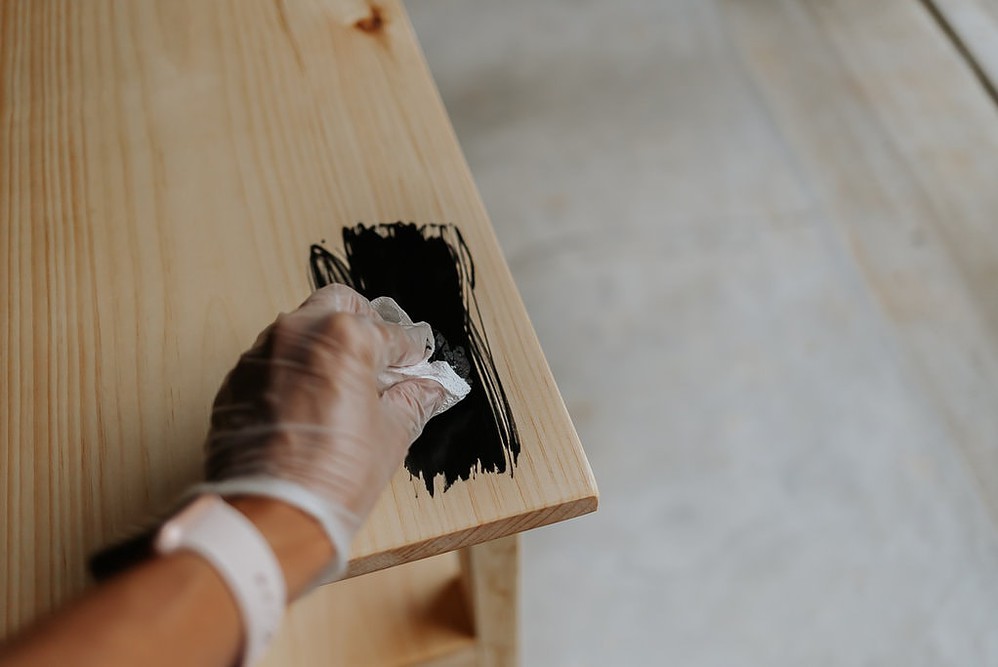
Some additional staining tips. I always stain with the grain of the wood. I also like to use a foam brush or even a small paint brush for filling in those tiny little holes and crevices. It’s so handy to have those while you are staining.
Topcoat the Wood
Finally, you will need to apply a topcoat. This will protect the stain and can help it come to life after applying your stain. You can use a variety of different topcoats, but I recommend using polyurethane. Polyurethane is available in a variety of finishes, from glossy to matte. I usually go with a matte or satin or semi-gloss finish, depending on my mood.

Polyurethane is made up of two parts, a resin, and a hardener. It comes in water-based or oil-based versions. I almost always use a water-based poly even though I use oil-based stains and I never have an issue. Although water-based polyurethane costs more than oil-based, it is easier to apply, easier to clean up, and doesn’t have obnoxious fumes. It also dries faster. It will look milky white in the can but dry completely clear. You want to make sure the stain is 100% dry before applying the topcoat. Here is a good article on the differences between water-based and oil-based.
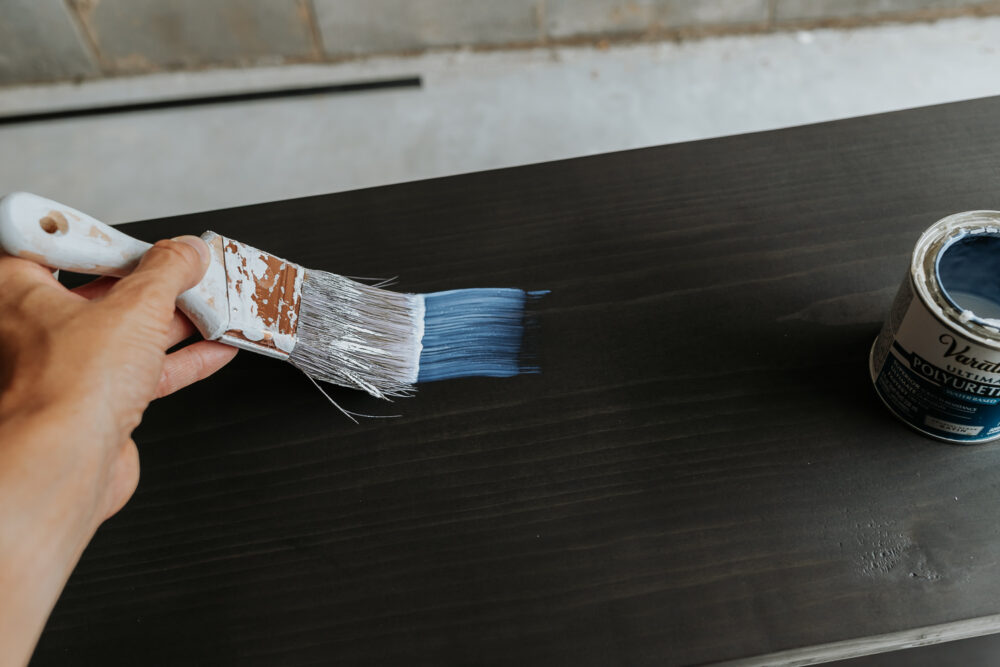
I apply polyurethane with a brush or even a foam paint roller (which I used when I painted my sideboard). I like how the foam paint roller doesn’t leave any brush strokes. If you go with a brush, make sure it’s a good quality brush that won’t shed bristles into the polyurethane.
You will likely need to apply at least two coats of polyurethane, maybe even three. Once you’ve applied the topcoat, you will need to wait for it to dry. This usually takes around 4 hours or longer.
There you have it! Remember to take your time and enjoy the process. These simple steps will help you achieve the perfect finish for your pine wood. I hope you found this blog post helpful. Now that you know how to stain pine wood, find yourself the perfect wood project! Here are a few to get you started…
If you have any questions or anything to add, feel free to contact me. Thanks for reading!
xo Karen

