How to Install a Stair Runner with Rods: 6 Easy Steps
This post contains affiliate links, which means we may earn a small commission if you purchase through them — at no additional cost to you. Please see our policy page for more details.
Learn how to install a stair runner with rods. On curvy, pie stairs!
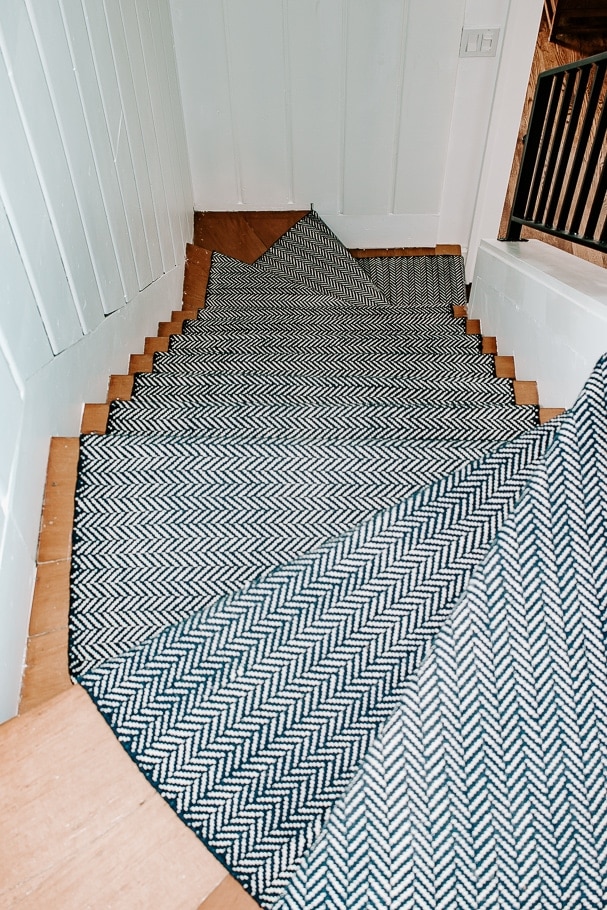
I’m so happy to finally be sharing this home project with you. We installed this stair runner on our curvy stairs this past summer. And we didn’t find the time to install the stair rods until this past Fall, with help from my Dad while he was visiting. Thank you, Dad!
Well, we can finally cross this project off our list. We’re done! And we saved hundreds of dollars by DIY’ing this ourselves.
There were some tricky parts. We screwed up once (ok, twice). We actually had to order more rug runner to make up for that mistake. UGH. But in the end, it turned out really good and we are so thrilled with the new look of our staircase.
Where do I begin?

If you are reading this post, I’m assuming you decided to install a stair runner, too. I know some people have trouble deciding whether or not to put down a stair runner.
For us, it came down to safety, comfort, and style (and some noise control too). Let me explain.
We have a 1920s home. With 1920s stairs. These are not your standard-sized steps here. They are narrow and curvy. Have you ever heard of pie steps? We have pie steps!
What the heck are pie steps? Well, instead of having a landing to change the direction of the staircase, we have a triangular step (a few, actually) that wind the staircase instead. These steps are each shaped like a piece of pie. Mmmm, pie.
So we wanted the stair runner to provide safety and comfort when navigating up and down our 1920s staircase. It also helps immensely with noise! (You don’t want to know what a bunch of kids running down an old wooden staircase sounds like.) And of course, it gives some pizzazz to an otherwise boring staircase.
I generally like simplicity with home decor. So if we had a brand new, beautiful, wide set of wood steps, I might consider keeping it bare. Not in this case, however.
How to Install a Stair Runner with Rods
I broke this down into simple steps. For this tutorial, I’m showing you how we did this on curvy stairs or pie stairs. This might not be the professional way to do it, but it’s holding up and it looks great. I’ll also show you how we installed stair rods.
We loosely followed the amazing tutorial we found here, on Annie Selke. This also happens to be the company of the runner we bought.
Materials Needed
You will need the following tools to install your stair runner:
- Tape Measure – see how to read a tape measure
- Sharp Scissors – I used these ones
- Pencil
- Double-Sided Carpet Tape – we used this brand
- Staple Gun – we use this one
- Staples
- Carpet Padding – we used this one
- Stair Runner – but how much? See Step 1.
- Stair Rods – we used them on eBay but they are not available anymore. I found similar ones here and here.
- Drill with the appropriate sized drill bit
- Tubing Cutter
Step 1: Measure the amount of Stair Runner you need

Using a tape measure (click here for tips on reading a tape measure), you need to measure both the stair tread and the stair riser. If you have a set of standard, straight steps, you can get away with measuring one step and multiplying this number by the number of steps you have.
The formula for straight stairs works like this:
Stair Tread + Stair Riser x # of Steps = Total Amount of Stair Runner you Need
For those of us with curvy steps – it’s a bit more complicated than that. You have to measure EACH AND EVERY STEP. Only because they can all vary. Then add all these numbers together. And then add in a bit more for mistakes.
The formula for curvy stairs works like this:
Stair Tread + Stair Riser + Stair Tread + Stair Riser + Stair Tread + Stair Riser + Stair Tread + Stair Riser + Stair Tread + Stair Riser + Stair Tread + Stair Riser ….etc for each step = Total amount of stair runner you need
What about the width?
Most stair runners I saw come in widths of 2.5 inches. Depending on how narrow your staircase is, it might cover almost the whole step or you might have some wood step showing on either side.
You should measure the width of the narrowest part of the staircase to ensure you still like the look. We had to improvise a bit when it came to installing on the pie stairs. More on that in a bit.
So that’s it for measuring. Let’s move on!
Step 2: Find the Center of Each Stair
Since you will want your stair runner to be centered, we need to find the center of each step. Simply measure the width of the stair with your tape measure and then divide that number in half. That’s your center. Make a little mark at this center point on the step. Don’t worry – it will be covered up later.
Do this for each individual step. Yes – even those curvy pie steps. Don’t worry if the center of the curved steps looks off from the rest of the steps. Mmmm kay?
Step 3: Measure and Cut your Carpet Pads
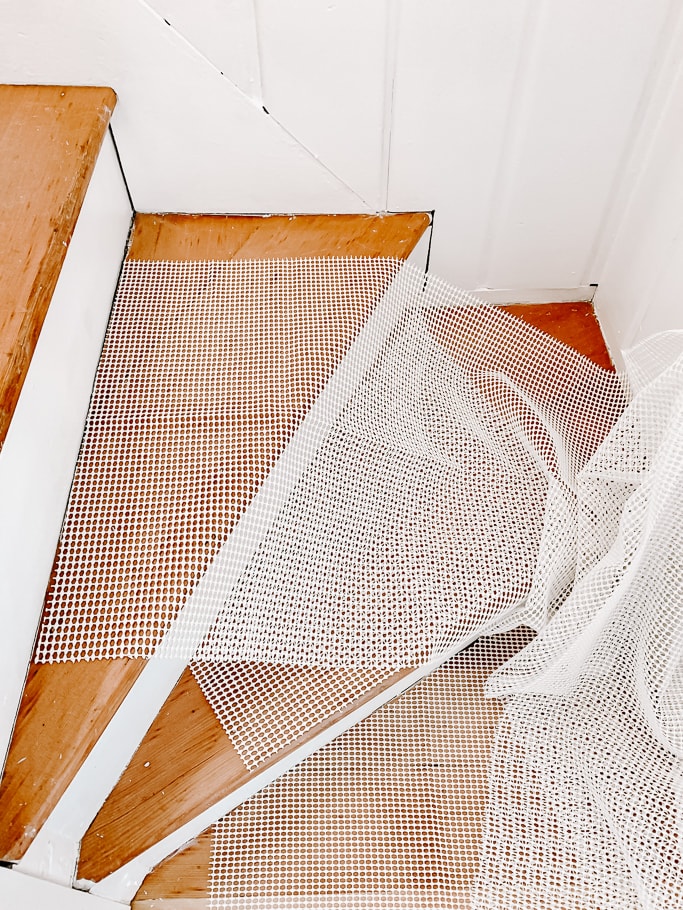
You may be wondering, do you even need padding under stair runners? And since I’m not a pro, I will not say definitely yes or no. However, these are our reasons for going with a carpet pad.
The carpet pads not only give the stair runner some fluff and comfort underfoot, but they also help the runner stay in place with some grip and they help with noise. We only installed carpet runner on the step itself, not over the nose and not down the riser. And it works perfectly!
We chose this carpet pad. It’s inexpensive and works like a charm. I actually use them under our throw rugs too. Since our runner was 2.5 inches wide, I ordered one at 2 inches wide. That way it wasn’t going to stick out underneath the runner. Less cutting. Yay.
I laid the carpet pad down on each step and used the step as a guide for where to cut the pad.
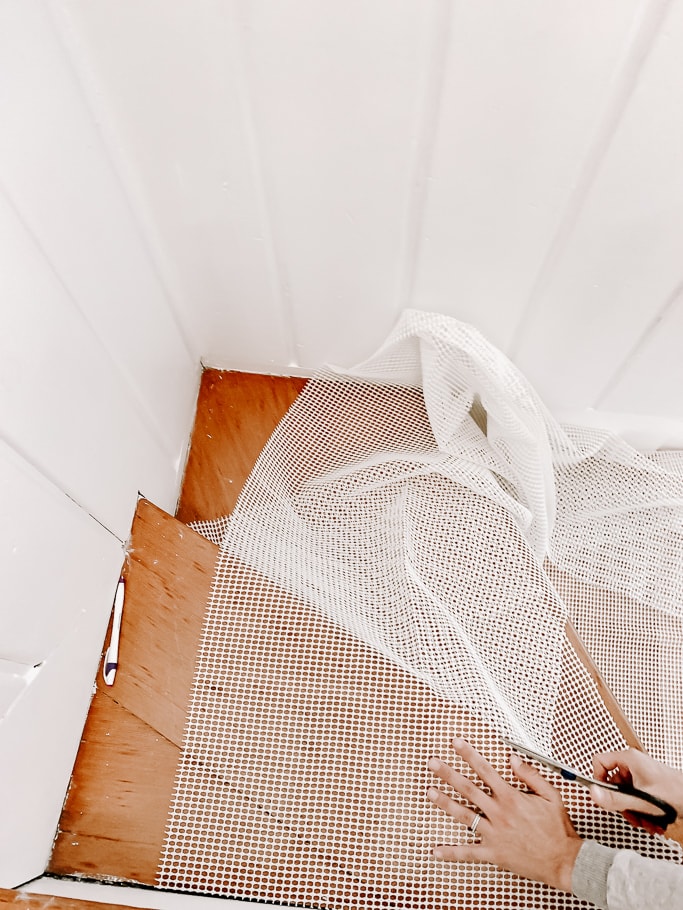
I didn’t make this part difficult or precise. I just used each stair as a guide and cut. Easy peasy!
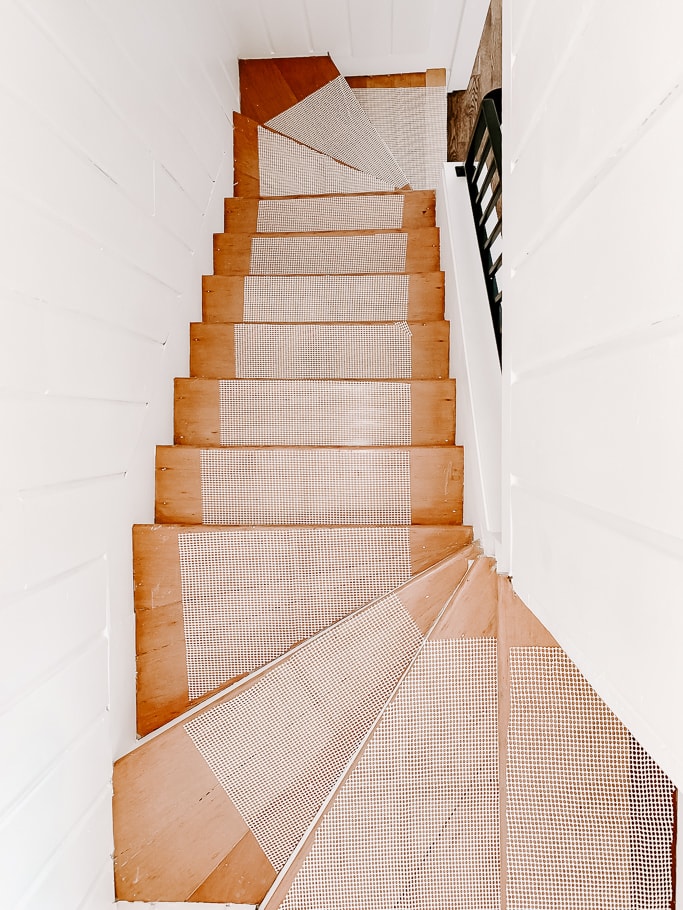
Step 4: Attach Carpet Pads to Steps Using Carpet Tape
Ok, we have our carpet pads cut! Yay. Now let’s get them attached to our steps using our double-sided carpet tape.
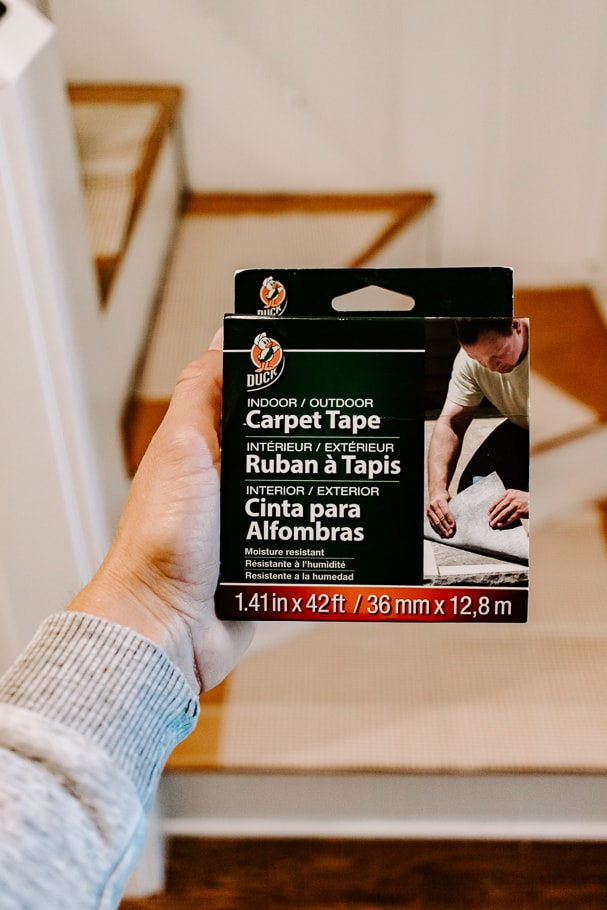
How do you use carpet tape?
The easiest way I found to do this was to put a strip of carpet tape down the center of each step first. Remember in Step 2 we found and marked the center of each step? Just cut a piece of carpet tape to fit the step and stick it down on this center point.
Carpet tape is double-sided, meaning it is sticky on both top and bottom. This allows it to stick to the step and also allows the carpet pad to stick on top. Again – I didn’t go nuts with trying to be exact here.


Fold your carpet pad in half (as best you can on those pie steps), and stick the middle fold of your carpet pad down on this center piece of carpet tape.


Then take two more pieces of carpet tape and attach them to steps and carpet pads on either end of the pad. So you will have three pieces of tape for each carpet pad on each step.
Step 5: Install your Runner
Ok, things just got real up in here. Time to install your runner. AHHHHHH!
Since we have those annoying curved steps, we found the easiest way to begin was to start with the straight set of stairs we had in the middle of the staircase. We are not professionals – but we wanted the pattern to line up as best as possible. Starting with the straight stairs assured us that at least those steps would get a fresh, even start.
This set of photos below is showing use stapling the runner to the steps after we finished a couple of steps above.
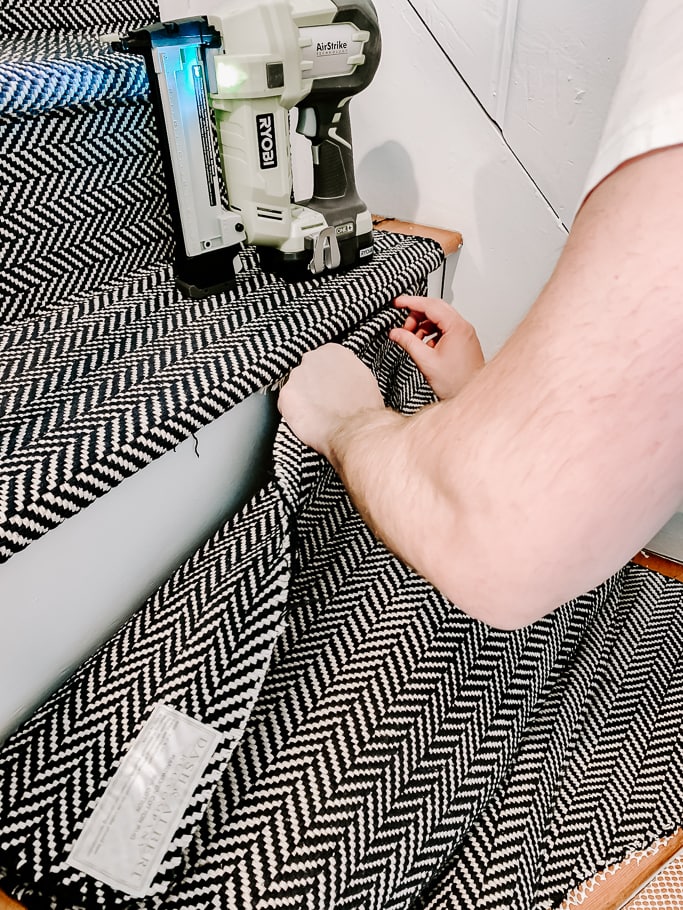


Some runners have a thicker band on each end of the carpet. You can decide to keep this part on or cut it off. We decided to cut it off. We tried to keep it and roll it underneath, but it was too bulky looking.
NOTE if you cut it off: You have to really staple and secure the runner where the band was cut off because without that band the runner can unravel on you.
We started with the riser. We attached the runner here and stapled under the nose of the step.
What size staples do you need for your stair runner?
We used a box of narrow crown staples, specifically made for staple guns. I would definitely check the instructions/manual on your specific staple gun. Or perhaps take a trip to your local hardware store and ask for help.
Use your best judgment on how much stapling to do – some steps need more than others. There is no exact answer here. We tried to staple in the darker parts of the runner, so the staples would hide more.
I actually bought a navy sharpie that I was going to use to color the staples with (a trick I learned from Young House Love). But frankly, you can’t see them at all so it was unnecessary.
We also knew that our rods would cover the staples, so that’s another point for installing stair rods with your runner.
Anyways, here is the pattern we followed for install:
- Start with the riser and staple underneath the nose.
- Then staple at the back base of the step below this riser.
- Then again at the next riser, the next back of the step, etc.
- Repeat!
How to Tackle the Curvy Steps
Once the straight steps were covered. We moved to those dang PIE steps.
We faced two issues.
ONE: Because of the way the step turns and the tight angle, the runner would not line up with the runner installed on the straight steps. We tried it SOOOO many different ways. Trust me!
The angles just had the carpet coming out too long and wide and it didn’t look right as it fed into the straight steps.
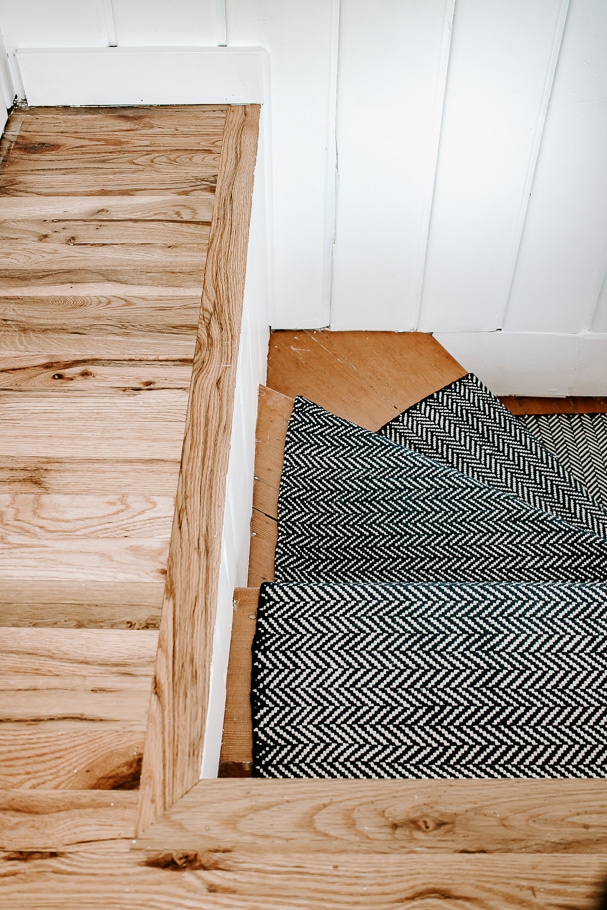
Here is what we did.
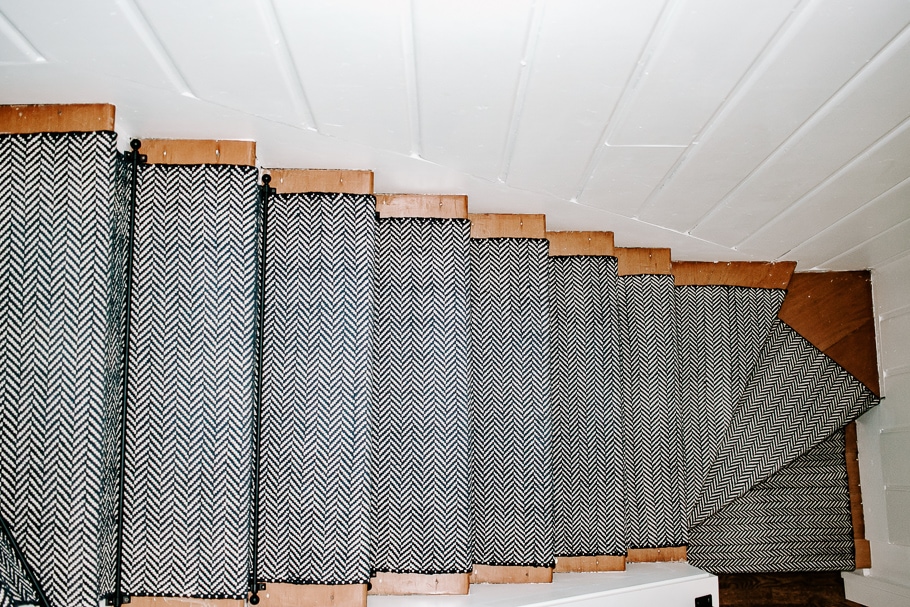
Instead of working with the whole runner as we did on the straight steps, we cut individual pieces of stair runner to fit each curvy step (the riser, the step and under the nose). It’s almost like we made mini runners for each of these steps. We did miscut one piece too short and we ended up having to order more rug runner. That was a bummer. So measure twice – cut once.
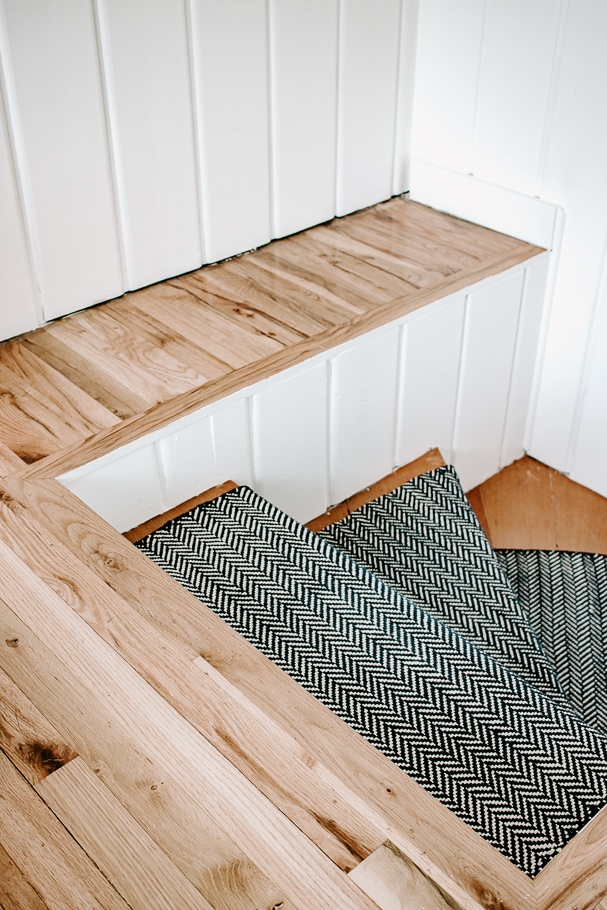
To help the runner line up better with the straight steps, we had to fold a bit of the rug under at the sides and staple this part down to get it to look even up and down. That’s what I meant by improvising. If you have a rug without a pattern – this will make your life even easier!!!
TWO: The second issue we faced was that our curvy steps at the bottom of the stairs are tighter than they are at the top. And the runner was literally running and squished into the wall. Oh, 1920s staircase, why? WHY?
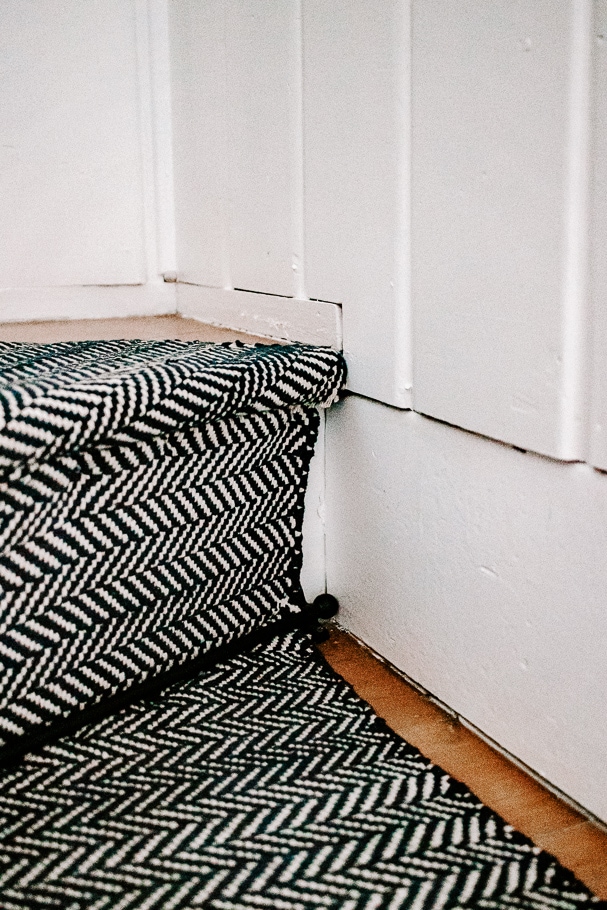

Again, we ended up having to fold the rug under width-wise to make it smaller. But you can’t really tell unless you are staring at it and studying the rug. And if you do that, you will not be invited over again. 🙂
I don’t want to sound like a broken record, but we are DIY’ers. Not professional carpenters or stair runner installers. So – this is just how the process went for us. If we had straight stairs, this would have been SO MUCH easier.
In the end, the runner looks amazing, is secure, and provides so much style, safety, and comfort to the staircase. And we saved hundreds if not thousands of dollars by doing this ourselves. Here in Seattle, home projects can cost a lot. Take it from us!
Step 6: how to Install your Stair Runner Rods
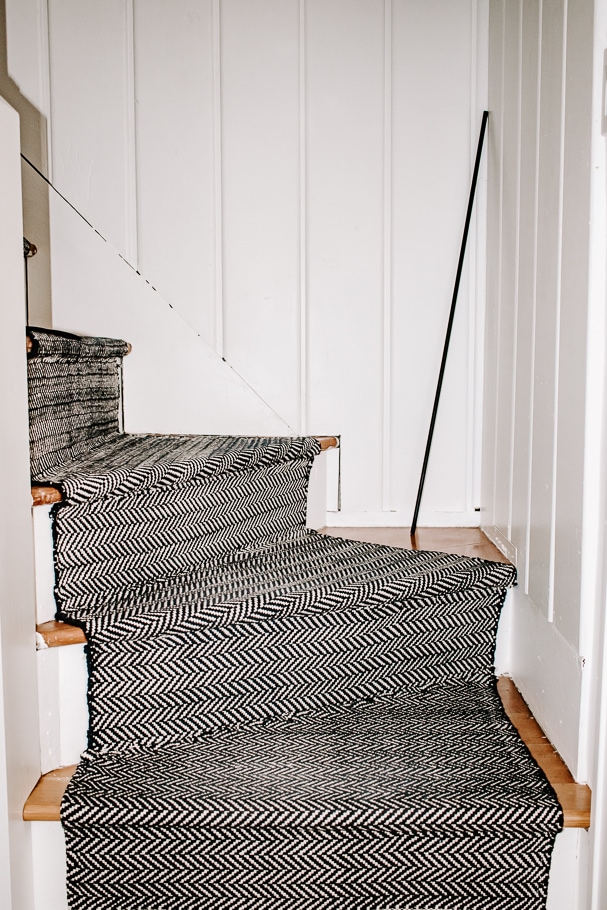
A final touch for our staircase, the stair rods. We ordered a set of matte black stair rods from eBay. I LOVE the brass ones, but we have a matte black stair railing and we felt black rods would look more cohesive. The set of stair rods came with brackets and screws. Everything you need except for the drill.
So, how do you install these rods?


It’s very simple, actually. Some of the rods were too long for some of our steps. You may not run into this issue if you have normal stairs (aka non-1920s pie/curvy stairs). We had to find a way to cut the rods down.
My Dad was here visiting at the time and told us that a simple tubing cutter was all we needed. A tubing cutter is an inexpensive tool that basically just slices a tube or rod in a circular motion. It’s a handheld tool, you don’t even have to plug it in!
Here are the steps in a nutshell and then I’ll go through what we did in more detail …
First, measure your steps with each rod. Mark off where you need to cut your rod, if applicable. Second, use a tube cutter to cut down your rods to the right size. Third, drill one bracket into your step (typically on either side of the runner.) Insert your rod into this bracket. Then, insert it into the other bracket and drill it in place on the other side of the runner. Easy peasy.
Here’s a little more detail on what we did …
We measured the rods to cover the runner and a little bit more on each side. The rods go into these little brackets which get drilled into the staircase. Hold the rod over the runner at the back of the step and make a mark where you need to cut. Then, use your tubing cutter to slice off the end at this mark. It is so easy to do!

Drill one bracket into the step on one side, insert your rod and then insert this rod into the second bracket. Now just drill the second bracket to the step on the other side, making sure the rod feels secure and taut. Once you cut the rods, the install part goes pretty quickly.
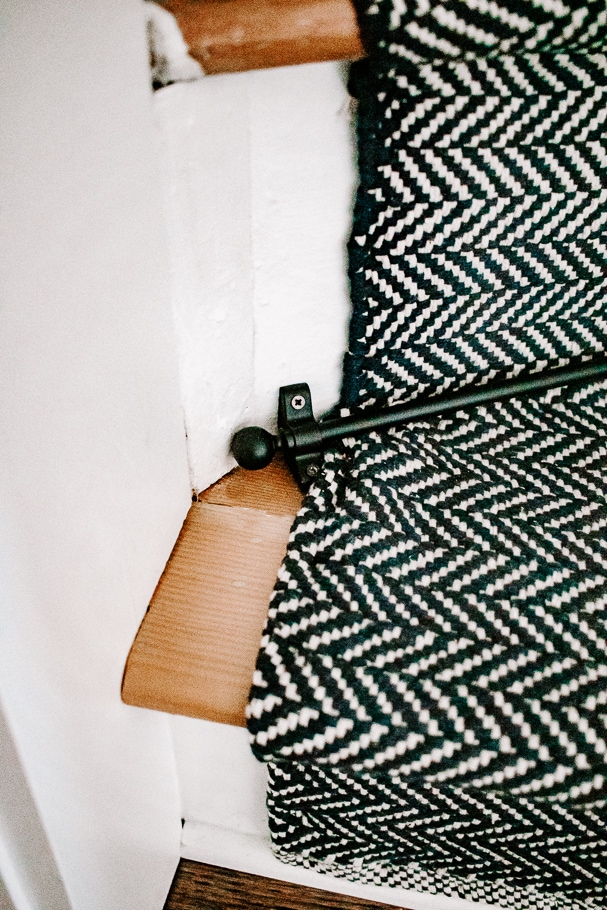
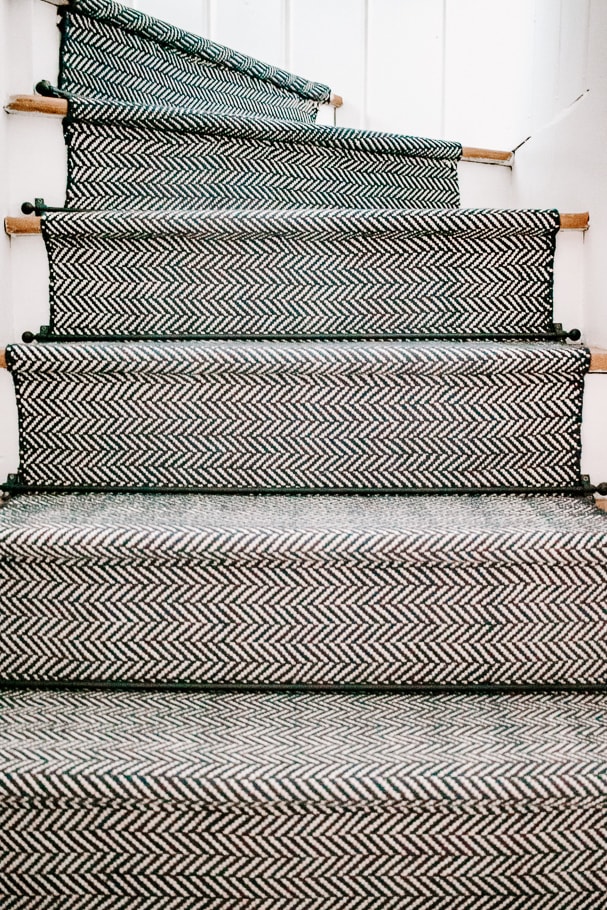
Is it totally perfect? Nope. But it’s safe and it looks great. I’ve learned to let go of perfection (or at least, I’m trying.)
Why did we install stair rods? For two reasons, mainly. To help hide the staples and bunchy parts of the carpet at the back of the step and to give our staircase a more authentic, decorative touch. After all, we live in a 1920s craftsman.
There are millions of stair rod options! We researched a bunch on Pinterest to see what stair rod look we were drawn to most. I recommend you do the same. Stores like eBay seem to have a lot of options at great prices. Rejuvenation is another good option if you have the budget.
Tips for Runner Install Success
Here are a few tips we want to pass along to you to ensure success with your stair runner installation.
- Order more runner than you think you need. You could even order a small throw rug as extra (in the same width), and then just use it somewhere else in the house if you didn’t need it here.
- When installing, be sure to PULL, PULL, PULL your runner as taut as you can. You want it to be snug. The runner will loosen a bit with time and use.
- Watch Youtube videos on this, it helps. (I’m sorry we didn’t make one!)
- If you have curvy steps or pie stairs, choose a solid-colored rug without a pattern for the easiest install. No lining up any patterns that will drive you crazy!
- We suggest laying the whole runner out on the staircase for a trial run before cutting or stapling. That way you can start to mentally figure out how to lay it all out. Well, unless you have straight steps you lucky dog! Then it’s easy as, well, pie.
- Measure twice – cut once. Don’t make our mistake.

And one more – HAVE FUN. In the end – it’s just a staircase. It’s just a runner. It’s just a bunch of stair rods. If anything, I hope this gave you the courage to move forward.
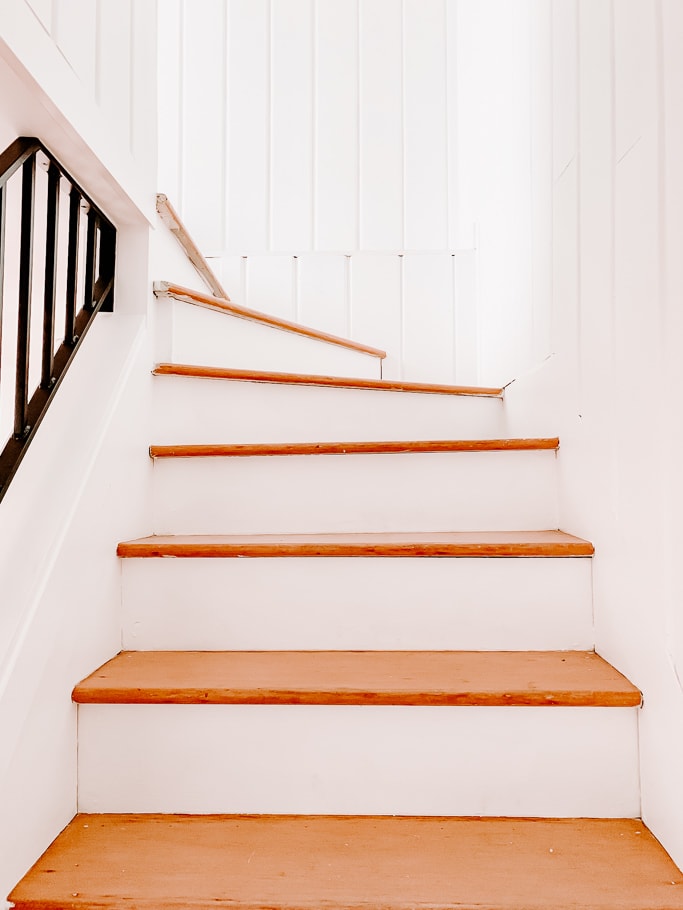
Here’s a quick before and after shot for you. (It’s ridiculously hard to get photos of a dark narrow staircase. I took the before photos in the summer. )


Be sure to tag me on Instagram if you have any questions or if you attempt this project. I would love to see!
Thanks for visiting today!
xo Karen


