Easy DIY Dog Bowl Stand from Scrap Wood
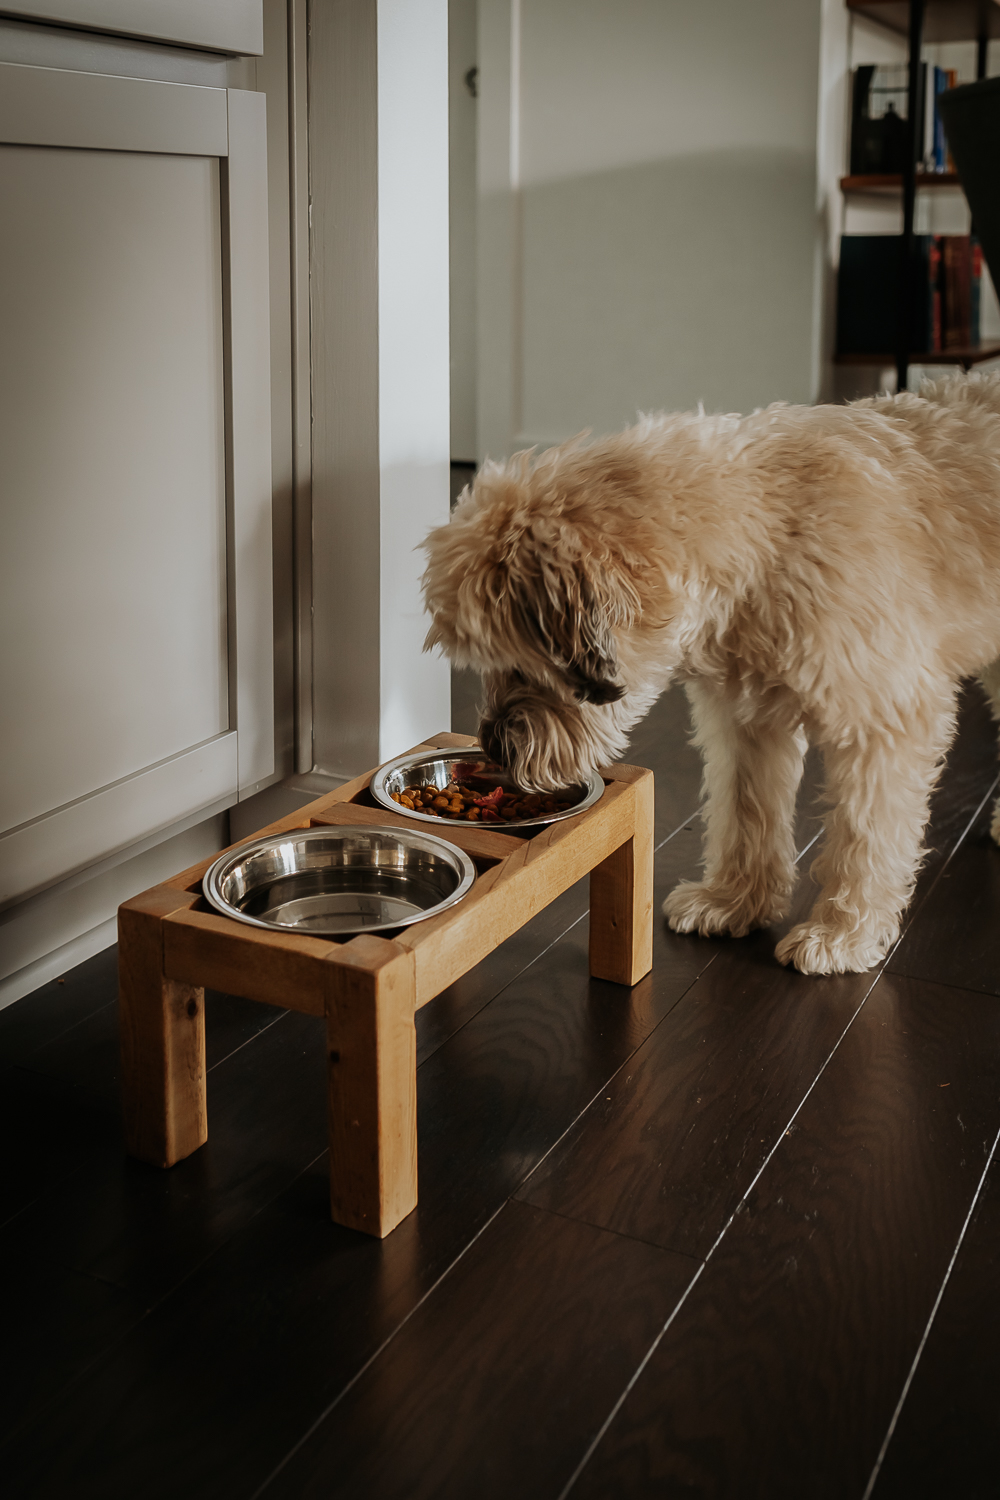
Our fur baby, Sasha, is getting older; she’s almost 13. I created this DIY dog bowl stand to make life a little more comfortable for her. She has some joint issues and the vet recommended we elevate her food and water bowls.
While you can purchase a dog bowl stand, creating one is cheaper and they can be customized to your liking. Maybe you can even carve your dog’s name in the wood as special touch?
Why make a dog bowl stand? Elevating your pets’ bowls has several benefits. It keeps the floor cleaner, makes it easier for pets to eat, and looks better. But, it’s important to note that elevated dog bowl stands aren’t necessarily the best choice for every dog. There are several aspects to consider, so it’s best to consult your veterinarian before proceeding this project.
If you do get the go ahead – let’s dive right in to this project!

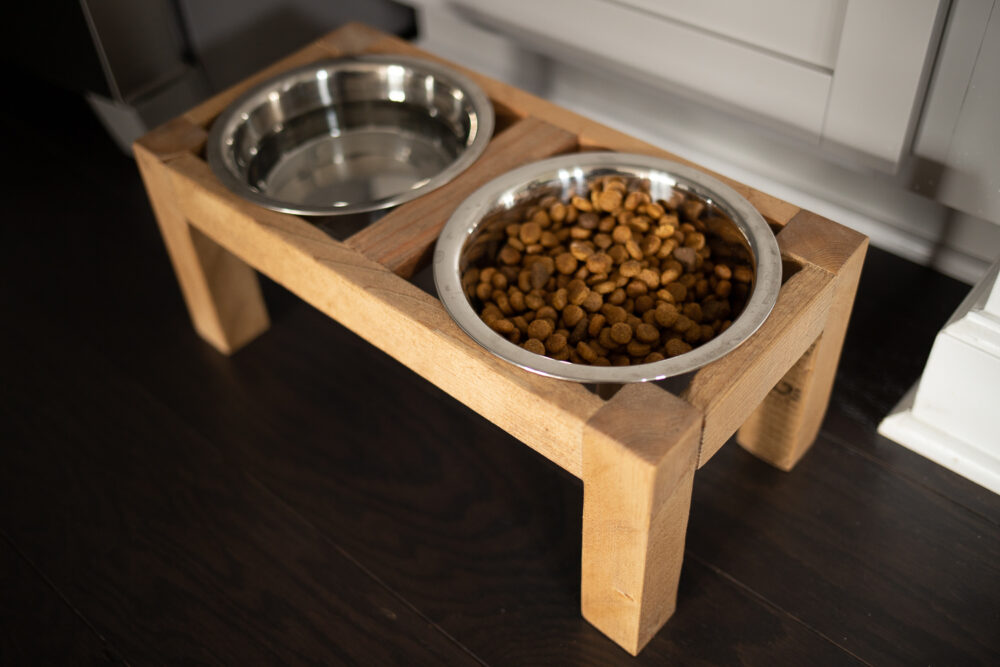
Things You’ll Need
- Wood (I used scrap pine and cedar)
- Dog Bowls with a lip
- Tape Measure
- Table Saw
- Orbital Sander
- Kreg Pocket Hole Jig
- Pocket Hole Screws
- Wood Glue (optional)
- Paint or Stain (I used Tung Oil)
- Optional: Dog Bowl Mat & Furniture Pads
Cut List
Determine how high you want your dog bowl stand. The height of the dog bowl stand should be based on how tall your pet is. The taller they are, the higher it will need to be off the ground and the longer the legs will need to be. The whole point is so they don’t have to hurt their necks to eat and drink, so make it comfortable for them.
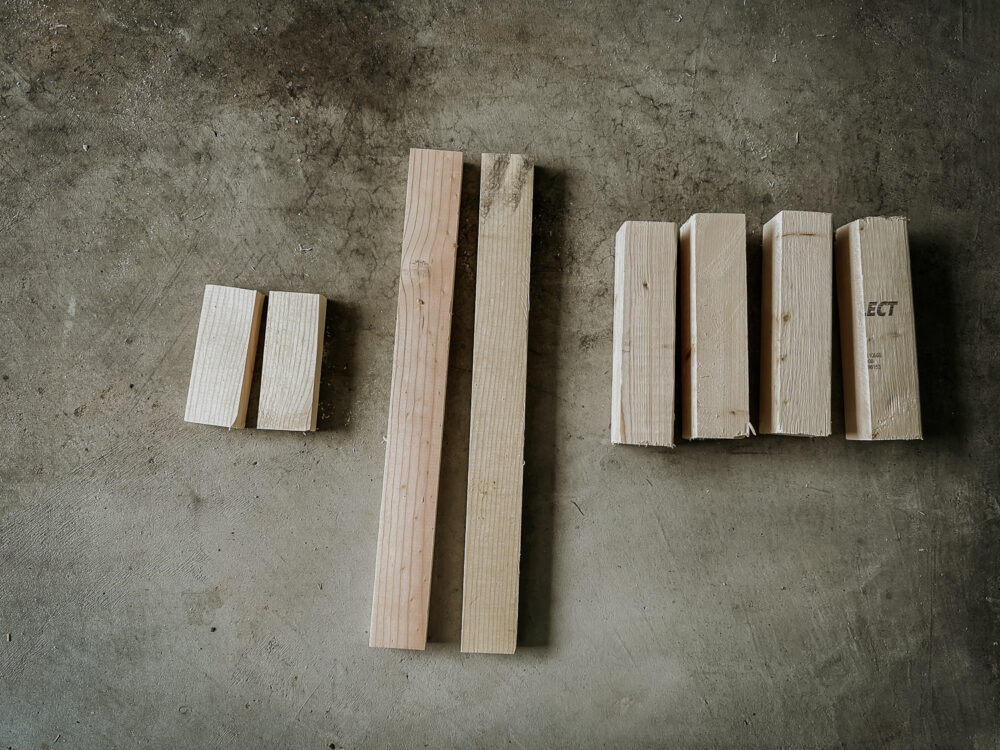
You’ll also want to measure the width and height of your dog bowls. Then, sketch out a drawing that would fit both bowls. The wood pieces you’ll need: four legs, two long and two short apron pieces, and a divider in the middle.
Here are my dimensions.
→ Dog Bowl Size: 6-7/8 inches round
→ Legs: 6-1/2 inches tall (1-1/2 inch wood)
→ Long Aprons: 1-1/2 wide x 12-1/2 inches (3/4 inch wood)
→ Short Aprons: 1-1/2 wide x 12-1/2 inches (3/4 inch wood)
→ Divider: 1-1/2 wide x 6 inches (3/4 inch wood)
Expert Tip: This dowl bowl stand works by having the lip of the dog bowls rest on the top. To complete this project, its recommended you use dowl bowls with a lip.
DIY Dog Bowl Stand Instructions
Make all your wood cuts first, then follow these instructions.

How to Build a DIY Dog Bowl Stand.
Total time: 3 hours
-
Drill Pocket Holes

Drill a pocket hole at each end of the aprons and divider pieces.
-
Assemble Dog Bowl Stand

I recommend attaching the short aprons to the legs first. Feel free to use wood glue at each joint for extra stability. Attach all the aprons to the legs using pocket hole screws.
-
Attach Center Divider

Determine the center of your dog bowl stand, and attach the divider piece there using another couple of pocket hole screws at each end.
-
Sand Dog Bowl Stand

Use an orbital sander for sanding the stand. Hot Tip: It’s easier to sand your wood pieces before assembly.
-
Stain or Paint

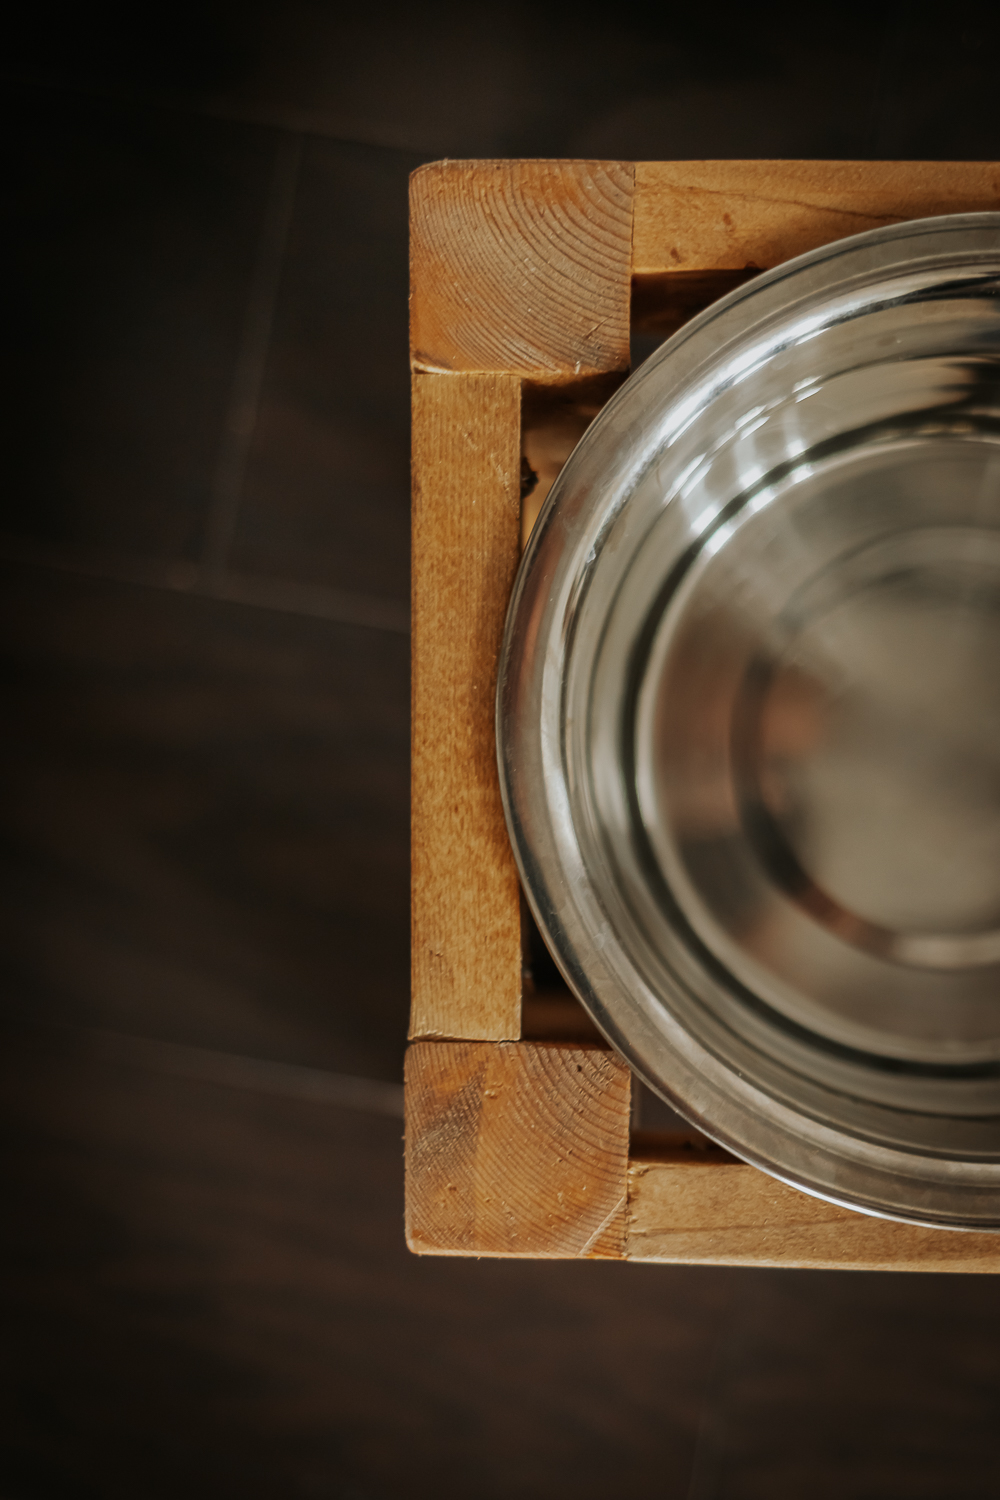
Stain or Paint your dog bowl stand. I stained it with Tung Oil, which is natural, food-safe, and doesn’t mold or go rancid. It also provides a waterproof finish. Give your dog bowl stand at least a few days to completely dry. Dogs’ noses are very sensitive! Once it’s dry – insert your dog bowls. The lip of the dog bowl should rest on top.
Final Result!
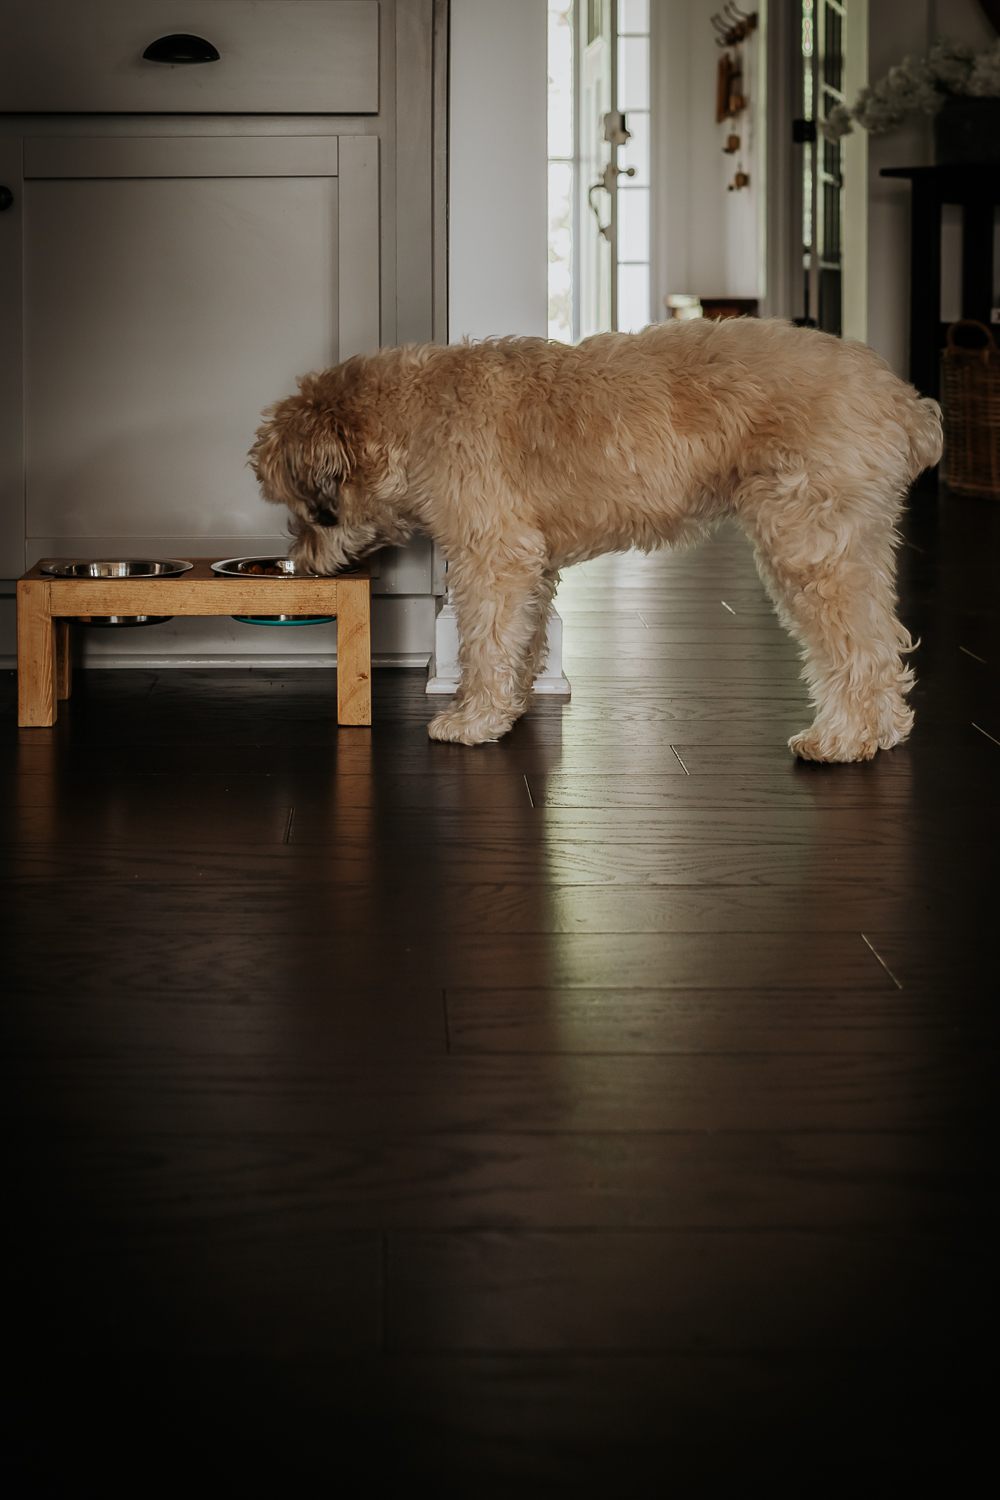
Sasha is now much more comfortable when she eats and drinks. And I’m much happier not having to look at an old Amazon box with dog bowls on top. I hope you give this easy wood project a try!

Frequently Asked Questions
How Do I Choose the Right Size and Height?
The size and height of the dog bowl stand should be based on the size of the dog. You want the bowls to be at a height that allows your dog to eat and drink comfortably, without having to stoop too low or stretch too high. Measure from the floor to your dog’s mouth when he/she is standing. Make the height of your bowl stand slightly lower than this measurement, give or take. You know your pup best! TIP: If you find you’ve made it too low, you can apply sticky pads to the bottom of the legs to give it a boost.
Is This a Suitable Project for Beginners?
You will need to know how to use a Kreg pocket hole jig, but other than that this is a simple woodworking project for beginners!
How Do I Ensure the Stand Is Stable and Safe for My Dog to Use?
I’ll preface this by saying you know your pet best. If they are wild and messy eaters, you’ll want to make sure this stand is safe for them while also protecting your floors. I recommend buying a nonslip dog bowl mat and using furniture pads on the bottom of the dowl bowl stand legs for added stability.

