How to Distress Wood with Simple Tools

A tutorial to teach you how to distress wood using my favorite tools and stains.
If we could easily pick up reclaimed wood without spending a fortune, we would just do that. But it’s expensive and can be hard to find. In today’s post, I’m sharing all my tips and tricks for how I take a piece of pine wood (or other softwood) and turn it into something that looks vintage.
Don’t worry – you can’t really screw this up. This process is fun and you learn a lot as you do it. Let’s start with my favorite tools for the distressing wood. Some of them you probably have already!
Tools for Distressing Wood

Jigsaw
A jigsaw is a powered saw with a long skinny blade. The shape of the blade allows you to make more precise, intricate cuts and shapes out of shapes. It’s also very useful for distressing wood because it allows you to create gouges in the edges of wood and even cut out chunks here and there.
Hammer
A good ol’ hammer. Use the hammer part to create rounded divots in the wood, and then use the back part to create small nicks.
Wood Rasps and Wood Chisels
A wood rasp is an inexpensive hand tool for shaping wood. It looks like a metal file, almost similar to a zester that you would use in the kitchen. It’s helpful for creating ridges and shaping the wood so it looks uneven in certain spots. You can buy a wood chisel set that includes these tools.
Wire Brush for Drill
The wire brush attaches to your drill. It’s exactly what it sounds like; a wire brush made of metal. You can use this on it’s side or straight down to create lines and texture in your wood.
Orbital Sander and Sanding Disks
My favorite of the bunch! There is so much you can do with an orbital sander. I usually use this tool last because it smooths down the rough edges that may have formed when using the previous tools. One technique I always use with the orbital sander is rounding down the square edges and corners. This makes a huge difference and takes away that “I got it at Home Depot” square edge look to it. I recommend purchasing sanding disks from Amazon, they seem to have the best options for buying in bulk. And trust me – you will go through a lot of these! I bought a pack that includes 60/80/120/180/220 grit sandpaper.
Wood Conditioner/Stain/Finishing Wax/White Vinegar + Steel Wool
When working with woods such as Pine – using wood conditioner is a good idea so the stain goes on evenly. If you like the look darker edges, you can use a finishing wax after staining to highlight some of the dent marks and imperfections you created. Below, I highlight my favorite wood stains and go over a vinegar staining method too.
Best Woods for Distressing
I wanted to add a quick note about this since not all wood is ideal for distressing. Hardwoods such as oak, walnut, poplar, maple and mahogany will be more difficult to distress and are not the best choices here. The best woods for distressing are fortunately often the cheapest – Pine, Cedar, and Fir are good options. Also, softwoods usually come with flaws and knots that add to the character of the piece. Hardwoods like the ones mentioned above tend to be knot free.
If you want to make something aged, look for dinged up wood! Typically these are the pieces that people throw to the back and overlook. As long as it’s not bent or warped so bad that it will ruin the integrity of your project.
How to Distress Wood – Step by Step
Here’s how I do it. You don’t have to follow these steps in this order, but I highly recommend you sand LAST. With all of these steps – keep it to a random pattern for a more realistic look.
1. Create Gouges with Jigsaw

Use your jigsaw on an angle at the edges to carve those deep lines in the wood. You can also use it to gouge the wood. Don’t worry if you think you are doing too much damage – the orbital sander will take care of the rest later on. If you want more of an aged look – feel free to carve a little wood out. Don’t take too much and affect the integrity of the piece, but a little here and there will do the trick. The secret to this is to really randomize the spots and focus mostly on the edges.
2. Hammer Away

Take your hammer and just hammer away in spots. You will notice how this creates rounded divots and bumps in your wood. Again – random is key here! Flip your hammer over to the other side (the side that removes nails) and create a few gashes and nicks in the wood. These little nicks are really beautiful after staining. They stand out and give it so much character! You can also use chains, or different objects and hammer those into your wood to give it a different look. Be creative!
3. Chisel Away

Use your wood rasp or wood chisel set to create deeper lines in the wood or rough up the edges.
4. Wire Brush

The wire brush has a sanding effect, but if you really work this into your wood, you will notice that the grain pops out more and it creates texture and little lines in your piece. I use it straight down and also on the side. This is a great distressing technique that will add a ton of character. Make sure to wear a mask when using this tool as well as the orbital sander because it kicks up a lot of dust!
5. Sand with the Orbital Sander

Finally, my favorite tool! As I said before, I recommend you sand last to remove any sharp edges and smooth down the effects you already applied. This makes it look like it was more worn down over time rather than in just one hour! Use the orbital sander with a 120 grit along the edges of your wood to round them a bit and then work up to a 180/or even 220 grit for a smooth as butter finish.
6. Apply Wood Conditioner
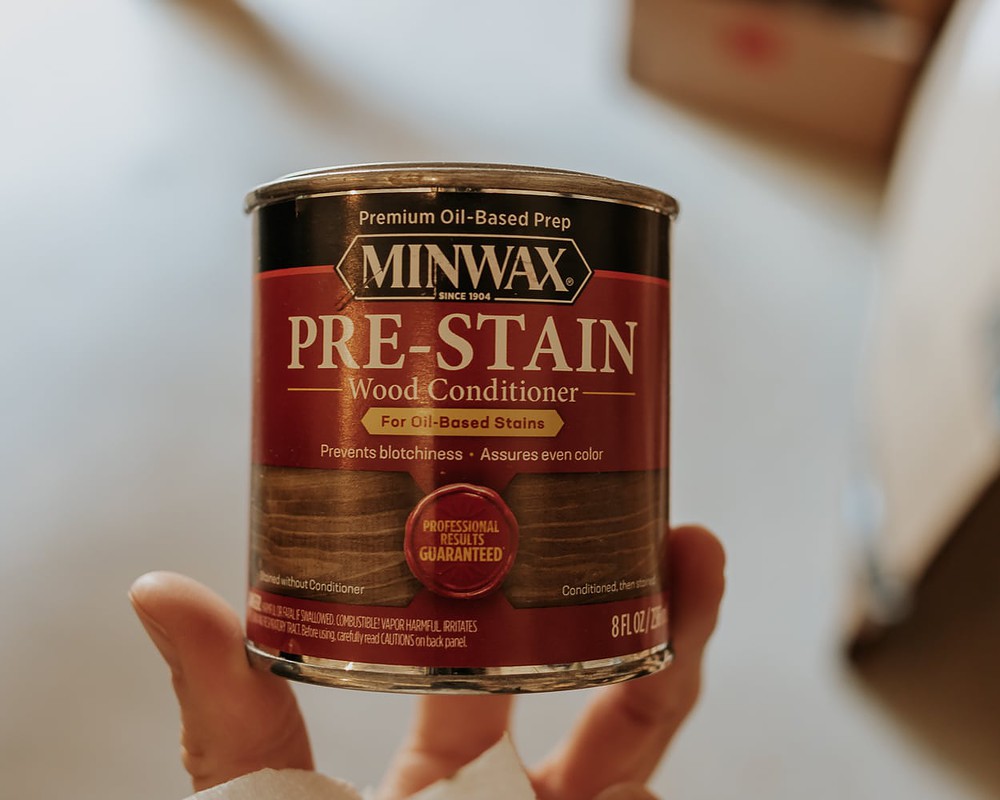
Minwax prestain wood conditioner is my new go to and really helps the wood stain go on evenly and more beautifully. No more streaky blotches to deal with! This is especially helpful when using soft woods, like Pine. You apply it to the wood and let it soak in for 5-15 minutes, then wipe off the excess with an old rag. You MUST apply your stain within the next two hours. Keep this in mind when using!
7. Apply Stain
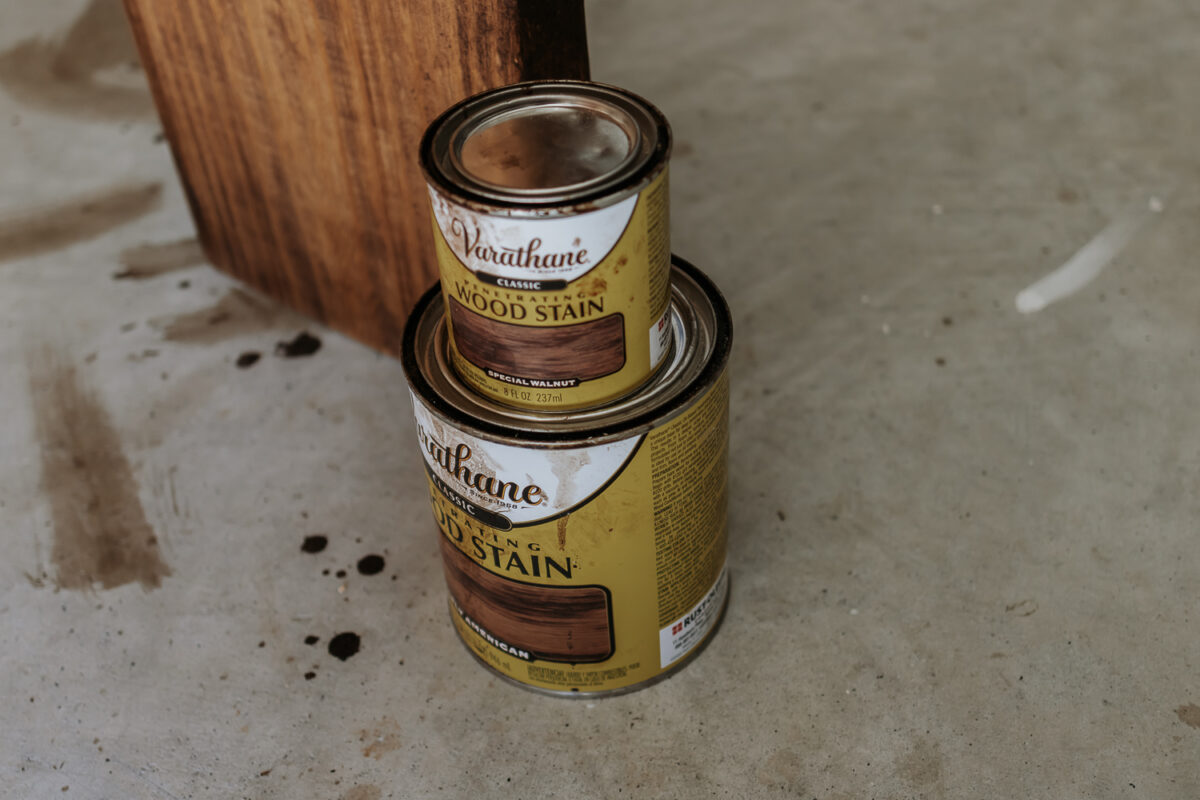
I like to use Early American for my vintage looking pieces because I love the warmth. If you like a lighter look, you can try weathered oak or golden oak, those are popular stains for Pine. Feel free to play around and mix stains and test them on a scrap piece of the same type of wood. A quick google search “different wood stains” will bring up some ideas and photos so you can get a better idea.
I apply stain with an old rag and sometimes even a white paper towel. This method will also soak up the excess stain as you rub it on. You can also use a paintbrush or foam brush and then follow up with a rag to remove the excess.
8. Finishing Furniture Wax
If you want to highlight those aged marks even more, consider wiping on a finishing paste wax. This will get into those lines and grooves and create a darker effect, making them pop.
9. Seal with Polyurethane
After your stain and wax dries, it’s important to cover it with a coat of polyurethane. While finishing wax is technically a type of sealant, it does not really waterproof your furniture. So if you are worried about spills and water rings, then you need a few coats of poly.
BONUS CONTENT: Vinegar/Tea Wash
Did you know that you can change the color of wood with just vinegar and steel wool? I’ve never done this myself but it’s worth trying if you are curious and it’s a more natural way to distress your wood.
Fill a mason jar with steel wool, then pour in vinegar so it covers the steel wool. Let it soak for a few hours (the longer you soak it, the darker the stain will get). The vinegar will make the steel wool dissolve. Then use this vinegar solution as you would any stain. Brush it on with the grain of the wood and watch it take effect! If the stain is not as dark as you want, you can follow with a second coat.
This plain vinegar/steel wool mixture will create more of a gray look, but you can also brew some strong black tea brush a coat of that on your wood to add in some more brown/warmth. The tannins in the tea mixed with the vinegar solution will give your wood a darker finish.
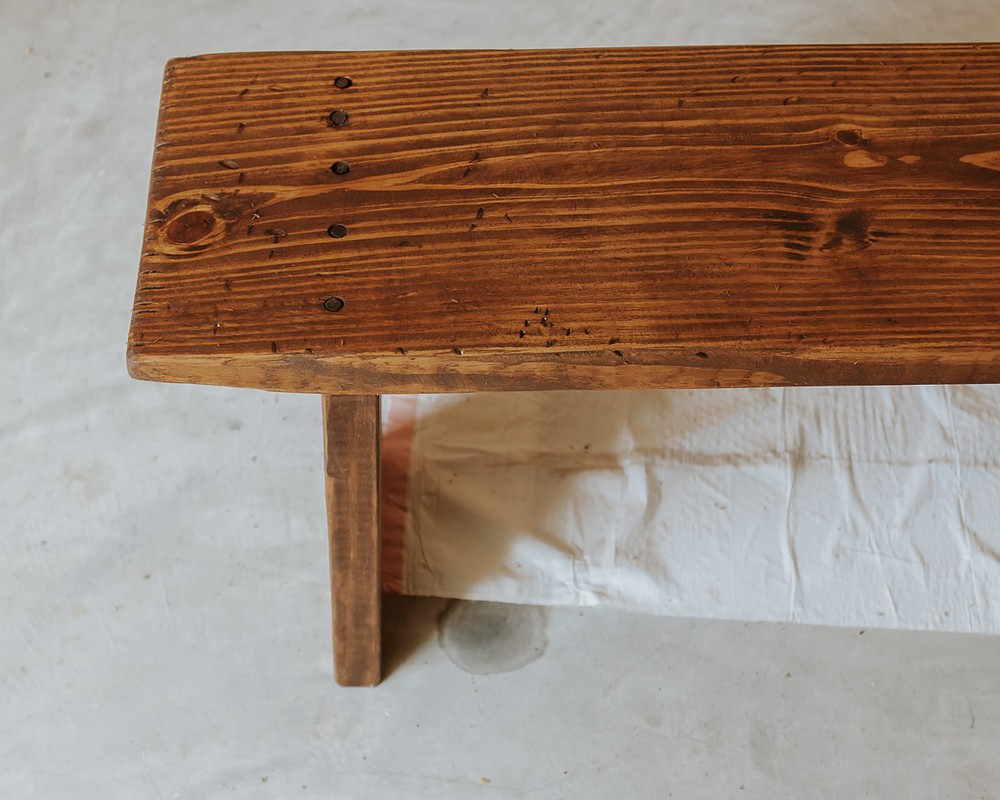
Following these steps will give you that gorgeous aged wood look that you will fall in love with! Check out how I made this end of the bed bench here.

Xo Karen


