Make this Stylish DIY End of Bed Bench for under $50

A tutorial for making an inexpensive DIY end of bed bench.
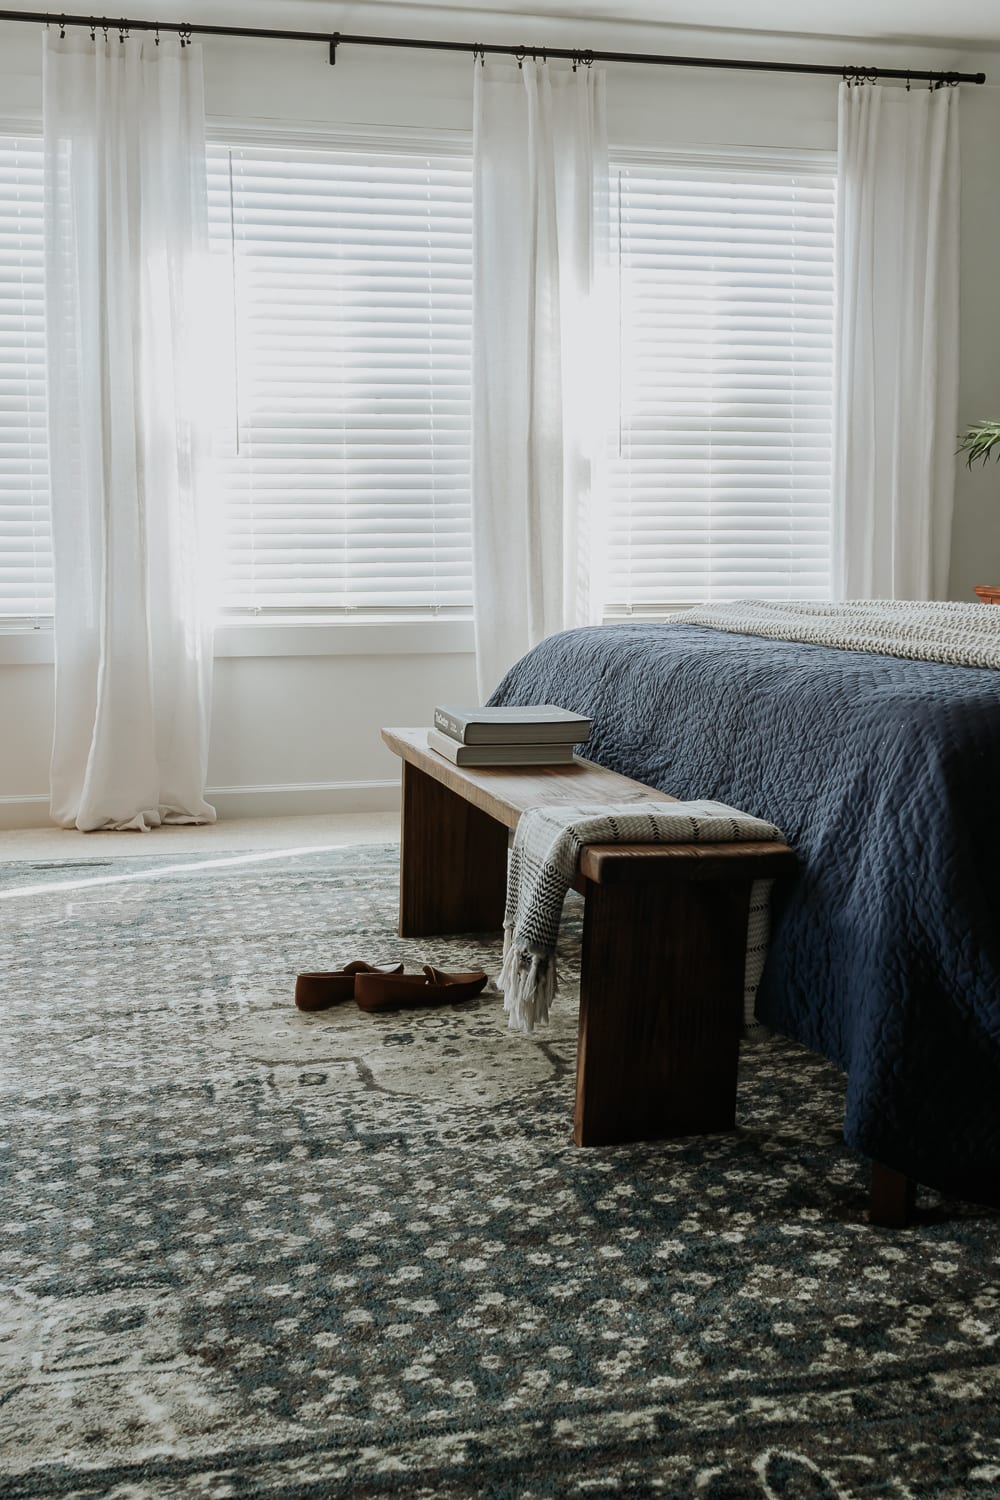
I’m so excited to present to you my next project : This rustic end of the bed bench! I’m slowly getting around to fixing up our bedroom and adding a little bench was one goal I had. We have a king sized bed and a pretty large room – so I needed something to take up space and visually add some interest.

This whole bench was made from TWO, yes TWO inexpensive pieces of lumbar. A 2×12 and a 2×8 to be exact. The 2×12 is for the seat and the 2×8 is for the legs. Honestly, you could use the whole 2×12 for the seat and the legs and keep it easy that way!
I only had to purchase a 2×12 since I had a 2×8 already in my scrap pile. Here’s what you’ll need to do this project.
Things You’ll Need
- Lumbar – 2x12x8 and 2x8x8
- Drill with Screwdriver Drill Bit and 1/2 inch Forstner Drill Bit
- 3.5 inch wood screws
- Wood Glue
- Tape Measure
- Level
- Square
- 1/2 inch wood dowels (I only had 3/8 inch as you will see in the photos)
- Table Saw/Miter Saw (you can also have the hardware store cut the lumbar for you)
- Orbital Sander and Sanding Discs
- Tack Cloth/Vacuum with Brush Attachment
- Prestain Wood Conditioner
- Wood Stain (I used Early American and Special Walnut
- Polyurethane
- Bar Clamps
Bench Dimensions: 60 inches long x 11.25 inches wide x 17.5 inches high.
Note: If you wanted additional stability with your wood bench, you can consider adding another leg in the center of the bench using the same method for installation as the other two legs. I opted to keep the bench more simple with two legs, and I don’t think we will sit on it too much, but it is totally up to you and worth noting.
DIY End of Bed Bench

A tutorial for making an end of bed bench.
Total time: 2 days
-
Cut Wood to Size

You will need to cut your 2×12 to 60 inches long for the seat. Then, you will have to cut two identical legs from your 2×8 (or 2×12 if using) at 16 inches long each.
-
Attach Legs to Seat

You can either do this part when the seat is upside down or laying on it’s side. You will need something to hold these legs upright in place while the wood glue dries. Here’s how to attach the legs. Determine what side of the wood you want for the top. Then, flip it so the underside is facing you. Measure 5 inches in from each side of the seat and make a line. Apply wood glue to this line and the top of each leg. Center each leg at this mark and clamp it in place. Use a square to ensure each leg is straight and at a 90 degree angle. You may have to use a couple shims/scrap wood pieces to hold it centered in place while the glue dries. Once the glue is dry, flip it right side up. Use a level to ensure your bench is straight. If it feels wobbly when you sit on it, you will have to flip it back over again and even out the legs as best you can. (The most time consuming part of this project for me since I used scrap wood legs).
-
Countersink Screws

To give the bench more stability, I wanted to install a couple screws through the seat into each leg. (You can also attach them via pocket screws if you want a cleaner look). But I just learned this new trick for hiding screws and wanted to try it out on this bench. First, make a mark on the top seat where you want each screw to go. I would not screw too close to the edge of the legs, it’s best to do this towards the center of each leg (ask me how I know). Drill a ½ inch hole with a fortsner drill bit at these marks. Try to make them all uniform in size. Then, drill a wood screw into these holes (they will countersink into the bench seat). We need a bit of sawdust to complete this step so we are going to sand our bench next.
-
Sand/Distress Bench

In order to get some sawdust, we need to sand our bench. We will also sand our bench again after we install the wood dowels in the next step. I used a 180 grit sandpaper and saved a bunch of excess sawdust from the cleanup. I also distressed my bench at this step following this tutorial.
-
Cut Wood Dowels and Insert into Holes

Let’s go back to those countersink (countersunk?) screws. To cover the holes, we are going to cut a ½ inch wood dowel to roughly the size of each of the countersink holes and wood glue them in place. IT’s worth noting that I only had 3/8 inch dowels and did not want to buy new dowels. So I made it work. Place a drop of wood glue carefully into each hole and use a toothpick to spread it up the sides of the hole. (Be careful not to get wood glue on the bench seat as this will prevent stain from absorbing into the wood.) Place your cut wood dowel in each hole on top of the screw. You may notice some space on the sides of each hole. We are going to fill in the sides with a bit of that sawdust from sanding. I just worked it in each hole until it felt like a tight fit. You can also light tap on it with a hammer or use an old brush to brush it in there. The wood glue will cause the sawdust to stick in place. Mine is by no means perfect!! But it really adds to the rustic character of the bench. This was my first time trying this technique and I will do better next time for sure. It looks cool though and the screws are hidden! Yay!
-
Sand Dowels Smooth

After our wood glue is dry, we are going to give them a good sanding with our orbital sander to make them flush with the bench seat. Remove any dust and debris with a vacuum brush or tack cloth.
-
Apply Wood Conditioner

Now we are ready to apply our wood conditioner. This is my new go-to step since it really does make a difference in how your stain is applied. Brush on the wood conditioner and allow it sit on the wood for 5-15 minutes. Then, using an old rag, wipe off the excess. You must apply your wood stain within 2 hours of using a wood conditioner.
-
Apply Wood Stain

For this bench, I went with my tried and true Early American and then mixed in some Special Walnut to darken it a bit. To apply stain, you can use an old rag or a brush to apply and wipe away the excess.
-
Protect with Polyurethane
Finally! Finally, the last step. Apply a few coats of matte polyurethane (or gloss if you want a shinier finish). Allow it to dry completely and you are done


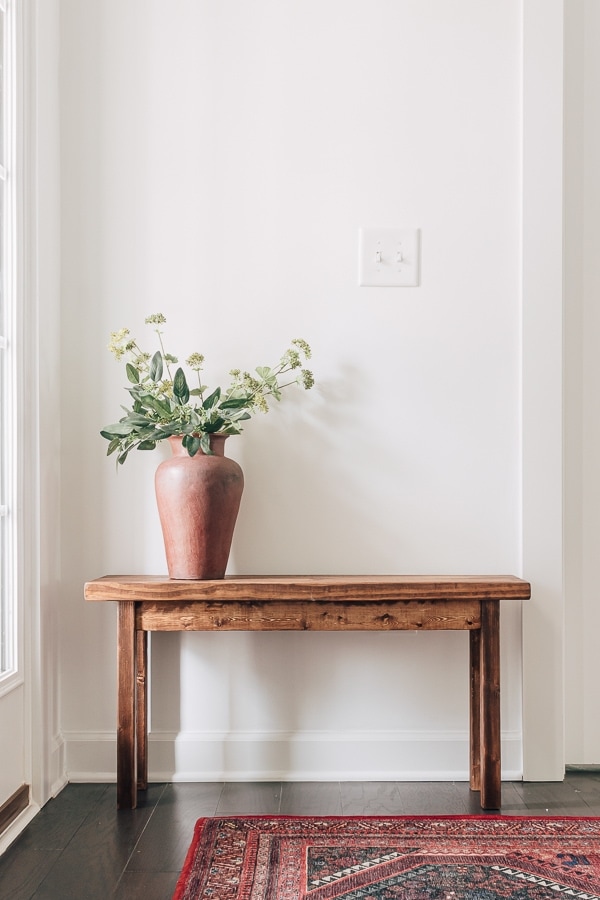
here’s how my bench turned out
Not sure how often we will actually sit on it haha, but I love the look. Maybe someday I’ll make a fabric cushion for the seat but for now it works. And come to think of it, this bench is not just for bedrooms – it works in entryways, mudrooms and even as an outdoor bench if you use the right wood materials!


By the way, if you are looking for a bench tutorial using a Kreg Jig, with pocket holes and pocket hole screws, you can check out this simple diy bench tutorial here.
Xo Karen


