DIY Mudroom Bench (with Beadboard & Coat Hooks)

This post contains affiliate links, which means we may earn a small commission if you purchase through them — at no additional cost to you. Please see our policy page for more details.
I’m so giddy about our latest project!
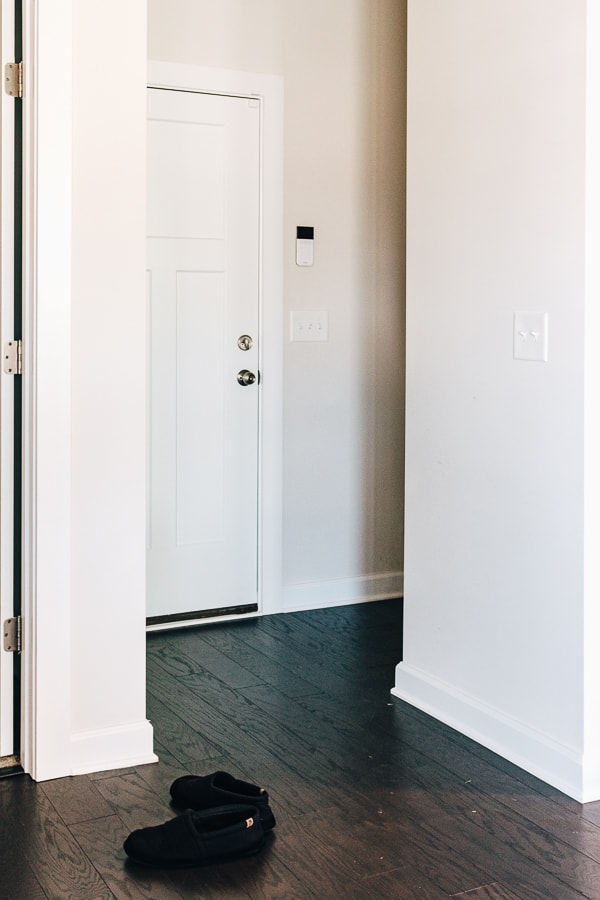
It’s this DIY “Mudroom” Bench area. I put mudroom in quotes because it’s not actually a room.
It’s a nook. A mudnook.
We have this little nook off of our garage that was sitting empty and just waiting for a little bench seat.
I wanted a place where we could sit to take on/off shoes, and a place to hang coats, purses, and bookbags.

Of course, that will come in handy when the kids actually go back to school.
I can’t wait to show you guys how we did this!
One disclaimer: We are not professional builders but we did consult with reputable online builder sources and videos for how to put this together.
Things You’ll Need
- Drill
- Stud Finder
- Brad Nailer and Brad Nails
- Construction screws
- Circular Saw
- Coat Hooks – we used these pretty ones
- 2x10x12 (for bench seat) See notes …
- 2x4x12 (for hooks and bench supports)
- Beadboard Panels
- Varathane Wood Stain and foam brushes for application
- Polyurethane
- Wood Glue or Construction adhesive (for molding)
- Orbital Sander
- Angle Brackets (aka L Brackets or Corner Braces)
- Painter’s Caulk
- Quarter Round Molding (for top and edges)
- Paint to match the trim
Note: The sizes of the wood will really depend on how big you want to make your bench seat area. For us, we just measured the inside of the nook. So I’m giving you the lumbar sizes that we used, you may need more or less depending on your actual bench size.
DIY Mudroom Bench (with Coat hooks)
Step 1: Apply Bead Board
Measure the length and width for where you will be applying the beadboard. We bought these panels of beadboard from Home Depot.
They come with a raw edge that you need to trim off with a circular saw. Home Depot might even be able to trim this off for you at the store.
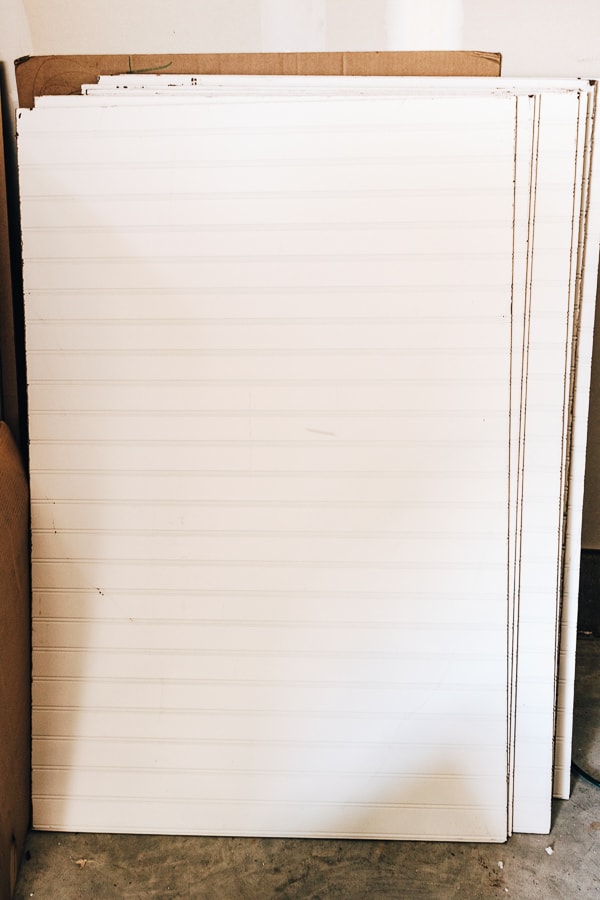


We lined up several pieces of beadboard on top of one another so they matched seamlessly, and used our brad nailer to secure them to the wall. Make sure you account for any electrical outlets.

Note: These beadboard panels come in taller heights, however, they wouldn’t fit in our car. Keep that in mind when you’re at the store. You can get them delivered to you as well.
Related: DIY Peg Rail (No special tools required)
Step 2: Caulk the nail holes and beadboard seams and then paint
We used some painter’s caulk to make the seams and nail holes look as inconspicuous as possible. After that, we applied two coats of paint that we had matched with the existing trim.
The paint really made the beadboard pop. You can hardly see the seams anymore.
Step 3: Install Supports for your Bench Seat
First, determine how high you want your bench seat. Bench seats range in height anywhere from 14 to 19 inches from the floor.
Our bench seat is exactly 18 inches high. So our supports (also known as cleats) will have to be slightly lower than this because our bench goes on top of the supports.

You will need to install two sturdy supports on either side to hold your bench.
First, we used the stud finder to find the studs. You really want these supports to be sturdy so drilling into studs is a must.

We used 2×4’s for the supports (cut to size) and then long construction screws to secure the supports to the wall into the studs.
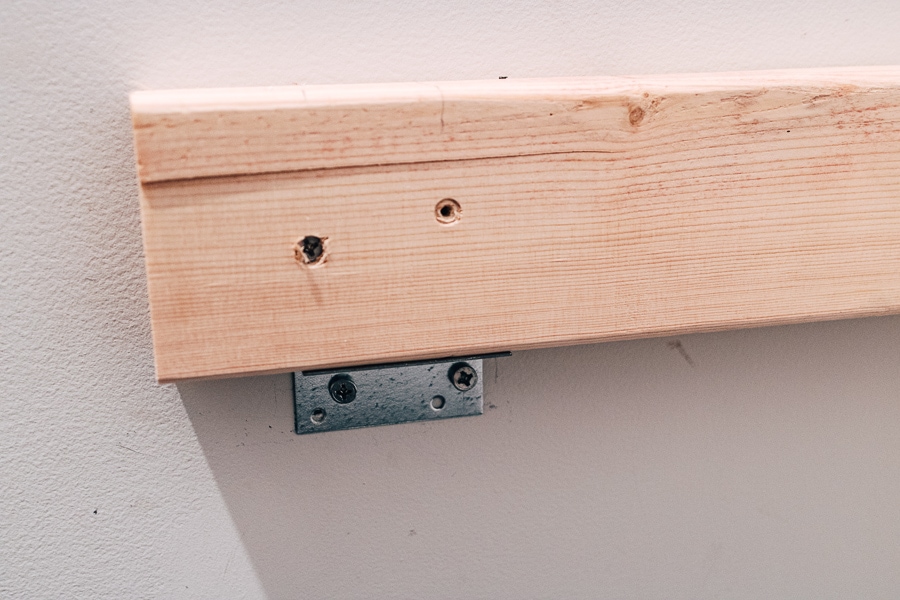
Just for added security, we used corner L brackets (also known as corner brace joints or angle brackets) on the back corners and underneath the wood supports.
Step 4: Cut and Stain Your Bench Seat
Measure the size of your bench seat.
Our bench seat consists of 2 pieces of identical 2x10s cut to size.
We also cut two pieces of 2×4. One will be used to finish off the front of the bench seat. The other will be used for our coat hooks above the bench seat.

Sand your pieces of wood using an orbital sander. Then, using a foam brush, apply your favorite stain to the wood. Apply stain in the direction of the wood grain.

We used Early American which is a Varathane Wood Stain. This is a really warm-toned stain which contrasts nicely with our dark hardwood floors. Love it!
After the stain dries, you will want to apply polyurethane to protect the wood.
Step 5: Install the Bench and Coat Hooks
Place your wood bench pieces on top of the supports. Using those corner L brackets again, secure the bench seat to the support underneath with construction screws.

Make sure to do this on both sides of the bench for each support.
You can also install a 2×4 board in the front to hide the supports underneath. Secure this to the wood supports in the front using a brad nailer. (You can’t really see the nail holes.)

We attached the other 2×4 wood board for the coat hooks to the wall on top of the beadboard (exactly over the beadboard seam so it hides it!) You may need longer screws to go through the wood, beadboard, and wall area.

We used several long construction screws all the way across the board. Then, we attached five coat hooks over the screws to hide them.
Step 6: Install your Trim Pieces
Final step! We cut and measured the molding to fit the sides and top of the beadboard and hide the ugly edges. I gave each piece of cut molding a quick coat of paint (the same paint we used for the beadboard.)

Then, we installed each molding piece using construction adhesive.
That’s it!
We may eventually add a shelf on the top, but for now, we are keeping it as is. We can’t really reach up there anyways. 🙂
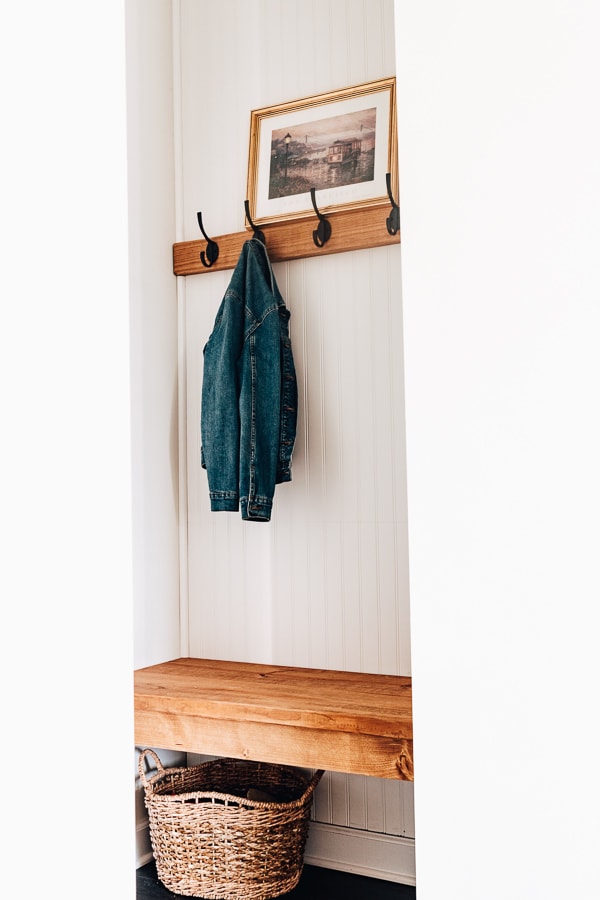

This bench seat is so convenient and I can’t wait to see my kids use this more when school starts again.
I added a simple basket underneath to hold shoes. I also want to add a little doormat too!


That little nook was just wasted space but now is a handy little mudroom area for us. I encourage you to try this! Again, we are not professionals. Just a mom and dad with a drill and a penchant for Home Depot.
If you have any questions, feel free to drop me a line or DM on Instagram. Good luck!
Xo Karen


