Simple and Inexpensive DIY Entry Table Tutorial

Do you love the look of wood console tables but don’t want to spend a fortune on one? Well, you’re in luck. In this tutorial, we will show you how to make a DIY entry table for a fraction of the cost.
This table is easy to make and can be completed in just a few hours (fully completed in about two days to let everything dry). Follow our step-by-step instructions and you will have a beautiful new piece of furniture for your home.
We have this very specific-sized wall in our entry that I’ve been looking to fill with a rustic console table or one of those pretty vintage dressers. My husband did not like the dresser idea. So, console table it is.
I’ve been checking all my favorite shops like Wayfair, Facebook Marketplace, and local thrift stores for a while now. But I couldn’t find something to fit these exact dimensions while also having the exact look and color that I wanted.

I was tired of waiting, so I decided to create my own. I documented all the steps here so you can follow along and build one yourself. I constructed this entire table using the pocket holes (more on this soon), but I can assure you this is not hard to make.
I went a little bit risky on the stain! I stained it True Black by Minwax. Trying to match our round entryway mirror (which is acacia wood, I think?) is quite a challenge. It’s kind of a reddish, brownish, and a bit of orange color. My typical go to stains (like Early American or Special Walnut) were going to clash with it. So instead of matching it, I decided to try and complement it with black.
Finally, I have an entry table!!! This project is perfect for anyone who wants to create an inviting entryway (without shelling out hundreds of dollars). So let’s get started.
Things You’ll Need
- Pine Wood: 1×12, 1×10, three 2x3x8 inch boards
- Table saw / Miter Saw / Hand Saw
- Drill
- Orbital Sander with 80 grit and 220 grit sandpapers
- Kreg Pocket Hole Jig (I have the 320)
- Pocket hole screws (1.5 and 2.5 inches)
- Tape Measure
- Pencil
- Wood Glue
- Clamps
- Tack Cloth
- Wood Stain (I used Minwax True Black)
- Polyurethane
- Old Rags and foam brushes for applying stain and polyurethane
- Safety Goggles, mask, safety gloves
Entry Table Dimensions: 46 inches x 11.25 inches x 30.5 inches
DIY Entry Table Instructions

a tutorial for creating a DIY entry table with inexpensive Pine Wood.
Total Time: 2 days
-
Make Wood Cuts
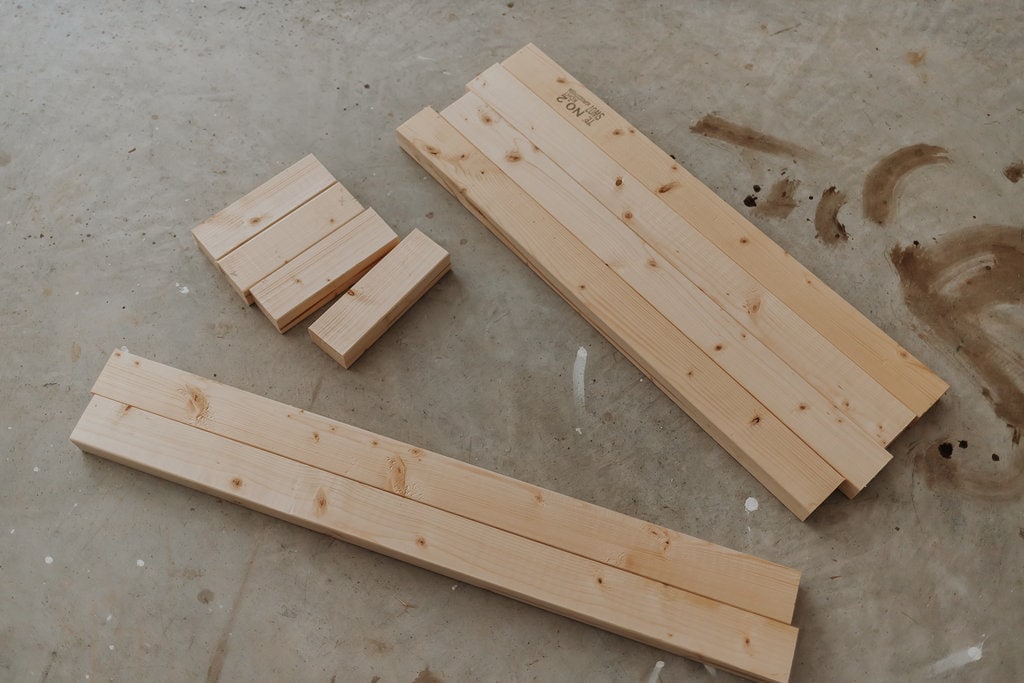
You will need the following cuts of pine wood to create this table.
–1×12 cut to 46 inches long
–1×10 cut to 7.75 inches wide and 40 inches long
–2×3 – make four legs at 30 inches long each
–2×3 – make four small aprons for the sides at 7.75 inches long
–2×3 – make two longer aprons for the front and back at 34.5 inches long -
Create Pocket Holes

Using your Kreg Jig, we are first going to create 2 pocket holes on either side of each apron. Since we are working with all 2x3s, we will set our Kreg jig to 1.5 inches and the stop collar on the Kreg drill bit to 1.5 inches. From there, you can clamp the jig onto your wood and start drilling your pocket holes.
Second, we need to create a few extra pocket holes in each of the LONG aprons so we can attach the top to them. Since we have a 2×3 that will be adjoined to a 1×12, we need to set our Kreg jig to 1.25 inches and our stop collar to 1.25 inches. (I don’t have this marking on my 320, so I guessed where it would be. It worked out.) Take a look at the picture to see all the pocket holes and their placements.
-
Assemble the legs

Yay! We are ready to start assembling. Please read this whole paragraph before starting, as there are important things to know upfront. First, make sure the 3-inch side of your leg is facing towards the front of the table (otherwise your measurements will be thrown off). Second, you will use 2.5-inch pocket hole screws and the pocket hole driver bit that comes with the Kreg jig to attach the two aprons to the two legs. The top apron is flush with the top of the legs, the bottom apron is attached 14 inches from the top. Make sure the pocket holes are facing inwards. Third, set the clutch on your drill to prevent overtightening your screws. This is important with pocket hole screws.
By the way, Kreg has amazing tutorials on their website.
Tip: You might want to put a small shim under the apron while installing the pocket hole screws to keep everything nice and flush. I used my square. This is because the screws can push your wood outward so that it sticks out farther than the legs a bit. We don’t want that. We want everything nice and flush.
(see additional pictures for reference).
-
Attach the Long Aprons to the legs

Attach the long aprons to each set of legs using 2.5-inch pocket hole screws. Now we have our entry table base.
-
Attach the Top Table

Set your 46-inch 1×12 table top on the ground and then your entry table base upside down on top of it. Make sure everything is lined up the way you want and centered. I wanted the top to overhang on the sides and front, so I made the back of the table top flush with the back of the table base. This also makes it easier to put together (and will allow your table to sit flush against the wall later on). Clamp everything together to ensure it doesn’t move around. Use 1.5-inch pocket hole screws to attach the tabletop to the table base.
-
Attach the bottom shelf

Finally, attach the bottom shelf to the bottom aprons. I used wood glue and clamped it all together for 24 hours. You can also just lay the piece of wood on top and not attach it. It won’t go anywhere. And this leaves you the open to remove it in the future if you don’t want it. You could also try and put a pocket hole in the center and attach it that way (which I was thinking initially, but then scraped that idea for wood glue).
-
sand your table
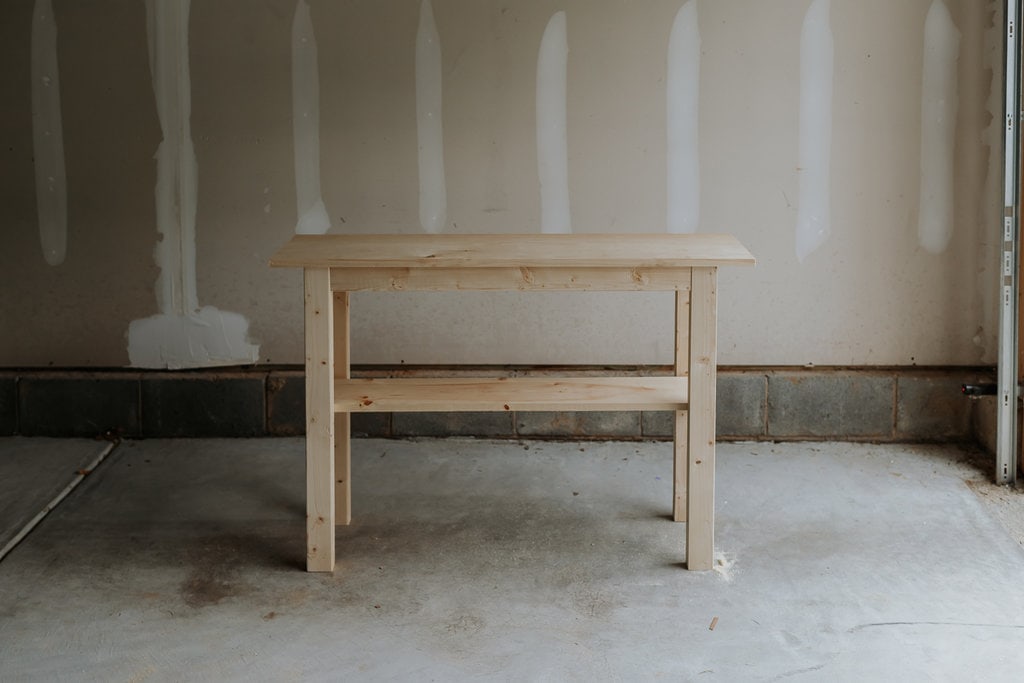
Use an orbital sander and 80 grit sandpaper to remove all the rough edges from your table. You can round the edges a bit as well. Then, follow with 220 grit sandpaper to prep your table for staining. Remove sanding dust with a vacuum or tack cloth.
-
apply wood pre-conditioner
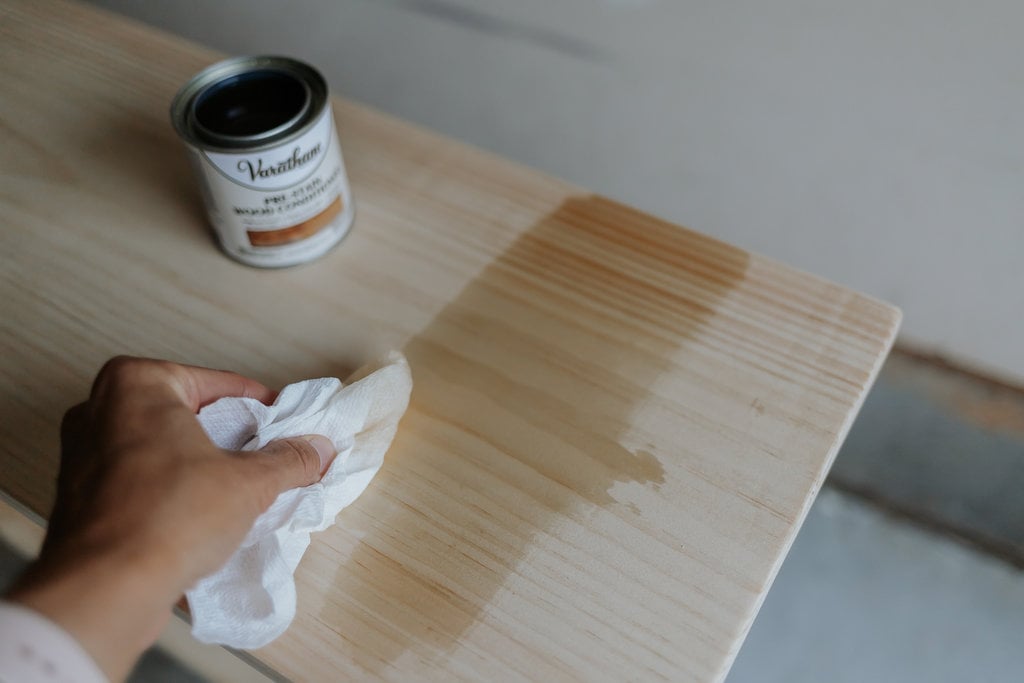
Applying a pre-conditioner will prevent blotchy-looking stains. This is especially important when working with cheap pine. Minwax and Varathane make a pre-conditioner that works with oil-based stains. You wipe it on, leave it for 15-30 minutes, then wipe it off. Follow the specific directions on the back of the can. You can apply the stain the same day.
-
stain your table

This is the fun part – staining. This is my art. I decided to take a risk and apply True Black by Minwax. Yes, it’s dark. But it’s dang gorgeous. The grain of the wood still shows through and it’s so beautiful once it dries. It makes crappy pine look like a West Elm piece! I applied two coats of stain, allowing the first coat to dry for about 24 hours before applying the second. You could probably get away with one coat, but two coats just makes it look richer and more finished.
-
seal your table
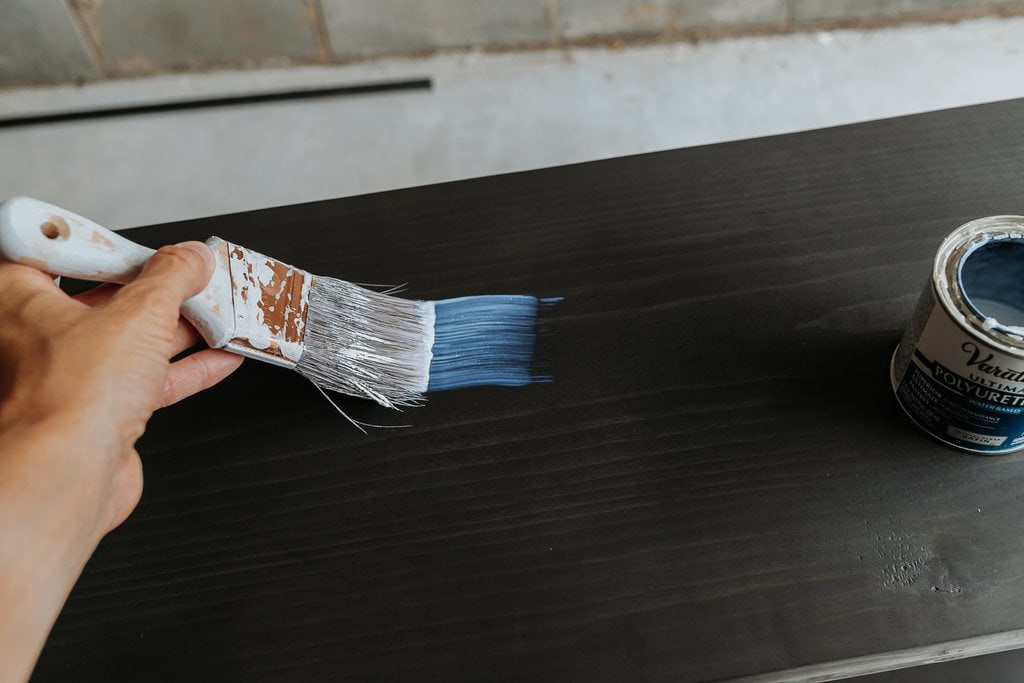
Once your table is stained, you need to seal it to protect it from spills, kids, pets, etc. I used Minwax Wipe-on Polyurethane in Satin. You just wipe it on with a brush and let it dry. I applied two coats, again letting the first coat dry for at least four hours before applying the second. Then, I let everything dry for 24 hours before bringing it into the house.
additional project photos


And that’s it! Your beautiful entry table is complete. Enjoy!

Now that you have your beautiful entry table, you might want to consider adding a few finishing touches. A lamp, vase of flowers or a pretty tray with some candles would look great on top.

You could also add decorative objects (like beads) and some leaning wall art with a mirror to make your entryway pop.

I love stacks of books and cool-looking rustic bowls. Whatever you decide, your entryway is sure to look amazing. A beautiful entry table for less than $50? I’ll take it!


