Affordable Wooden DIY Laundry Room Countertop

An easy DIY Laundry Room Countertop for less than $50.
I’m back today with another ORC update! This is my second One Room Challenge – you can check out my first one, our kids playroom makeover here. I have made so much progress on our laundry room makeover for the One Room Challenge. I’ve been working on it so much that I actually didn’t have time to post about it.

One of the big projects I mentioned (that I wasn’t sure if I could get done) was a laundry countertop over my washer and dryer. And I finally did it! Instead of using a big sheet of plywood for the top, I just wood glued a bunch of 1x10s together. This kept the cost down and was a lot easier to manage. In fact, this whole project cost me less than $50 for all the wood materials.
A quick note about our laundry room. Our washer and dryer are not fully surrounded by walls (which you typically see in a laundry hall closet). So we had one completely open side that I needed a support for. I chose to use a 2×4 piece of plywood as the side piece/support. This side piece does not go all the way back to the wall, I have a piece of furniture blocking the open space in the back and I still get access to the plugs behind the washer and dryer.
If you want to make a wood laundry counter, then read on.
DIY Laundry Room Countertop
Things You’ll Need
- Wood Supplies: 1x10x6 ( I used 4 but cut one in half horizontally), 2×4, 1/2 inch 4×2 plywood (for the side)
- Tools Needed: Circular Saw or Table Saw, Drill, Orbital Sander with 80 and 220 grits, Stud Finder, Level, Tape Measure, 36 inch Bar Clamps, Level
- You’ll also need: 3 inch Wood Screws, Wood Glue, L-Brackets, Tack cloth, Wood Stain or Paint, Polyurethane (I used Clear Gloss)
- Safety First: Safety Goggles, Protective Eyewear, Gloves
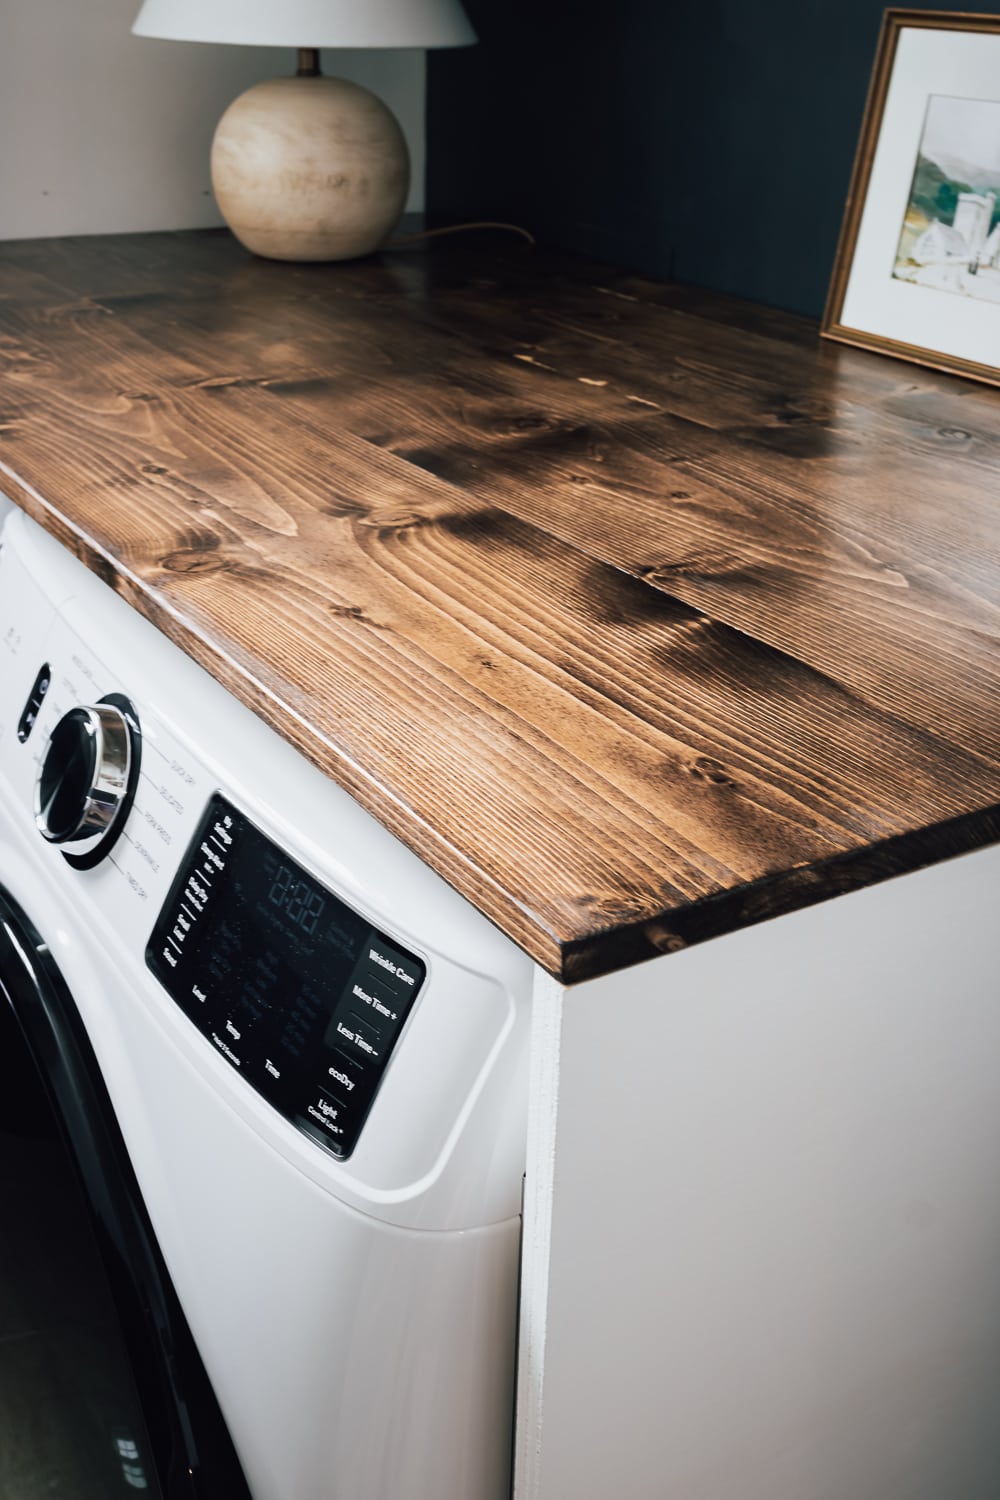
How to build a wood countertop over your washer and dryer.
Total time: 3 days
-
Measure and Cut 1×10 Boards to Size
Measure the width and depth of your countertop. I chose to leave a 1-inch gap on each side and above the washer dryer. Cut your 1×10 boards to this dimension (remember that you are gluing them together to make the width).
-
Measure and Cut 2×4 Supports to Size

For the wall sides, you need 2×4 wood supports that will hold the countertop up. These wood supports, also called “cleats”, will be drilled into the studs. Measure the length along each wall to determine the length of your cleats. Then, use your saw to make the cuts at these dimensions.
-
Wood Glue Boards Together

This part is a bit tricky and takes some setup, but then you can just let it go until it dries. Line up your 1×10 boards and them together with wood glue. Ensure that they are lined up evenly and straight on the top. You’ll want to use at least 3 bar clamps to hold your boards tight together while they dry. You can use 2×4 wood pieces and clamps to weigh down the top so it doesn’t bow. Make sure to wipe off any wood glue that seeps through the cracks (this will prevent the stain from adhering). Allow your wood top to dry 24 hours.
-
Find The Studs And Attach Cleats To Wall

While the top is drying, we can work on the supports. Use your stud finder to find the studs along the walls that surround your washer and dryer and mark the placement with your pencil. Decide how high above the washer and dryer you want your countertop. Then, use your drill and 3-inch wood screws to attach the cleats to the wall into the studs. Use a level to ensure the cleats are attached straight and even all the way around.
-
Sand and Stain Wood Top

Once your wood top is fully dry and set, you can sand it down and stain it. I started by using 80 grit sandpaper to sand the top and sides smoothly. Then, I followed up with a 220 grit to remove any sander marks and finish it up. You’ll want to remove sanding dust with a shop vac or tack cloth. Then, stain it. You can also just paint the top, or leave it natural. Allow the stain to dry.
-
Apply Polyurethane to Wood top

Once your stain is dry, it’s important to cover it with at least three coats of polyurethane. Especially since you might be dropping wet laundry on it at some point. I sanded very lightly in between each coat of Poly. I also used a clear gloss finish.
-
Attach Countertop and side Support

Move your beautiful new countertop into the laundry room and set it on top of your supports. You can use a 2×4 to hold up the last side while you build the support. I measured how high I needed the support to be and then cut my plywood to that dimension.
I attached it to the wood countertop using 4 L brackets underneath and wood glue. Use a level to ensure the top and side support are straight. (As a last step, I painted the exposed side and front white.)
-
Set Countertop Into Place

Final step folks!!! Move your countertop carefully into place over the washer and dryer. It should fit snuggly on your support cleats. You are done!
Final Thoughts
If you want to, you can attach the counter to the side supports/cleats. I chose to not do this for several reasons:
- I didn’t want screws showing on my wood countertop.
- I find my countertop doesn’t move at all.
- I still want easy access to the plugs behind the washer and dryer.
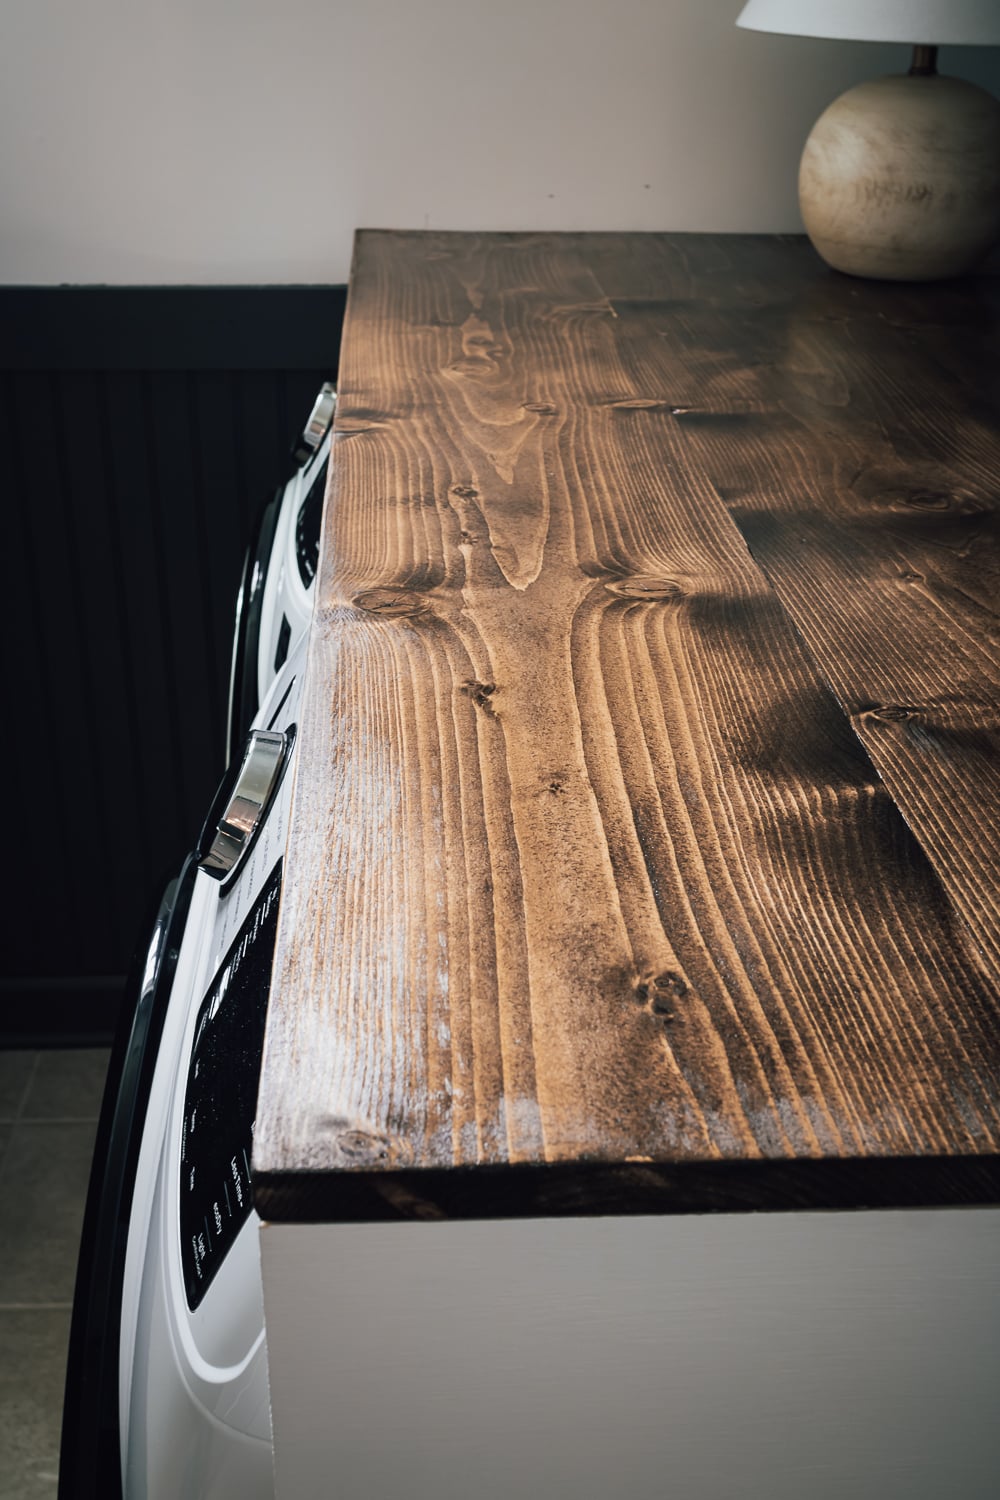

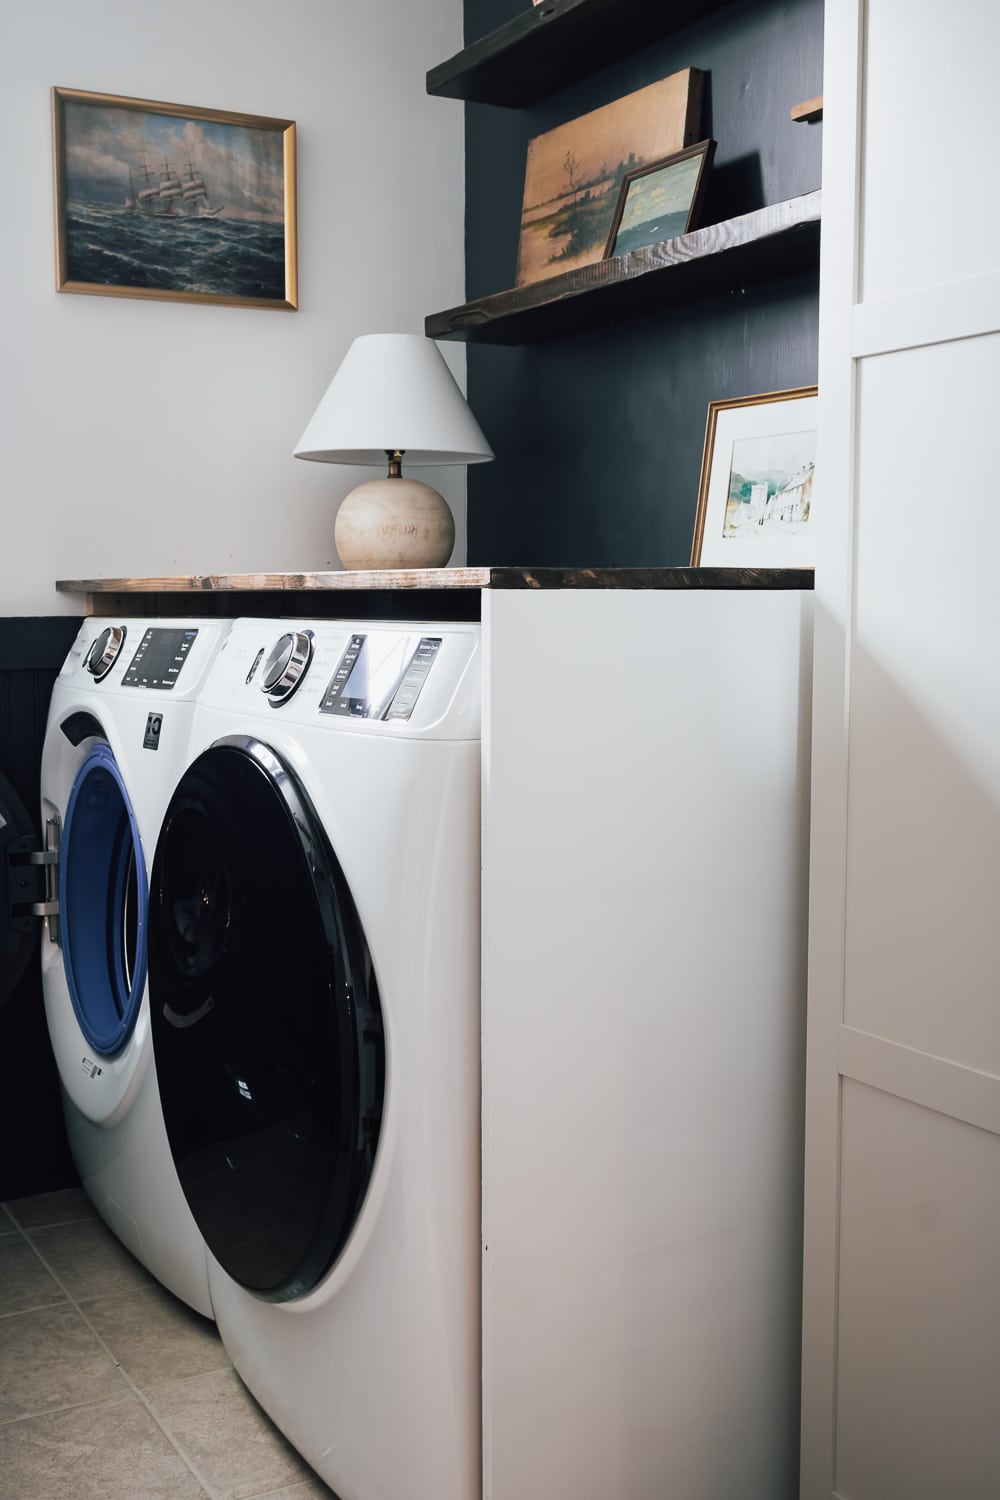
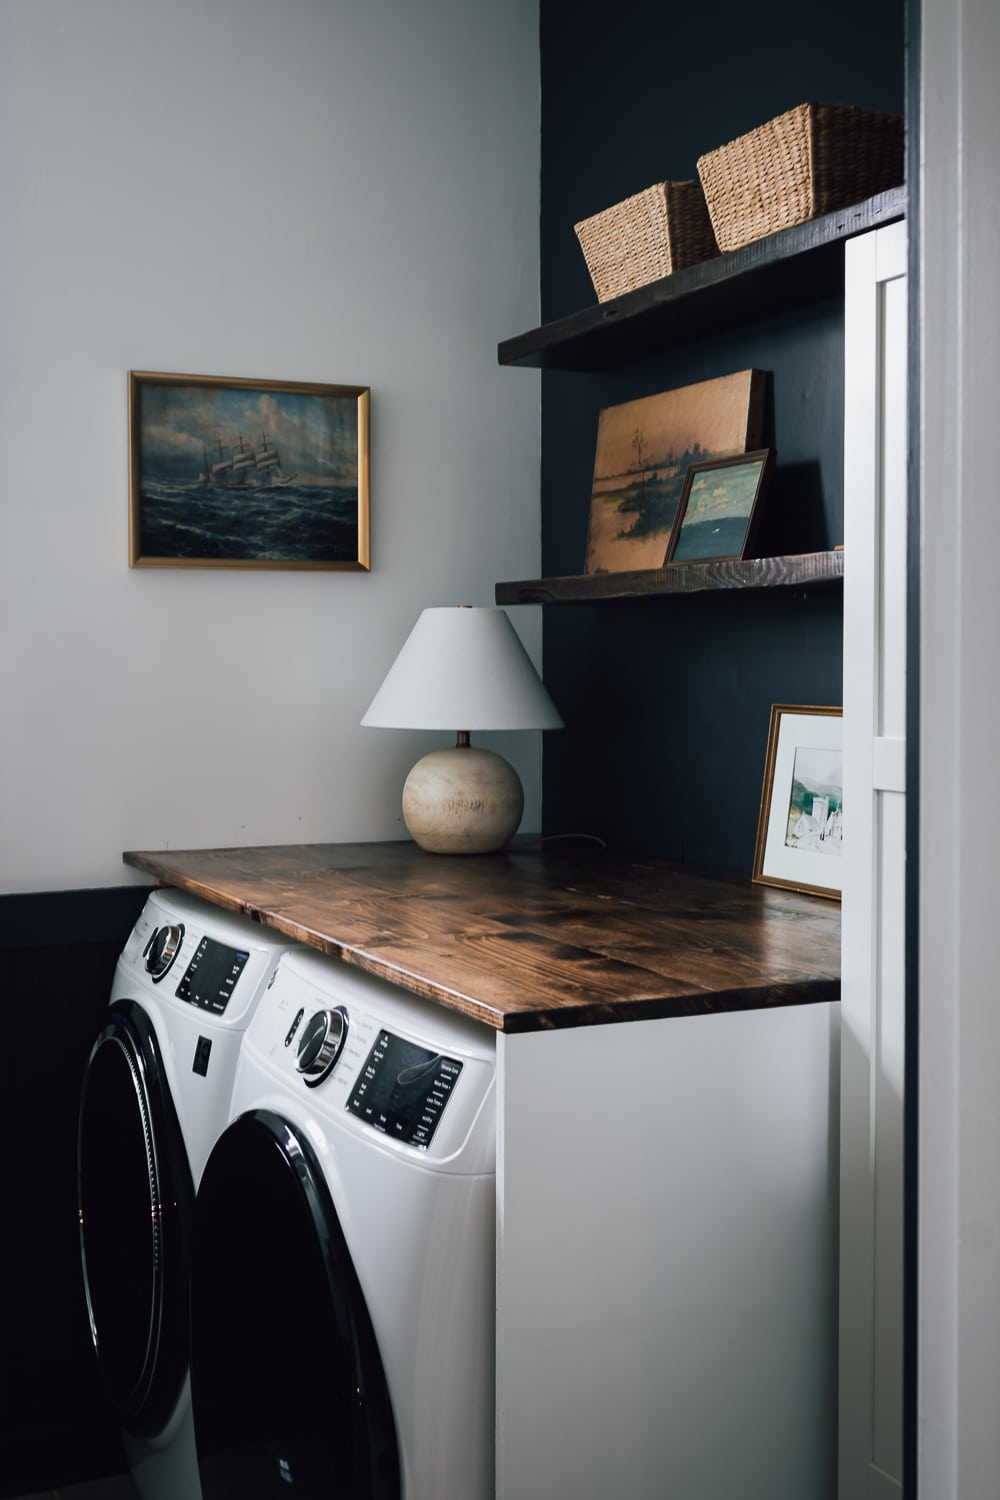
But overall I LOVE having a countertop over my washer and dryer. I can’t wait to show you guys the rest of this finished space. Stay tuned!
xo Karen

