How to Create Pretty Macrame Mason Jars

This post contains affiliate links, which means we may earn a small commission if you purchase through them — at no additional cost to you. Please see our policy page for more details.
Make these rustic macrame mason jars for your decor.
So you’ve mastered some of the basic macrame knots and you’re ready for a unique project to show off your skills.
This macrame project is perfect for you because:
- It uses regular mason jars (and I’m guessing you might have a bunch of those somewhere)
- It uses basic macrame knots – nothing complicated here folks.
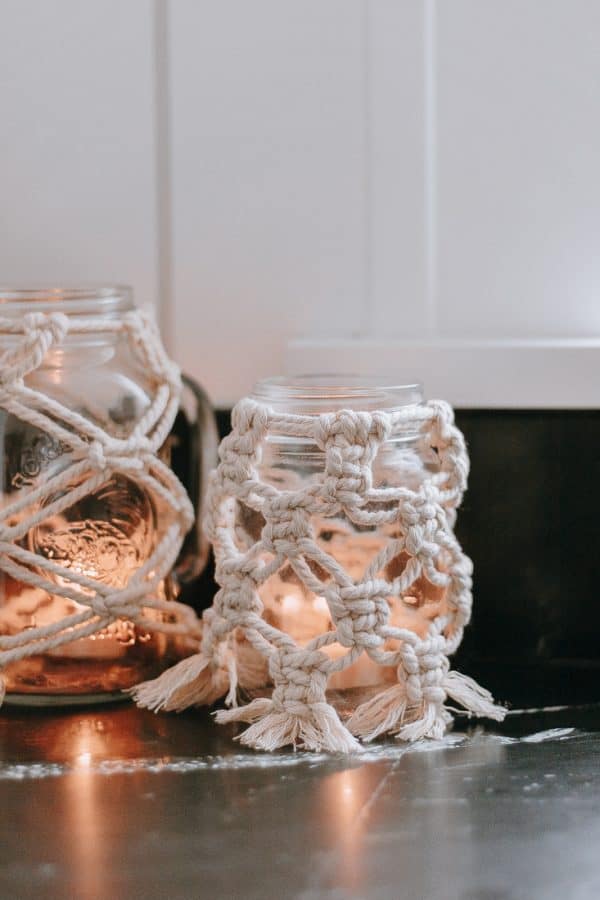
This project was inspired by these rattan vases I’m seeing everywhere right now. It’s kind of a riff on that. I just love how they add some texture to a regular vase. Or, in this case, a mason jar!

I started collecting cool mason jars this past year. Some of them were handed down to me from my late grandmother. Some of them I’ve found in thrift stores. And others, I’ve just picked up at Target and Amazon.
Related: After you complete this mason jar project, you can move on to making macrame feathers or this cool macrame wall hanging.
I especially like the jars with unique patterns and a vintage look to them. These Le Parfait French Jars are also a favorite.
Mason Jars are so practical! I use them for storing pantry items. And little bits and bobs (like coins, my sewing pins, my daughter’s hatchimals, haha). But I also just love displaying them here and there. There is something very homey about a collection of beautiful mason jars.
If you are looking for a way to slightly kick em’ up a notch or bring in some beachy, boho vibes to your decor – then you will love these macrame mason jars.
Here’s what you Need
- Macrame Cord – this is the same one I’ve been using all week! (yep – you can make all these beautiful things with this one batch of rope)
- Scissors
- Mason Jars – I had one larger one with a handle and one regular size.
You can check out my other macrame essentials here, too.
Macrame Mason Jars – Step by Step
1. Cut the Cords You Need
For this project – I made two jars. One regular-sized mason jar and one larger sized mason jar with a handle.
I cut the cords all the same lengths for both jars – you will have to cut off some excess on the regular-sized jar at the end. But it’s always better to have too much cord than too little.
You will need 6-SIX Foot cords for the larger jar, and 8-SIX Foot cords for the regular jar.
2. Attach Cording to the Jars
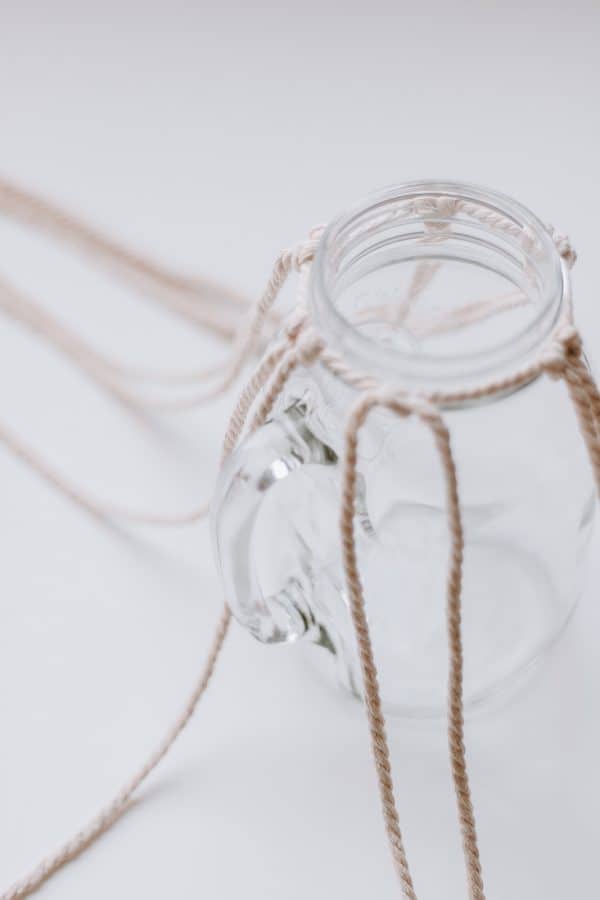
To begin each jar : Regular: Take two of your 6 ft cords and wrap them around the lip of the jar – secure them with a single square knot. Larger: Take one of your 6 ft cords and wrap them around the lip of the jar – secure with a regular knot.
Then, attach the rest of your cords to these cords. Regular: Take the rest of your 6 cords and attach them to your jar using reverse lark’s head knots. Larger: Take the rest of your 5 cords and attach them to your jar using reverse lark’s head knots. Evenly space the knots all around the lip of the jar.
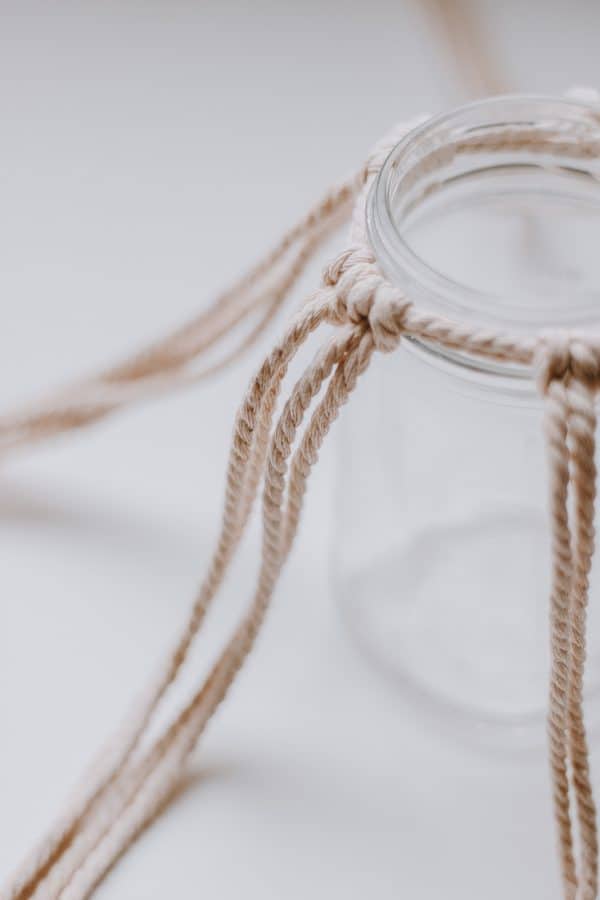

Refer to Basic Macrame Knots to see how to do a reverse lark’s head knot.


3. Complete Macrame Pattern
- The larger mason jar with handle (known as Larger in this tutorial): The Pattern is one alternating square knot all the way around.
- Regular Mason Jar (known as Regular in this tutorial): The Pattern is 2 square knots followed by sets of 2 alternating square knots all the way around.
Tie Square Knots: Regular: Make 2 square knots all the way around. Larger: Make a row of 1 alternating square knot all the way around the jar.
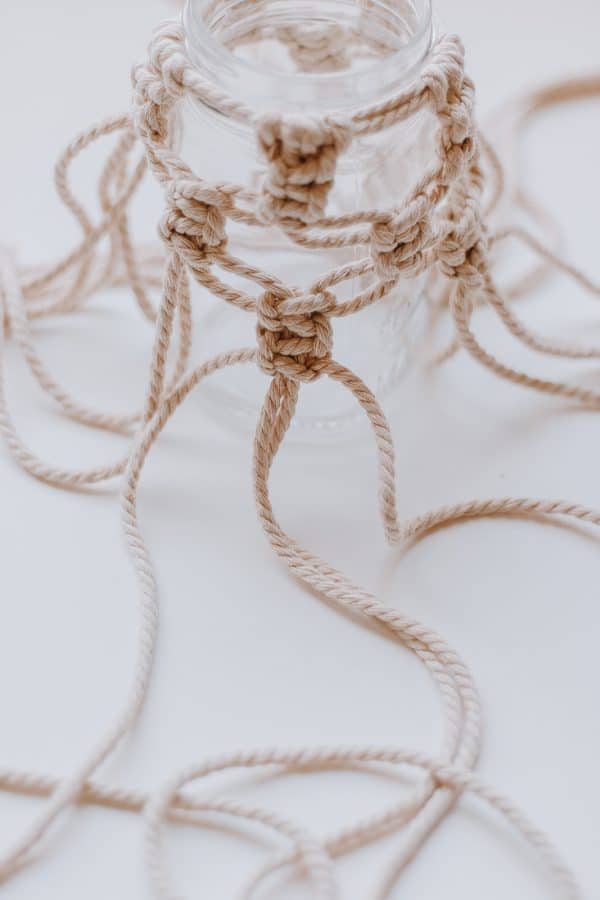

Continue the Pattern down the jar: Regular: Now make a row of 2 alternating square knots. Continue these rows of alternating square knots until you get to the bottom of the jar. Larger: Continue with another row of alternating square knots all the way around. Do this until you reach the bottom of the jar.
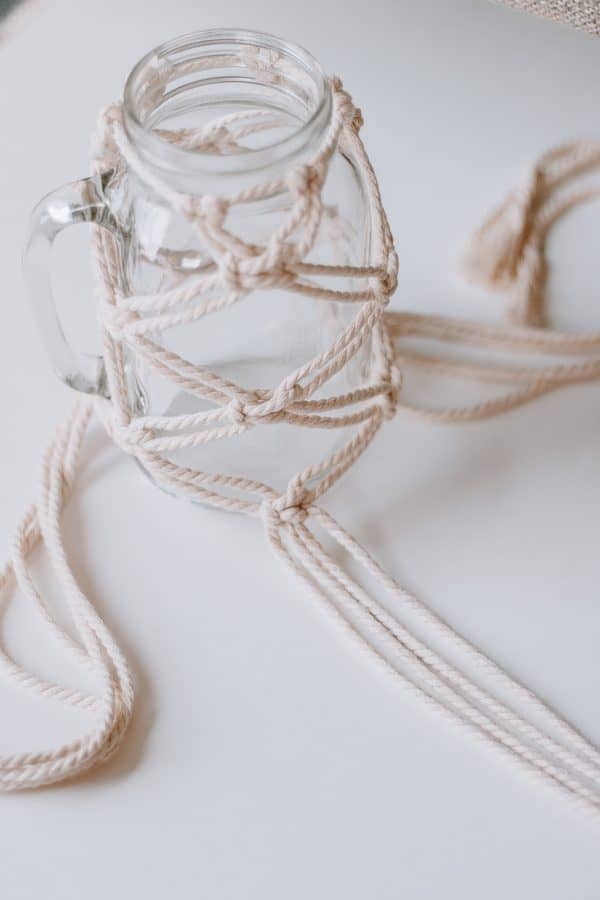
Hint : Do you have a handle on your jar? Just work around it by making your knots around or through the handle.
4. How to Finish the Jar
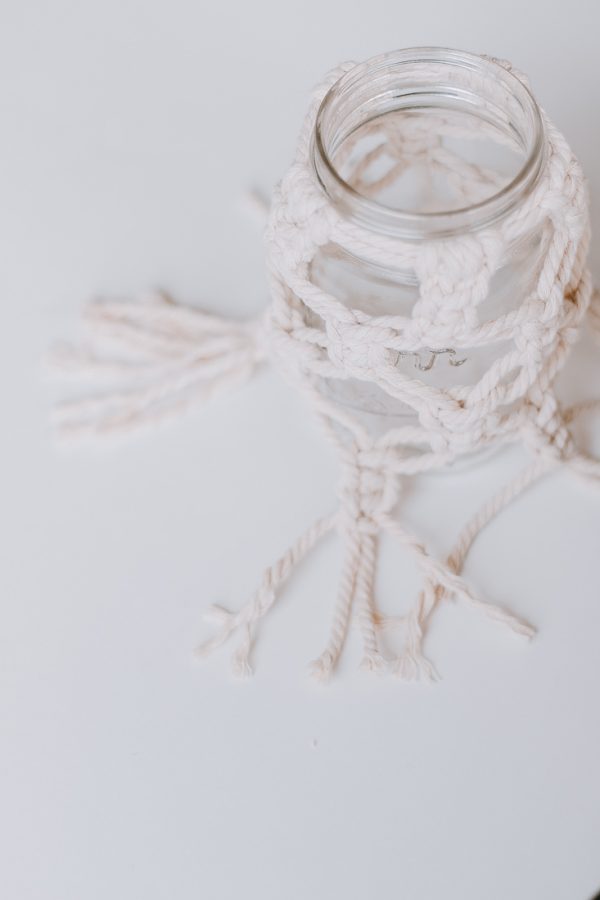
Finish the Jar: Regular/Larger: When you get to the bottom of the jar, cut off some excess rope but leave a bit there and comb them out for a fringe look.
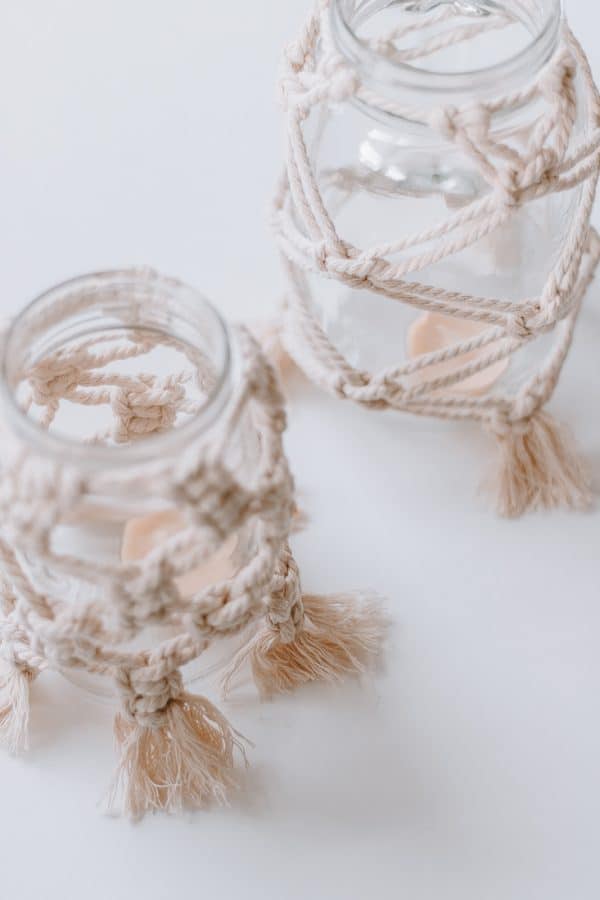
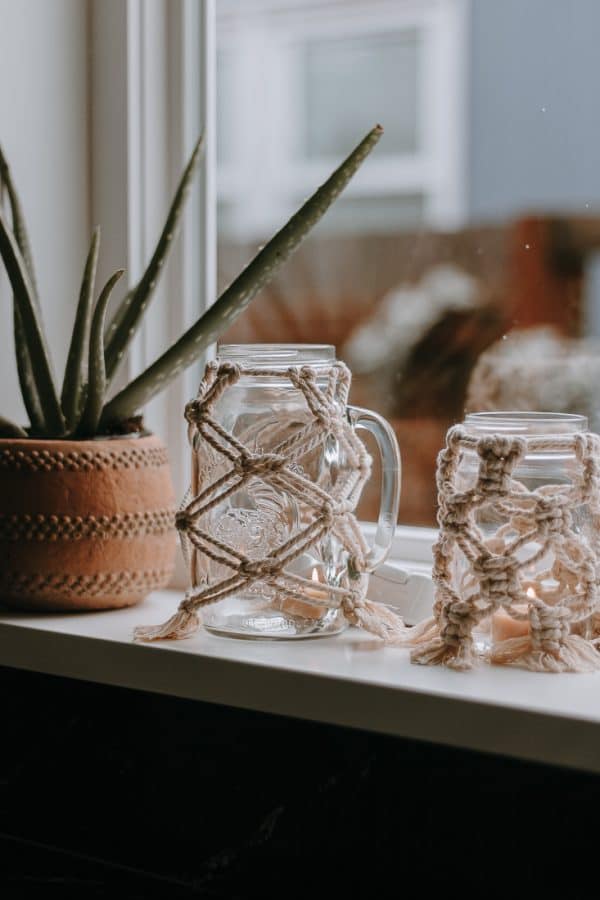
That’s it! How pretty do these look? I put some tea candles in my macrame mason jars for a nice glow!

I wanted my jars to still be visible so that’s why I chose spaced out, alternating square knots.
However – if you really wanted to cover the whole jar, you could use smaller sized rope and make really tightly weaved alternating square knots. Hmm, maybe I’ll work on a version of that to add here.
Wouldn’t this be a cute favor or housewarming gift? Fill it with a beautiful candle and tie a gift tag. The presentation is uniquely cool.
And, if you have a coastal vibe going on in your home, these would look amazing added to your decor. Maybe on a bookshelf or a side table.
I hope you guys love this mason jar project. Be sure to check out some other macrame projects while you’re here. There are so many things you can make!
Check out this article from Domino for some inspiration.
Thanks so much for visiting the blog today!
xo Karen

