7 Tips for Applying Peel and Stick Wallpaper

This post contains affiliate links, which means we may earn a small commission if you purchase through them — at no additional cost to you. Please see our policy page for more details.
I love peel and stick wallpaper! It’s amazing how you can instantly change the look and feel of a room with just some wallpaper. Today, I’m sharing my top tips for applying peel and stick wallpaper. If you are new to the world of peel and stick wallpaper, keep reading because these tips will help!
The only downside to wallpaper is that it can be pricey. I generally save the peel and stick wallpaper for small spaces in our home, like closets or accent walls.
Our current dining room needed a little something – it was pretty but very beige. And peel and stick wallpaper was just the ticket. We already have molding covering half the wall, so we wouldn’t need too much.
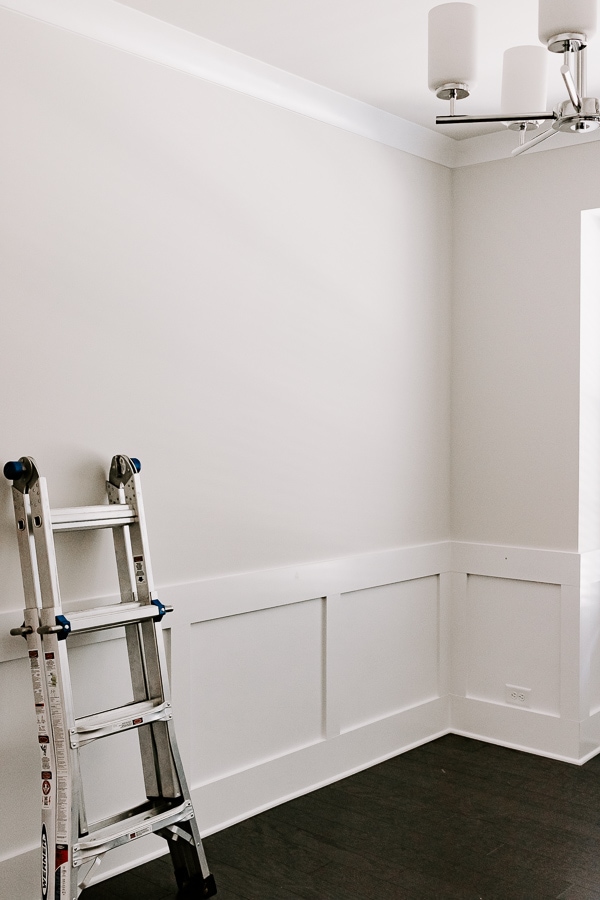

You can get nice peel-and-stick wallpaper almost anywhere these days. Your budget will determine where you shop. I mostly get my wallpaper from Amazon.
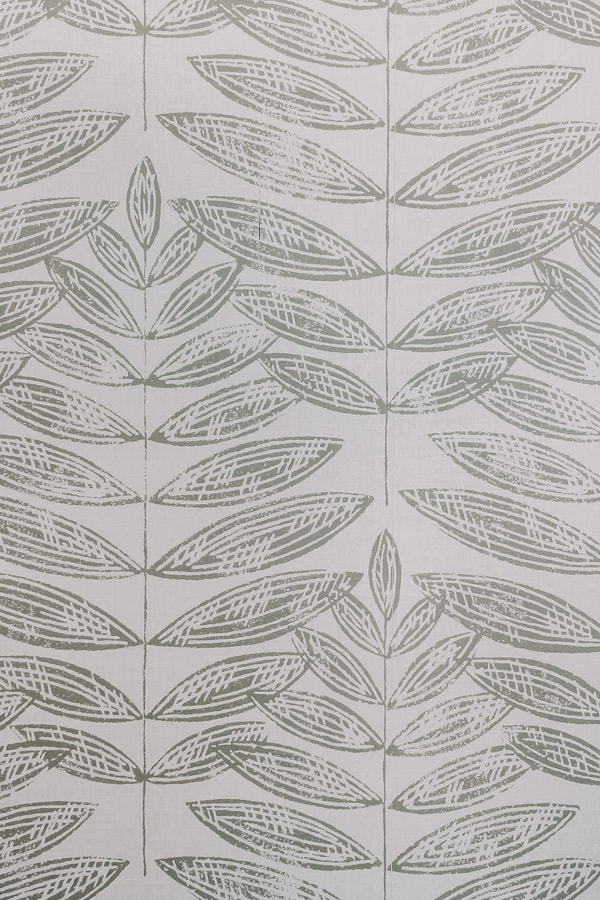
I wanted something nice, somewhat neutral, but eye-catching. And not crazy expensive either. I fell in love with this wallpaper. (This brand has lots of amazing papers by the way.)
I’m certainly no expert at applying wallpaper, but I’ve learned a lot just through this dining room project. So I’m sharing my tips with you in case you are in the same boat. And by the way, I say go for it if you’re on the fence.
Tips for Applying Peel and Stick Wallpaper
I love how our dining room turned out. It’s not perfection, but my motto is becoming progress over perfection (said by a former perfectionist). I will give anyone $100 if they can spot the ONE area where the pattern didn’t quite line up.
Tip #1: Make your First Piece of Wallpaper Laser Level Straight
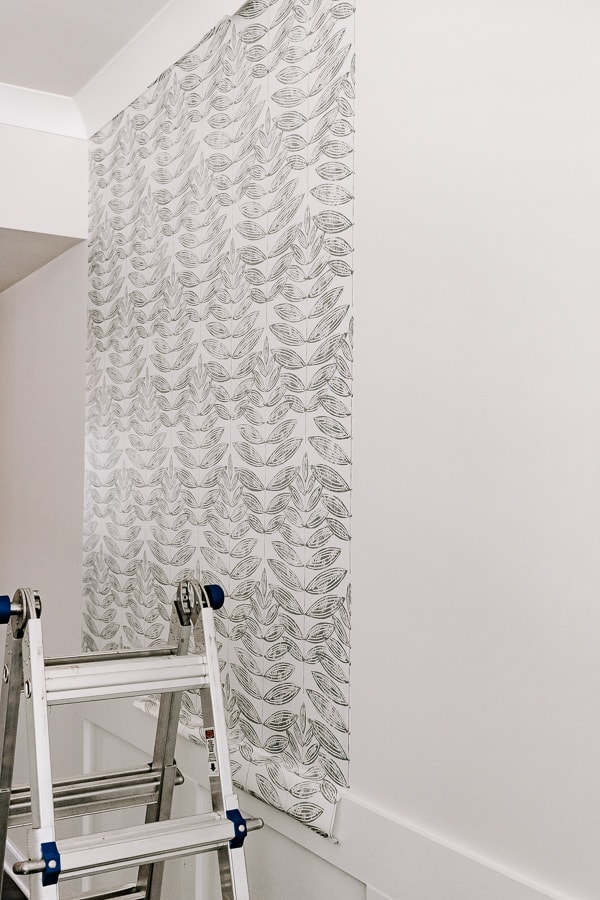
Unless you are starting in a corner where you can line it up to the wall, you will need a level. Your first piece will set the tone for the rest of the pieces. So make it straight. I started here, at the very beginning of where the molding starts.

I used a level against that top wall to make sure that the very first piece was as straight as it could be all the way down. After that first piece was down, it became easier to line up the pattern.
Tip #2: Peel Only a Little off at First
I tried this so many different ways and by far the easiest way to manage the wallpaper was to ONLY peel a little off the top first. Maybe a foot or so. Then line it up straight, THEN peel the rest of the backing off as you work your way down.


Peel and stick wallpaper can stick to itself. and being up on a ladder while trying to unstick very sticky paper can lead to not so pretty accidents. So only peel a bit off at first. This tip also makes it easier to press out the air bubbles!
Tip #3: Save your Scraps
You will find that you have scrap pieces after trimming each piece. Some will be small and some might be quite large. Save them all.

There were a couple of places in our dining room where the pattern just wouldn’t line up and I was on my last roll. My husband and I were like puzzle ninjas and we managed to piece together holes from just the extra scraps we had saved. And nope – you can’t tell at all! There is only one very small area that we couldn’t get to line up 100%. But again – that $100 is yours if you can find it 🙂
Tip #4: Use an Exact-O knife on corners
I’m just gonna say it. Corners are a B*$#%. I tried my darndest to get the corners to smooth out and line up WITHOUT cutting it. But it just wouldn’t work.

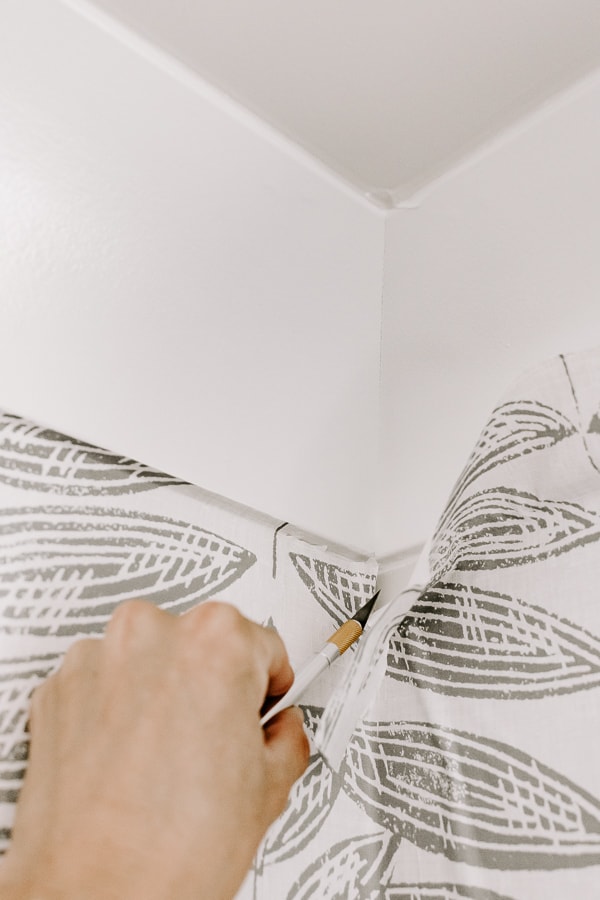
So I took my X-acto knife and cut the piece in the corner, so each side would meet in the corner and lay flat. It still took some manipulating. But that’s the easiest way I could get the corners to behave.
Tip #5: How to Get Stubborn Air Bubbles Out
I found that 97% of air bubbles were able to be smoothed out with just my hands. But there were still some stubborn spots.

Yes, technically, the best way to get those stubborn bubbles out is to carefully lift away the paper and lay it back down. But sometimes, ya know, these bubbles don’t want to give up the fight! I take a small pin, like a sewing pin, and just pop it. Be careful obviously, don’t make it into a giant hole. A small pinhole is undetectable and is just enough to get the air out.
Tip #6: Don’t Pull on your Paper!
Did you know that peel and stick wallpaper can stretch? Yes, yes it can. There were times when I thought I was going to lose my mind. But then I realized that I was actually pulling way too hard on the paper and the pattern was stretching ever so slightly and wouldn’t line up for me.
My tip here is to apply the wallpaper with a gentle touch. Follow the lead of the paper and lay it flat on the wall without pulling or stretching. Then just smooth out with those gorgeous hands of yours.

Tip #7: Use a Good Exacto Knife.
A good X-acto knife will take you very far with wallpaper. It can help you tackle corners, and give you a razor straight finish in the end by trimming off the scraps. This one has great reviews.
Is peel and stick wallpaper easy to apply?
It depends. It depends on the wall and the wallpaper. If you are just applying it to one accent wall, and the pattern doesn’t need to line up, then yes it’s easy. Otherwise …
Is it easy? No. Manageable? Yes. Once you get into a groove and learn the little nuances of applying, you get the hang of it and it goes much faster. Plus, that feeling of how proud you will be in the end is so worth it.
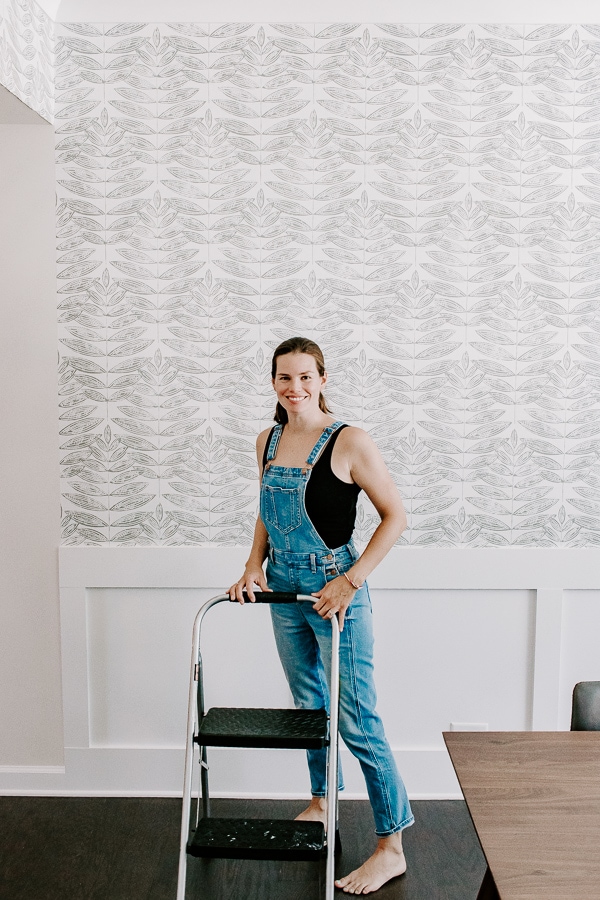
For my first wallpaper project: It took me a total of 8 hours and 7 entire rolls to finish this wallpaper project. And look, I’m still smiling!
Xo Karen

