Create Stunning Abstract Art with DIY Spackle Art
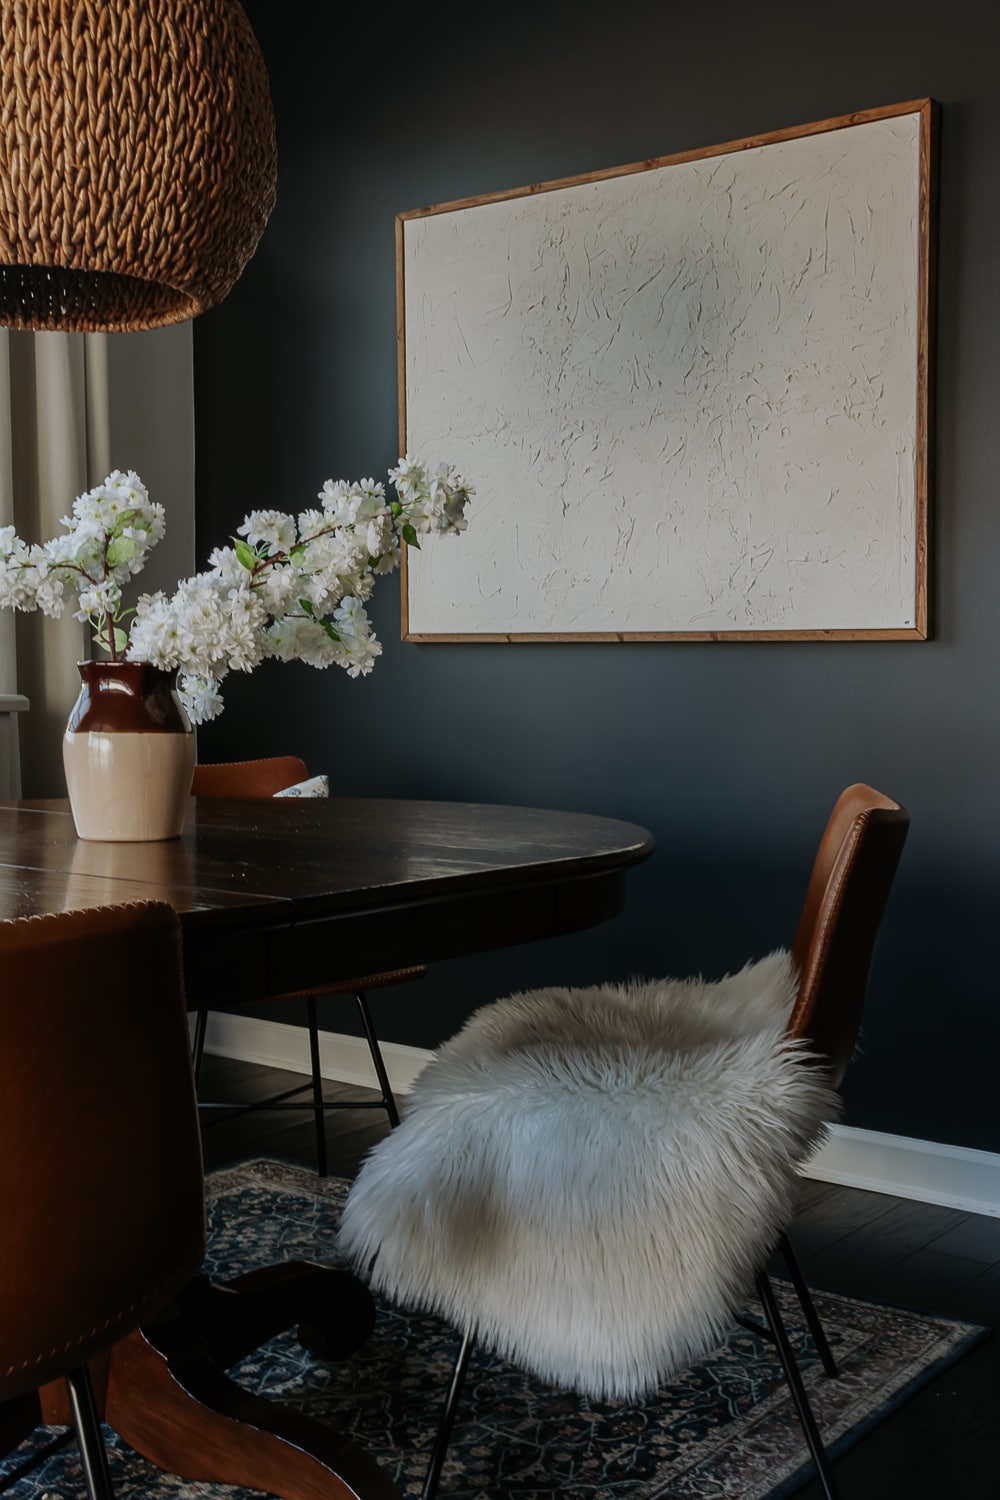
Did you guys know you can create pretty cool looking art with just a cheap can of spackle and a canvas? Yep, it’s true. And it’s really fun to do! This DIY spackle art project is sure to become one of your faves. The beauty of this project is that you can’t really mess it up. And hey, it is art which is very subjective, after all.
We needed a large piece of art for our breakfast nook. And while I love vintage art, I do like to mix it up with some more modern pieces in our home. And I’m always looking for inexpensive ways to decorate. I’m really happy with the way this project turned out and I can’t believe how cheap it was to create this art.
Before I started, I looked online for inspiration. Crate and Barrel, Anthropologie and West Elm have some good options.
Things You’ll Need
- Canvas in any size
- Spackle
- Putty Knife or Palette Knife Set or Plastic Knife (see Tools to Use below)
- Acrylic Paint and Paint brush (optional – if you want to paint your spackle after it dries)
- Wood (optional if you want to frame your canvas)
Expert Tip: If you are using a larger canvas like I did, you might want to put a few towels in the back of the canvas in between the wood and the canvas. The spackling part will create an imprint of the wood into the canvas and the towels will prevent this from happening.
Joint Compound vs. Spackle
I’ve seen some tutorials use joint compound, or drywall mud. But I went with spackle because it’s less heavy, dries faster and easier for me to deal with. If you want a side by side comparison, this article is a good read.
Best Spackle for Art
For art projects requiring detail and versatility, such as this spackle project, lightweight spackle stands out as my go-to choice. It’s my top choice for three reasons; quick drying, easy to use and minimal shrinkage.
Its ease of manipulation makes it perfect for adding texture or detail, as it can be smoothly applied, shaped, and even sculpted to fit the creative vision. It dries quick and doesn’t really shrink when it dries, meaning the designs stay where you want it.
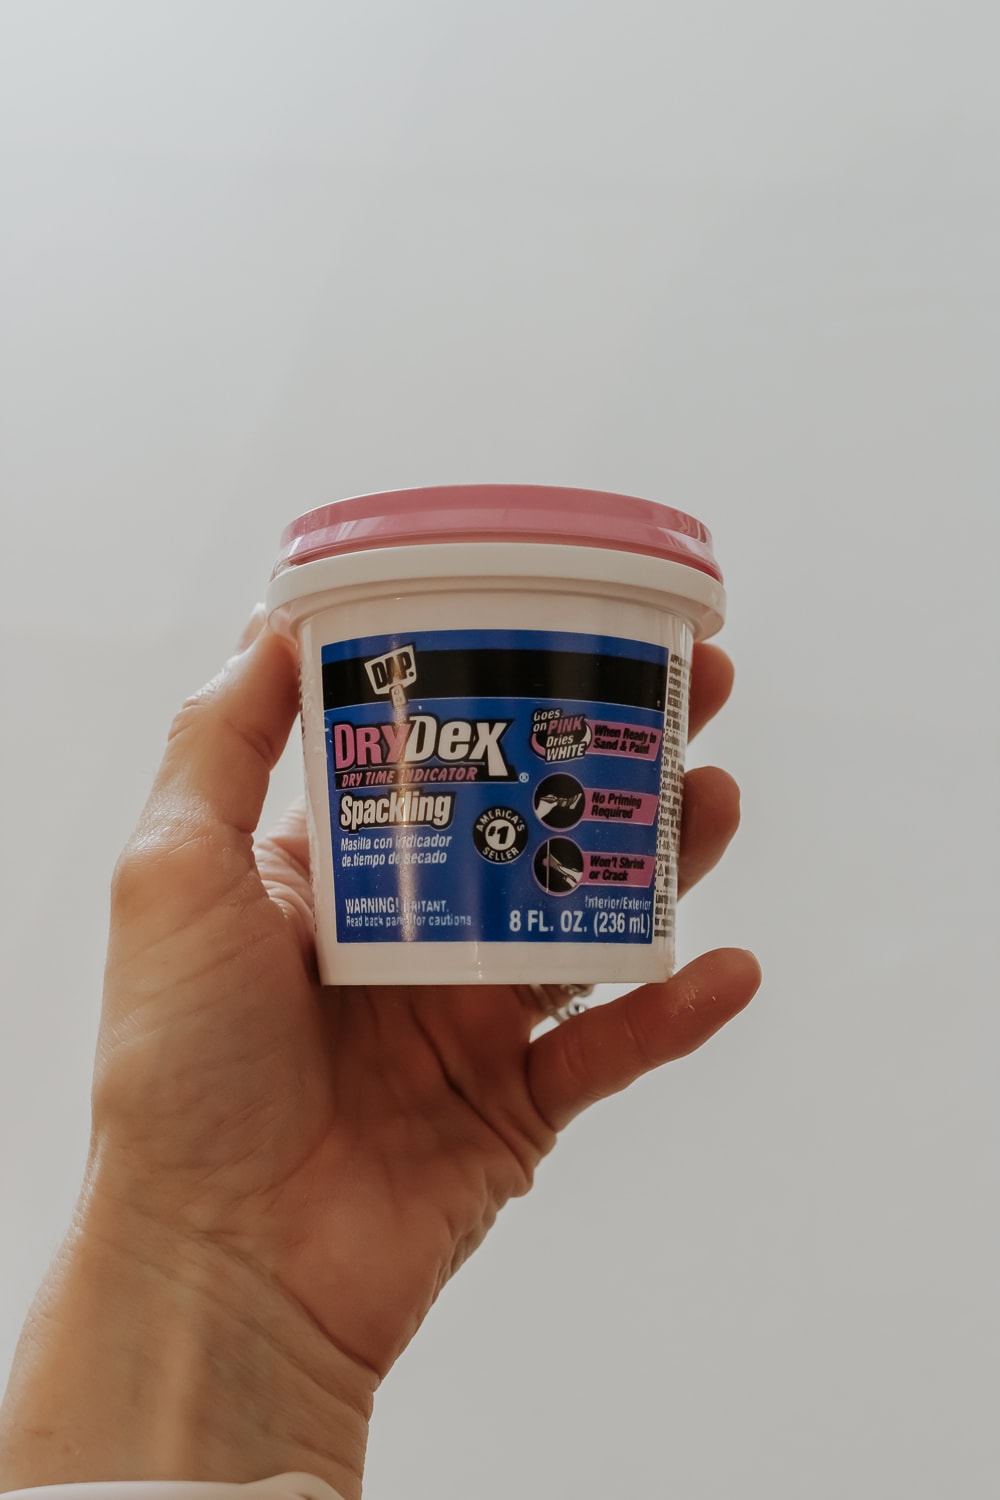
My brand of choice? I like to use a 32 oz container of Dap Drydex – the same stuff you use to fill in nail holes on drywall. You can get this at hardware stores. It’s helpful because it has a dry time indicator, it goes on pink and dries to white. I found this inexpensive and easy to work with.
Where to Find a Large Canvas
Keep in mind – this doesn’t have to be a blank canvas since you will spackle over the design anyways. You might already have an old framed canvas in your house laying around. So check there first!
You can try thrift stores or flea markets to see if they have old canvas art for sale. This is a great way to up cycle a thrift store find. I ended up finding a pack or 2- 30×40 canvas on Amazon. You can also go to HomeGoods into their art section and pick up an inexpensive canvas there. Bonus points if it’s a framed piece!
Another good option is an arts and crafts store like Michaels, Joanns, or Blick.
Tools to Use
You don’t need fancy tools for this project! In fact, I encourage you to get creative and use different things you might already have to create unique designs with your spackle. Besides the obvious putty knife or or palette knives, you can also use cutlery, like a plastic fork or spoon. Think toothpicks, brushes etc. As long as you are ok having the item get a little dirty with spackle.
DIY Spackle Art instructions

Follow these simple steps to create your own abstract art.
Total time: 2 days
-
Apply Spackle to Canvas

Use your putty knife to take a scoop of spackle out of the can and smear it on your canvas. You don’t want a thick layer of spackle, here otherwise it will be really messy when it dries and constantly flake off.
-
Create “Art” with your Putty Knife

Now the fun part! This process reminds me a lot of icing a cake. Or like spreading cream cheese on a bagel. Use your putty knife on the flat edge in long swirling motions to create lines, and in more of a tapping motion to create a dotted look. I personally like the look of the swirls and mostly used that technique. This added great texture to the canvas. You can also use different sizes of putty knives to create different looks. This is really fun and you can’t screw this up, trust me! It’s not supposed to look perfect. You have plenty of time to keep smearing and smoothing before the spackle completely dries. Cover your entire canvas and make sure to spread the spackle to the edges of the canvas. Or don’t! Really – this is your own unique piece of art! You can wipe off your putty knife in between with a paper towel or rag.
-
Allow Spackle to Dry

When you feel like your design is done, leave the whole thing to dry overnight. (After your spackle dries, you can go over areas that need more spackle a second time, just be careful not to make it too thick.) The spackle will turn from pink to white and will harden when it’s fully dry.
-
Optional: Paint your Spackle
I opted to keep mine white, but if you want, you can use a paintbrush and some acrylic paint to add some color to your abstract spackle art. Pull in some colors from the room into the art, or use black paint to create a black and white monochrome look.
-
Optional: Frame Your Canvas

I felt like my spackle canvas art needed a frame, so I followed this tutorial here. The frame definitely makes it feel like more of a finished piece.
Final Product / Outcome
The final step is hanging your canvas art! I used a heavy duty picture hanging wire and a couple of D rings screwed into the frame. But, you don’t have to hang it. You can lean it up against the wall on a console or dresser too.


I still need to find a good battery operated picture light to hang over the top – then this project is complete. You can watch a little reel of this project soon on my Instagram.

