Decoupage Easter Eggs in 5 Easy Steps

This post contains affiliate links, which means we may earn a small commission if you purchase through them — at no additional cost to you. Please see our policy page for more details.
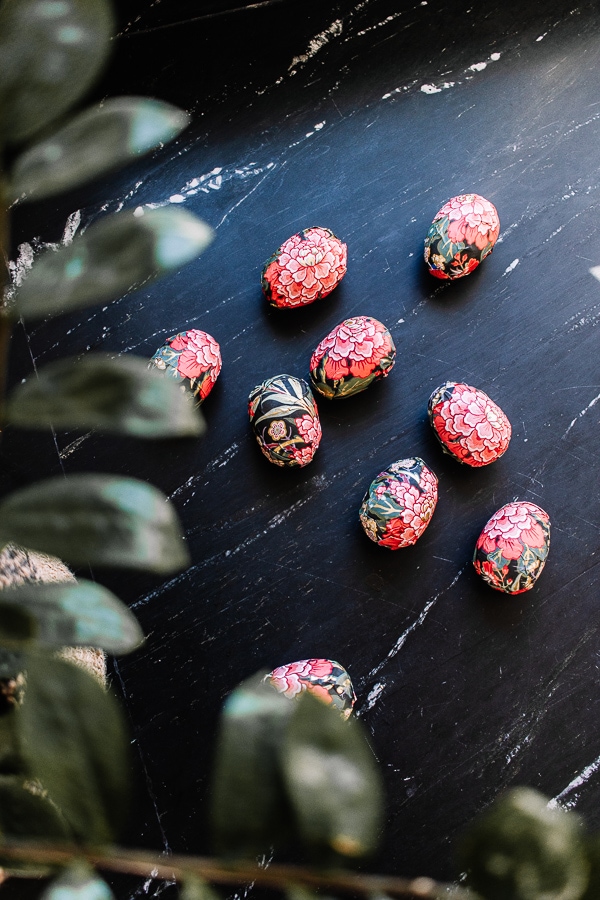
Easter is around the corner, and what better way to celebrate than by adding a creative touch to your egg decorating tradition? Enter decoupage Easter eggs! This fun and easy craft involves decorating eggs with colorful paper cutouts, creating stunning designs that will impress friends and family alike.
Whether you’re a seasoned crafter or looking for a new Easter activity to try, these decoupage eggs are a fantastic way to add a personalized flair to your Easter decor.

New to Decoupage?
If you are new to this craft, you might be wondering what this is. Decoupage is a crafting technique that involves decorating surfaces with paper materials to create a layered, collage-like effect. Typically, decoupage is done by adhering the paper cutouts onto surfaces such as wood, glass, ceramic, or even fabric using a special adhesive such as Mod Podge or white glue.
Once the adhesive dries, a protective sealant is often applied to the finished piece to protect it and give it a glossy or matte finish. Decoupage allows for endless creative possibilities, as you can use various types of paper, such as decorative napkins, tissue paper, or magazine clippings, to create unique designs on different objects. It’s a popular craft for adding personalized touches to home decor, gifts, and holiday decorations, including Easter eggs.
Expert Tip: Thin Layers are best! Apply Mod Podge in thin, even layers to avoid excess buildup, which can lead to wrinkling in your project.
Things You’ll Need for this Project
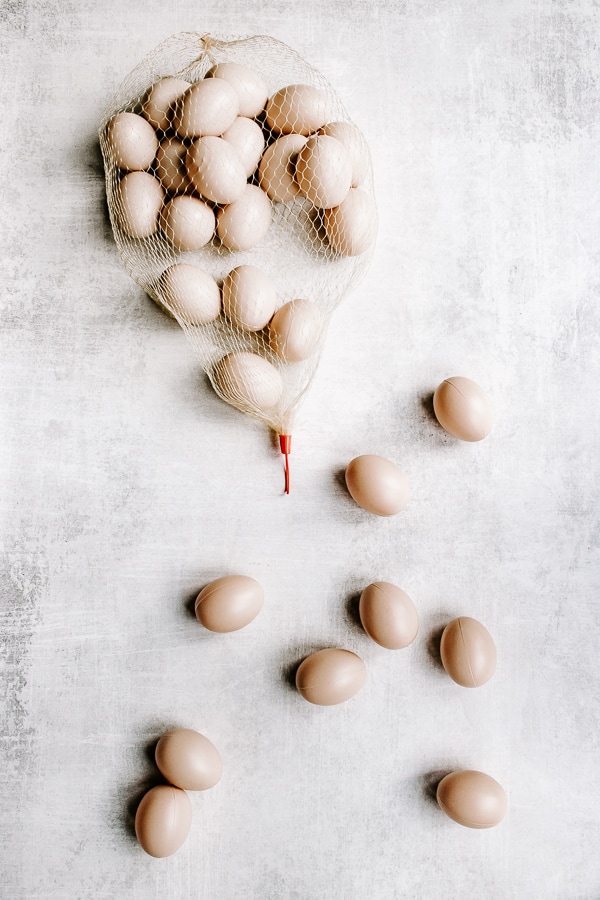
- Plastic Easter Eggs
- Wrapping Paper, Paper Napkins, Tissue Paper or Music Sheets
- Mod Podge
- Scissors
- Paintbrush or Foam Brush
- Acrylic Sealer Spray (optional)
How to Decoupage Easter Eggs

How to Decoupage Easter Eggs
Total time: 30 minutes
-
Cut Paper into Bits
Take your paper and cut them into small pieces or circles. You don’t want the pieces to be too small, but they should be small enough that you can wrap them smoothly around the eggs with ease.
-
Brush on Mod Podge
Using a foam brush or paintbrush, coat both the back of the bits of paper and the plastic eggs with a thin layer of mod podge.
-
Place the Paper Bits on Eggs
Stick the paper bits on your eggs one by one and smooth out the wrinkles with your fingers. Repeat until the egg is completely covered.
-
Seal Egg
Once your egg is wrapped to your liking, you can protect it by either putting another coat of Mod Podge around the whole egg or spraying it with an acrylic sealer. Smooth it out one more time for good measure.
-
Allow Eggs to Fully Dry
I let my eggs dry overnight to be on the safe side.
You can use these pretty eggs to fill a large bowl or vase around the Easter Holiday. Or, use them to make an Easter Egg Hunt. When the holiday is over, just pack them up for next year.

How Long Does it Take Mod Podge to Dry?
Drying times can vary depending on factors like the type of adhesive used and the thickness of the paper, but generally allowing at least 24 hours for the eggs to fully dry is recommended.
Can you use any type of paper for this craft?
You can! After working with a thicker wrapping paper, I think thinner papers work better for this project.
Can I Decoupage Real Easter Eggs?
To decoupage real eggs, you’ll need to carefully empty the contents of the eggshell first. This involves making small holes in both ends of the egg, blowing out the contents, and rinsing the shell thoroughly. Once the eggshell is clean and dry, you can proceed with the decoupage process just as you would with faux eggs. Keep in mind that real eggshells are fragile, so handle them with care!
Where can I buy Mod Podge?
Mod Podge is sold at almost all craft stores, such as Michael’s and Joann’s. You can also get it from the craft section at Walmart. And Amazon always has it!
I recently made an Easter Tree at home with my kids too. So when you finish this one up, hop on over (see what I did there?) to try that project, too.


