Make this Charming DIY Easter Tree with M&M’s
This post contains affiliate links, which means we may earn a small commission if you purchase through them — at no additional cost to you. Please see our policy page for more details.
Happy (almost) Easter, my friend! At our house, we have a tradition of making an DIY Easter Tree centerpiece every year in celebration of the Easter season.
This year, I’m so thankful to be partnering with My M&M’s to bring you this festive tree with little handmade bird nests.
M&Ms and Easter
Can you guess what we used for the little pastel Easter “eggs”?
If you guessed M&M candies, you’re right!
They have all kinds of cute and unique gift ideas and personalized M&M’s for any and all occasions. Whether you are looking for something for holidays like Easter, birthdays or anniversaries, or even just the upcoming Spring season – you can find it all there.

And who doesn’t love M&M’s??
I have to admit that we ate a lot of the “Easter Eggs” before they made it into their nests. Whoops! For our Easter tree this year, I wanted to make it extra special for the kids with these adorable personalized M&M candies.
You can choose any colors you like and up to three different messages. I chose the kids names; ‘Tyler’, ‘Hannah’, and of course, ‘Happy Easter.’


These personalized M&Ms come with their own little canisters! These make perfect Easter Basket stuffers. I also love these adorable little bunnies on them – how cute is that!?

I also picked up some of the speckled peanut M&M candies as well as the Easter peanut candies. Perfect for these little eggs!

So let’s get to making this adorable tree.
Things You’ll Need
- Spring Branches
- Vase
- Hot Glue Gun and Hot Glue Sticks
- Jute Twine
- Burlap
- Scissors
- Silicone Molds or Bowl (for making nests)
- Floral Wire and Wire Cutters
- Faux Spanish Moss and Reindeer Moss (available at craft stores)
- My M&M’s candies – choose your favorites!
Watch the Video
DIY Easter Tree Tutorial with M&M’s

How to make a DIY Easter Tree with little bird nests.
Total Time: 1 hour
-
Make Little Bird Nests
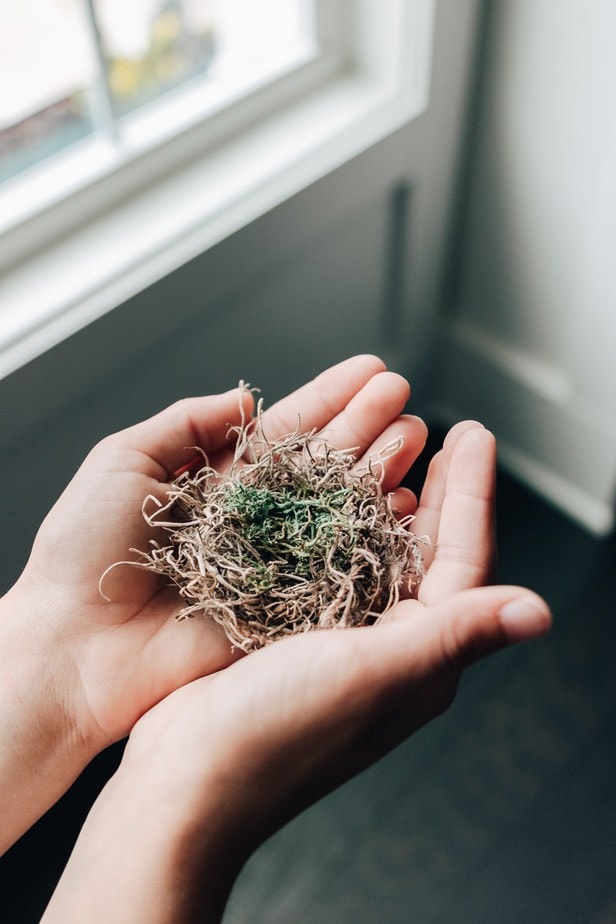
The first thing we want to do is make our little bird nests. You can use a little bowl as a size guide. Cut a square piece of burlap and place it over your mold. Apply some hot glue and carefully (don’t burn your fingers!), place some Spanish moss down on top in the round shape of your mold. Spanish moss is the same thing I use for with my faux trees. Allow the glue to dry. Now cut a piece of wire and shape it into a spiral circle. Flip your nest over, and hot glue the spiral wire to the bottom of the nest. The wire will give our bird nest shape and stability and allow us to bend it into a nest shape to hold our eggs. Now, apply more hot glue and place more Spanish moss down on top to hide the wire. Finally, cut off the excess burlap and use your scissors to “shape” the nest as you see fit. For a bit more color, you can also apply some green reindeer moss to a few spots using hot glue.
-
Gather Spring Branches
I love when Easter Trees look whimsical and natural. Last year, we used branches from our backyard. This year, I wanted to bring in some more Spring vibes, so I chose Blooming Branches. You can get these yourself by snipping some branches off a nearby tree that’s just starting to bud. Or, you can pick up a bunch from your local florist. When you bring the branches home, make a clean cut on the bottoms and place them in some lukewarm water. The buds should open up in about a week or so for you.
-
Hang Nests from Branches

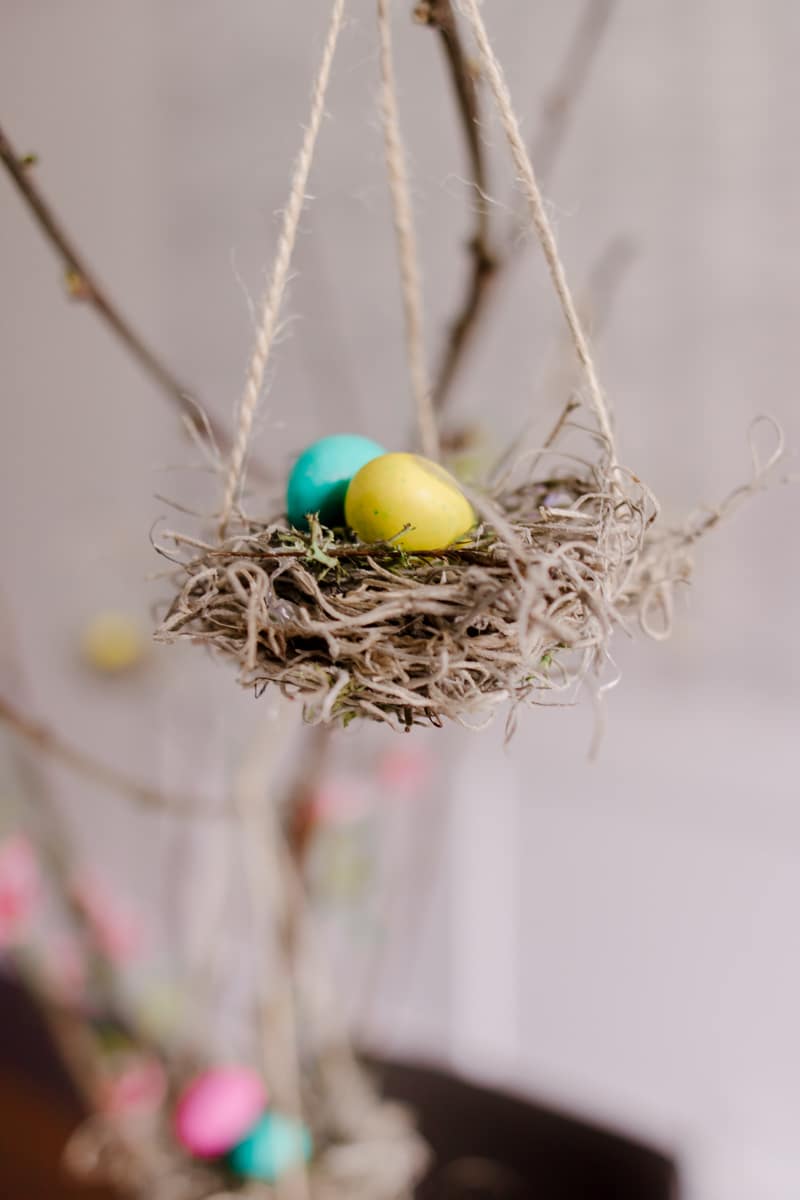
Now we are going to make a little “caddy” for our nests so we can hang them from our Easter tree. Cut three long pieces of jute twine and tie them together with a strong knot. Open up the knot by spreading out the three strings. Place your Easter nests on top of the knot part, then bring the three cords up and around the nest and tie another strong knot at the top. Now hang them from the branches of your tree.
-
Place “eggs” in Nests

Final step! We decorate our Easter nests with M&M candies! My kids had so much fun decorating their Easter Tree and they loved seeing their personalized M&M candies in the little nests. I found that our nests could easily hold three to four bigger “eggs” and a few more of the regular sized eggs. Depending on how big you made your nests you may get more or less in each.
Here’s How our Easter Tree Turned Out


These M&M candies are the perfect pastel colors for Easter and really look like hand-painted eggs. They easily turn any Easter Egg Tree into festive and colorful Easter decor.

I love that this Easter tree is different from the typical plastic egg ornaments of years past. And not to mention that these colorful “eggs” are edible!

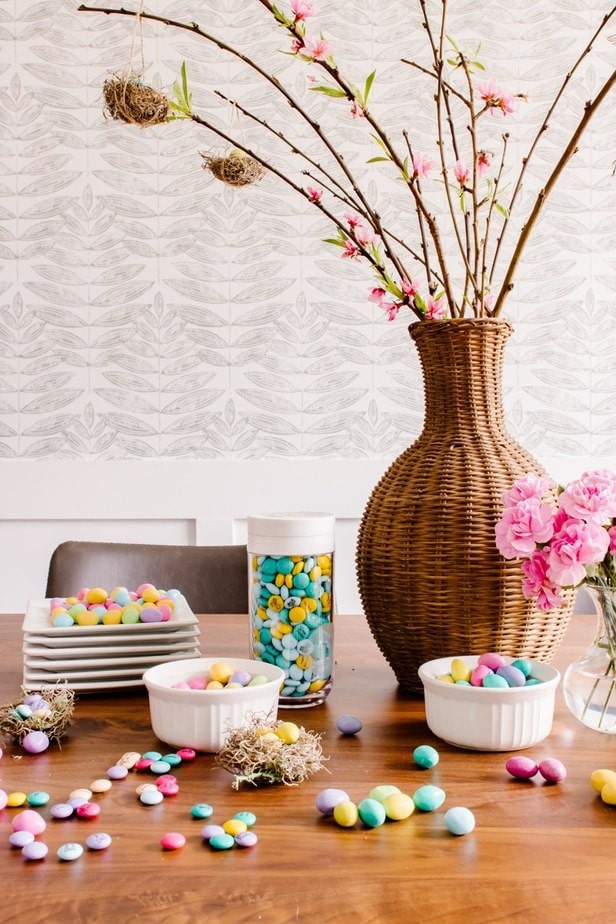
I placed our Easter Tree on the dining room table as a centerpiece for the Easter holiday.

To add a bit more decor and color, I placed more of those delicious pastel M&M candies around the base of the Easter Tree.

Or should I say, eggs? 🙂 I just love how this turned out and was so happy with the way the My M&M’s candies look in our tree.
This is definitely a tradition that we look forward to each Easter season, and I’m so happy that I could partner with My M&M’s to make it happen.


