how to make a pom pom garland
This post contains affiliate links, which means we may earn a small commission if you purchase through them — at no additional cost to you. Please see our policy page for more details.
Sometimes it’s the simplest DIY projects that make the most impact. This is one of those projects. Learn how to make a pom pom garland in just 5 easy steps!
These DIY pom pom garlands are great addition to a kid’s bedroom or playroom. If you already have a creative type of office with lots of colors, you could drape this over something as fun decoration.
So get to your craft room and let’s start making!
Things You’ll Need
- Yarn (enough for making pom poms and a long piece of yarn for the garland)
- Sharp Scissors
- Blunt Needle (optional)
- Pom Pom Maker (or you can use the fork method)
Note: You can buy pom poms these days from your local craft store, like Hobby Lobby, Amazon, Joann’s and Michael’s. I think it’s fun to make your own, especially using a pom pom maker. With the maker, you can make a variety of sizes in different colors. Learn how to make Pom Poms with this post here.
How Many Pom Poms will I Need?
That depends on how long you want your garland to be and how far apart you want them spaced. It’s totally up to you which makes this project totally customizable.
Watch the Video here…
How to Make a Pom Pom Garland – Step by Step
How to Make a Pom Pom Garland
Total time: 1 hour
-
Make your Pom Poms

This could not be easier, in fact, it’s kind of fun. Follow my tutorial with photos here for exactly how to use a pom pom maker. This is how to make the best, fluffy pom poms. You can make various sizes too; large pom poms, small pom poms or somewhere in between. You can also make them in tons of colors! After you make your pom poms, you will have two excess strings hanging from each and we will use these to attach to our garland.
-
Attach Pom Poms to Garland
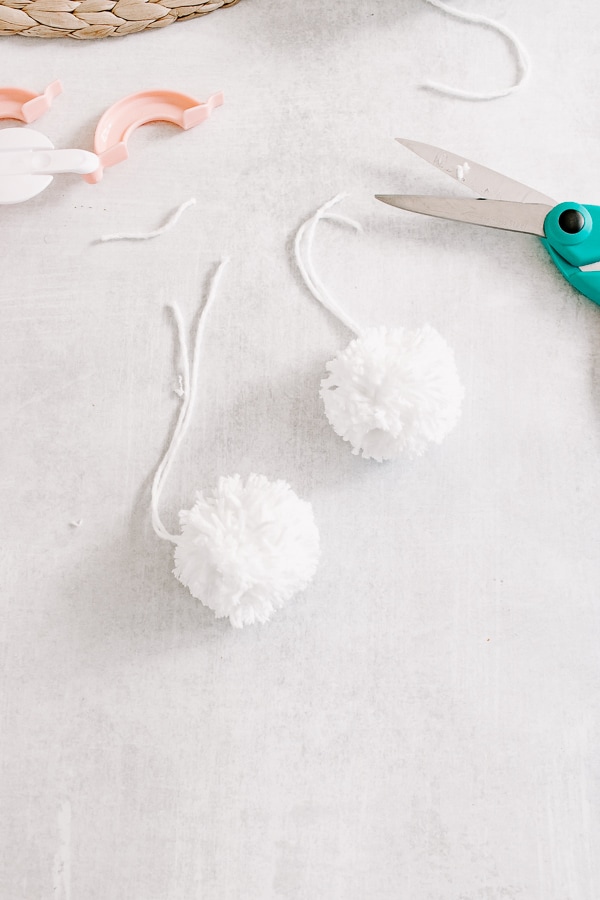
Cut a long string or piece of twine to the length you want your garland. Actually, you can make this as short or as long as you want. Attach each pom pom along the garland by tying a tight double knot with the two excess strings located on each pom pom. An alternative would be to take a long piece of yarn string, tie it to a blunt or yarn needle and thread it through each pom pom.
-
Trim off Excess String and Hang

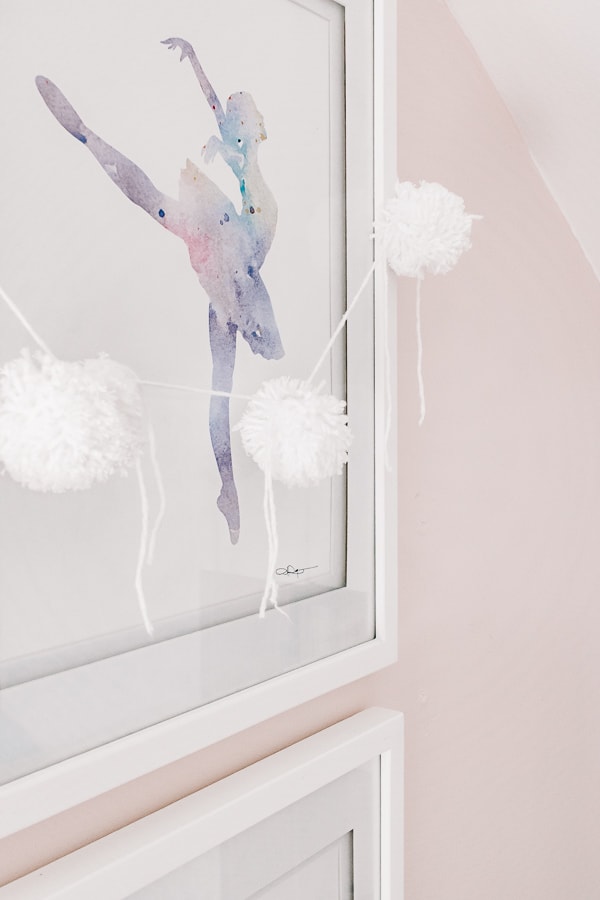
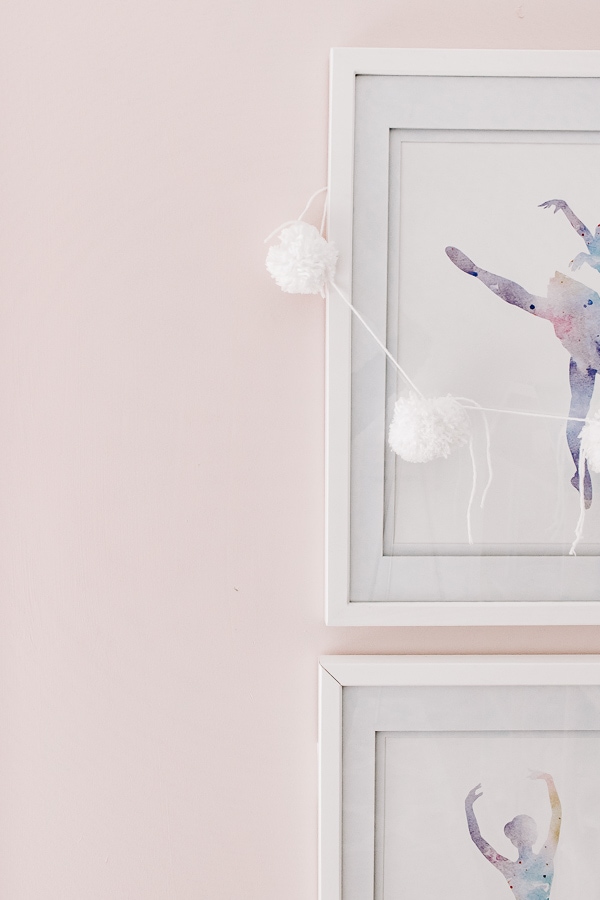
Use a scissors to cut off any excess long strings, or you can leave them like I did! Then, hang it up or drape over a piece of artwork.
How to Use a Pom Pom Maker
A pom pom maker is a round plastic gadget that helps you make perfectly shaped pom poms. It contains two arches on each side on which you wrap yarn or string. The yarn then gets cut and tied together in the middle – and a fluffy little pom pom pops out.
The brand of pom pom maker you hear about very often is the Clover Pom Pom Maker. But I bought this knockoff brand from Amazon and it’s been fantastic! It came with four different sizes.

So let’s get started making some pom poms!
I would suggest that before making a pom pom, you get comfortable opening and closing the pom pom maker, as well as pulling it apart.

To open the pom pom maker, lift up on each U shaped arch on either side. To take the pom pom maker apart, pull both sides of the center at the same time.

To make a pom pom, follow these steps below.
- Open one side of the maker by lifting up the two U shaped arches.
- Start wrapping your yarn around these two arches. Continue wrapping until that side is completely full. The more yarn you wrap around, the fluffier and fuller your pom pom will be. (I wrap 120-140 times). You want to make sure the yarn doesn’t get stuck on the little feet on the bottom.
- Once that side is full, slip your yarn through the middle and around to the other side. Continue to wrap yarn around this side now until it’s completely full. Again – ensure those little feet stay clear.
- After you have finished both sides, close your pom pom maker and cut the string from your skein of yarn.
- Now you are going to take your scissors and cut each side down the middle. Cut along the middle crack of the pom pom maker on both sides.
- Take another piece of yarn and loop it around your pom pom maker, right through that middle crack. Tie a triple knot there as tight as you can – but be careful not to pull too hard and break your yarn.
- Pop your pom pom maker apart and pull out your fluffy pom pom! You can trim your pom pom more here to make it tighter and neater, or you can leave your pom poms as is.

How To Make Rainbow Pom Poms
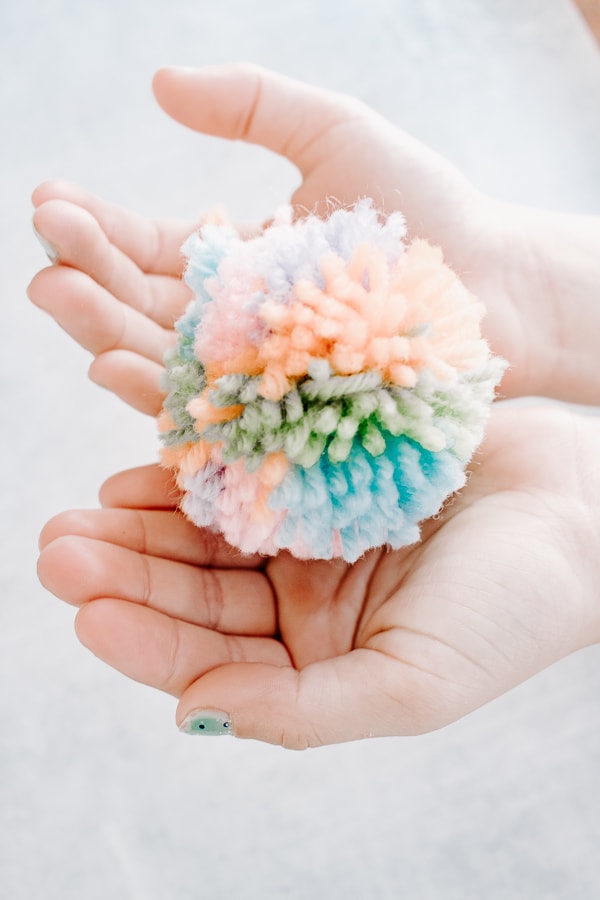
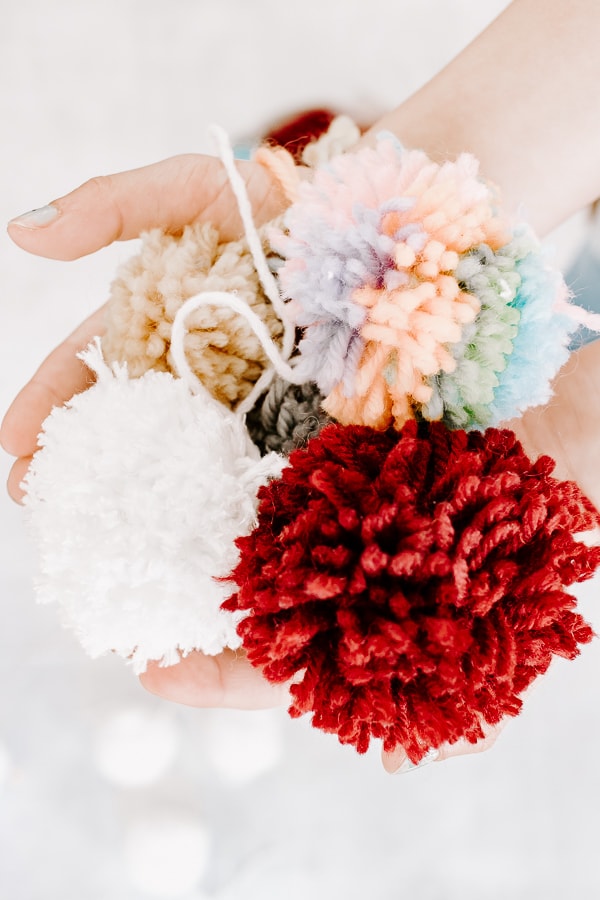
Did you know that your pom poms can be multicolored, too? All you need to do is follow the steps above, but use several different colors of yarn on each arch.

In this case, my daughter Hannah and I made a pastel-colored pom pom – it reminds us of Spring (and unicorns)!

How To Make Fuller Pom Poms
In order to achieve really nice, full pom poms, you need to follow these basic rules:
- Wrap a lot of yarn around each arch (more yarn = fluffier pom pom).
- Trim your pom pom into a neat little ball – this will result in a smaller pom pom, but a fuller look.
- Give your pom poms a good shake after making – this helps fluff them up a bit.
This garland project is great because …
- It’s cheap. The material was inexpensive and I have a bunch leftover for other projects.
- It’s fast. Whip this up in 20 minutes.
- You can coordinate the colors with your current room decor.
- You can make these pom-pom strings for parties, holidays and celebrations – make a red and green one for your Christmas tree, a blue and pink one for a baby shower, a green and white one for St. Patricks Day.
- You can use them to adorn gifts as gift toppers.
- These make the perfect, sweet decor to your nursery or kids room.
- You can add variations: try adding some tassels or charms, or make one in bright colors! You can even make a wreath – but that’s a whole different project.
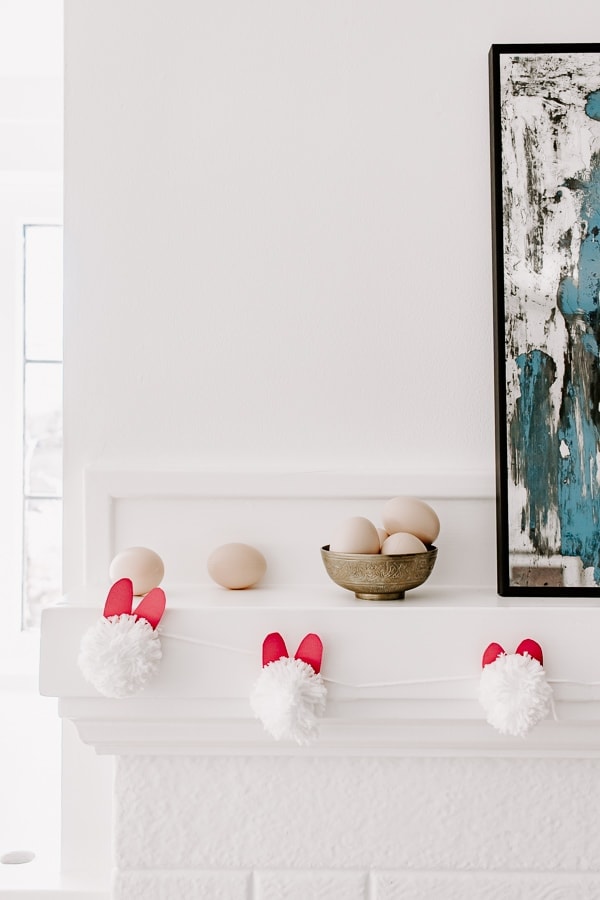
Easter Bunny Pom Pom Garland


- Make some white pom poms. You will also need a long white piece of yarn or string equal to the length of your garland.
- Grab a piece of cardstock and cut it into a square, then fold the square in half.
- Draw a half section of rabbit ears along the fold in pencil. It’s like drawing a little flower petal.
- Cut along your traced bunny ear design and unfold the paper to reveal two bunny ears.
- Punch a hole in the center of the bunny ears near the bottom.
- String the loose ends of your pom pom through this hole and tie it tight to your garland string.
- Continue steps 2-7 with the rest of your pom poms.
How to Transport your Garland
I had a wonderful reader get in touch with me to say she and her daughter had made this for a school project. She asked if I had any suggestions for transporting it.
The string can get tangled on itself if you ball it up, so it’s best to wrap this around a piece of cardboard carefully to keep it all straight.
How to Hang A Pom Pom Garland
You can use these command light hooks to tie a knot on either end and string it up that way. Or, you can use fun washi tape to stick this to the wall. Washi tape comes in all sorts of colors and these garlands are not that heavy, so it should hold.
Where to Hang them
You can use these pom pom garlands as seasonal décor, or keep them up all year long. Here are a few ideas for where to hang these.
- Fireplace Mantel
- Across Windows
- Draped from the ceiling in a playroom

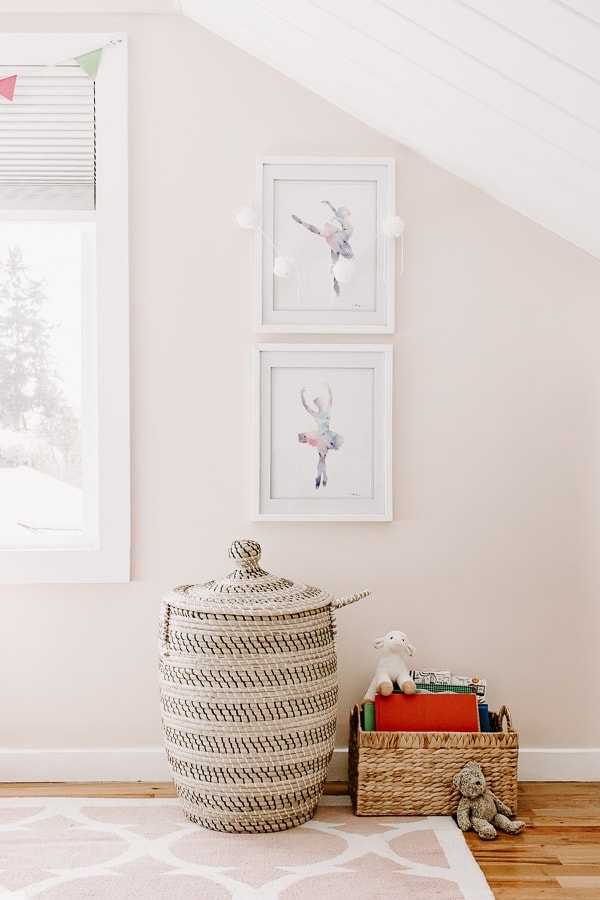
Or, as I said before, drape it on something! Here in my daughter’s room, I hung it across her ballerina pictures.


