How to Hang Pictures with Command Strips- Damage Free
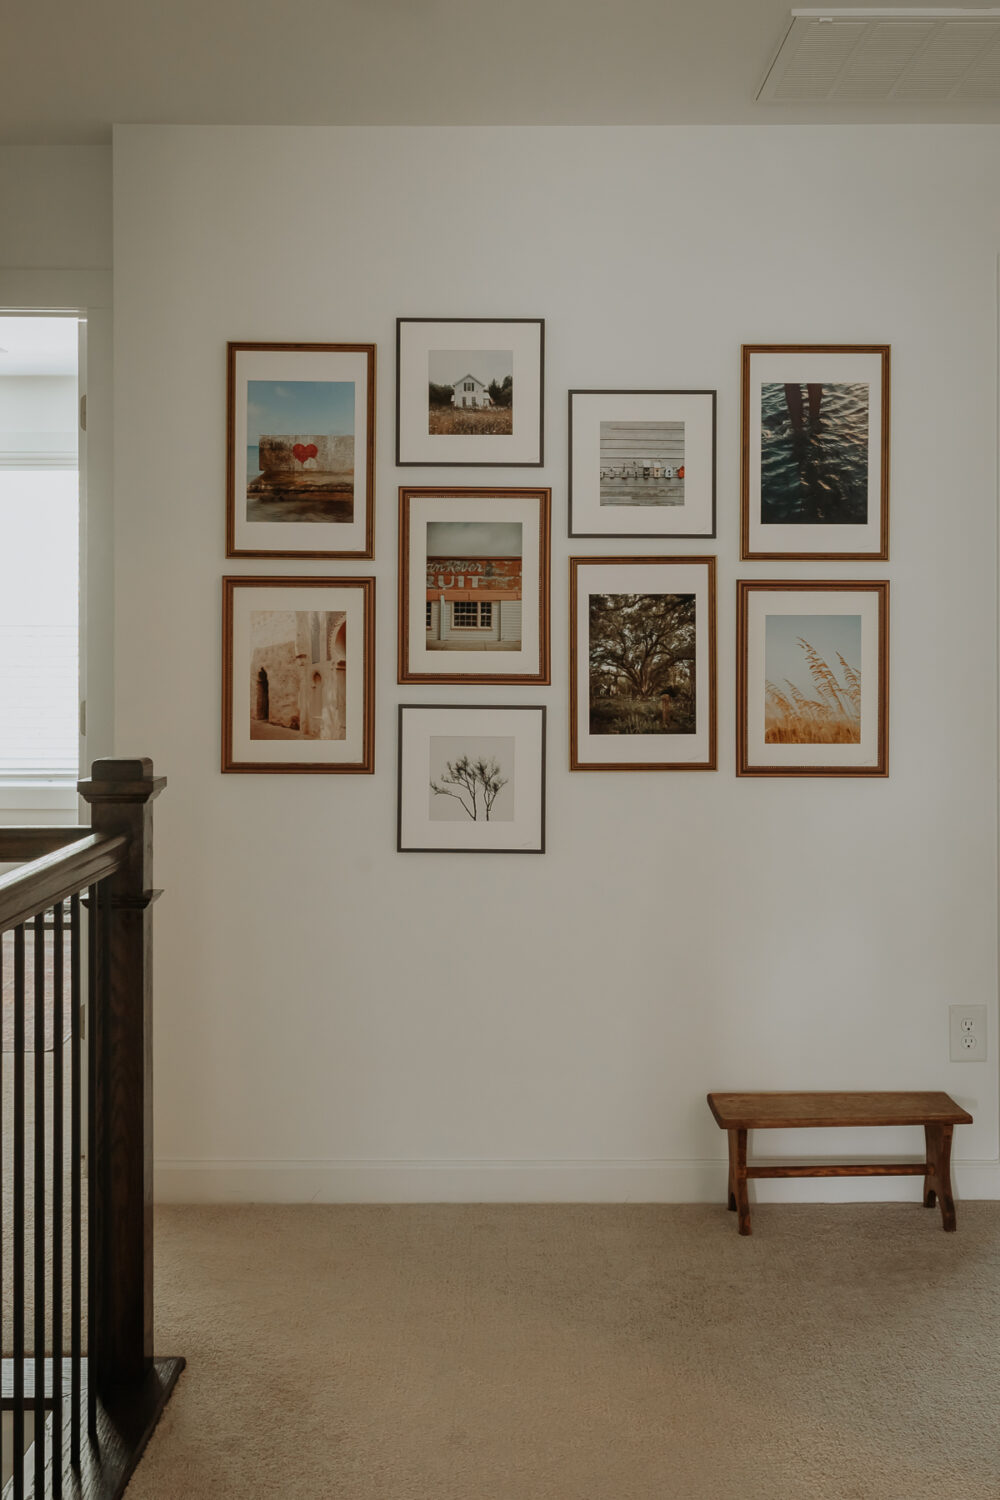
Today, I’m showing you how to hang pictures with command strips. One project I’ve been wanting to tackle since we moved in is creating a gallery wall up our stairwell. It felt empty and unfinished. It needed something. And for some reason, my kids love putting their hands all over it as they’re coming down the steps. So it also felt dirty.  ha!
I’m happy to report that this project solved both problems. Sean and I are both fortunate to have received these amazing old photographs of our ancestors and grandparents. Some of them date back to the 1800s! Fascinating. Â
I find myself looking through these photos often, thinking of them and how life was back then. I wonder what they would think of the world right now?Â
Included in this collection is a shoebox of old photos of my late grandmother from when she was a young married woman and mother. Â She was stunningly beautiful and looks so carefree in these photos.Â
My grandparents never had a lot, but they were always happy. There is one photo in particular, where she is laughing while running through a sprinkler in her backyard. I love that photo. What is more carefree than putting on your swimsuit and running through a sprinkler on a hot summer day?Â

I wish I would have asked her more about her life when she was here. I miss her a lot. I knew I couldn’t let these memories just stay in a shoebox. Â
So, over the past few weeks, I’ve been curating a group of old photographs from Sean and my family to use in a picture wall. It was so hard to whittle down – I wish I could use every photo. And maybe I will as the years go on.
Because these photos are old, some of them needed to be resized. I took them to Walgreens to scan and print them in the sizes I needed. Walgreens is great for same-day photo printing and pickup and they usually have a coupon you can use. Â
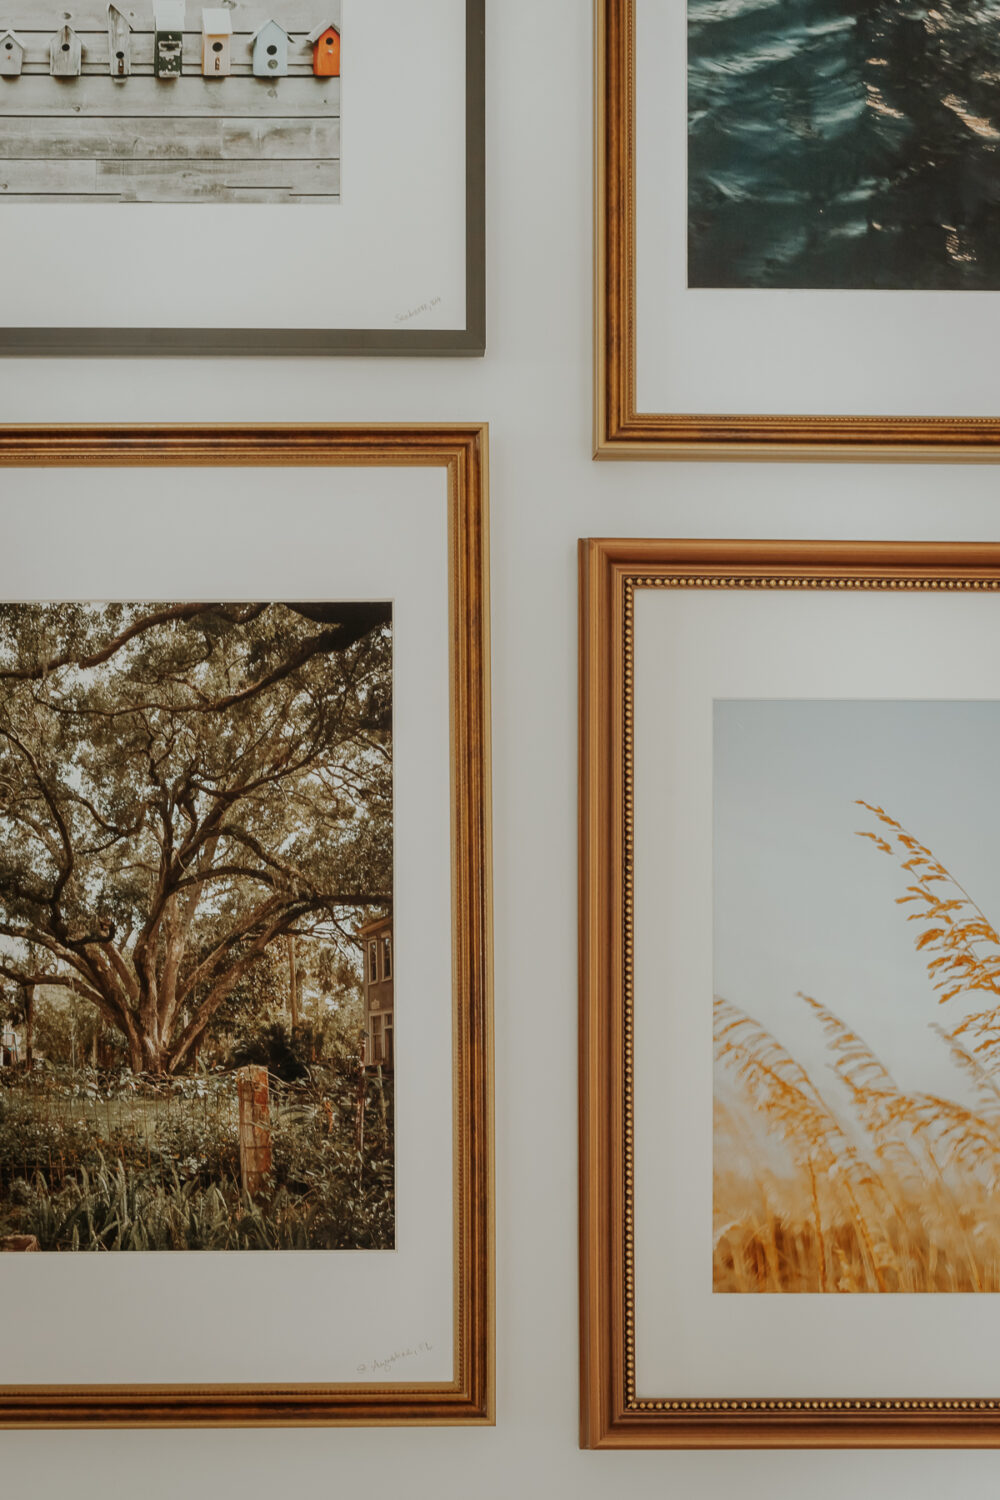
I also needed frames for this project. Luckily, a few antique frames were gifted from family. Some frames are more modern black matted frames that I picked up from Target. (I love mixing old and new together.) And the rest were picked up at my local thrift stores.
So this project did not break the bank.
How to Hang Pictures with Command Strips
This might seem obvious. However, there is something to consider here. If you were putting up pictures with regular nails – you could make a paper template, hang it up and then put your nails in immediately over the paper template. It’s a different scenario with command picture hanging strips.
The actual hanging is not hard. It’s making sure they are level and put where you want that’s the hard part. After you place your pictures with command picture hanging strips, you don’t really want to move them afterward.
I mean, it can be done. But after several rounds of moving them around the strip will lose its adhesive quality. If you have happened to move them a lot – just grab a set of new strips. This is damage free hanging anyways!

For this project you’ll need the following things handy;
- 3M Command picture hanging strips – I use these heavy-duty ones
- Small level
- Pencil
- Your framed pictures (obviously)
Step 1: Create your LayoutÂ
You should have your photos framed and ready.

Lay them all out on the floor and play around with the arrangement.
You can make a paper template if you want to, but it’s not necessary.
Once you find a layout you like – take your phone and snap a photo of it.
This will be a guide you can refer back to when hanging.
Step 2 : Mark Picture Placement on WallÂ
These next two steps I did one by one with each picture.
Using your photo guide from step 1, hold your picture up on the wall where you want it.


Take the small level and place it on top of your picture to ensure that it is straight.
Without moving it – take your pencil and draw two small lines at each top corner of the frame.
Don’t worry – you won’t see the pencil marks when we are done.
Step 3: Place 3m Command Strips on FrameÂ

3M Command has an awesome video for how to use their picture hanging strips, and I included it below.
Step 4: Hang Picture on Wall
Once you have your command picture hanging strips placed on your frame, you are going to place it back on the wall, lining it up with the two pencil marks we made before.
Press your picture frame firmly to the wall for 30 seconds. (It doesn’t hurt to check for levelness one last time.)

Repeat these steps with each remaining picture. Don’t forget to refer to your handy little picture guide.
I was able to hang our picture gallery this way with no hammer or nails and no paper templates either.
You can easily do this without damaging your walls!
And there is still a bit of room left for adding more family photos in the future.
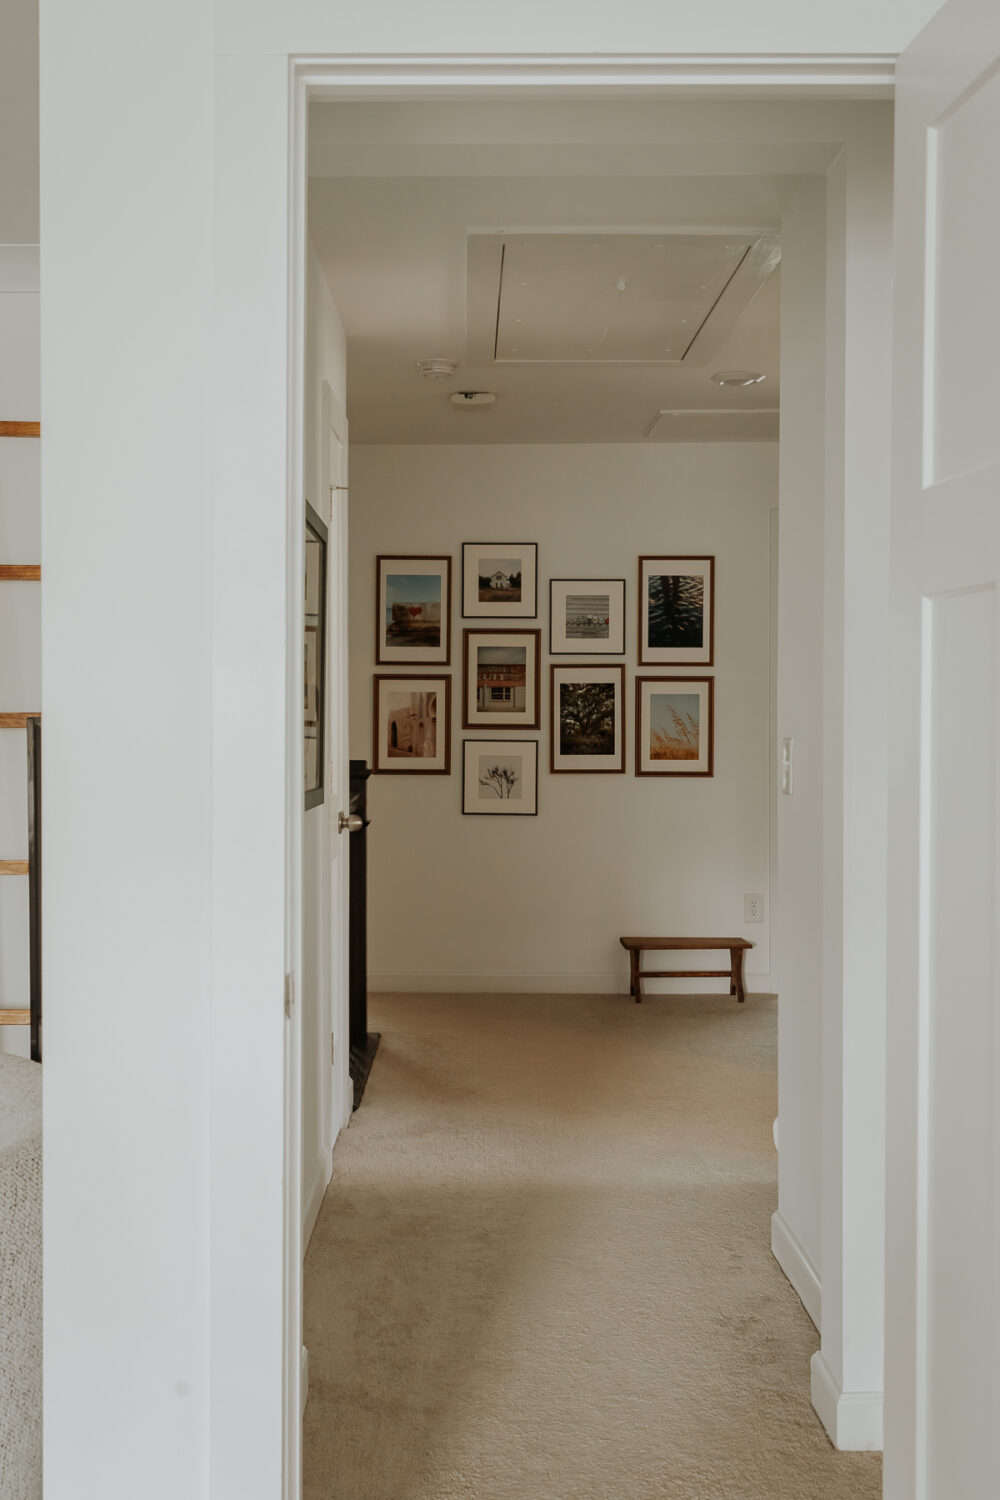
I wanted these photos to follow you up the staircase – so I hung them in a diagonal grid, almost like they are floating up the stairs.
A wall of vintage paintings is beautiful, but there is something about hanging these old photographs that is so meaningful to me.


I love when a home is filled with things that tell a story about the people who live there. If you have the opportunity to get some old family photos – I highly encourage you to group them together like this. Â


These photos didn’t just fill a blank wall for us, they serve as reminders about our family and where we’ve come from.  And how happiness comes from within, not from the stuff we accumulate. It’s the simple things in life. Like running through a sprinkler on a hot summer day. Life is more carefree that way. Â
I hope you enjoyed this post on how to hang pictures with command strips. And I hope this gave you some inspiration to get those old photos outta your closet.
Xo Karen