Envelope Pillow Cover Instructions

The Easiest Envelope Pillow Cover Instructions you’ll ever learn.


Maybe your living room needs a little makeover.

Or you want some new pillows to go with that new quilt you bought for your bedroom. But you’re sick of buying new pillow covers all the time. And your wallet is too.

Well, my friends, you’re about to learn a very practical and economical skill for your home.

How to Make Envelope Pillow Covers the Easy Way

But here’s one very important thing I want you to know: this is not as complicated a project as you might think.

Here’s why:

A lot of tutorials out there call for cutting three separate pieces of fabric, sewing all kinds of seams, and ensuring everything is lined up just so.   

I say the heck with all that.

Envelope Pillow Cover Instructions

I know you can do this. And learning this skill will …

  • Save you Money
  • Improve your Decor
  • Support your coffee habit (LOL – it’s fun to drink coffee while doing anything, right?)

Ready? Let’s get started.

Here’s what you Need

Envelope Pillow Cover Instructions

It’s best to start with fabric that’s been washed and dried, that way it’s not going to shrink on you later and ruin your project.

I also find it helpful to iron my fabric. The fabric will lay flatter after ironing and this will help you cut straight lines. 

Hint: to cut straight lines, just line the straight edge of your fabric up with the edge of a square table or counter and cut!

How to Make an Envelope Pillow Cover

I made a handy little diagram to help you visualize how to do this.  I was making a 20×20 inch pillow. However, if you have a different size insert, the formula for the amount of fabric you need is included below.

Note: We will only be cutting ONE long piece of fabric.
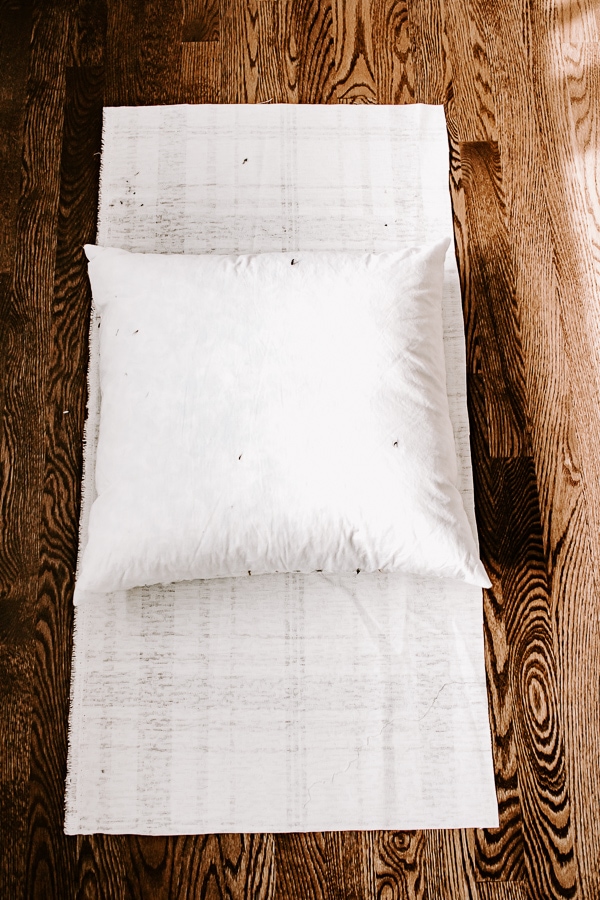
Diagram for sewing DIY Pillow Covers
  1. Cut your fabric.  The width is always going to be equal to your pillow insert. To determine the length you need, take your pillow size X 2 and add about 8 inches.  Example :  20 inch cover x 2 = 40 inches + 8 = 48 inches.  That ensures a nice overlap in the back, especially if you are using a very full pillow insert. You are going to cut ONE LONG PIECE that’s 20 inches wide by 48 inches long.  You could also just estimate the length by folding your fabric over your pillow and cutting at the point of overlap.
  2. After you cut your fabric, you want to sew a hem along the two short sides of the fabric.  You will fold or iron a little hem over twice and sew a seam here.
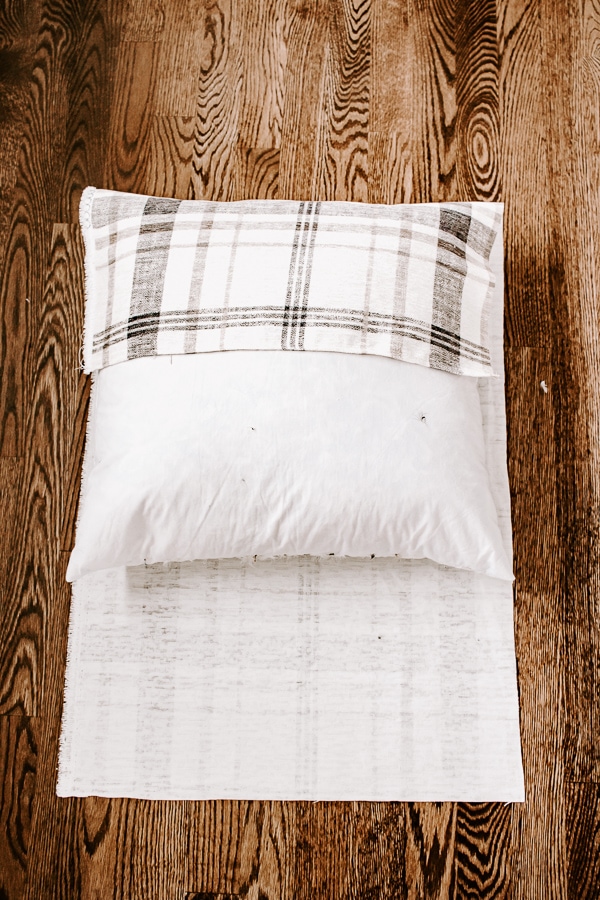
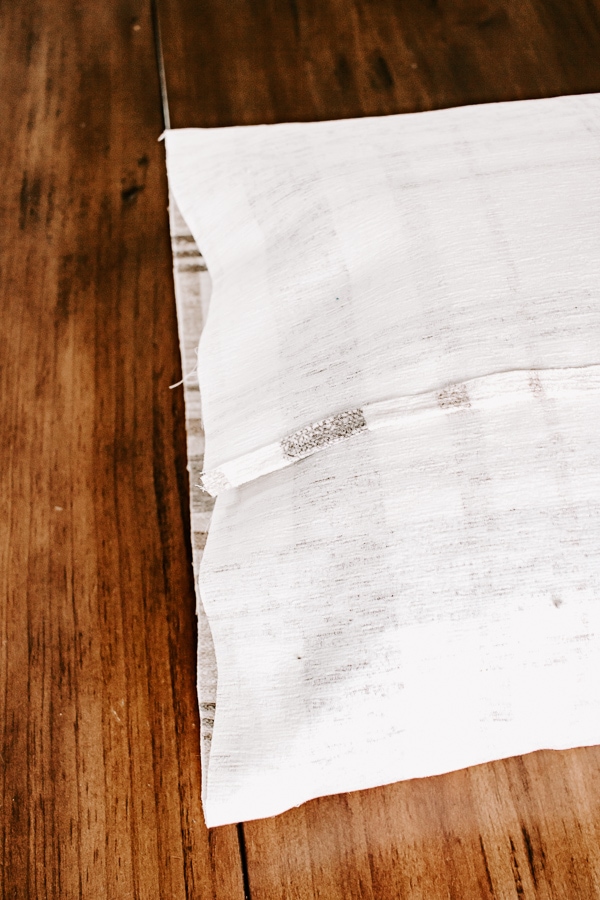
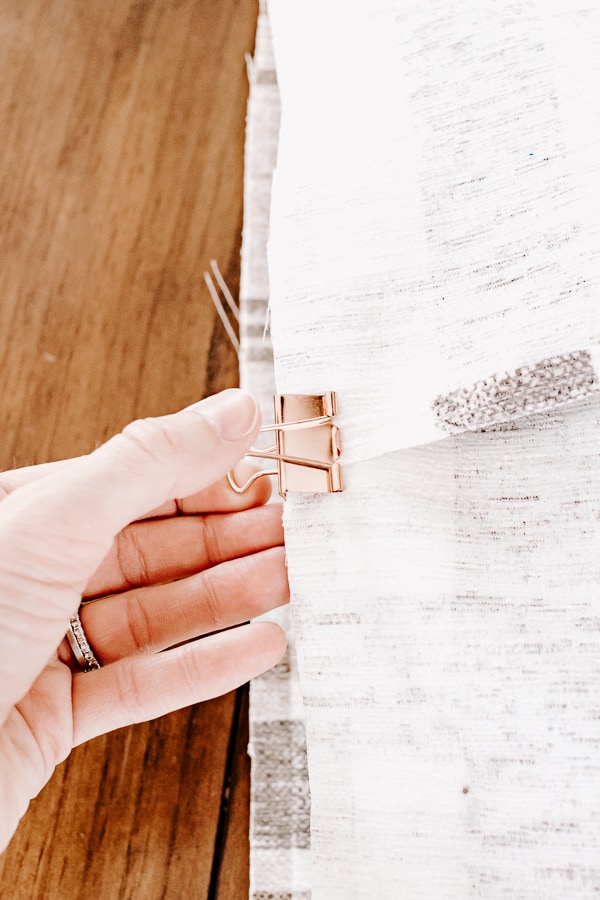
  3. Flip your fabric over so the wrong side is facing you. Plop your pillow form down on the center of your fabric. FOLD the sides over your pillow and clip the overlapping fabric in place on both sides. (see photos above.) Carefully remove your pillow form!
  4. Now just sew the two open sides shut and snip your threads and corners. (see tips to success below.)

And, you’re finished! Flip the pillow right side out and insert your pillow form.  That’s it, guys!

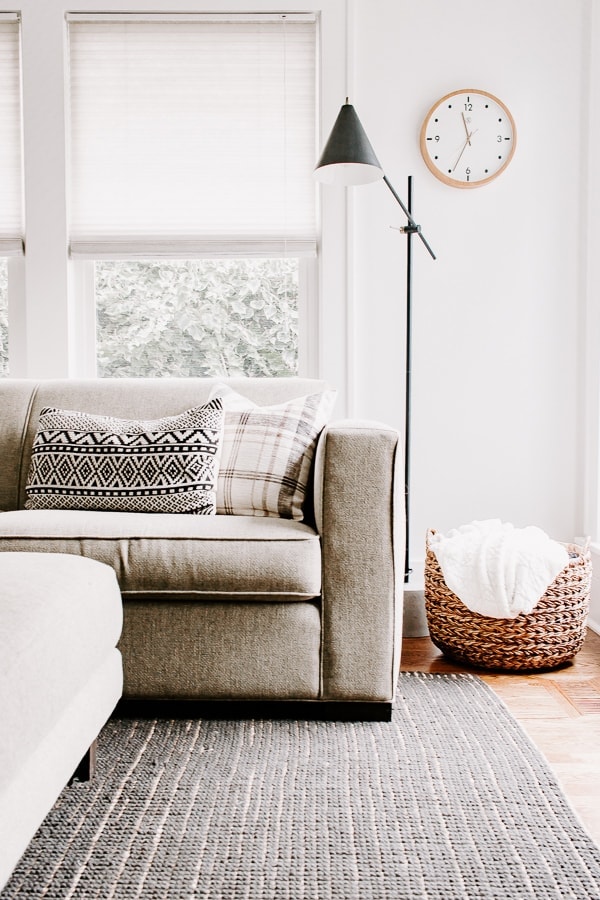
Black and White and Plaid pillow on couch

You should have a beautiful envelope pillow cover there that fits nice and snug around your pillow insert. And now you can make more. I’ll warn you that you won’t be able to stop at just one. In fact, I’ve been known to overhaul a whole set of living room pillows in one afternoon.

My husband will come home from work and say – ‘Did we get new pillows?’ OR ‘Did you make more pillows today?’ OR ‘We have too many pillows.’

Follow these Tips for Success

Envelope Pillow Cover Instructions

Now that you know how to make a cover quickly, easily and without ripping your hair out, I want to share a few tips with you to ensure you make the best pillow cover ever.

Use the best Pillow inserts

To get those lush, karate-chopping ‘V’ looks to your pillows, you absolutely must use the best inserts. I always go for down feather or down alternative and stay away from polyfill inserts. Buying good pillow inserts is a good investment – you can wash them and they will last a long time.

These are my absolute favorite pillow inserts and you can get them on Amazon.

Cut off Loose Threads

This is a weird tip but it really makes a difference. When you are done sewing, you will have loose threads everywhere. Take the time to snip off the loose threads. It really gives the pillow a more polished look.

Snip your Corners

After sewing but BEFORE flipping your pillow cover right side out, snip the excess from each corner. Be careful not to snip through the seam. Then, use a wooden spoon handle or the eraser side of a pencil to really poke out those corners.

Decor Hint: You can stuff each corner with a little bit of polyfill for a nice full look!
Choose Nice Fabric

I prefer using a medium weight cotton or linen or linen/cotton blend for my pillows. The linen adds some texture and more of a high-end look. A heftier fabric will help hide the pillow form and help prevent some feathers from poking out. Some fabrics are so thin, you can actually see through to the pillow insert underneath. I try to avoid that unless I just really love the fabric.


Black and White and Plaid pillow on couch

How to Make a DIY Outdoor Pillow – Easily!

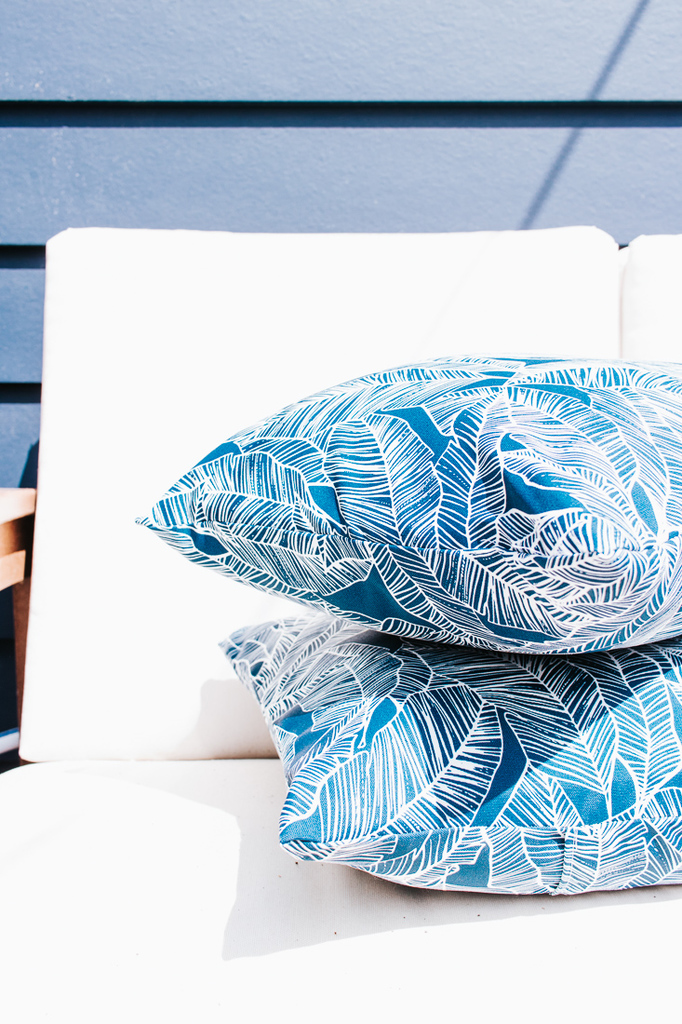
DIY Outdoor Pillows - Inexpensive and Easy Method for Making Outdoor Throw Pillows #diy #homedecorideas #exterior #patio

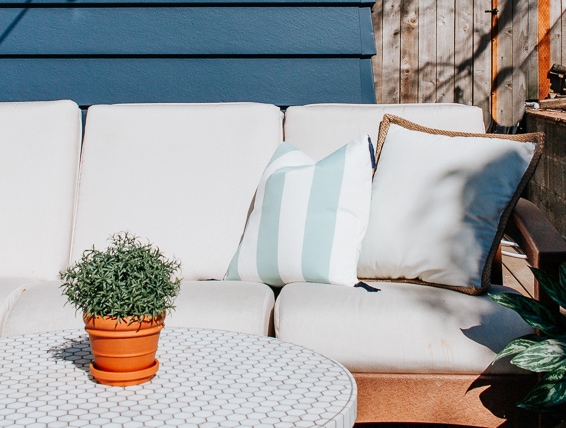
This past weekend was gorgeous here in Seattle! The sun was shining, it was nice and warm and I was itching to clean up our outside spaces! One cheap and easy way to transform your outdoor patio space is to plop down a few pillows.  They add much-needed color and help your outdoor area feel like an extension of your home – which it really is in the spring and summer months.  

We use our outdoor patio all the time. Especially since we installed this Trex decking a couple of summers ago. And now with our new Panoramic doors? It’s going to be heaven out there!

However, outdoor pillows can be pricey, right?  I usually opt for a mixture of handmade and store-bought pillows.  After the summer season is usually the best time to buy outdoor pillows because they are marked down.  But honestly, it’s so hard to say no when you’re drooling over those summer home decor catalogs. We want it now.  And I totally get that.

So that’s where a little inexpensive outdoor fabric and your creativity come in. (I feel like I say creativity a lot.  Yes? No?)

DIY Outdoor Pillows - Inexpensive and Easy Method for Making Outdoor Throw Pillows

Anyways – I’m all about making cheap versions of expensive brand products.  I recently did a cheap doormat DIY in a Rejuvenation inspired way. Well – this outdoor pillow is no different because I totally got my inspiration from Serena and Lily.  Their Beach Stripe Pillow with tassels is so pretty! But for $138? Not so much.

Serena and Lily Beach Stripe Outdoor Pillow with Tassels
Serena and lily

So I bought this outdoor striped fabric from Amazon (it’s Premier Prints). And I also bought a few navy tassels to jazz them up a bit.

Premier Prints Outdoor Fabric in Stripes
Premier Prints Outdoor Striped Fabric

Tip: I always look at Fabric.com for great fabrics. Then I copy the name of the fabric I love and input it into the search bar on Amazon. (Did you know Amazon acquired Fabric.com?) A lot of times Amazon sells the same fabrics on their site and you get free shipping (two-day if you have Prime.) Just a little trick to get your fabric quicker and with free shipping!

With this one yard of fabric, I was able to squeeze out three envelope pillows, some with tassels and some without.

Before we get to the tutorial, a note about outdoor pillow inserts.  

I have a few outdoor pillows that I bought ages ago.  I loathe the patterns on them, but since they are outdoor and in good shape – I just reuse them and cover them over with new fabric.  So – it’s worth mentioning that you can buy the ugly cheapo outdoor pillows and just cover over them.

However, those outdoor pillows are kind of, well, blah.  They are usually a polyfill which is just meh. I really love the pliable feel to the feather and down alternative inserts.  So I also used one of those that I had laying around.

Trust me – it makes all the difference! And you can wash those feather inserts too.

I don’t keep my outdoor pillows outside all year long.  If I know it’s going to rain, I’ll bring them inside so my pillows rarely get wet/moldy/dirty.  Scotchguard makes a fabric protector that you can spray on to help shield your fabric a bit more from the elements.  

Ok – on to the tutorial!

Materials Needed

Here’s how I did it.

DIY Outdoor Pillows - Inexpensive and Easy Method for Making Outdoor Throw Pillows
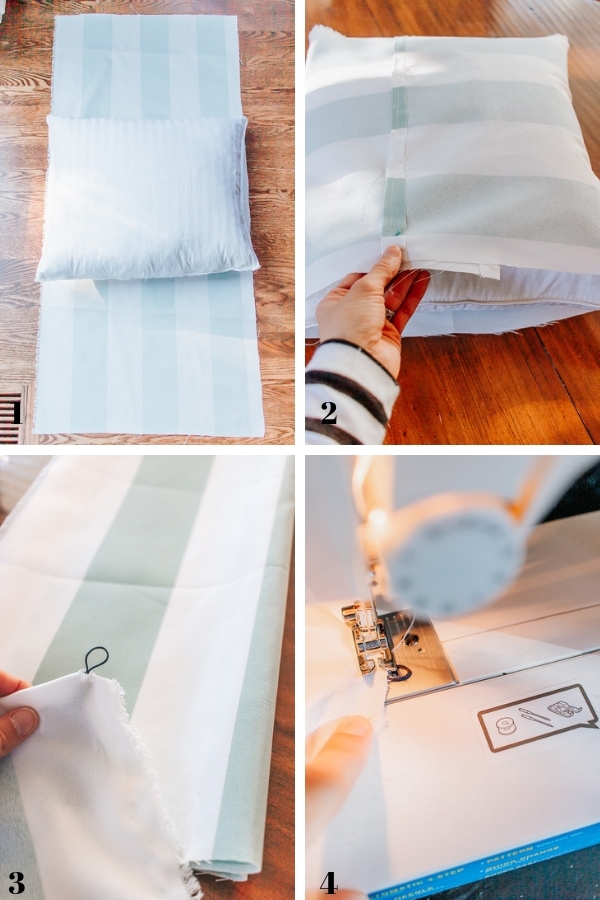
  1. Place your pillow insert on top of your fabric.  Cut the fabric along the edge of the pillow from top to bottom – you are basically just cutting it to the width of your pillow (see picture #1 above).
  2. Now that you have your piece cut – lay your pillow form in the middle of the fabric.  Take the two ends and wrap them around your pillow, ensuring that they properly overlap. ( If you find it’s too short – obviously this method won’t work for you.  You’ll just have to cut two separate back pieces.)
  3. Sew a seam on both ends to give it a finished look in the back and to help prevent fraying. You can iron down the seam first and this makes it so much easier to sew.  
  4. After sewing your seams, lay your fabric down with the right side facing up.  Place your pillow form in the center of the fabric again. Wrap the two edges around the pillow so they overlap in the middle and place a few pins there to hold it together.  (See picture #2). Wrap tight! I like snug pillow covers.
  5. Carefully remove your pillow form without disturbing the pins.
  6. To add your tassels – place them on the inside corners of your pillow cover with the loop part sticking through the seams.  (See picture #3).
  7. Now just sew the seams on both sides, while also ensuring you sew your tassels into the seam as well. (See picture #4).
  8. Flip your pillow right side out – insert your pillow form – voila!  All done. And soooo pretty!
DIY Outdoor Pillows - Inexpensive and Easy Method for Making Outdoor Throw Pillows

I repeated these steps again with my other two pillows – although I ran out of tassels so one is just plain.  Depending on the size of your pillows – you should be able to get 2-3 outdoor pillows with this method. And you are only sewing a few seams and making a few cuts.  Woot!

Are they really Waterproof?

These outdoor pillow covers will be as waterproof as buying an outdoor pillow in the store.

The trick here is to use outdoor fabrics. Sunbrella is a big name in outdoor fabrics, however, you don’t have to go that expensive. The fabric I used for this tutorial is Premier Prints Outdoor.

Here’s a handy little video I found on choosing the right outdoor fabrics …

Don’t forget that Amazon is a great place to buy fabrics, including outdoor fabric since it owns Fabric.com.

DIY Outdoor Pillows - Inexpensive and Easy Method for Making Outdoor Throw Pillows

Xo Karen