IKEA Rast Hack with Legs: Step by Step
This post contains affiliate links, which means we may earn a small commission if you purchase through them — at no additional cost to you. Please see our policy page for more details.
How to Hack an IKEA Rast dresser to look like an old piece of furniture with legs.
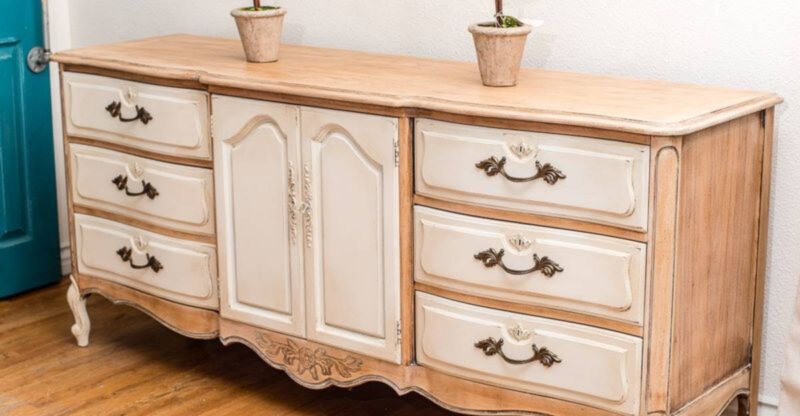
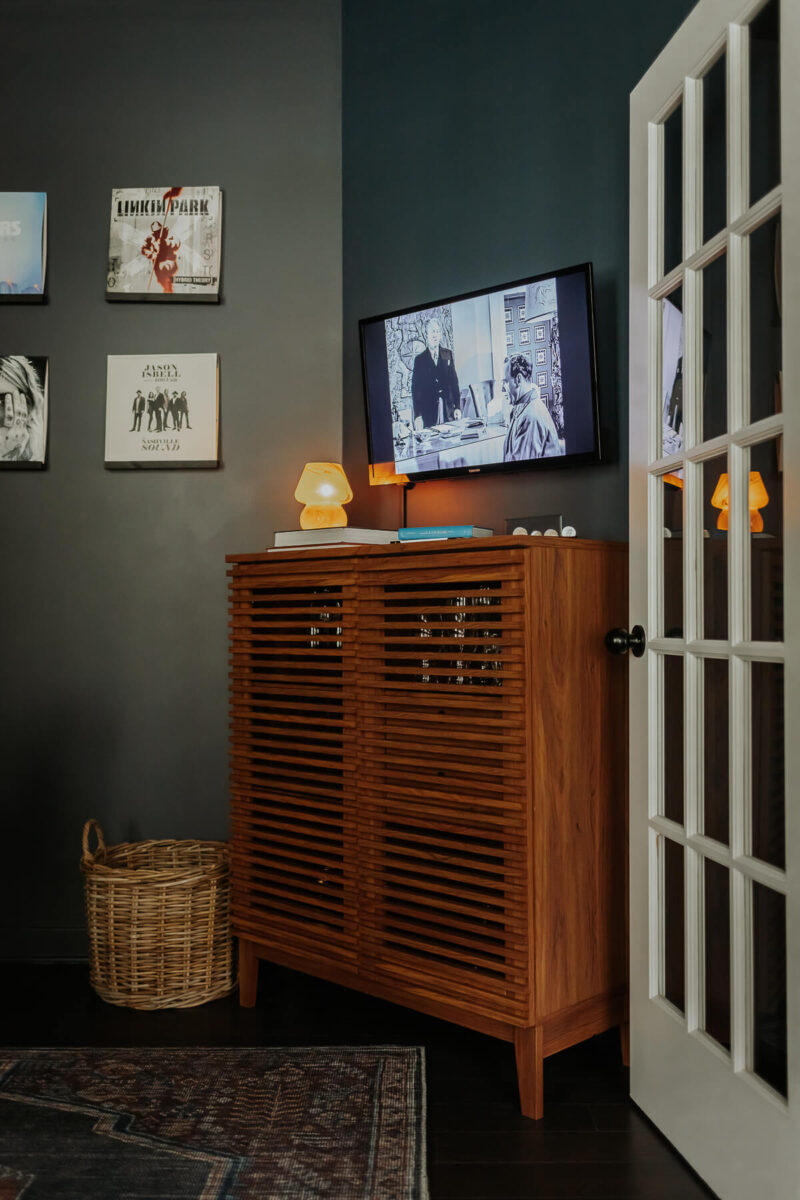
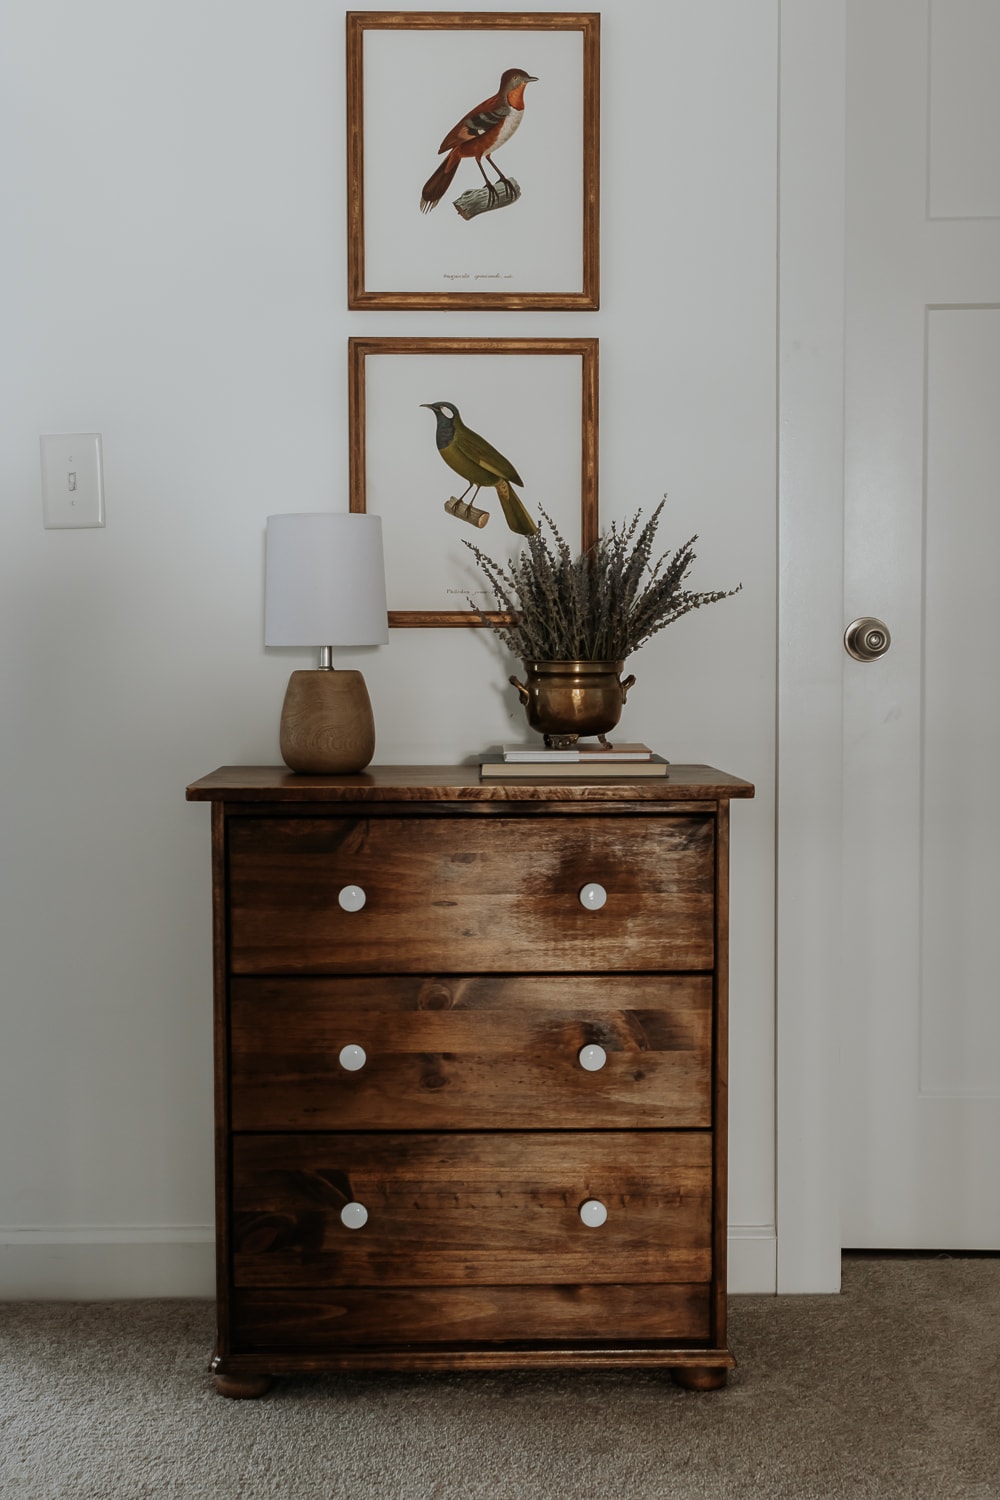
I always wanted a little farmhouse dresser with wood knobs. Although I thrift a lot, it’s been hard to find and I didn’t want to wait any longer. In this post, I’m showing you how I took an IKEA Rast Dresser and transformed it from this to this.


I think you guys will love this IKEA Rast Hack with legs. I’ve seen so many bloggers revamp this piece from IKEA it’s been inspirational to try my version of it.
This is a $40 piece of IKEA furniture, my friends! (More expensive if you buy from Amazon but that is an option if IKEA won’t deliver in your area, it’s always out of stock or you just want it fast!) And what I loved about it is that it’s not very deep, so it’s a perfect little accent for an empty nook, or in this case, my hallway landing. You could also use this as a nightstand because it has drawers and is provides extra storage.
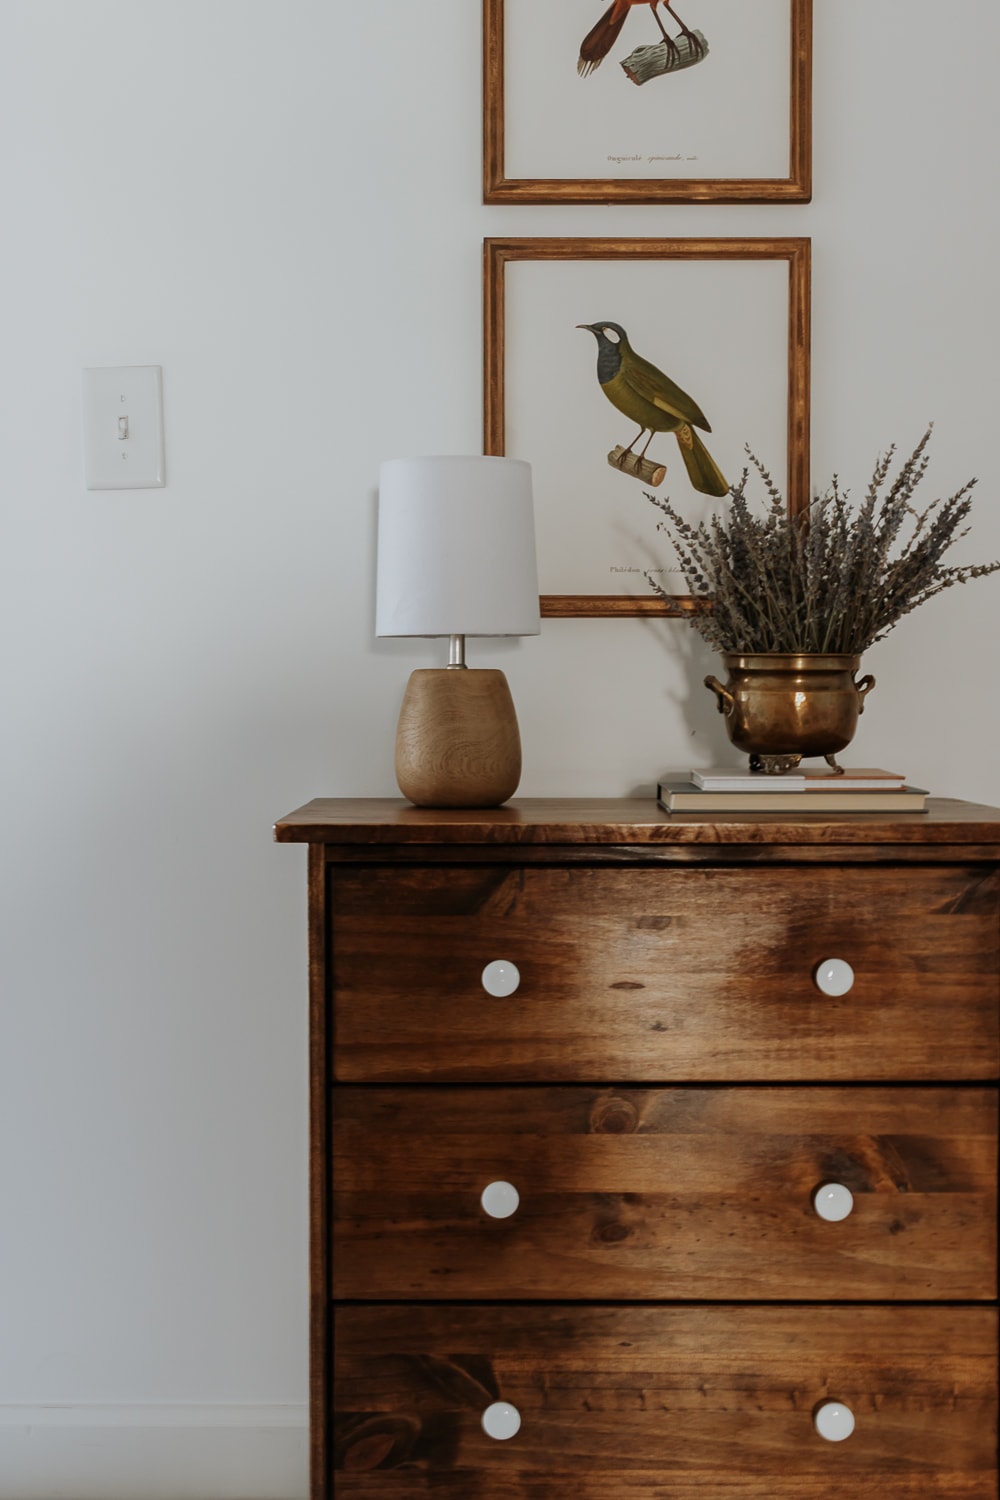
I knew I wanted to put feet on this dresser but a lot of the tutorials out there don’t really go into details about how they did that. So, I’m showing you exactly how I put the legs/feet on it. Is this a legit woodworker-certified way? Nope. I kind of did it as I went along. But it works and it’s hella sturdy.
Also, I opted to stain my dresser with wood stain, but the sky is the limit on how you want to finish this. You could paint it a deep moody color as a little accent for your spaces. See How to Paint Wood Furniture here for tips.
Let’s get going!
IKEA Rast Hack with Legs
Things You’ll Need
- IKEA Rast Dresser
- Set of Legs with Hardware included (I purchased this set from Amazon and switched the legs to bun feet)
- Drill and Screwdriver Drill Bit
- Forstner or Spade Bit (1/2 inch)
- Pine Molding Wood Trim
- Wood Glue
- Scrap 1×2 wood for Bottom Frame
- 1-½ inch wood screws
- Wood Stain and rag or Furniture Paint and paintbrush if you would rather paint it (I used Early American + Provincial)
- Orbital Sander
- Project Panel for the Top (they sell these wood panels at Home Depot and Lowes. I cut my top to be 26 ⅜ inches long and 13 ⅝ inches wide so ensure you get one that is big enough)
- Polyurethane (I used Clear Gloss for a little shine)
- Wood Stickers (to cover screws at the sides)
Step 1: Put together your Dresser

Using the directions that IKEA provides, completely assemble your Rast Dresser. I opted for different drawer knobs because I like the look of those big wood knobs so I made a quick swap out. Update: I decided I wanted more of a pop – so I swapped them out again for these white porcelain knobs.
Step 2: Add Bottom Pieces
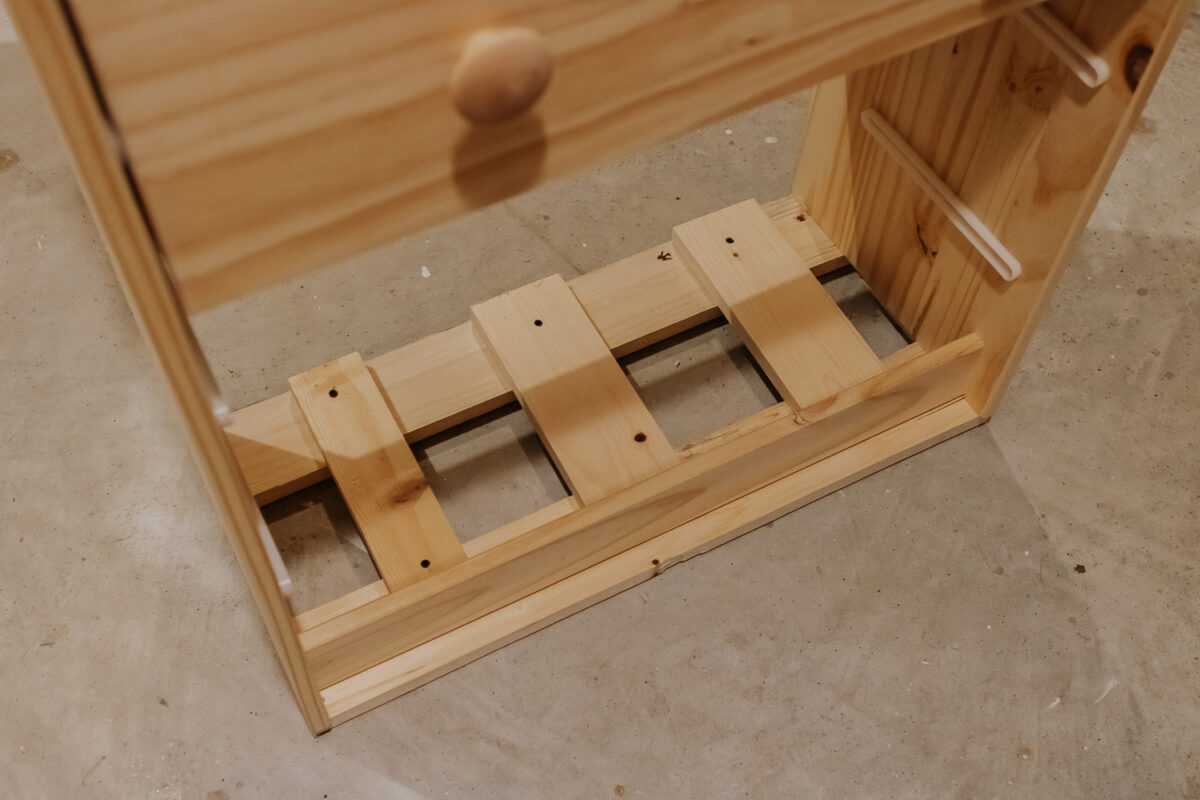
After your dresser is completely assembled, you will attach a few scrap pieces of wood to the bottom of the dresser. Don’t worry, these wood pieces won’t really be visible from the front and we will cover the sides with some decorative molding at the end.
Here’s how I did it. I first attached two pieces across the bottom using finishing nails and screws. Be very careful so you don’t split your wood. It’s best to drill pilot holes first (avoid my mistake).
Then, I attached a few pieces in a cross pattern like this for extra stability.
Step 3: Attach Leg Hardware

This is the trickiest part of this IKEA hack. The Leg hardware is supposed to be inset, so you can screw the legs up into the dresser if that makes sense. That means we have to drill a hole roughly the same size as the screw pocket through the bottom wood pieces.

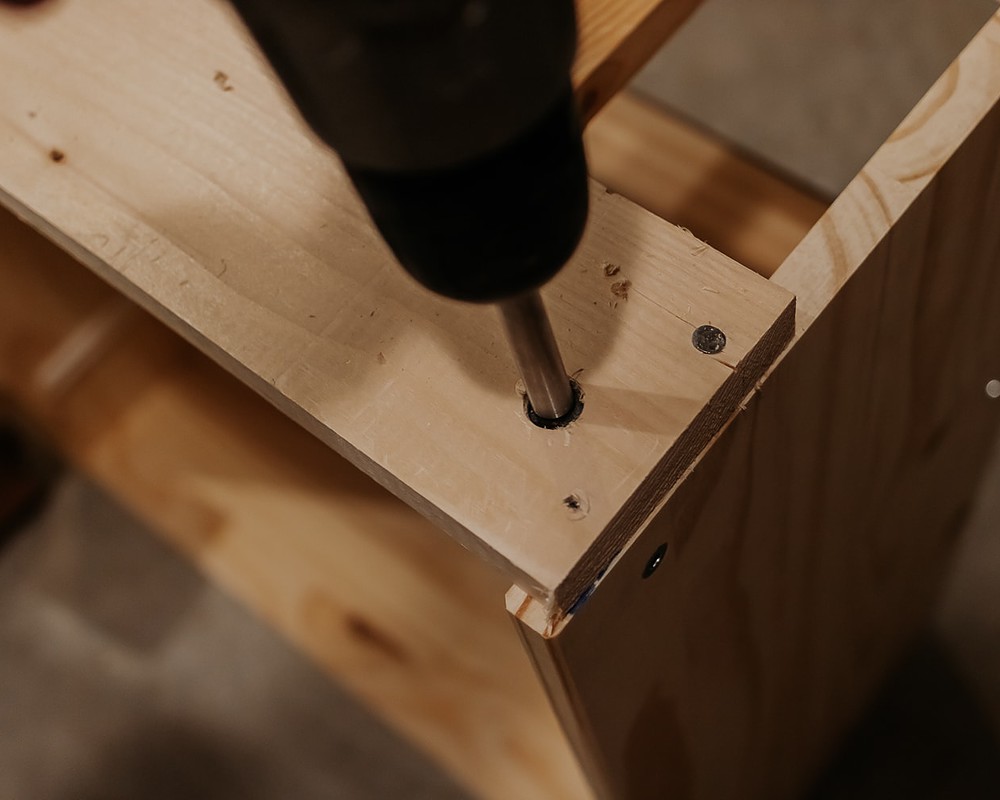
I used a ½ inch Forstner bit to drill 4 holes in the exact places I wanted the legs. Then, I inserted the leg hardware into the holes and screwed them into place with the included screws.
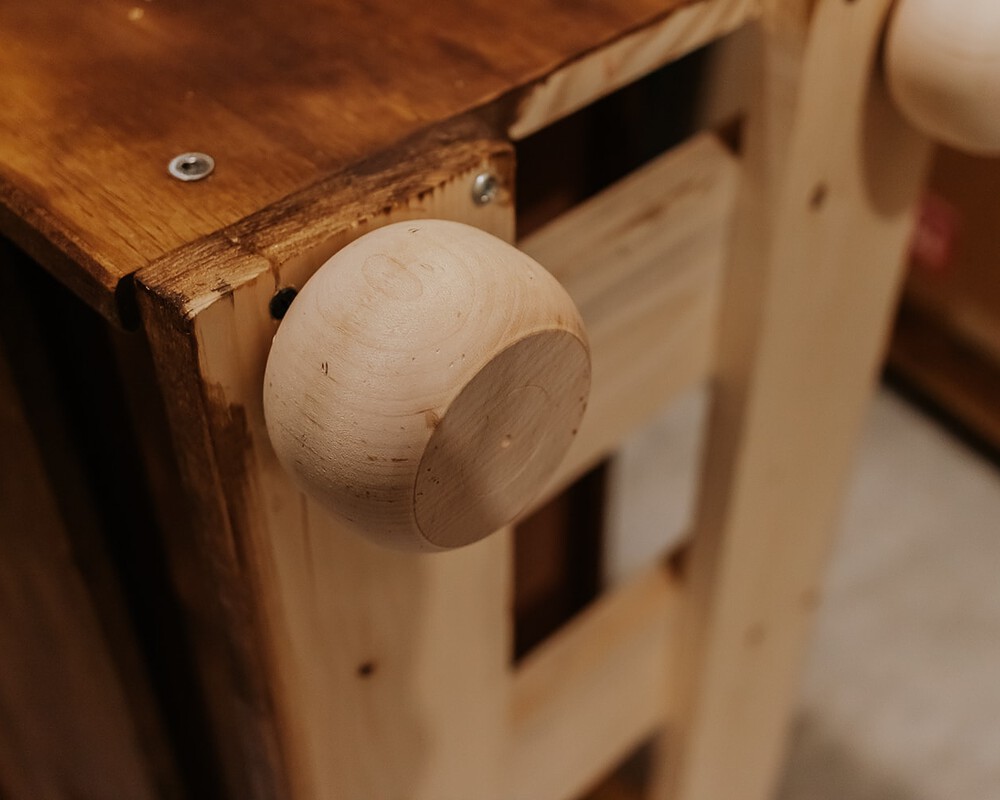
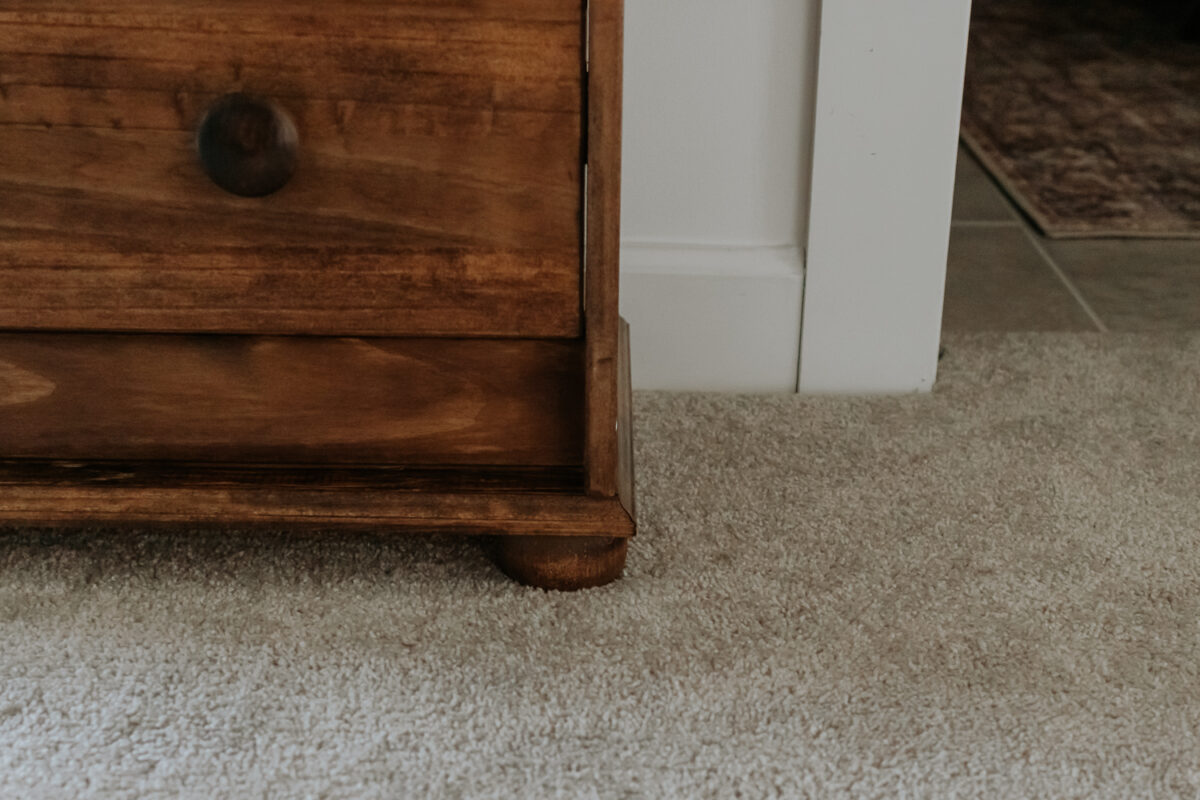
After that, I screwed in my legs. I ended up not liking these legs with this dresser. I used bun feet instead. They sell bun feet practically everywhere these days, you can even get them on Amazon.
Step 4: Attach Wood Top
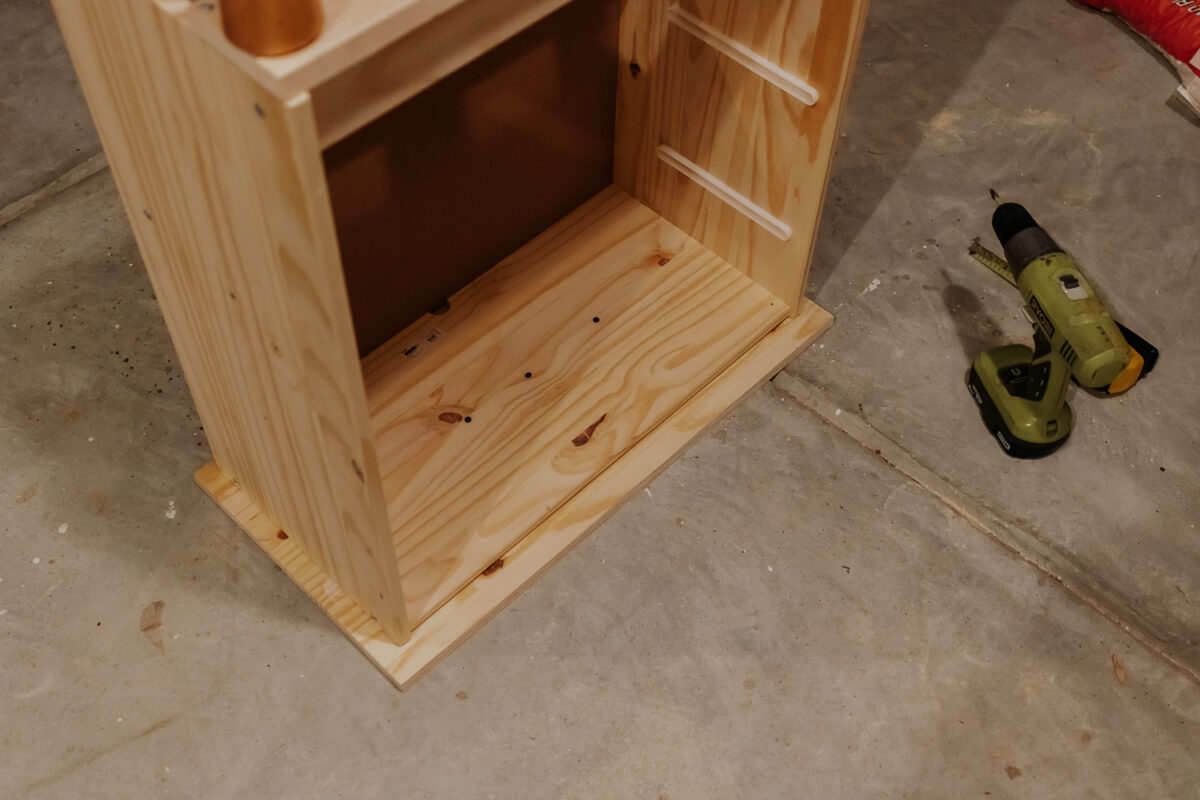
I wanted a larger wood top to give me more room to put a lamp and other things. Plus, I just like the look of a wood top that is slightly larger than the furniture. It looks more polished to me that way.
I cut a project panel to 26 ⅜ inches long and 13 ⅝ inches wide for the wood top. I attached it to the top of the dresser with wood glue and a few screws. Remove the top drawer of the dresser and drive a few screws through the existing top into the new wood top. That way, you won’t see it from the top. Make sure your screws are short enough that they won’t poke through the top.
Step 5: Sand and Stain
I rounded the square edges of my wood top so it looks a bit more finished. I also sanded the bottom wood pieces where they were visible on the sides so it was nice and smooth. Then, I used a combination of Early American and Provincial wood stains on the entire dresser, including the bun feet and wood knobs.
Step 6: Attach Decorative Molding to Bottom

I cut three pieces of molding to fit along the bottom three sides of the dresser. This molding will hide the bottom wood pieces and also create a more finished look. I wanted the corners to meet so I cut them at a 45-degree angle and attached them to the dresser using wood glue. I also stained them to match the dresser.
Step 7: Coat with Polyurethane
Final Step! I applied three coats of clear gloss polyurethane and let this dry completely.
Final Outcome
Here’s how my dresser turned out! For an inexpensive dresser and some inexpensive wood supplies, this turned out pretty good. I love that I have extra storage here to put light bulbs, batteries, even cleaning supplies.
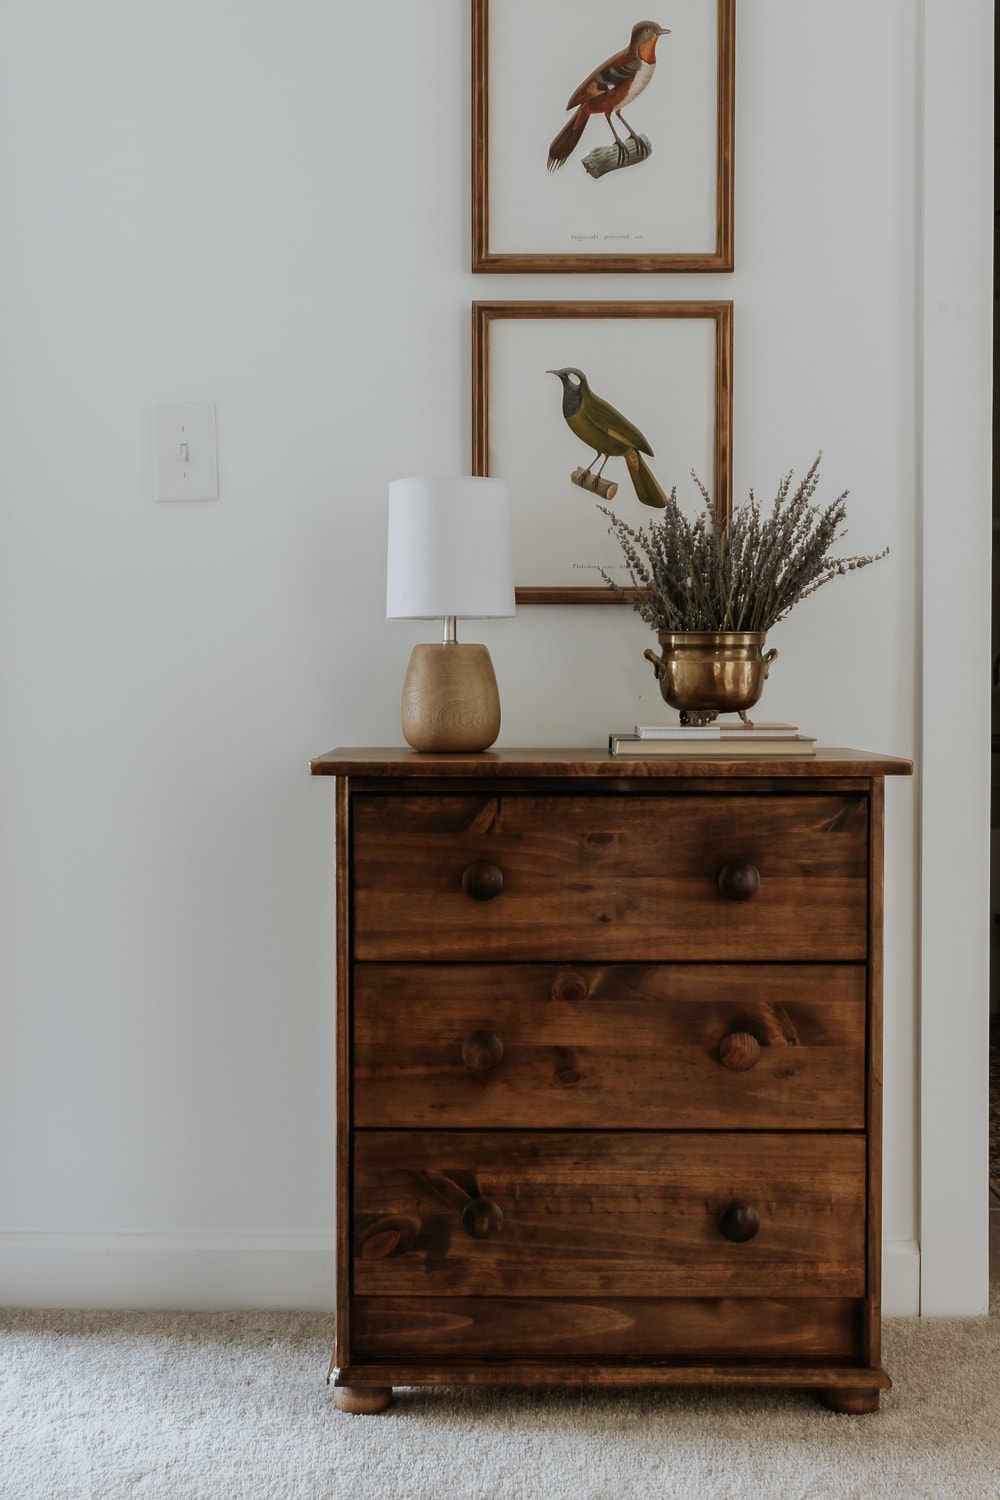


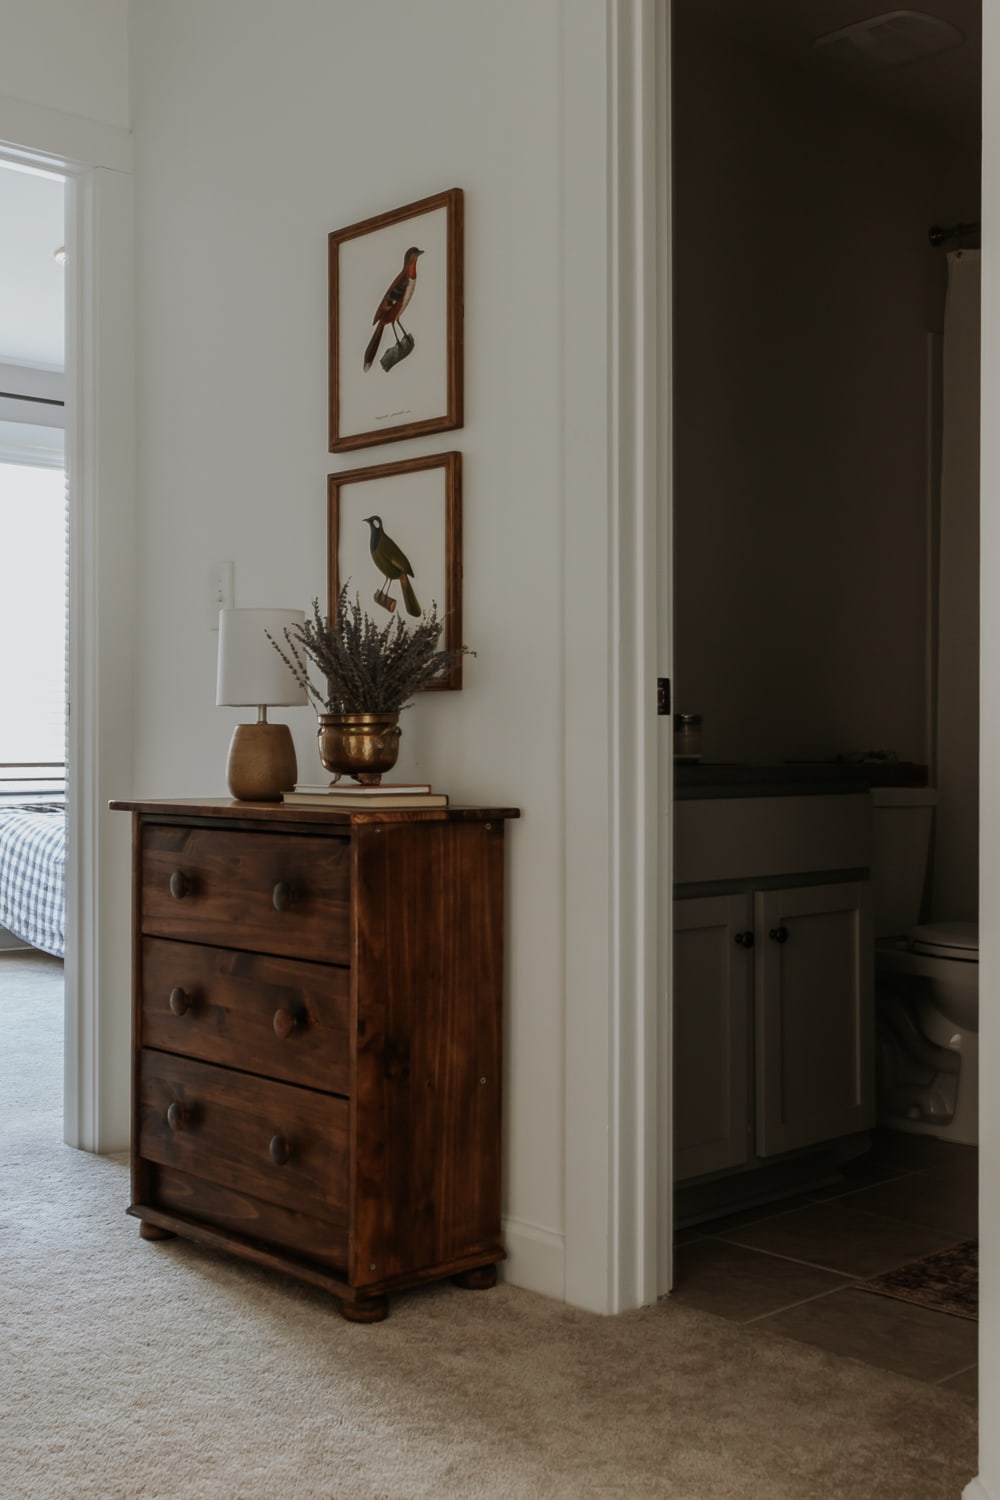
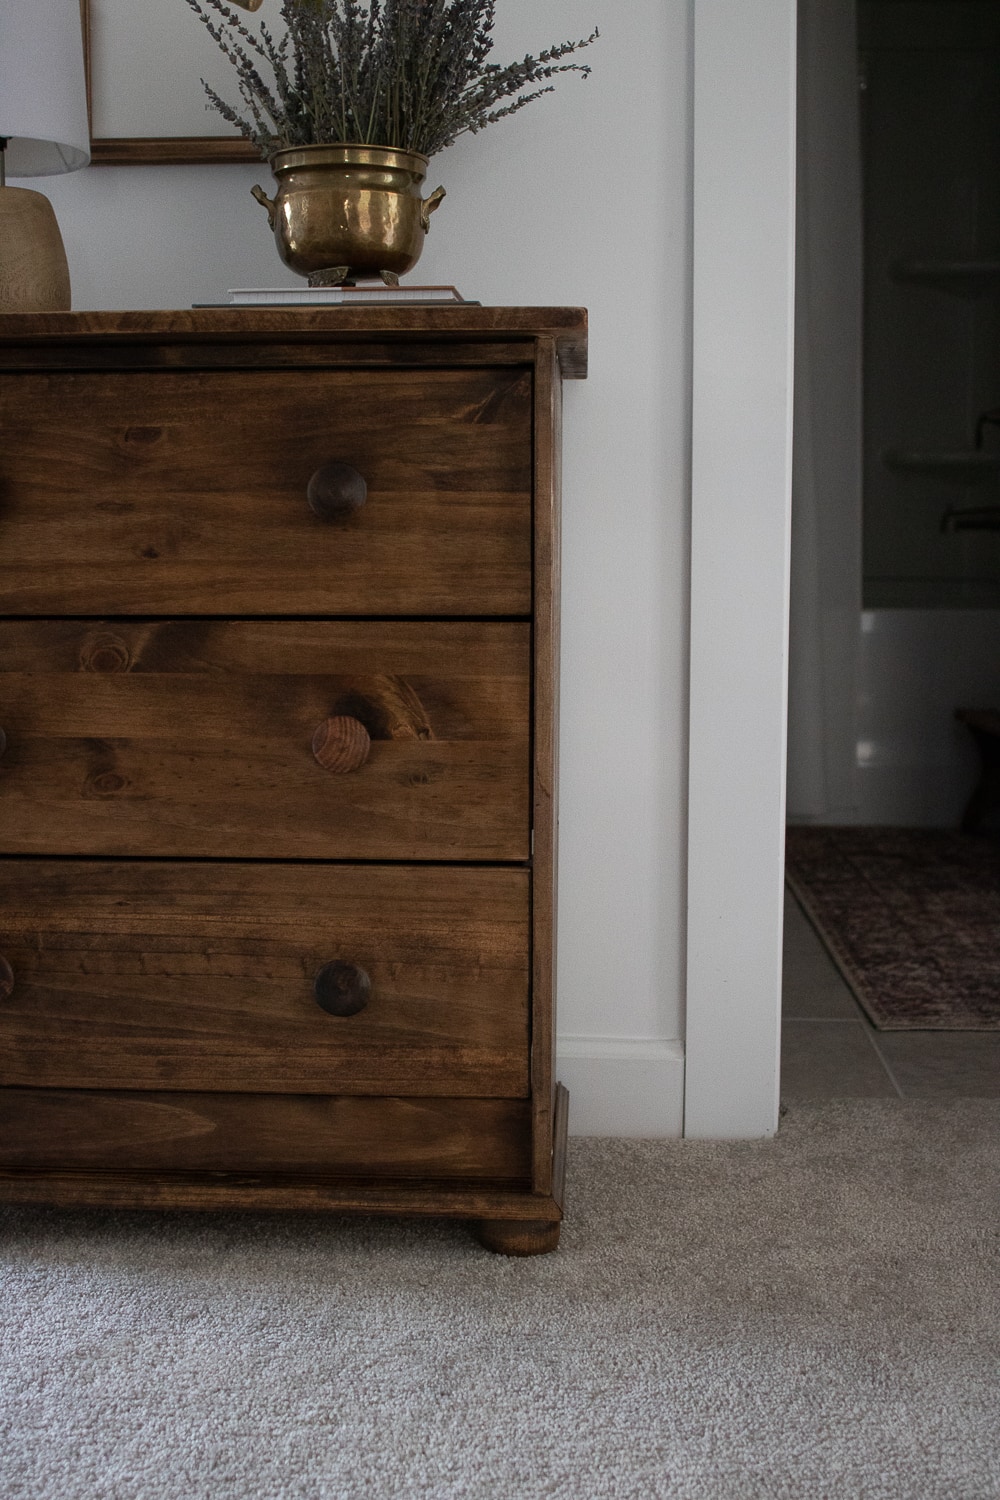



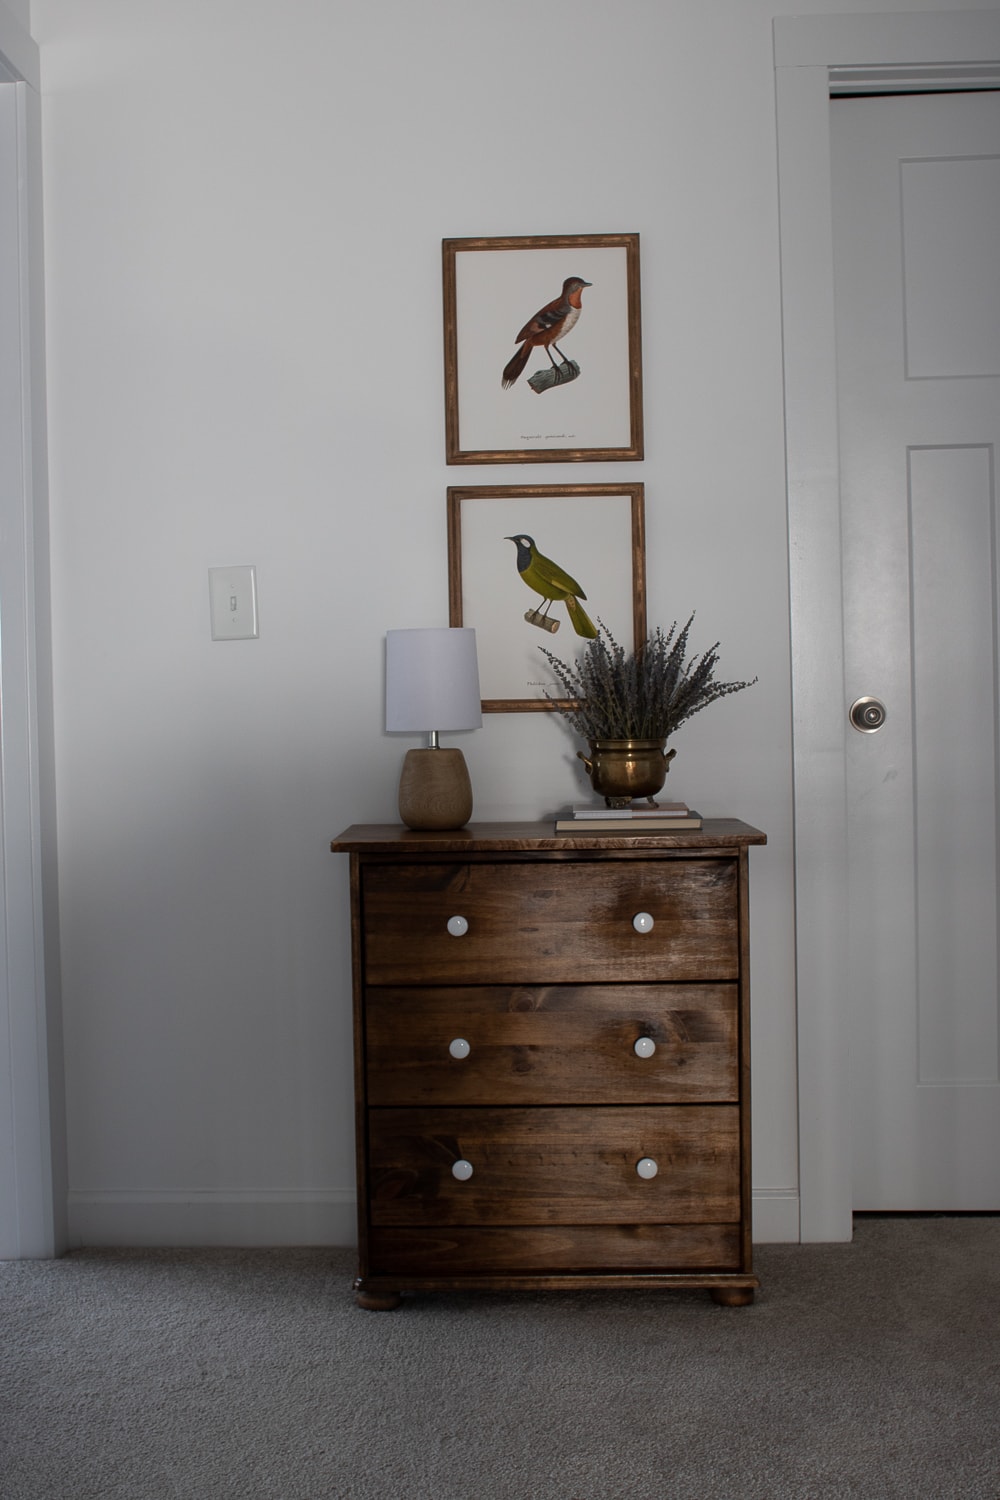
And of course, my favorite thing is decorating it! This has been a fantastic little accent for our hallway and it makes me happy every time I walk upstairs.
Check out my other DIY projects here. Thanks so much for visiting me today!
Xo, Karen

