We Turned A Run-Down Shed Into A Cozy Tiny House, Here’s How
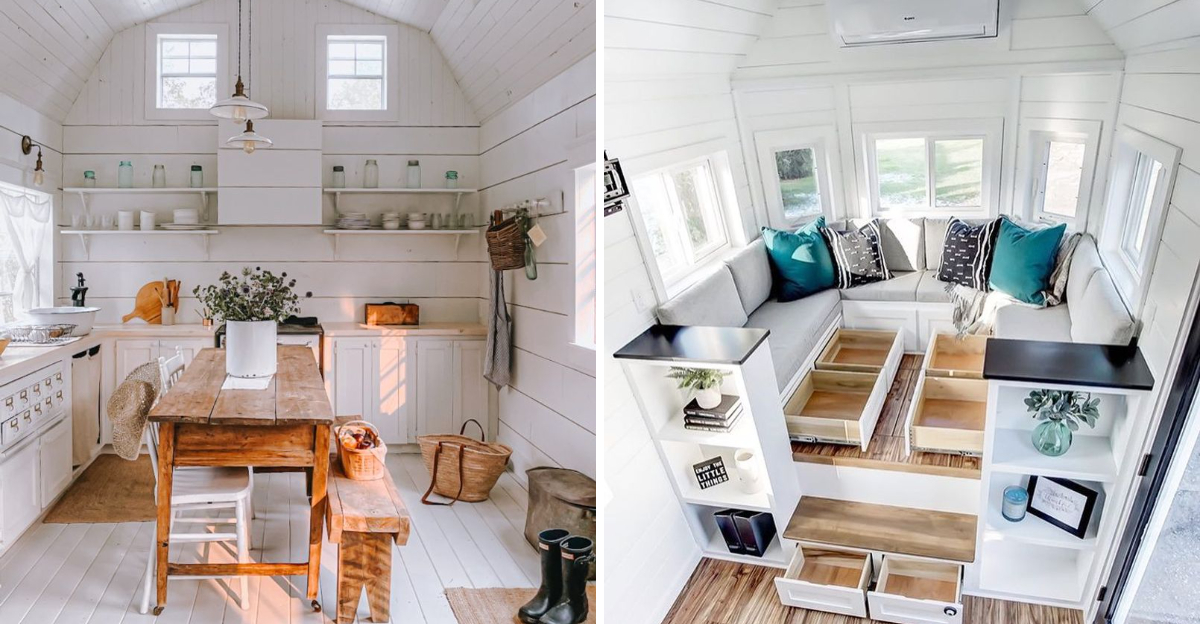
Ever dreamed of transforming something old and forgotten into a charming living space?
That’s exactly what we did with our dilapidated backyard shed. After years of collecting cobwebs and housing garden tools, we saw potential where others saw junk.
Our journey from shabby shed to delightful dwelling wasn’t always smooth, but the result exceeded our wildest expectations.
1. Assessing The Structure
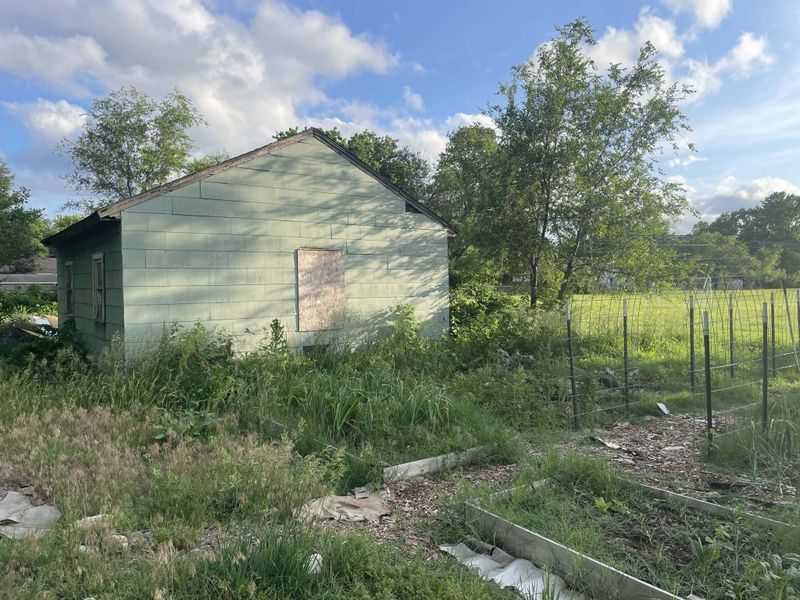
Before swinging any hammers, we thoroughly inspected every inch of our weathered shed. The foundation remained surprisingly solid despite years of neglect, though several floor joists needed replacing due to moisture damage.
Checking the roof revealed some leaky spots requiring immediate attention, while the walls stood sturdy enough to build upon. This evaluation phase saved us countless headaches later by identifying hidden problems early.
Taking detailed measurements helped us create realistic floor plans that maximized every square inch of our tiny footprint.
2. Creating A Realistic Budget
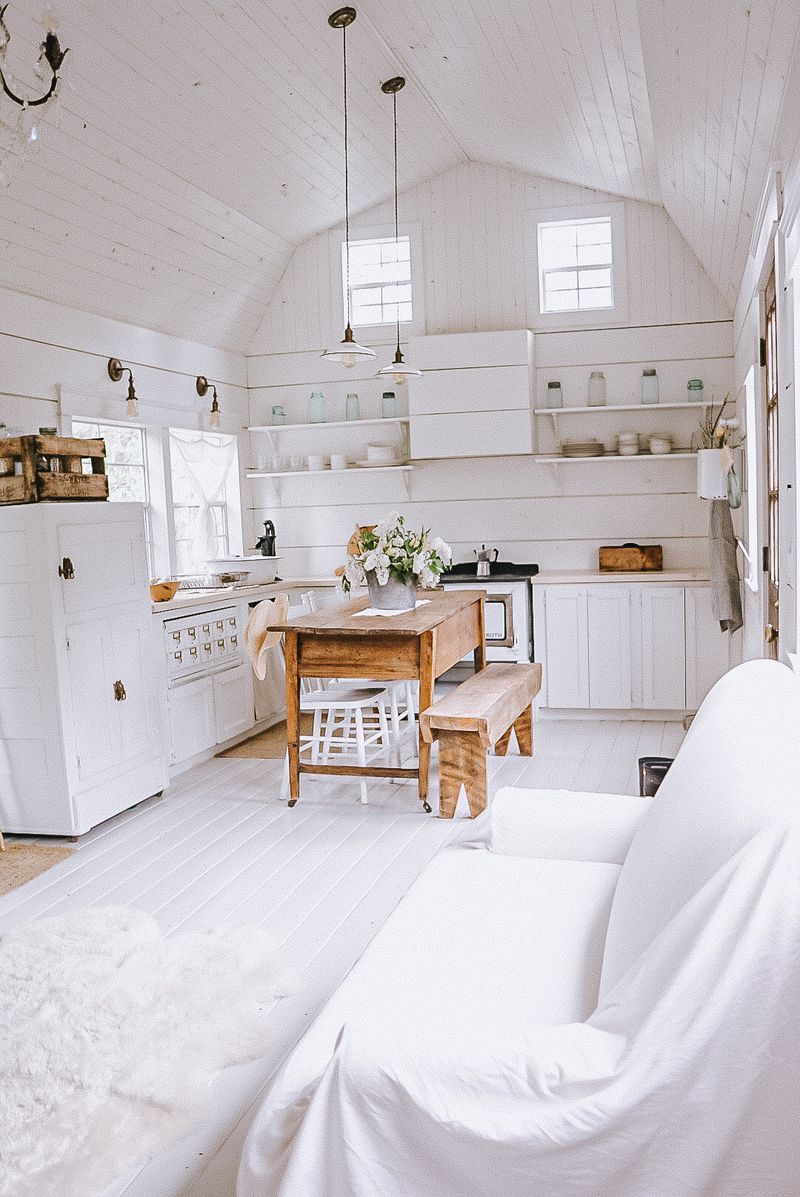
Money matters made our heads spin initially! We tracked every anticipated expense in a detailed spreadsheet, from insulation to fixtures, allowing wiggle room for those inevitable surprises.
Sourcing materials became a treasure hunt as we scoured salvage yards, online marketplaces, and clearance sections. The kitchen countertop? A remnant slab at 70% off. Those charming windows? Rescued from a renovation down the street.
Setting spending priorities helped tremendously we splurged on quality insulation but saved on cosmetic finishes we could upgrade later.
3. Securing Necessary Permits

Navigating the bureaucratic maze of building codes nearly derailed our entire project! Each municipality has different regulations regarding tiny houses, accessory dwelling units, and permanent structures.
Armed with floor plans and structural details, we visited the local building department where a helpful official guided us through the permitting process. Some requirements surprised us like minimum ceiling heights and egress window dimensions.
When one permit application got rejected, we revised our plans rather than giving up. The approval finally arrived after three submissions and felt like winning the lottery!
4. Reinforcing The Foundation
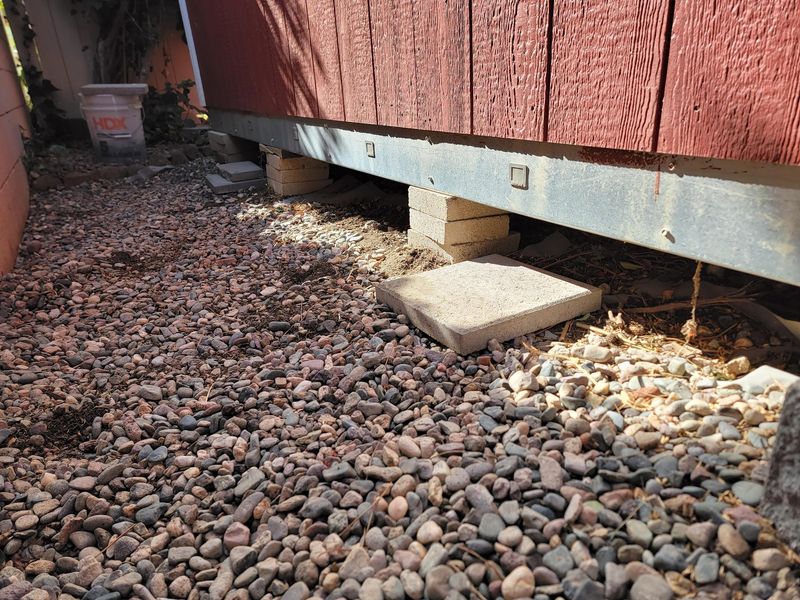
Getting down and dirty with foundation work wasn’t glamorous, but skipping this step would have been catastrophic. Our shed sat on concrete blocks that had shifted over time, creating an uneven base.
With jacks and plenty of muscle, we carefully leveled the structure inch by inch. Fresh concrete footings replaced the crumbling originals, while pressure-treated lumber formed a robust sill plate to prevent future moisture issues.
Adding additional support beams beneath high-traffic areas ensured our tiny home wouldn’t sag or bounce when walking around inside.
5. Insulating For All Seasons
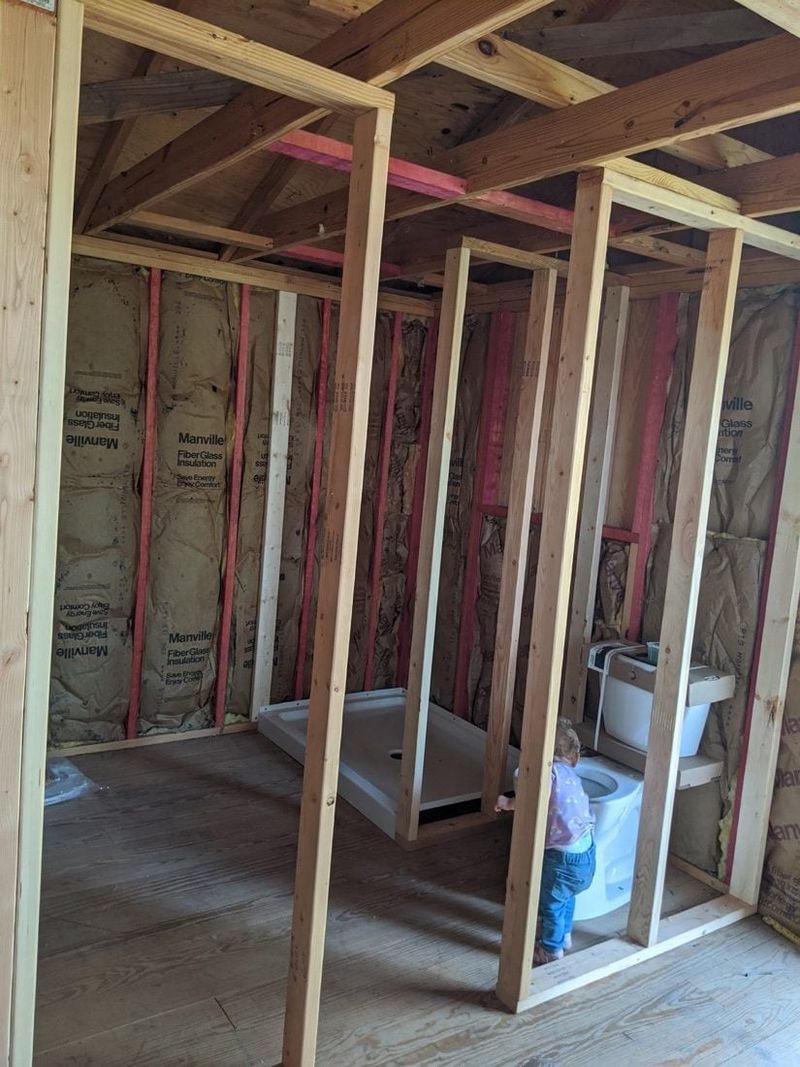
Frigid winters and scorching summers in our region meant insulation couldn’t be an afterthought. The thin shed walls offered virtually no thermal protection, so we stripped everything to the studs.
After researching various options, we chose spray foam for the ceiling to maximize R-value in limited space. For walls, rigid foam board created an excellent thermal barrier without sacrificing precious inches of interior room.
Under the flooring, we installed reflective insulation that bounces heat back upward a game-changer during cold months when every degree matters in such a small space.
6. Planning Smart Storage Solutions
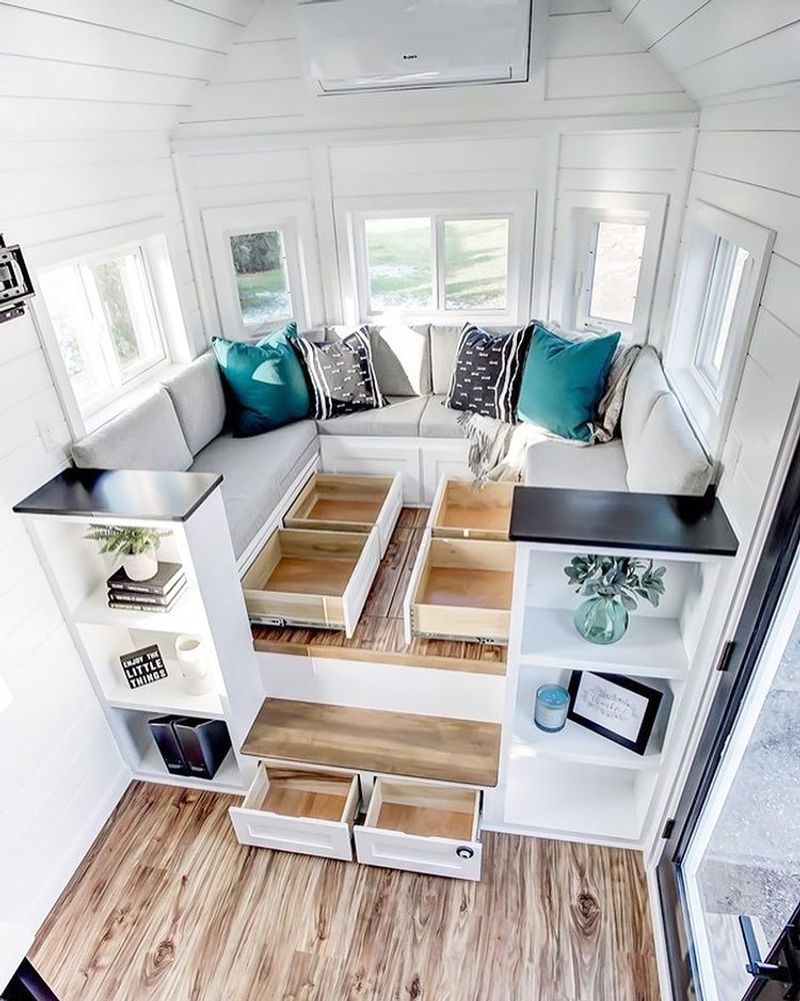
Living tiny demands ruthless efficiency with every square inch! We sketched dozens of storage ideas before finding our perfect combination of functionality and style.
Hollow stairs leading to our sleeping loft double as pull-out drawers for seasonal clothing. The custom sofa conceals large storage compartments beneath hinged cushions, while floating shelves wrap around upper wall spaces typically left unused.
My favorite clever hack? Installing ceiling-mounted bike hoists that allow our bicycles to “float” above the living area when not in use, freeing up valuable floor space.
7. Installing Basic Utilities
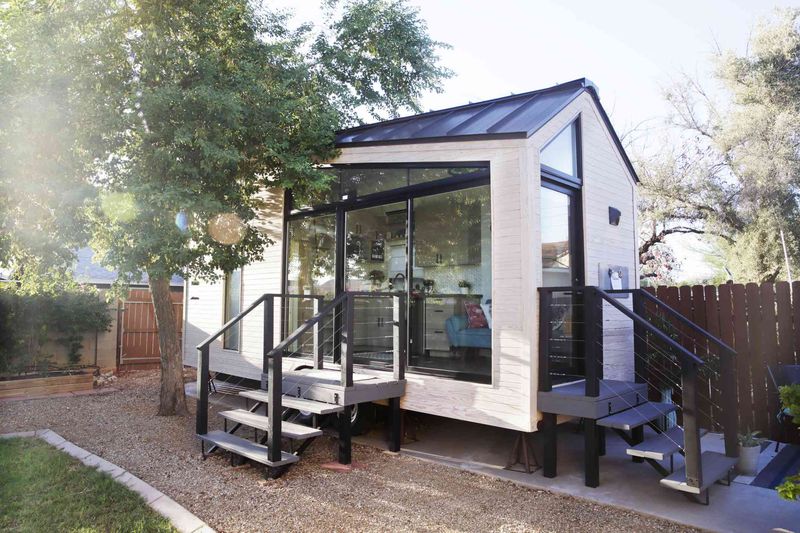
Transforming our glorified box into a functioning home meant tackling the intimidating world of utilities. Running electrical lines required careful planning to meet code requirements while accommodating our modest power needs.
For water, we connected to the main house supply using flexible PEX tubing much easier for DIYers than traditional copper pipes! Drainage proved challenging until we discovered gray water systems that could repurpose sink water for garden irrigation.
Heating came from a small propane wall unit, while strategic window placement maximized cross-ventilation during warmer months, reducing our reliance on fans.
8. Maximizing Natural Light
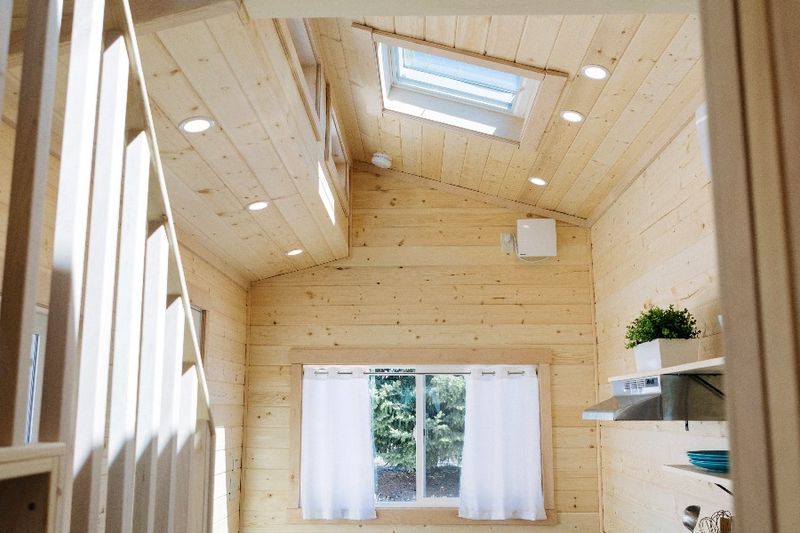
Gloomy spaces feel cramped, so bringing sunshine indoors became our obsession! The original shed had just two tiny windows that barely let in any light.
We carefully cut additional openings in non-load-bearing walls, installing energy-efficient windows that transformed the atmosphere instantly. A salvaged skylight above the sleeping area floods the space with daylight while offering stargazing opportunities at night.
Light-colored paint on walls and ceiling amplifies brightness, while strategic mirror placement visually expands the space. These changes made our tiny home feel twice as large without adding a single square foot!
9. Choosing Space-Efficient Appliances
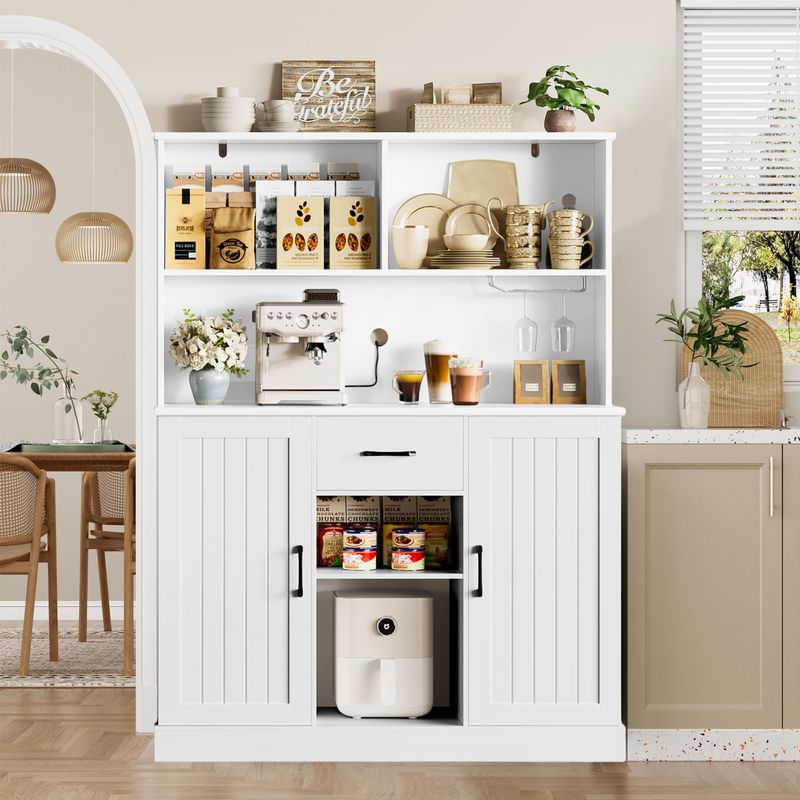
Standard appliances would have devoured our precious square footage faster than you can say “tiny house”! After extensive research, we discovered a world of compact alternatives designed specifically for small spaces.
A two-burner induction cooktop replaced a traditional stove, while our combination convection/microwave oven eliminated the need for separate appliances. The refrigerator-a 24-inch apartment model-fits perfectly under our countertop.
For laundry, we installed a ventless washer-dryer combo unit that handles small loads efficiently without requiring external venting or separate machines.
10. Adding Personal Touches
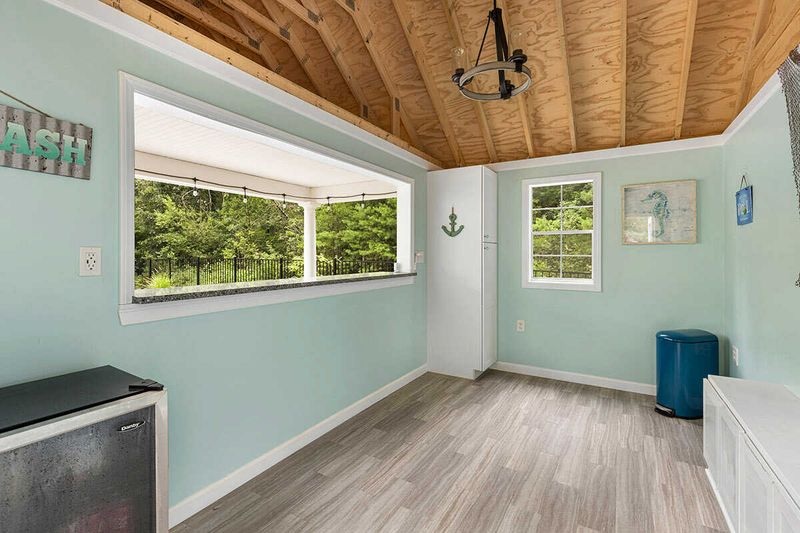
With construction finally complete, the fun part began-transforming our tiny house from a building into a home! Multifunctional furniture pieces earned their space through practicality and style, like our coffee table that expands into a dining surface.
Reclaimed wood accents throughout add warmth and character while honoring the structure’s humble origins. We created a gallery wall using treasured family photos in varied frames, instantly making the space feel uniquely ours.
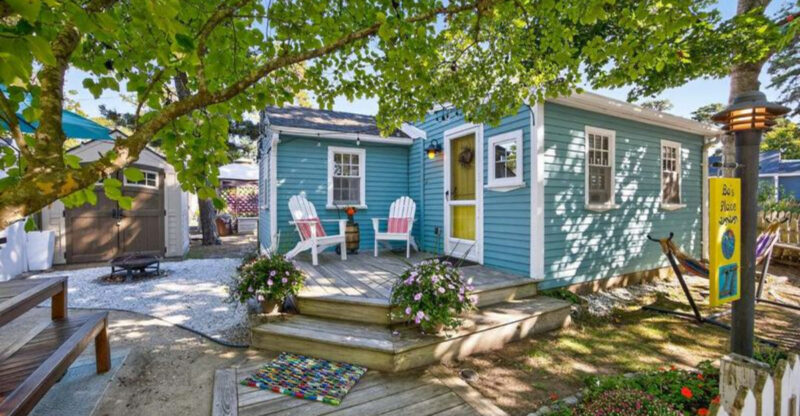
Outside, window boxes bursting with colorful flowers and a tiny porch with just enough room for two chairs complete our storybook transformation from forgotten shed to beloved home.


