9 Steps For Cleaning Walls Before Painting And Why It May Improve Results
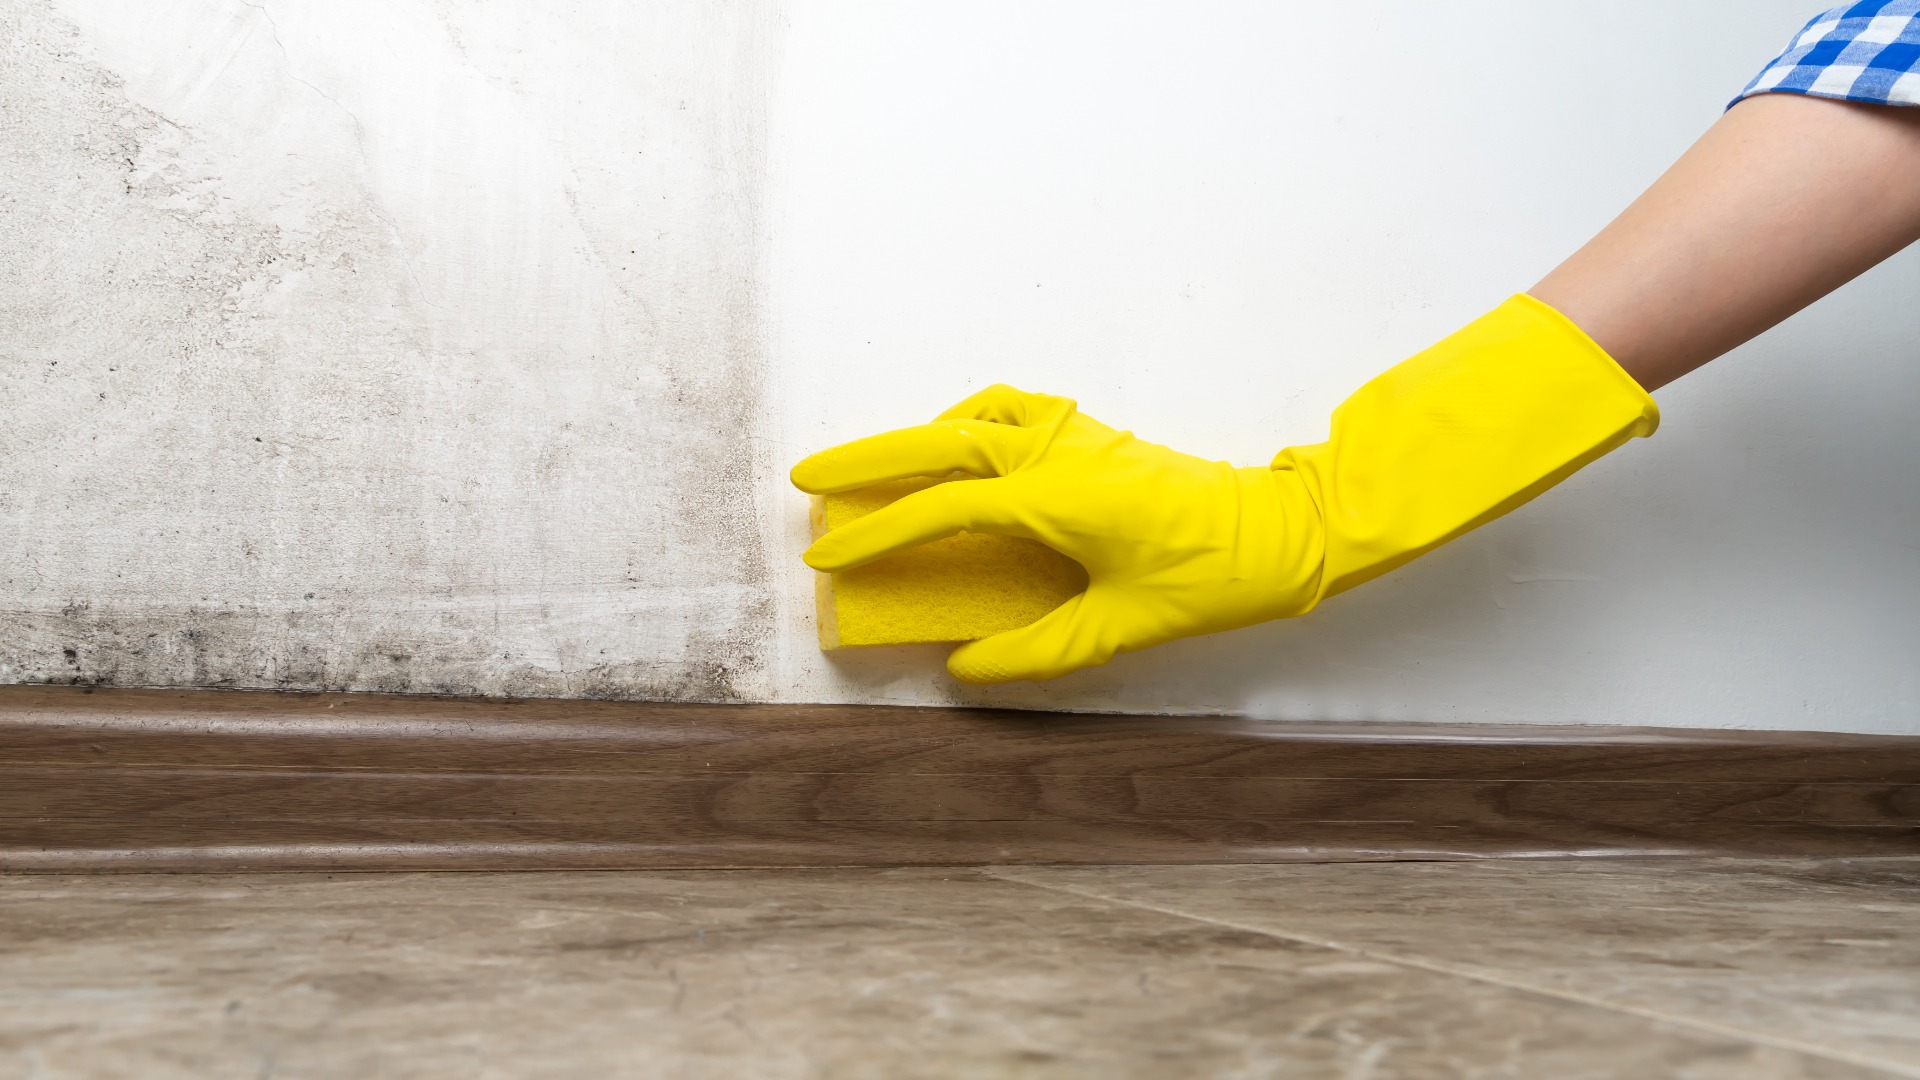
Preparing walls properly before painting could make the difference between a finish that lasts years and one that peels within months. Dirt, grease, and grime create barriers that prevent paint from bonding correctly to surfaces.
Taking time to clean walls thoroughly might seem tedious, but this essential step helps achieve professional-looking results that homeowners can feel proud of for years to come.
1. Importance Of Cleaning Walls Before Painting
Paint needs a clean surface to grip properly, much like tape sticks better to smooth, dust-free paper. Walls accumulate layers of dust, cooking oils, and everyday grime that create an invisible barrier between your fresh paint and the wall itself.
Skipping the cleaning step could lead to bubbling, peeling, or uneven coverage that shows through even multiple coats. A thorough cleaning session ensures better adhesion and longevity for your paint job.
2. Common Wall Contaminants That Affect Paint Adhesion
Kitchens often harbor grease splatters that climb walls invisibly, while bathrooms collect soap scum and moisture-related mildew. Fingerprints, crayon marks, and everyday dust settle everywhere, creating a film you might not notice until paint refuses to stick.
Smoke residue from candles or fireplaces leaves sticky deposits that repel paint. Identifying these contaminants helps determine which cleaning method works best for each room.
3. Tools And Materials Needed For Cleaning
Gathering supplies beforehand saves trips to the store mid-project. Basic needs include two buckets (one for cleaning solution, one for rinsing), sponges, microfiber cloths, and a sturdy step ladder for reaching high spots.
Trisodium phosphate or a TSP substitute works wonders on stubborn grime, while mild dish soap handles lighter jobs. Protective gloves keep hands safe from harsh cleaners during extended scrubbing sessions.
4. Step-By-Step Wall Cleaning Process
Start by removing furniture and covering floors with drop cloths to protect against drips. Dust walls from ceiling to baseboard using a dry microfiber cloth or vacuum with a brush attachment to remove loose particles first.
Mix your cleaning solution according to package directions, then wash walls from top to bottom in small sections. Rinse each area with clean water immediately to prevent residue buildup.
5. Special Cleaning Methods For Different Wall Types
Flat paint absorbs water easily and requires gentle dabbing rather than vigorous scrubbing that could damage the surface. Glossy or semi-gloss finishes tolerate stronger cleaners and more aggressive techniques without harm.
Textured walls trap extra dirt in their crevices, so a soft-bristled brush helps dislodge hidden grime. Delicate wallpapered surfaces need spot-cleaning only, avoiding excessive moisture that could loosen adhesive underneath the paper.
6. Drying And Surface Preparation After Cleaning
Patience pays off here – rushing to paint over damp walls traps moisture that could cause bubbling or mildew growth later. Allow at least 24 hours for walls to dry completely, longer in humid climates or poorly ventilated rooms.
Run a hand across the surface to check for dampness and any rough spots that need light sanding. Proper drying ensures paint adheres uniformly and cures correctly for lasting results.
7. How Proper Cleaning Improves Paint Adhesion And Finish
Clean walls create the ideal canvas for paint molecules to bond directly with the surface rather than sitting atop layers of grime. This chemical connection between paint and wall creates durability that withstands years of daily wear.
The visual difference shows too – paint glides on smoothly without dragging or streaking, creating an even sheen that reflects light beautifully. Fewer coats may be needed when paint adheres properly from the start.
8. Common Mistakes To Avoid When Cleaning Walls
Using excessive water seems thorough but actually saturates drywall and causes swelling or damage to the paper backing. Forgetting to rinse leaves soapy residue that interferes with paint bonding just as much as the original dirt.
Scrubbing too aggressively removes paint or damages wall texture, creating more repair work before painting can begin. Working in large sections allows cleaning solution to dry before rinsing, leaving streaks behind.
9. Professional Tips For Best Results
Professionals often add a small amount of white vinegar to rinse water, which cuts through any remaining soap film and helps walls dry faster. Testing cleaning solutions on an inconspicuous spot first prevents accidental damage to delicate finishes.
Working during daylight hours reveals dirt that artificial lighting misses, ensuring truly clean surfaces. Keeping cleaning and rinsing water separate prevents spreading dirt around rather than removing it completely from walls.


