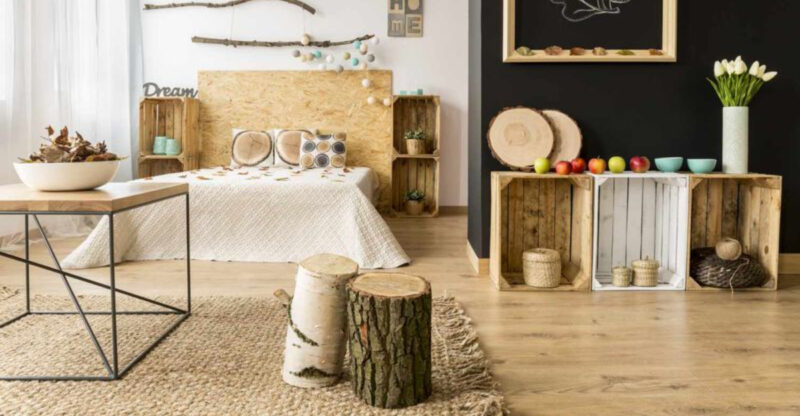
Stop Hoarding 21 Ways To Finally Declutter Your Home
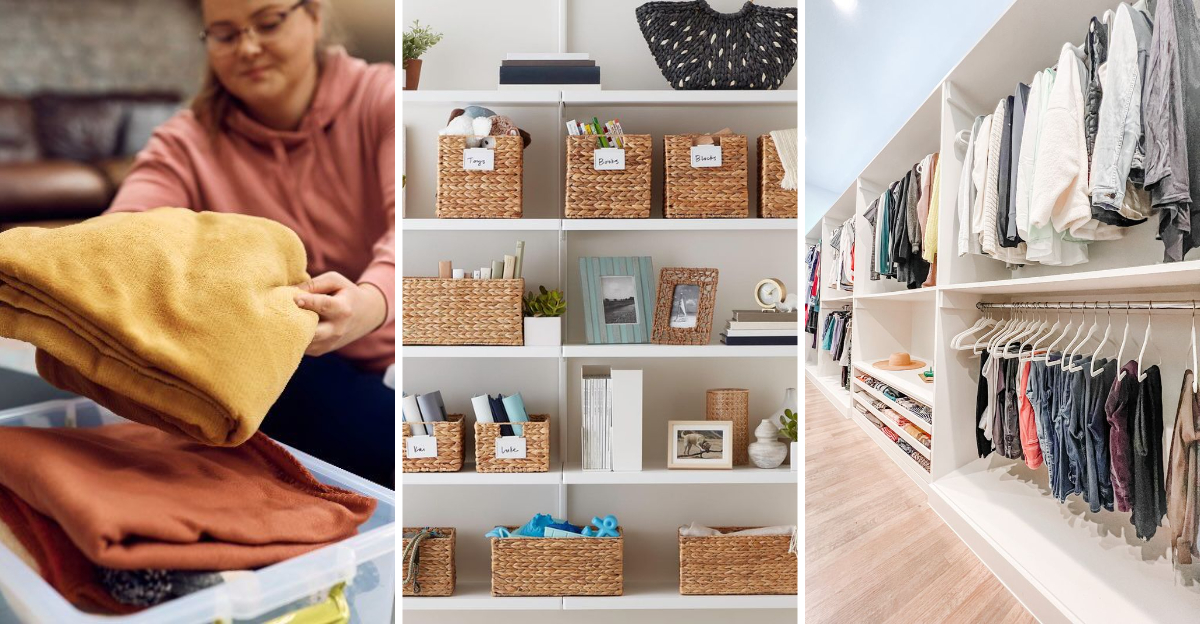
Is your home bursting at the seams with stuff you rarely use? Clutter not only makes your space feel cramped but also creates stress and wastes precious time spent searching for things.
Breaking the hoarding habit might seem overwhelming, but with a systematic approach, you can transform your chaotic space into a peaceful, organized home.
Let’s explore practical strategies to help you finally let go and enjoy the freedom of a decluttered life.
1. Tackle One Room at a Time

Feeling overwhelmed by the mountain of stuff in your home? Start small by focusing on just one room. This approach prevents burnout and gives you a complete win to celebrate.
Pick the room that bothers you most or begin with an easier space like a bathroom to build momentum. Set aside a dedicated day for each area and stick to it.
When I decluttered my home, I started with my overcrowded kitchen. The satisfaction of seeing one perfectly organized room motivated me to continue throughout the house. Remember, Rome wasn’t built (or decluttered) in a day!
2. Set a Timer for Decluttering Sessions
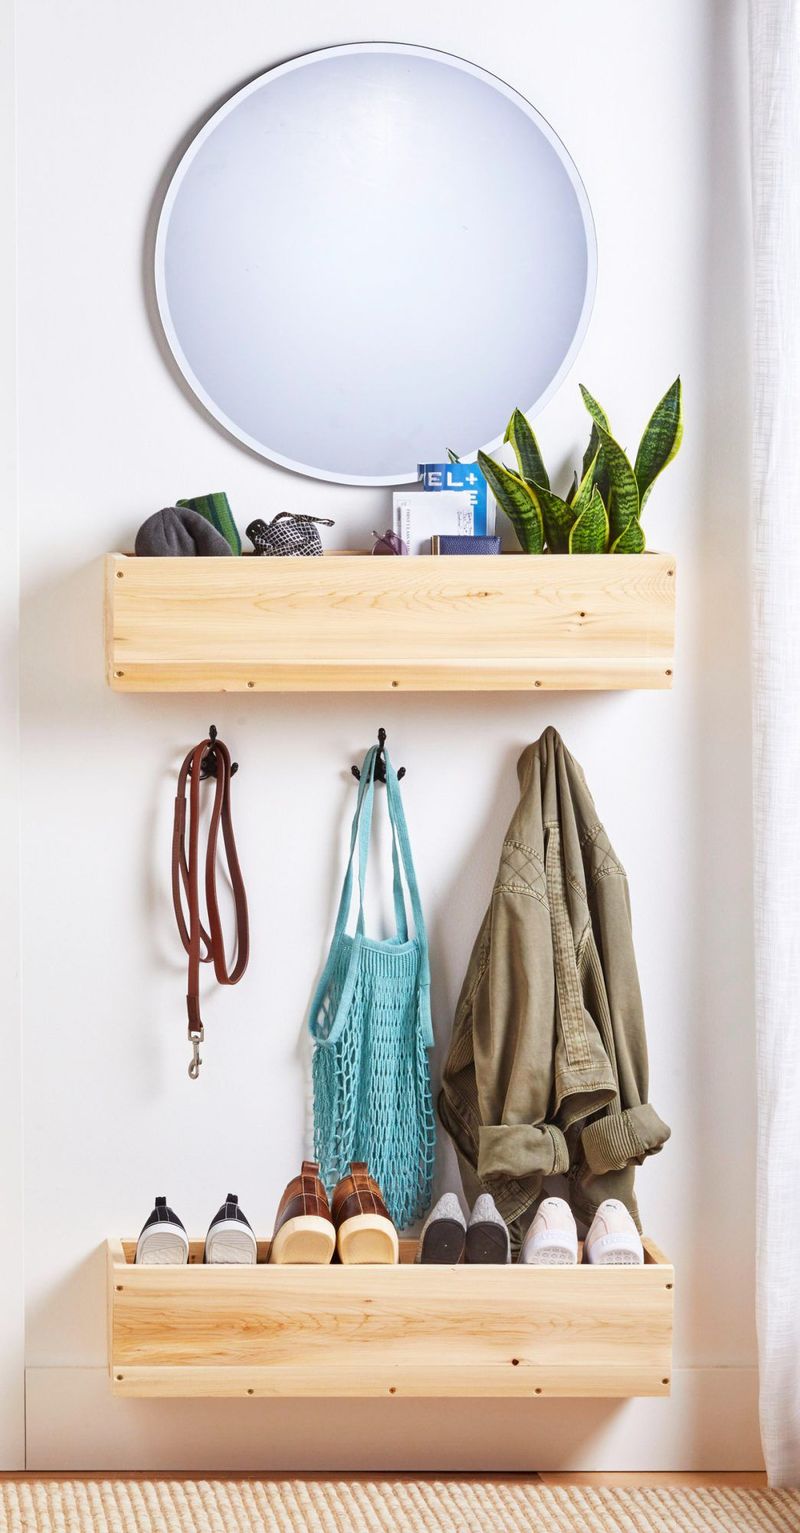
Working against the clock creates urgency and prevents decluttering fatigue. Grab a timer and set it for just 15-30 minutes short enough to fit into your busy schedule but long enough to make real progress.
When the timer rings, you’ve earned a break! This technique (often called the Pomodoro method) tricks your brain into focusing intensely for short bursts, making decisions faster and avoiding the overwhelm that leads to giving up.
Yesterday I tackled my overflowing closet using three 20-minute sessions with breaks in between. The time constraint forced me to make quick decisions instead of agonizing over every t-shirt!
3. Sort Items into Keep, Donate, and Toss

The three-pile system simplifies decision-making when you’re facing mountains of stuff. Grab three boxes or bags and label them clearly: Keep, Donate, and Toss. Be ruthless if you haven’t used something in ages, it probably belongs in one of the latter two piles.
For the Keep pile, ask yourself: “Do I truly need this or just think I might someday?” The Donate pile should contain items still in good condition that someone else could use. The Toss pile is for broken, expired, or unusable items.
My friend Sarah filled six donation bags using this method and later received a thank-you note from the shelter that received her items!
4. Ask Yourself If You’ve Used It in a Year
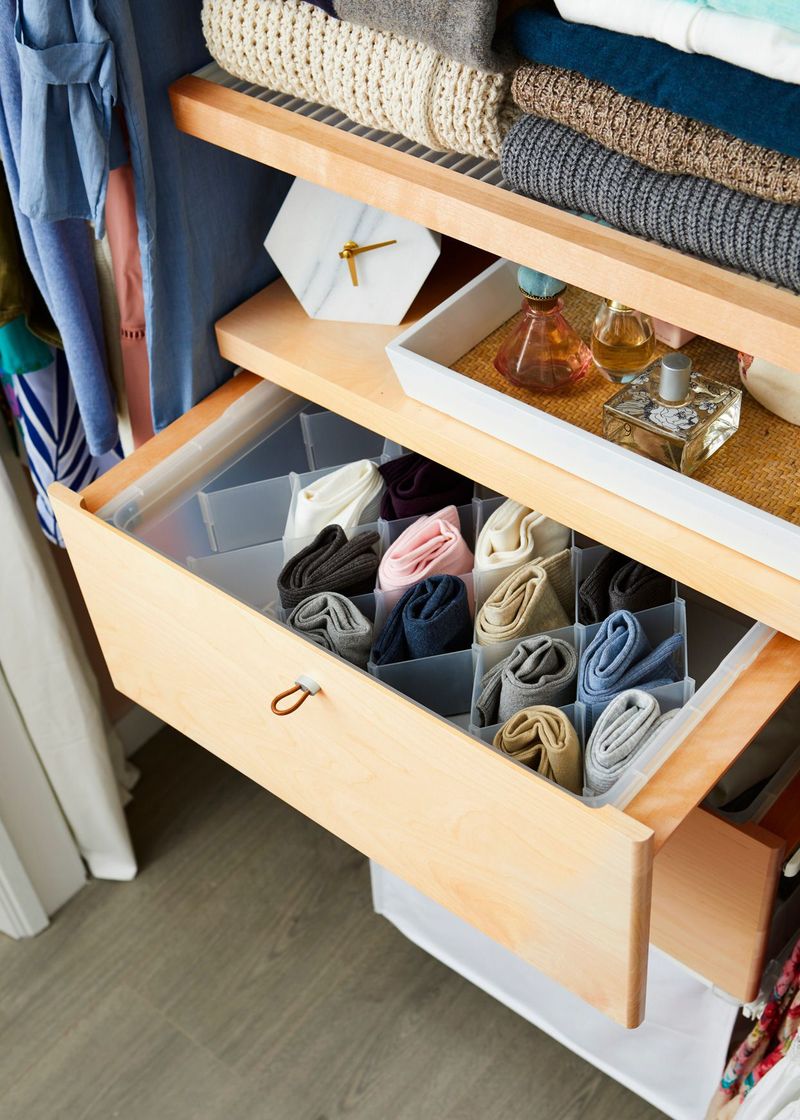
Holiday decorations aside, most items gathering dust for over a year aren’t essential to your life. Hold each possession and honestly ask: “Have I used this in the past 12 months?” If the answer is no, it’s probably time to let it go.
This question cuts through emotional attachments and forces you to confront reality. That bread maker you’ve never unboxed? The exercise equipment serving as an expensive clothes hanger? They’re taking up valuable space.
Last spring, I applied this rule to my garage and discovered camping gear I hadn’t touched in three years. Selling it freed up an entire corner and put $200 in my pocket!
5. Use Clear Storage Bins
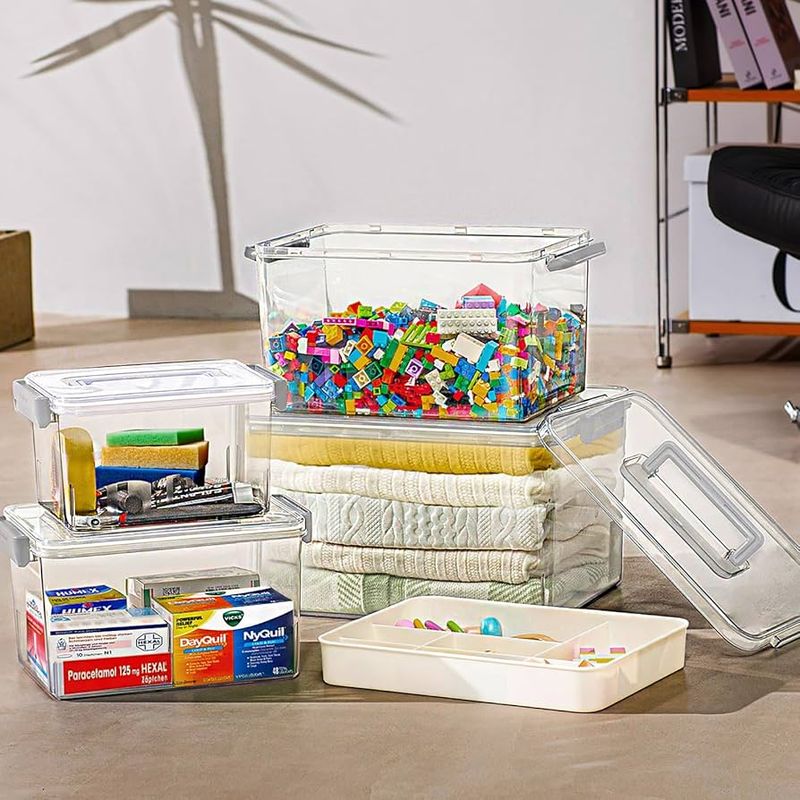
Clear containers revolutionize storage by letting you see contents without opening everything. Invest in quality transparent bins of various sizes for items you decide to keep, and label each one clearly.
Transparent storage prevents the out-of-sight-out-of-mind problem that leads to buying duplicates. It also makes finding things much faster no more digging through mystery boxes in search of holiday decorations or winter clothes!
After switching to clear bins in my basement, I discovered three flashlights I’d forgotten about and avoided buying a fourth. The visual reminder of what you already own helps curb unnecessary shopping and prevents future clutter from accumulating.
6. Declutter Flat Surfaces Daily
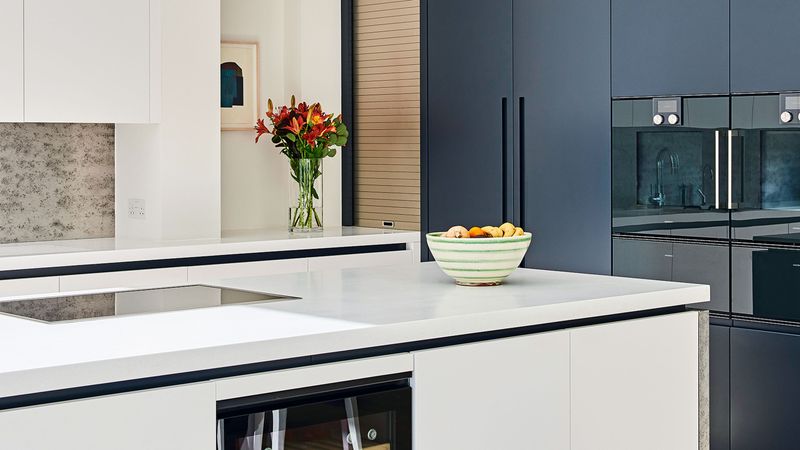
Countertops, tables, and desks are clutter magnets that quickly become dumping grounds. Commit to clearing these surfaces each evening before bed it takes just five minutes but transforms how your space feels each morning.
Mail, keys, receipts, and random items naturally accumulate on flat spaces. By establishing a daily reset habit, you prevent small messes from growing into overwhelming piles that require major decluttering sessions.
Since starting this practice, my kitchen counter has stayed remarkably clear. The psychological benefit of walking into a tidy kitchen each morning has been worth the small daily effort, and visitors no longer see evidence of my formerly cluttered lifestyle.
7. Store Seasonal Items Out of Sight
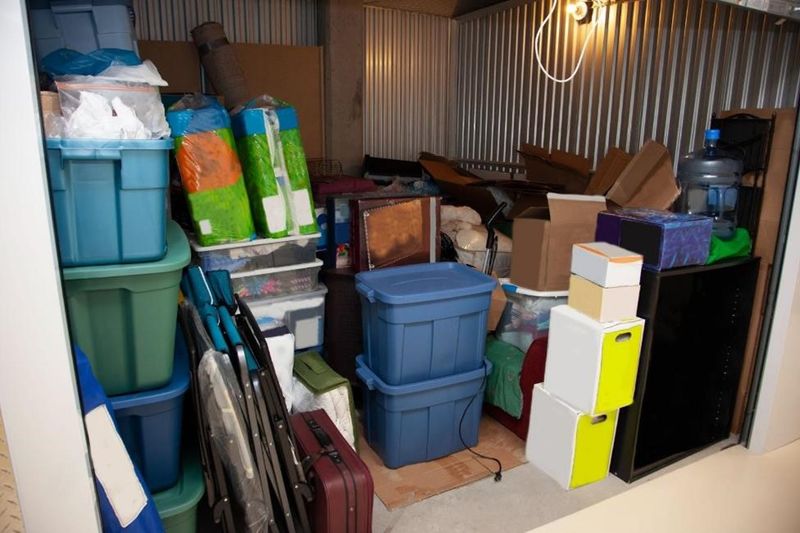
Holiday decorations, winter coats, and beach gear shouldn’t compete for prime real estate year-round. Rotate seasonal items to less accessible storage areas when not in use under beds, high shelves, or dedicated storage spaces.
Vacuum-sealed bags work wonders for bulky winter clothes and bedding during summer months. For holiday items, invest in specialized storage containers that protect fragile decorations and stack efficiently.
My attic now houses clearly labeled bins for each season and holiday. This system freed up my everyday closets and eliminated the frustration of pushing past Christmas decorations in July! The key is creating a logical organizational system so you can find everything when the appropriate season arrives.
8. Digitize Paperwork and Photos

Paper clutter is insidious tax documents, bills, children’s artwork, and photographs pile up faster than you realize. Scanning these items creates digital copies while freeing physical space in dramatic ways.
Apps like Evernote or Google Drive make document organization simple. For precious photos, services can digitize entire collections, allowing you to create albums without keeping deteriorating prints. Keep only the most special physical copies.
After digitizing twenty years of tax returns and paperwork, I reclaimed an entire filing cabinet! For sentimental items like children’s artwork, I photographed each piece, created a digital album, then kept only the most special originals. The rest were appreciated, thanked for their joy, and respectfully recycled.
9. Limit Sentimental Keepsakes
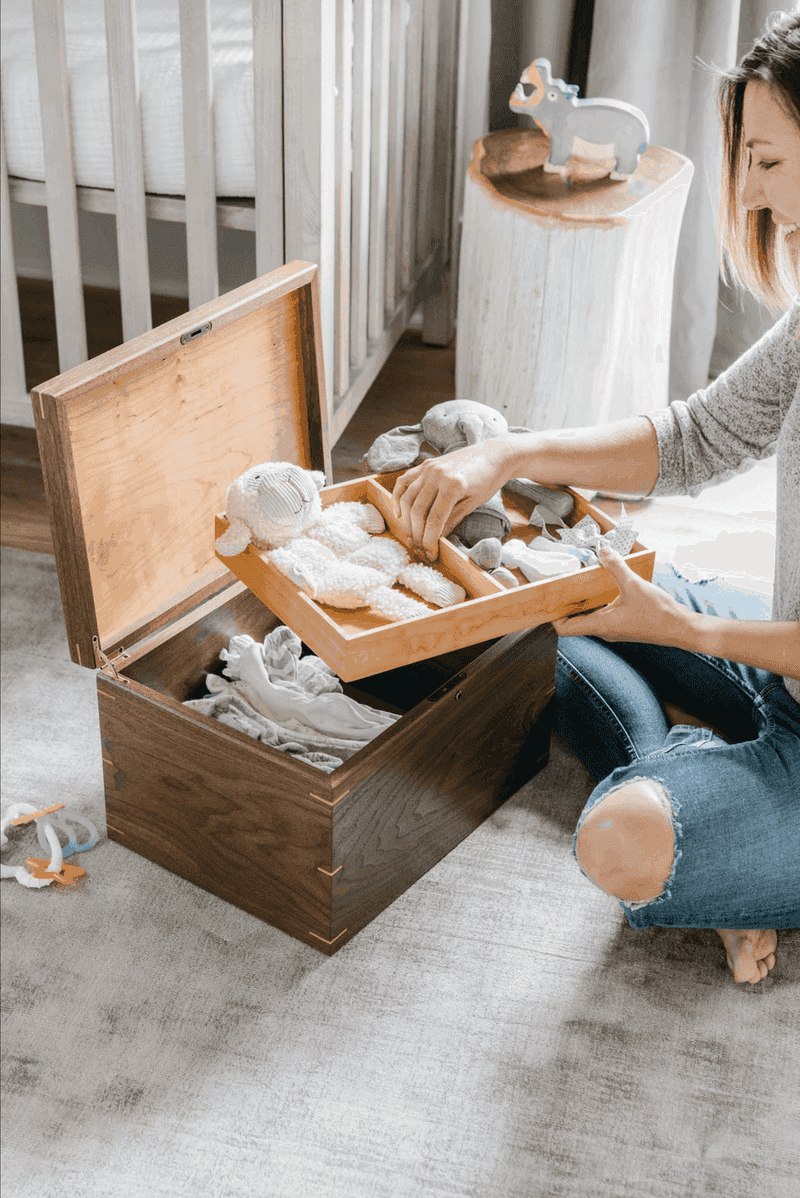
Emotional attachments make decluttering challenging, but not everything that triggers memories deserves permanent storage space. Select one special box or container for truly meaningful keepsakes and be selective about what makes the cut.
Honor memories without drowning in objects by keeping representative samples. For example, save one baby outfit instead of twenty, or select a few special cards rather than every greeting you’ve received.
I struggled with my grandmother’s belongings until creating a beautiful memory box with her favorite brooch, handwritten recipe, and a few photographs. This thoughtful curation preserves her essence better than the closetful of miscellaneous items I initially kept, and I can actually enjoy these treasures instead of storing them unseen.
10. Create a “Maybe” Box for Doubtful Items

Decision fatigue often derails decluttering efforts when you’re unsure about certain items. For these questionable possessions, designate a “Maybe” box with a specific expiration date written on the outside.
Seal the box and store it out of sight for 3-6 months. If you haven’t opened it or even thought about the contents by your deadline, donate the entire box unopened. Most likely, you’ll realize you can live perfectly well without these things.
This method worked wonders for my kitchen gadgets I filled a box with rarely-used tools, dated it for three months later, and forgot about it completely! When the date arrived, I donated everything without regret, confirming these items weren’t essential to my cooking routine.
11. Reduce Duplicate Items
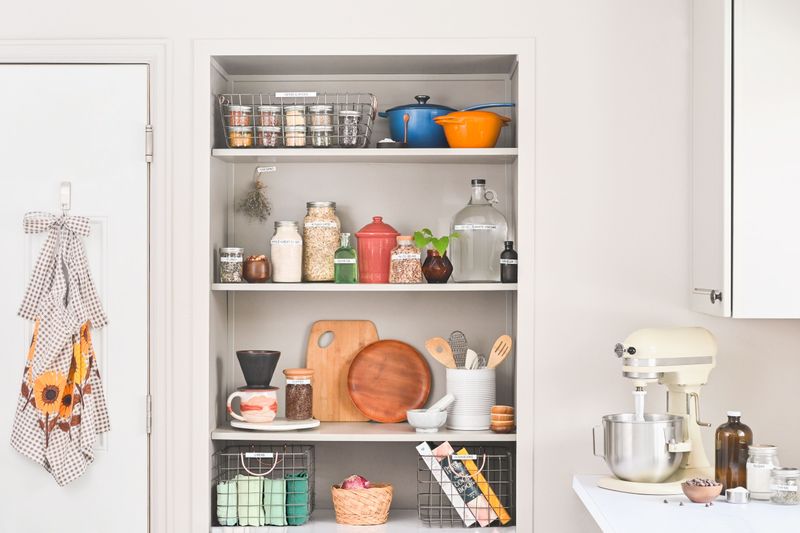
Multiple versions of the same item waste valuable space and complicate your life. Count how many wooden spoons, phone chargers, or black t-shirts you own you probably have more than you need.
Keep only your favorites and let go of the extras. For kitchen items, two or three of essential tools is plenty. For clothing, duplicates often indicate favorite styles, but no one needs eight nearly identical sweaters.
My bathroom contained seven half-empty bottles of shampoo until I committed to using one at a time. Now I maintain just one backup of essential toiletries, saving significant space and mental energy. This principle applies everywhere from duplicate tools to excess coffee mugs to multiple sets of sheets.
12. Organize by Category, Not Location
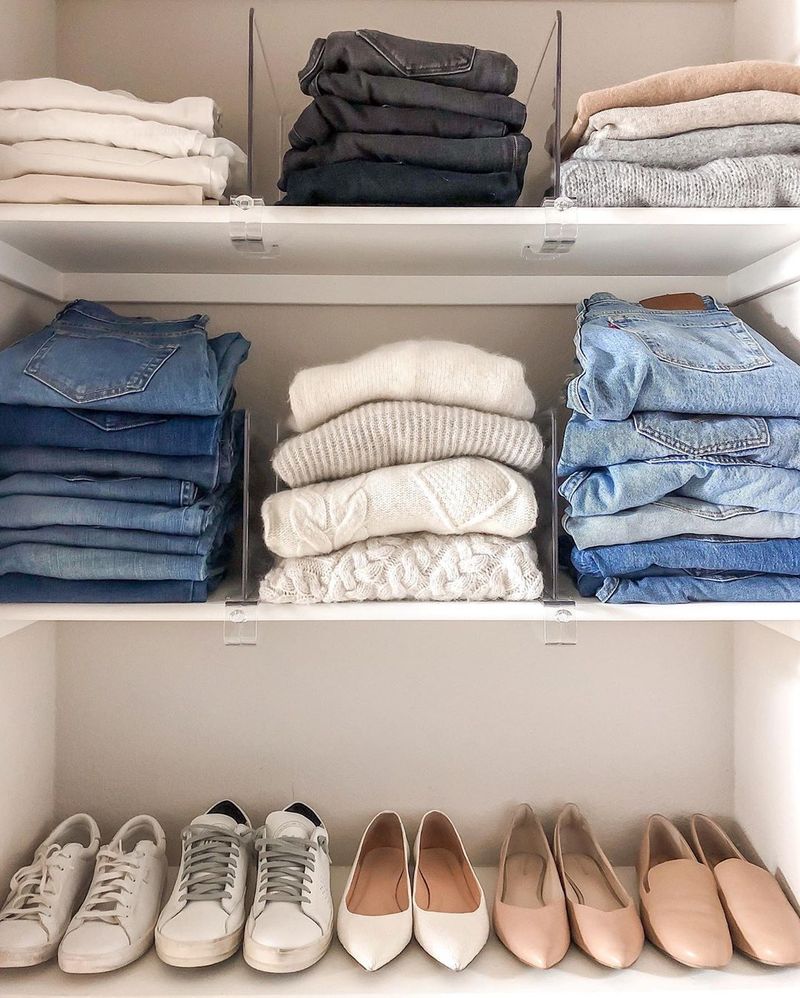
Gathering similar items from throughout your home reveals the true extent of what you own. This eye-opening approach (popularized by Marie Kondo) prevents duplicate purchases and creates logical storage systems.
Start with one category books, clothing, kitchen tools and collect every single item from that category in your entire home. Seeing fifteen spatulas or forty coffee mugs in one pile makes it easier to decide how many you actually need.
When I gathered all my books in one place, the stack reached ceiling height! The visual impact motivated me to be ruthless about keeping only favorites and frequently referenced volumes. Now my streamlined collection fits on existing shelves instead of overflowing onto floors and tables.
13. Use Vertical Storage Solutions
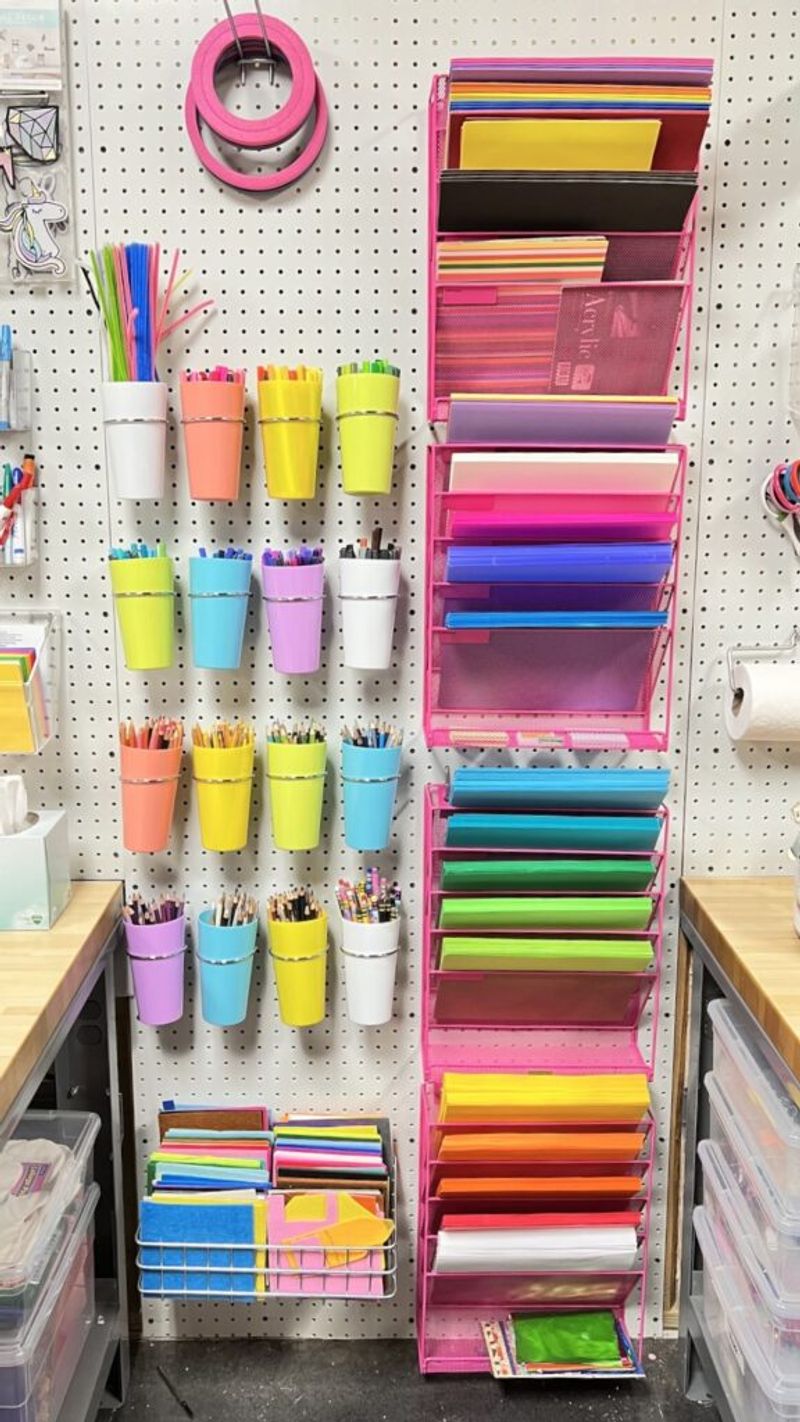
Walls and doors offer untapped storage potential in most homes. Installing hooks, pegboards, or wall-mounted organizers maximizes space without increasing floor clutter.
Over-the-door organizers work wonders in bathrooms and bedrooms. In garages, wall-mounted systems keep tools visible and accessible. Even kitchen walls can hold pot racks, magnetic knife strips, or hanging herb gardens.
My tiny apartment kitchen transformed after I installed a ceiling-mounted pot rack and magnetic knife strip. These simple additions freed up an entire cabinet and made cooking more efficient since everything is now within easy reach. Vertical thinking essentially creates storage space out of thin air!
14. Label Storage Containers
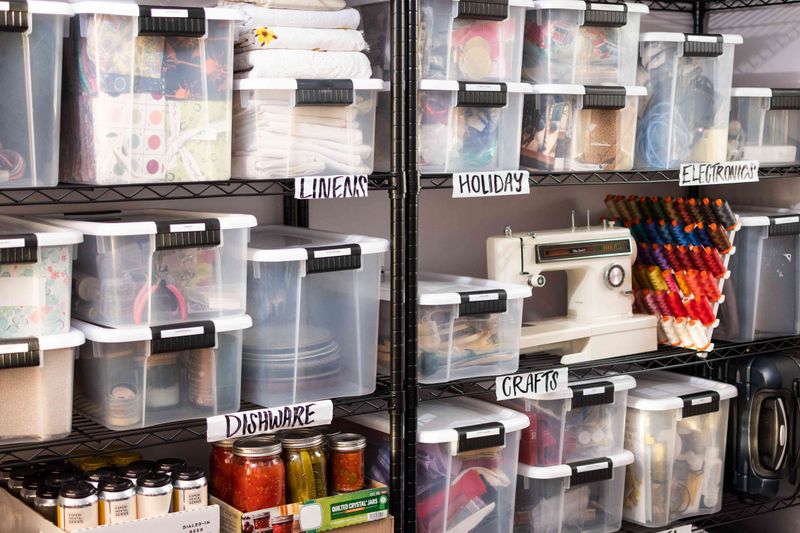
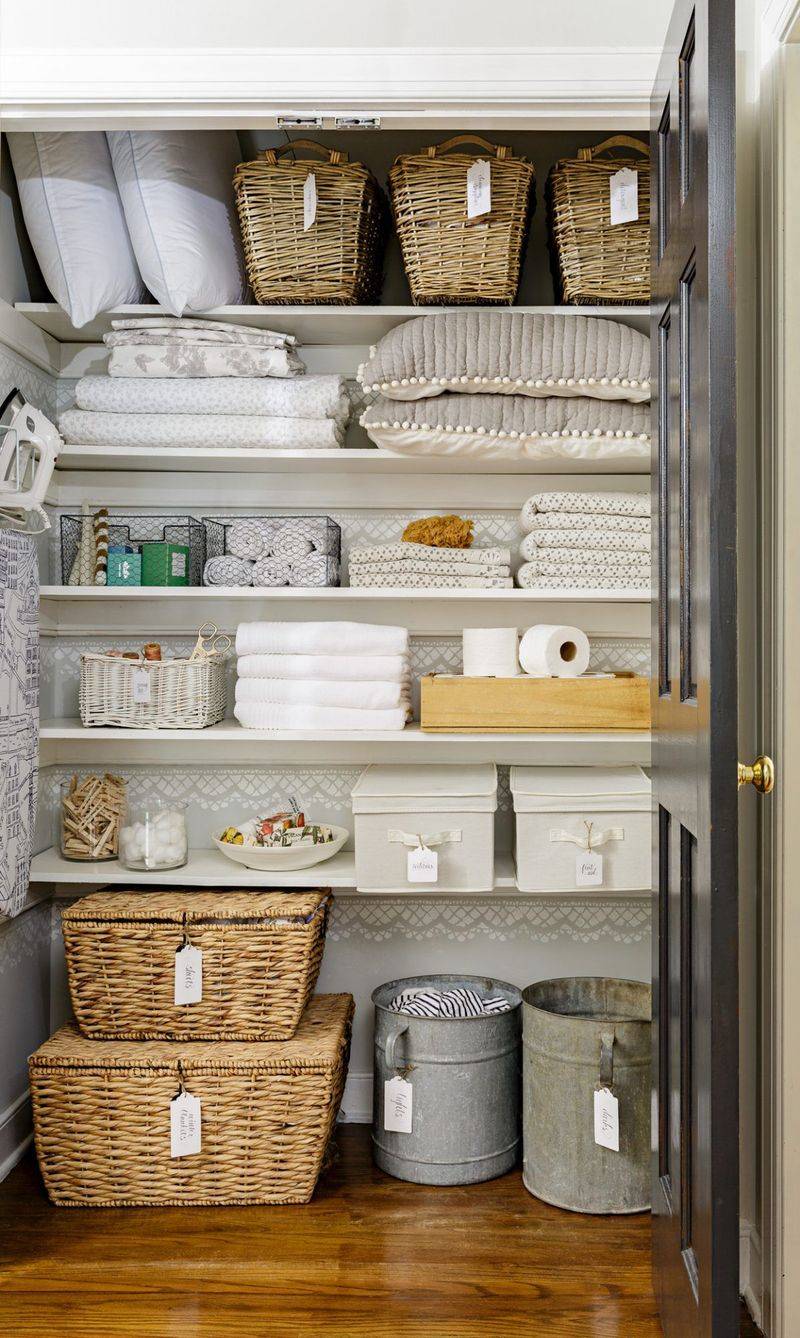
Even the most organized storage system fails without proper labeling. Clear, specific labels eliminate guesswork and ensure items return to their proper homes after use.
Invest in a label maker or use attractive tags for a cohesive look. Be specific “Winter Hats & Gloves” works better than “Winter Stuff.” For family systems, color-coding labels for each person adds another layer of organization.
Labeling transformed my linen closet from a jumbled mess to an organized system. Now everyone in the house knows exactly where to find (and return) extra blankets, guest towels, and seasonal bedding. The psychological benefit of this visual order extends beyond practical convenience it actually reduces household stress!
15. Avoid Buying New Bins Before Decluttering
A common decluttering mistake is rushing out to buy storage solutions before eliminating excess stuff. Resist this temptation! Purchasing containers first often leads to keeping more than necessary just to fill your new bins.
Complete your purging process first, then measure and assess what storage you actually need. You’ll likely discover you need fewer containers than expected, and you’ll know the exact sizes required for what remains.
This mistake cost me money when I bought beautiful baskets before decluttering my bathroom. After eliminating expired products and duplicates, I needed only half the storage I’d purchased! Now I follow the declutter-first rule religiously and often find I can repurpose existing containers for my streamlined possessions.
16. Donate Items Immediately

Bags of donations sitting in your car or garage for months defeat the purpose of decluttering. Schedule donation drop-offs as part of your decluttering process, not as a separate future task.
Keep a list of local donation centers with their hours and acceptance policies. Some organizations even offer pickup services for larger items. The faster items leave your home, the less chance you’ll second-guess your decisions.
After wavering on parting with clothing I hadn’t worn in years, I made a same-day donation run that prevented any backsliding. The receipt for tax purposes and the empty space in my closet provided immediate positive reinforcement. Plus, knowing someone else could use these items right away added meaningful purpose to my decluttering efforts.
17. Unsubscribe from Catalogs and Junk Mail

Stopping clutter before it enters your home is even better than dealing with it later. Junk mail and catalogs create instant paper piles and often trigger unnecessary purchases that bring more physical stuff into your space.
Services like Catalog Choice or DMAchoice help you opt out of unwanted mailings. For digital clutter, unsubscribe from promotional emails that tempt you to buy things you don’t need.
Taking twenty minutes to unsubscribe from catalogs reduced my weekly mail pile by half! As a bonus, I’ve saved money by avoiding impulse purchases from tempting promotions. This proactive approach tackles the source of clutter rather than just dealing with the symptoms, making it one of the most effective long-term strategies.
18. Keep a Donation Box Handy
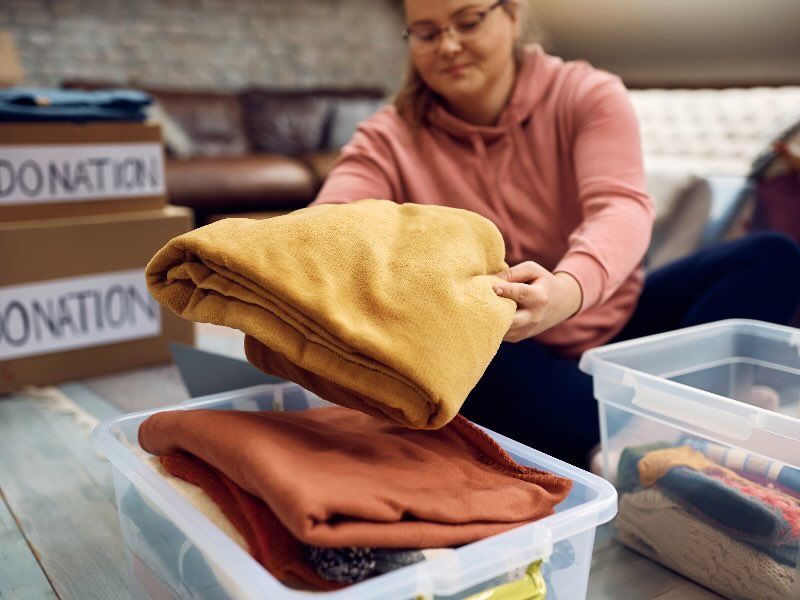
Decluttering works best as an ongoing habit rather than a one-time event. Place a dedicated donation box in your closet or garage for items you realize you no longer need throughout normal daily life.
When you try on a shirt that no longer fits or find a kitchen gadget you never use, immediately place it in the donation box. Once the box fills up, make a donation run no second-guessing allowed!
My family keeps a medium-sized basket in our hallway closet for this purpose. It’s amazing how quickly it fills with items we realize we don’t need as we go about our regular routines. This system captures decluttering opportunities in the moment of recognition, before you can talk yourself into keeping unnecessary items.
19. Adopt a One-In, One-Out Rule
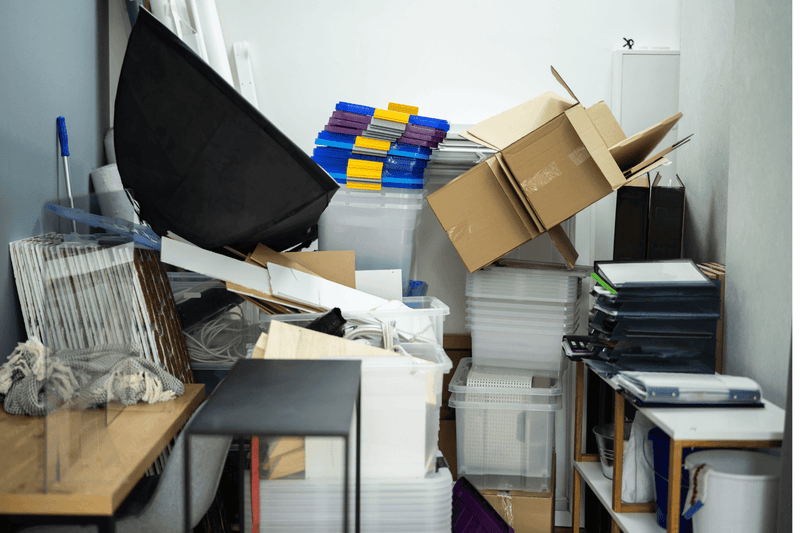
Preventing future clutter requires ongoing vigilance. The one-in, one-out rule creates a sustainable system: for every new item that enters your home, something similar must leave.
Buy a new shirt? An old one goes to donation. New kitchen gadget? Time to part with one you rarely use. This simple principle maintains the balance in your newly decluttered space and forces thoughtful consumption.
Implementing this rule changed my relationship with shopping. Before purchasing anything, I now consider what item it will replace. Often I realize I don’t want to part with anything I already own, which prevents unnecessary acquisitions. This mindset shift has saved both space and money while keeping clutter permanently at bay.
20. Schedule Regular Decluttering Check-Ins
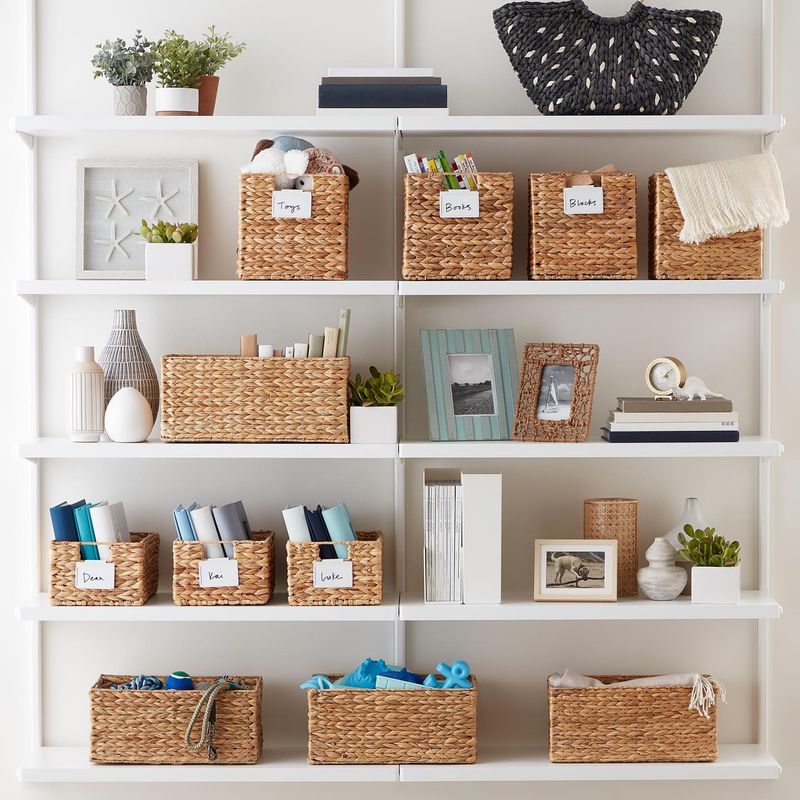
Even with the best systems, stuff tends to accumulate over time. Setting recurring calendar reminders for quarterly or seasonal decluttering sessions prevents backsliding into old hoarding habits.
These scheduled check-ins can be quick just an hour to assess problem areas and make adjustments. Focus on clutter hotspots like entryways, kitchen counters, and home office surfaces that tend to collect random items.
January, April, July, and October now feature “Clutter Check” days on my calendar. These regular maintenance sessions keep my systems working and catch small issues before they become overwhelming. Like dental cleanings prevent bigger problems, these decluttering appointments maintain your home’s organization with minimal effort.
21. Celebrate Small Wins Along the Way
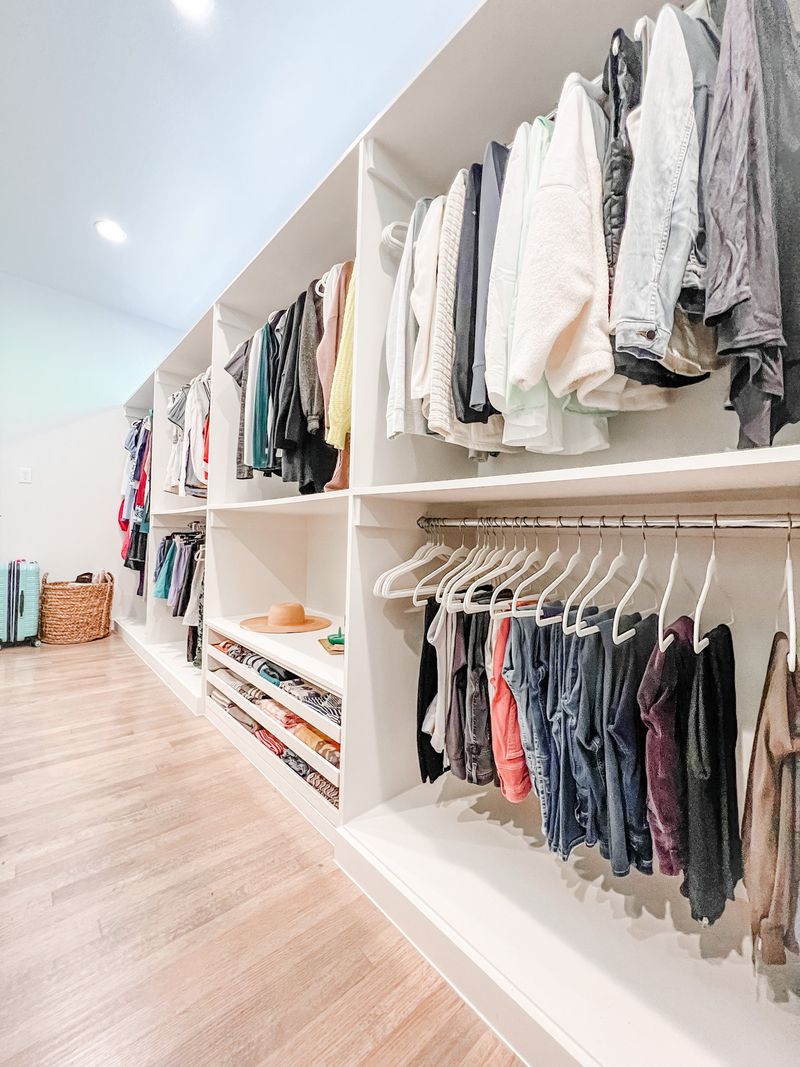
Decluttering is hard emotional work that deserves recognition. Celebrate your progress with meaningful (non-stuff) rewards that acknowledge your efforts without adding more clutter.
Take before-and-after photos to visualize your accomplishments. Treat yourself to experiences rather than things perhaps a movie, special meal, or simply time to relax in your newly cleared space.
After tackling my chaotic home office, I rewarded myself with an afternoon at my favorite coffee shop. The psychological boost from acknowledging my hard work provided motivation for the next project. Remember that decluttering is a marathon, not a sprint celebrating milestones makes the journey sustainable and even enjoyable!


