12 Visual Fixes That Make A Cheap Yard Look High-End
Transforming a lackluster yard into a stunning outdoor space doesn’t require a landscape designer’s budget.
With some strategic upgrades, you can create a high-end look without the hefty price tag. I’ve put together 12 affordable fixes that will instantly elevate your outdoor space from ordinary to extraordinary.
These simple improvements can be done over a weekend but will make your neighbors think you spent thousands.
1. Fresh Mulch in Garden Beds

Nothing refreshes garden beds faster than a layer of rich, dark mulch. The deep color creates an instant backdrop that makes plants pop while hiding imperfections in your soil.
Beyond looks, mulch serves multiple practical purposes it retains moisture, suppresses weeds, and gradually improves soil quality as it breaks down. For maximum impact, choose a natural dark brown or black variety rather than dyed red mulch.
I apply a 2-3 inch layer each spring, making sure to leave breathing room around plant stems and tree trunks. This simple $30-50 investment transforms tired beds into polished garden spaces that look professionally maintained.
2. Defined Edging Around Lawns

Sharp, clean edges between your lawn and garden beds instantly communicate intentional design. When grass grows wild into flower beds, your yard screams neglect, but crisp boundaries signal attention to detail.
Metal, stone, or even plastic edging creates this manicured look, though my favorite budget option is simply cutting a clean trench edge with a spade. The contrast between lush green grass and dark mulch or soil creates a visual frame that’s incredibly satisfying.
For maintenance, I run an edging tool along these boundaries every few weeks during growing season. This 30-minute task prevents grass from creeping over and preserves that high-end, tailored appearance that expensive landscapes share.
3. Solar Path Lighting

Warm, gentle illumination transforms any yard from ordinary to magical after sunset. Solar path lights have become remarkably affordable while looking increasingly sophisticated, with some options mimicking expensive wired systems.
I’ve found that spacing lights 6-8 feet apart creates the perfect balance – enough illumination to guide the way without the runway effect of placing them too close together. Opt for metal fixtures over plastic when possible, and choose models with warm white light rather than harsh blue-white.
The beauty of solar lighting lies in its simplicity – no wiring, no electricity costs, just push them into the ground along walkways or garden borders. This $50-100 investment delivers dramatic evening ambiance that expensive properties showcase.
4. Large Statement Planters

Size matters when it comes to containers. Small pots scattered around create visual clutter, while fewer, larger planters make a bold statement that feels intentional and luxurious.
Even inexpensive big-box store planters can look high-end when properly positioned. I place mine symmetrically flanking entryways or as focal points on patios. The secret is filling them generously – I use the “thriller, filler, spiller” approach with a tall dramatic plant, mid-height plants that add fullness, and trailing varieties that cascade over edges.
If budget allows, one oversized planter (24-30 inches) with lush plantings creates more impact than five small pots. This design principle is why estate gardens feature substantial urns rather than collections of tiny containers.
5. Pressure Washing Walkways
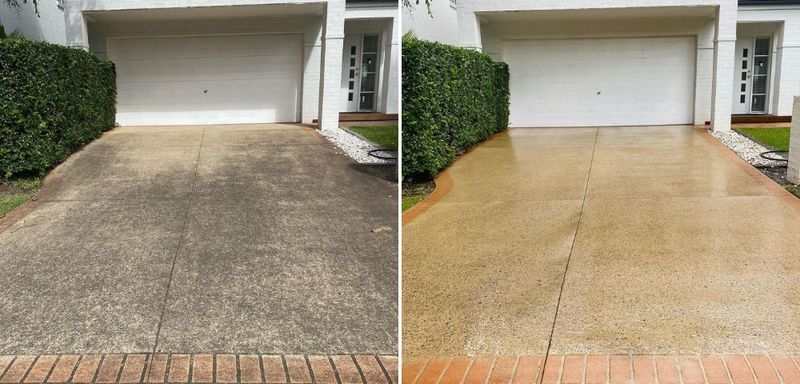
Years of dirt, algae, and weather damage can make even high-quality hardscaping look neglected. A pressure washer works magic on concrete, brick, and stone surfaces, revealing their original color and texture in seconds.
When I first pressure washed my old concrete walkway, I was shocked at the transformation -what I thought needed replacement simply needed cleaning! This restoration approach costs nothing if you borrow a machine, or about $75 for a day’s rental.
For maximum impact, clean all hardscaping at once rather than piecemeal. The uniformly refreshed surfaces create a cohesive look that expensive properties maintain. If renting isn’t an option, many home improvement stores offer affordable cleaning solutions that attach to garden hoses.
6. Uniform Outdoor Furniture Cushions
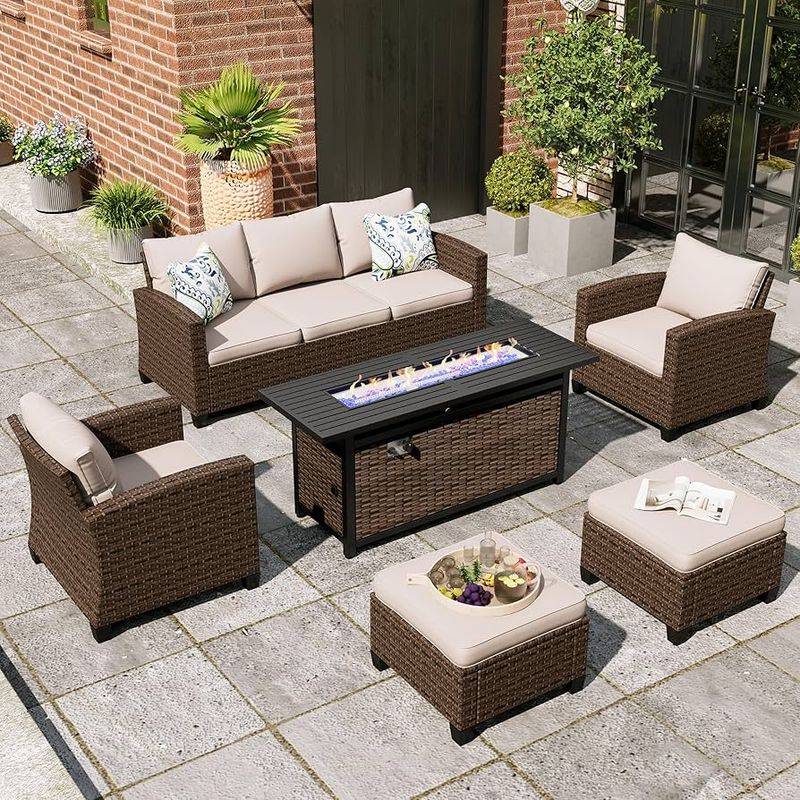
Mismatched, faded cushions instantly drag down the appearance of any outdoor space. Replacing them with a coordinated set in weather-resistant fabric creates a pulled-together look that mimics resort styling.
If buying all new cushions stretches your budget, consider washable slipcovers or outdoor fabric by the yard. I’ve transformed tired patio furniture by sewing simple envelope-style covers in a modern print that ties into my home’s color scheme.
For the biggest impact, choose cushions in a neutral base color with one or two accent colors in pillows or throws. This approach allows for seasonal refreshes without replacing everything. Even inexpensive furniture looks intentional and upscale when dressed in coordinated, crisp fabrics.
7. Gravel or Stone Pathways
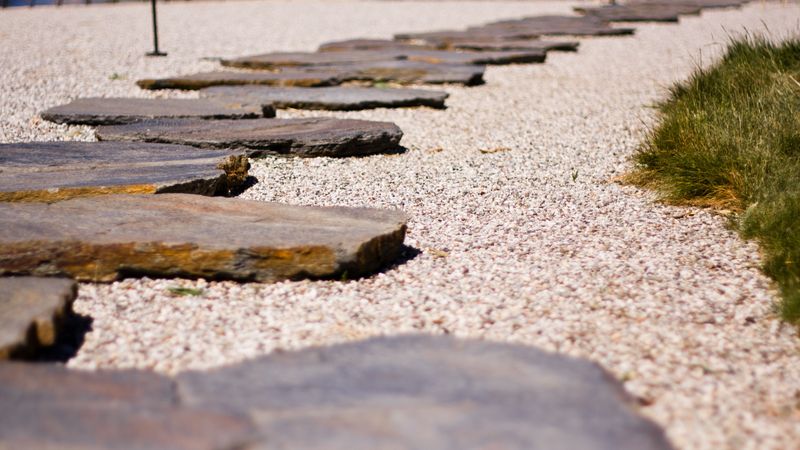
Humble materials like gravel or crushed stone create surprisingly sophisticated pathways when properly installed. The key is using landscape fabric underneath to prevent weeds and installing sturdy edging to maintain clean lines.
I prefer small-diameter gravel (3/8 inch or less) in neutral tones like warm tan or soft gray that complement my home’s exterior. The gentle crunching sound underfoot adds sensory appeal that concrete can’t match, while proper drainage prevents puddles that plague solid surfaces.
This DIY-friendly project costs roughly $1-2 per square foot – significantly less than pavers or concrete. For extra polish, consider adding stepping stones at regular intervals through the gravel, creating a rhythm that guides visitors through your landscape with intentional design.
8. Neatly Trimmed Hedges

Crisp, geometric hedges instantly convey care and precision that’s associated with high-end landscapes. Even modest shrubs transform into architectural elements when maintained with sharp, clean lines.
Manual hedge shears give the most precise cuts, but a quality electric trimmer works well for larger areas. I trim my boxwoods into gentle curves rather than severe boxes, creating softer shapes that still provide structure. The secret is frequent light trimming rather than occasional severe cutbacks.
When selecting hedge plants, consider slow-growing varieties like boxwood or yew if maintenance time is limited. For maximum impact with minimal effort, focus on trimming hedges near entrances and walkways where the precision will be most noticed. This zero-cost improvement (if you already own trimmers) delivers immediate visual upgrade.
9. Symmetrical Planting Arrangements

Symmetry is a hallmark of expensive landscape design. Matching plants flanking an entrance or pathway creates a sense of intention that random plantings lack, regardless of the plants’ actual cost.
I’ve created this effect using affordable plants from big-box stores the key is buying multiples of the same variety rather than one of everything. Even humble hostas or ornamental grasses look impressive when arranged in symmetrical patterns or repeated groupings.
For maximum impact, choose plants with distinctive shapes or textures that create visual interest year-round. Evergreens provide permanent structure, while flowering perennials add seasonal color. This design approach costs no more than random planting but instantly elevates your landscape with classical design principles used in the finest gardens.
10. Painted or Stained Fences

Raw wood fencing weathers unevenly, creating a patchwork appearance that screams neglect. A fresh coat of stain or paint unifies the surface and protects the wood while adding intentional color to your landscape palette.
Dark stains like deep walnut create a sophisticated backdrop that makes plants pop, while soft grays complement modern homes beautifully. If your fence faces a neighbor, consider painting their side too (with permission) – this courtesy prevents the eyesore of a half-finished project.
I use a paint sprayer for large fence sections, which cuts application time dramatically. This weekend project costs $100-200 for materials but delivers years of protection and visual improvement. The transformation is particularly dramatic with older fences that have developed that silvery, weathered appearance.
11. Vertical Garden Walls
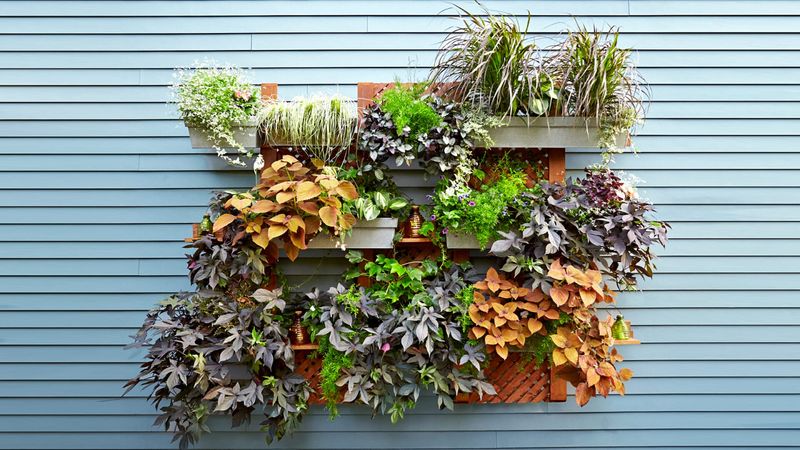
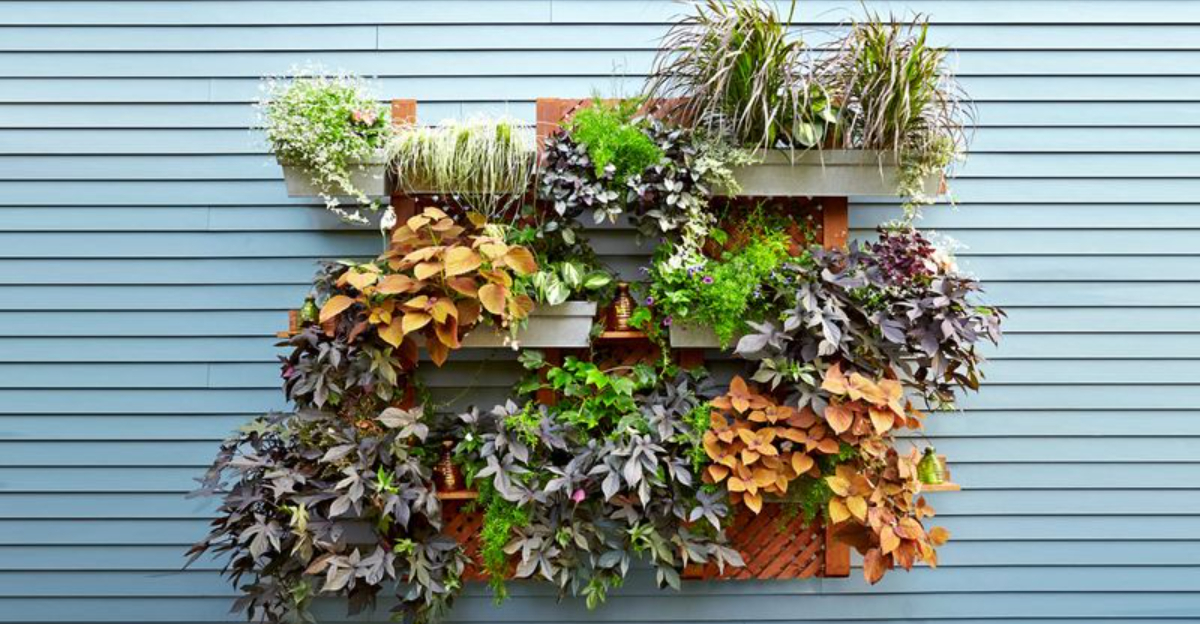
Blank walls and fences transform from eyesores to showpieces with vertical planting systems. These living walls create texture, color, and interest in previously unused spaces.
DIY options abound – from repurposed pallets to hanging pocket systems. My favorite budget approach uses vinyl gutters mounted horizontally with slight slope for drainage, filled with trailing herbs and flowers. For tight spaces, I’ve installed trellis panels for climbing vines that create a green screen within weeks.
The most successful vertical gardens incorporate plants with varying textures and cascading habits. Succulents work beautifully in sunny spots, while ferns and shade-loving perennials thrive in protected areas. This three-dimensional approach to planting maximizes limited ground space while drawing the eye upward, a technique used in upscale urban gardens.
12. Simple Water Feature Installation

Moving water creates an instant sensory upgrade to any outdoor space. The gentle sound masks traffic noise while attracting birds and creating a focal point that draws the eye.
Contrary to popular belief, water features don’t require complex installation or plumbing. Self-contained options use recirculating pumps and pre-formed basins that set up in hours. My favorite budget option is a ceramic pot fountain that cost under $150 including the submersible pump.
For maximum impact, position water features where they’ll be seen from indoor living spaces as well as outdoor seating areas. Even small bubbling fountains create that luxury resort feeling when properly placed. The secret is proper scale – choose something proportional to your space rather than overwhelming it with an oversized feature.

