DIY Bathtub Tray

This post contains affiliate links, which means we may earn a small commission if you purchase through them — at no additional cost to you. Please see our policy page for more details.
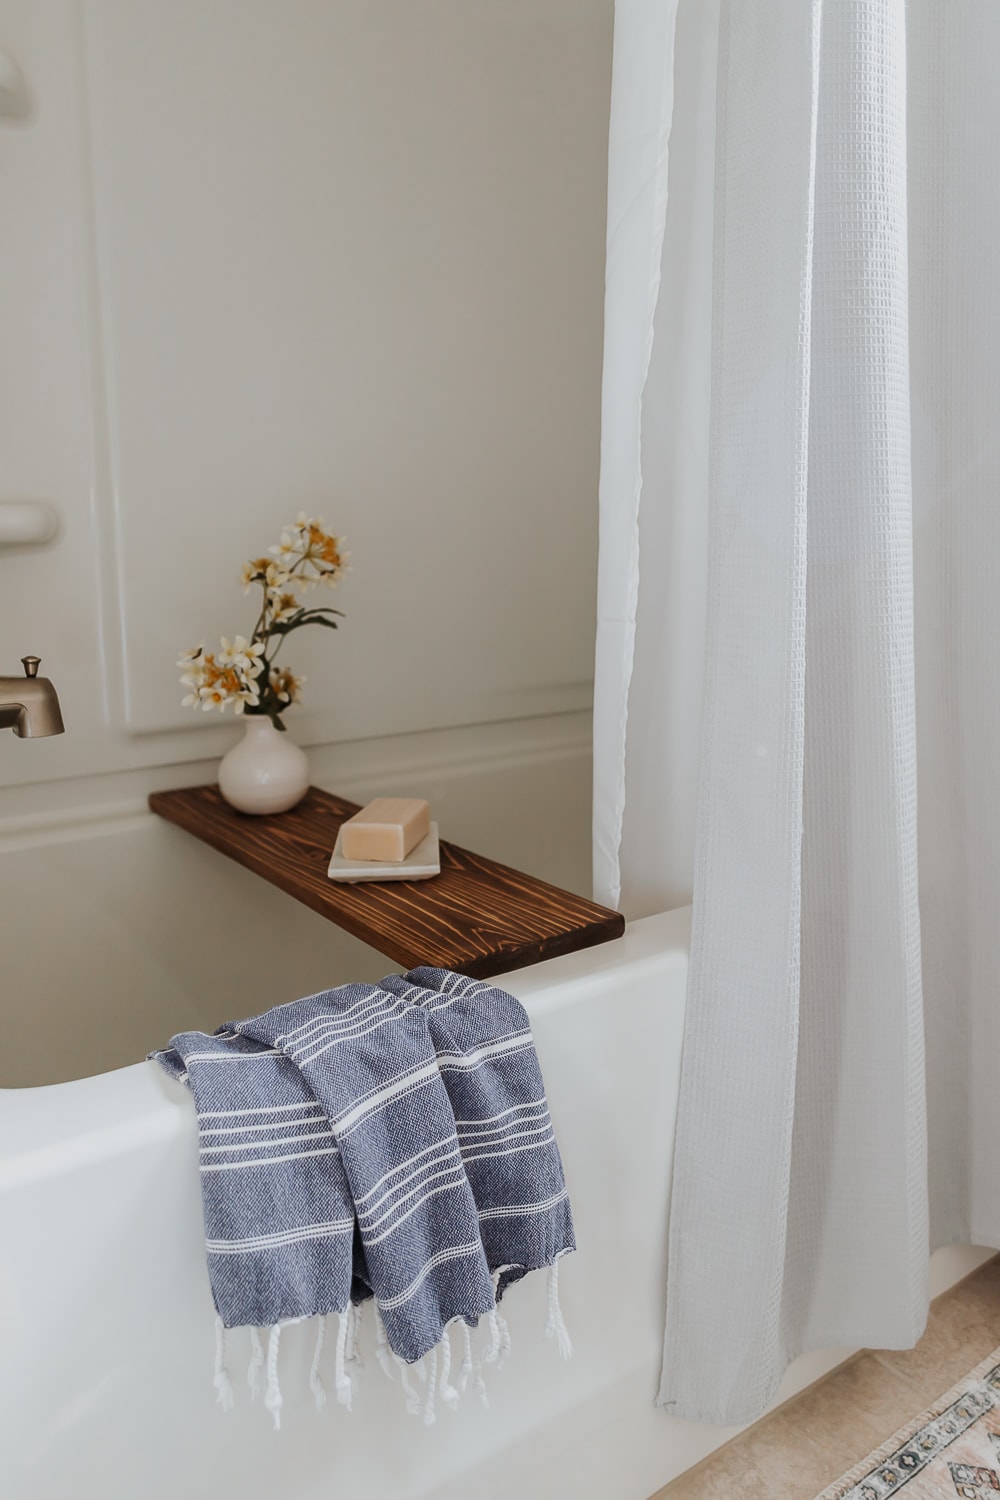
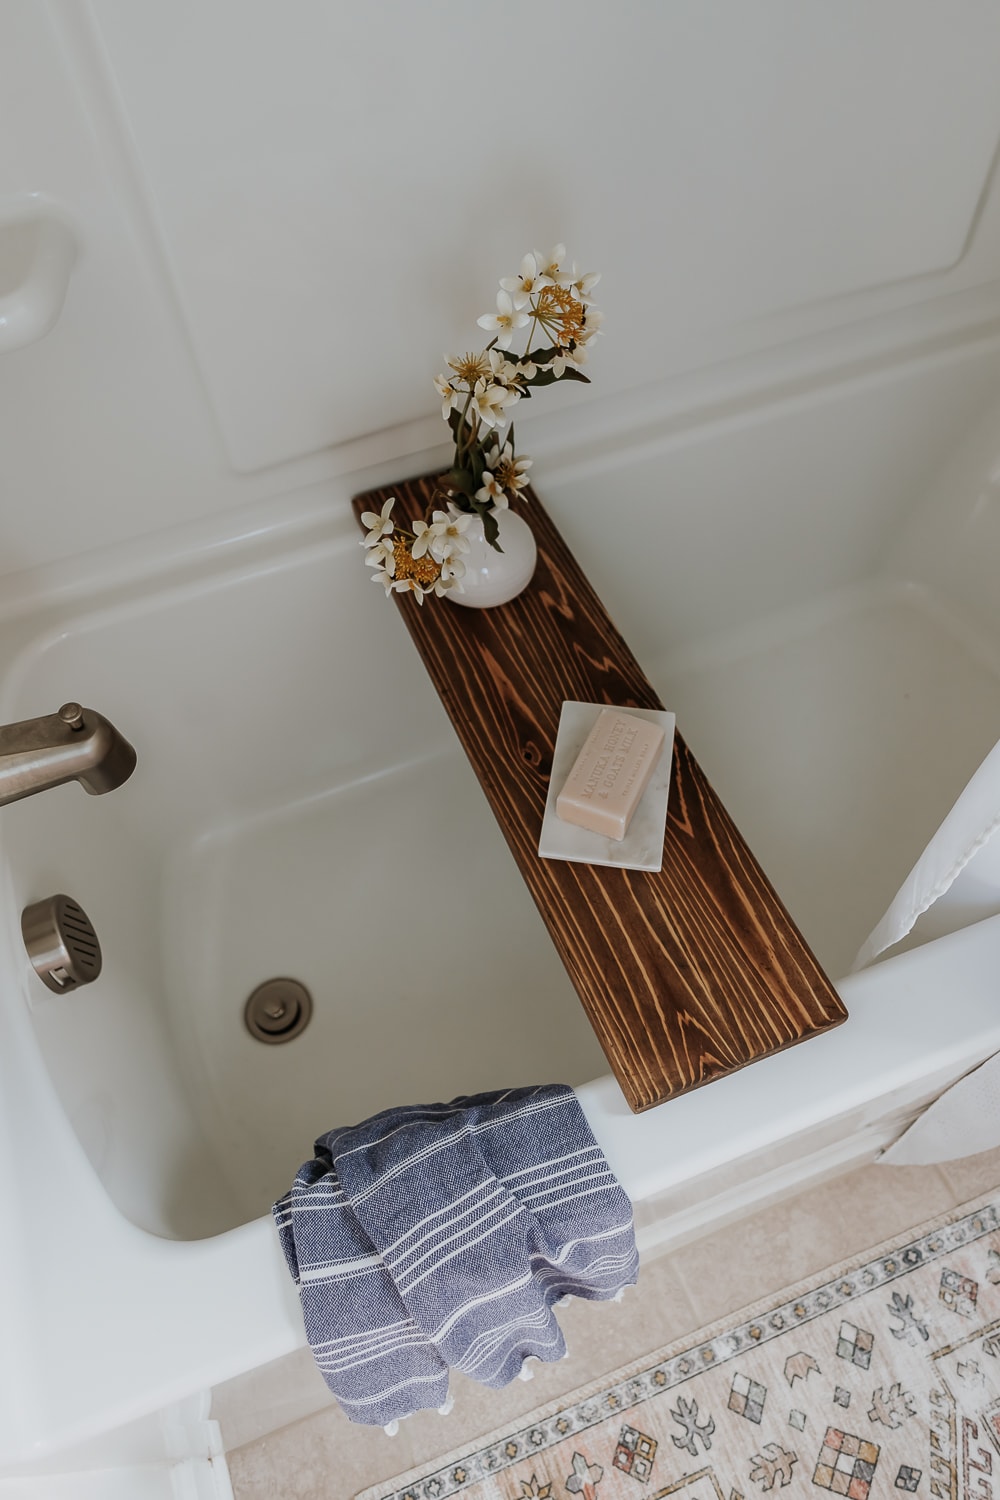
An easy tutorial showing you how to create your own DIY Bathtub tray with inexpensive cedar wood.
I feel like I legit have 25 different projects going on. They are all smaller projects that make up a whole room makeover, so it’s like a little puzzle that I have to piece together project by project.
Anyways, that brings us up to this cute little wood bath tray! Or bath caddy, or whatever you want to call it.

I made this one sweet and simple like most of my DIY projects. And I only used 1 piece of wood! The only lumber you need for this project is ONE cedar board (and not a single drill). You may even have a piece of scrap wood you can use already.
I used a ¾ inch x 4 inch x 8 ft board from Home Depot and have some leftover for another project. You can get pretty fancy with these bathtub trays and add a book/tablet holders, handles, a wine glass holder, etc.
But this is just for my kids bathroom so I don’t need all that right now. However, never say never and I may consider making a DIY Bathtub caddie a bit more luxurious for our bathroom.
I’m sprucing up their jack and jill bathroom and this is one way I like to add some warmth to a cold room – with warm wood accents.
I also want to add that these bath trays make a thoughtful handmade gift, maybe for Mother’s Day or Father’s Day or Christmas. Who wouldn’t love to use this at bath time, taking a long soak and getting in some good relaxation! This definitely helps elevate the whole bath experience, and I have to say they look really pretty and inviting sitting on the edge of your tub.
What kind of Wood to Use for a Bathtub Tray
You can definitely use pine wood, you just want to make sure you seal it with a waterproofing varnish at the end (I give some suggestions below). Generally speaking moisture is bad for wood. You might want to consider using a wood that isn’t going to rot or warp easily, so I recommend going with cedar, bamboo, cypress or teak.
I used cedar as it was readily available and fairly inexpensive at my hardware store. You don’t need that much wood, so you could even use a scrap piece of cedar if you have that lying around. Here are some additional rot resitant types of wood.
Things You’ll Need
- Cedar Board
- tape measure
- Wood Stain (I used Early American ) and Rag or Brush
- Wood Glue
- Clamps
- Orbital Sander and tack cloth
- Small Level
- Miter Saw or Table Saw
- Polyurethane (or Tung Oil, Spar etc.) and Paint Brush
Notes: I made this bath tray using wood glue – no power tools, nails, screws needed!
DIY Bathtub Tray – Step by Step

How to Build a DIY Bathtub Tray with Cedar Wood.
Total time: 1 day
-
Measure Top Width of Bathtub

This bathtub tray will stretch across and rest on the two ledges of your bathtub – so we need to find the top width of your tub so we know how long to make our tray.
-
Cut Cedar Board to Size

We are going to wood glue two cedar boards together to make a wider tray. Using your saw, cut your Cedar Board 2x to the dimension you found in step 1. We are also going to cut 2 small 2 inch pieces from the leftover cedar to use as the feet of the tray.
-
Wood Glue Boards Together

Use Wood Glue to Attach your Cedar Boards together side by side and clamp them together for a tight fit until the wood glue has fully cured.
-
Measure Inside the Tub
Once the glue has fully cured, remove the clamps. Take your tray up to the tub again and rest it on the bathtub ledges. With a pencil, make a mark underneath the tray on each side where it hits the tub. This will be our guide for where to place our tray feet. The feet help hold the tray on the tub so it doesn’t just slide off onto the floor. (Which I know my kids would do LOL). Basically, our bathtub tray feet will hit the inside edges of our tub, while the tray itself sits on the top sides of the tub.
-
Glue Feet to Tray

Glue your little 2 inch wood feet just inside the line you drew from the previous step. Use a level to ensure they are straight, and then clamp them in place until the wood glue dries.
-
Sand and Stain
Once your tray is fully glued together, you can sand and stain it really well. You don’t want any splinters while you are in the tub! Remove the sanding dust with a tack cloth or brush attachment on a vacuum. Follow with your favorite wood stain (mine is Early American).
-
Protect with Polyurethane
I applied 2 good coats of polyurethane. I use a paintbrush and matte polyurethane. It dries totally clear and won’t affect the final aesthetic. Some say not to use polyurethane on a bath project because the humidity will cause the poly to peel off, but I haven’t had that issue. You can also try Tung Oil or Spar, which is made specifically for Exterior and water resistance.
And that’s it!
Final step? Making it look pretty. Grab your favorite candle, a pretty jar of Epsom salts, a soap dish, soap and even a small bud vase with your favorite greenery.
Mine will soon be covered with matchbox cars and barbies. 🙂


Shop the Post
Thanks for visiting today!
Xo Karen


