Easy DIY Halloween Banner

I can’t believe Halloween is only a month away! Let’s get into the spooky spirit by crafting this DIY Halloween Banner. I love these burlap banners. I made one for Hannah’s room and one for Christmas as well.
But this Halloween banner might be my favorite of all. There’s something about the pop of black lettering on burlap. Let’s roll up our sleeves and get crafty like Martha.
Things You’ll Need
- Scissors
- 3-inch Burlap Ribbon
- Blunt Needle
- Acrylic Paint
- Stencil Brush
- Stencils
- Jute Twine or Ribbon
DIY Halloween Banner – Step by Step
I made a quick video about this so watch that first HERE if you want.

How to Make a Halloween Banner.
Total time: 1 hour
-
Cut Burlap Squares
You’ll want to cut your burlap ribbon into squares (1 square per letter). My squares were approximately 4×5 inches, give or take. I just eyeballed this. After you cut the squares, set up a stencil station. I used a paper plate for easy cleanup.
-
Stencil Letters

Set your letter stencil on top of the burlap square. Dip your stencil brush into a bit of paint, then dot all along the stencil. Carefully remove the stencil to reveal your beautiful letter. Repeat for the remaining letters.
-
Attach Jute Twine

Thread one end of your jute twine through a blunt needle. Then, weave in and out of your burlap letters. Make sure you thread the letters in order! Leave a longer tail at each end for hanging.
-
Hang it Up!

Use tape or light clips to hang your Halloween Banner.
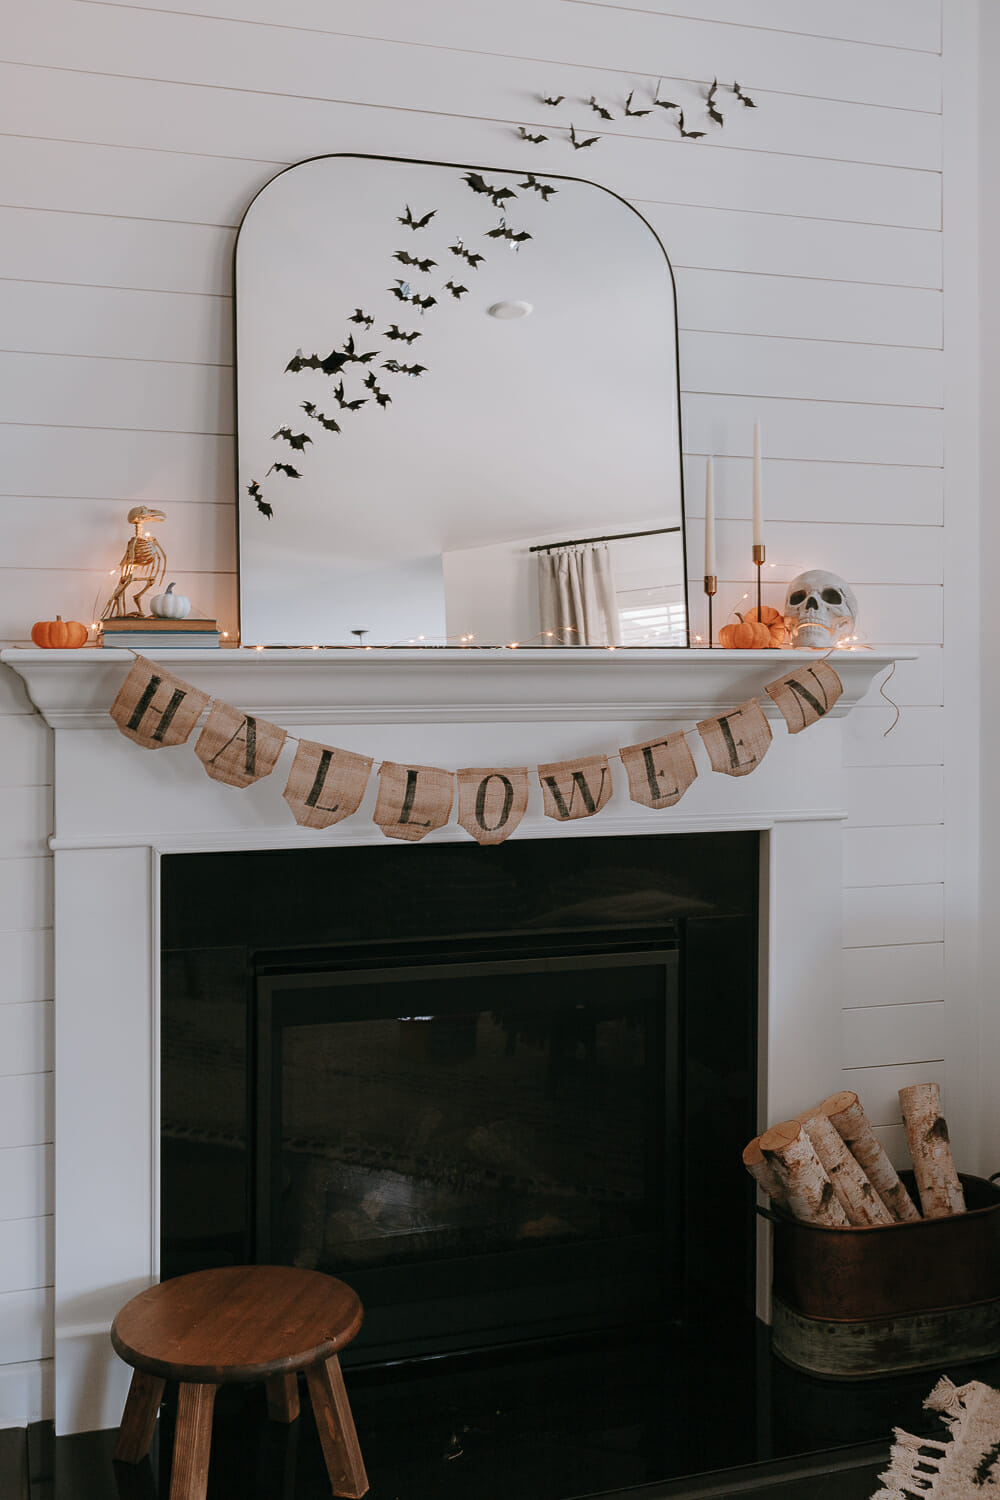
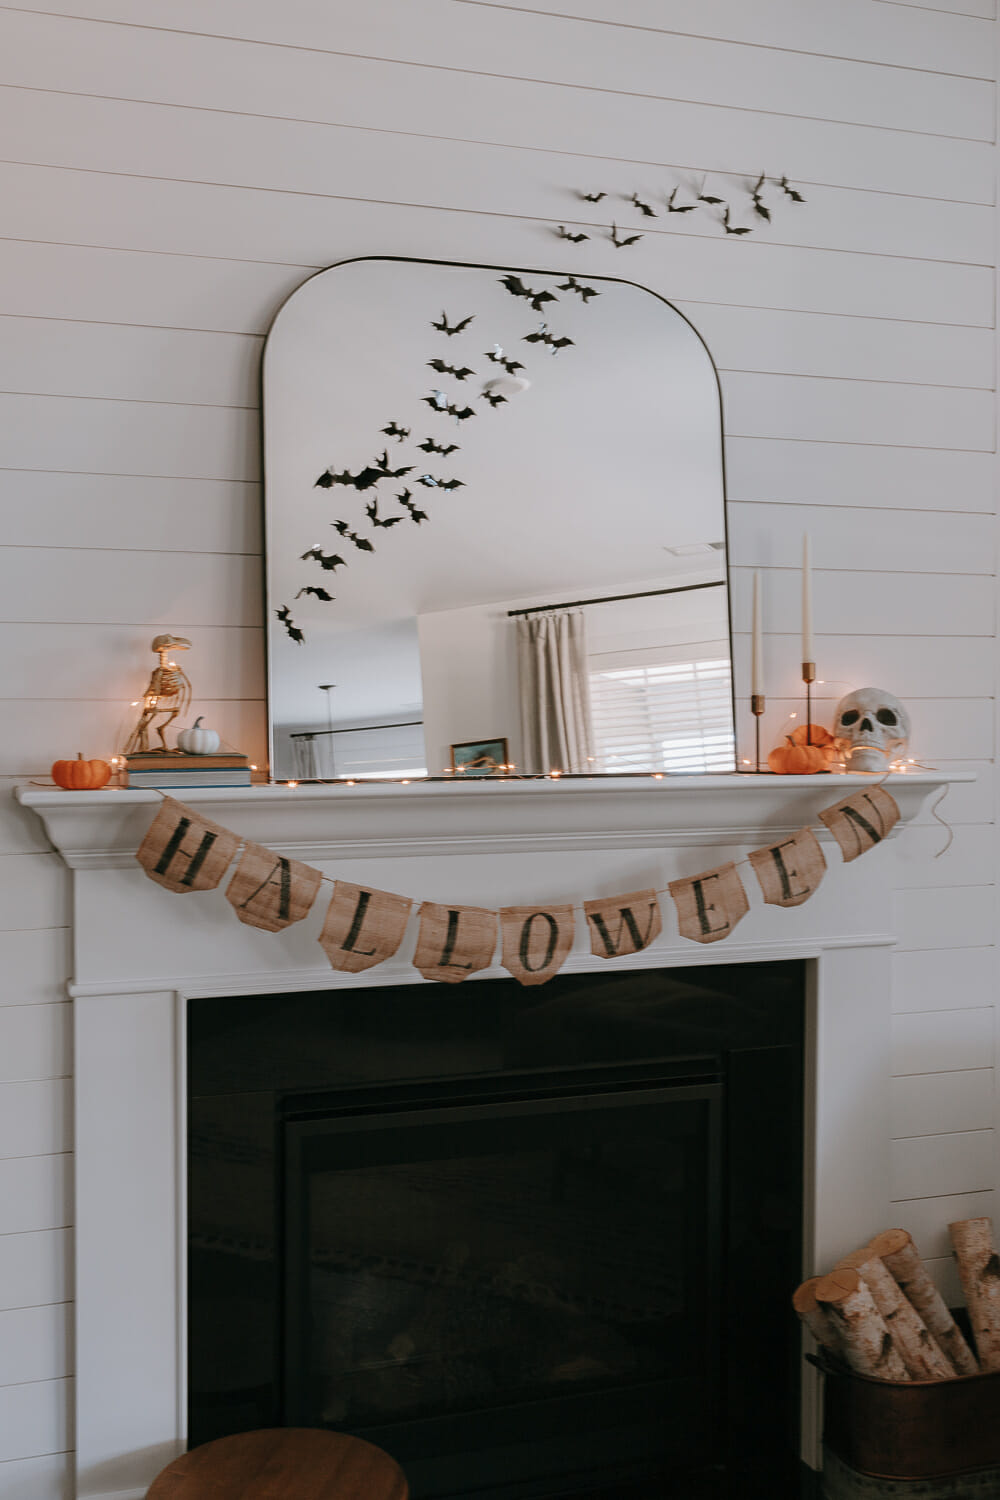
Here’s our simple mantel look this year. I wanted to add some branches and spray-paint them black, but I just haven’t gotten around to it yet. Maybe for the dining room instead.


And fairy lights make everything better in my opinion.
Thanks for visiting today!
Xo Karen


