Easy DIY Kids Desk

Today’s project is this simple DIY kids desk that you can make with a few inexpensive pieces of pine lumber. Like most of my wood projects, this one comes together with Kreg pocket holes.
If you look around, these simple desks can cost hundreds of dollars. I found one recently at Target and it’s made mostly of particle board and still over $100!
This wood desk project that I’m about to show you is maybe $20 in materials? Do yourself a favor, buy a Kreg Pocket Hole Jig, and start building!
So, stick around if you want to build a no-frills, straightforward child’s desk (or, for anyone, it’s just made a bit smaller).

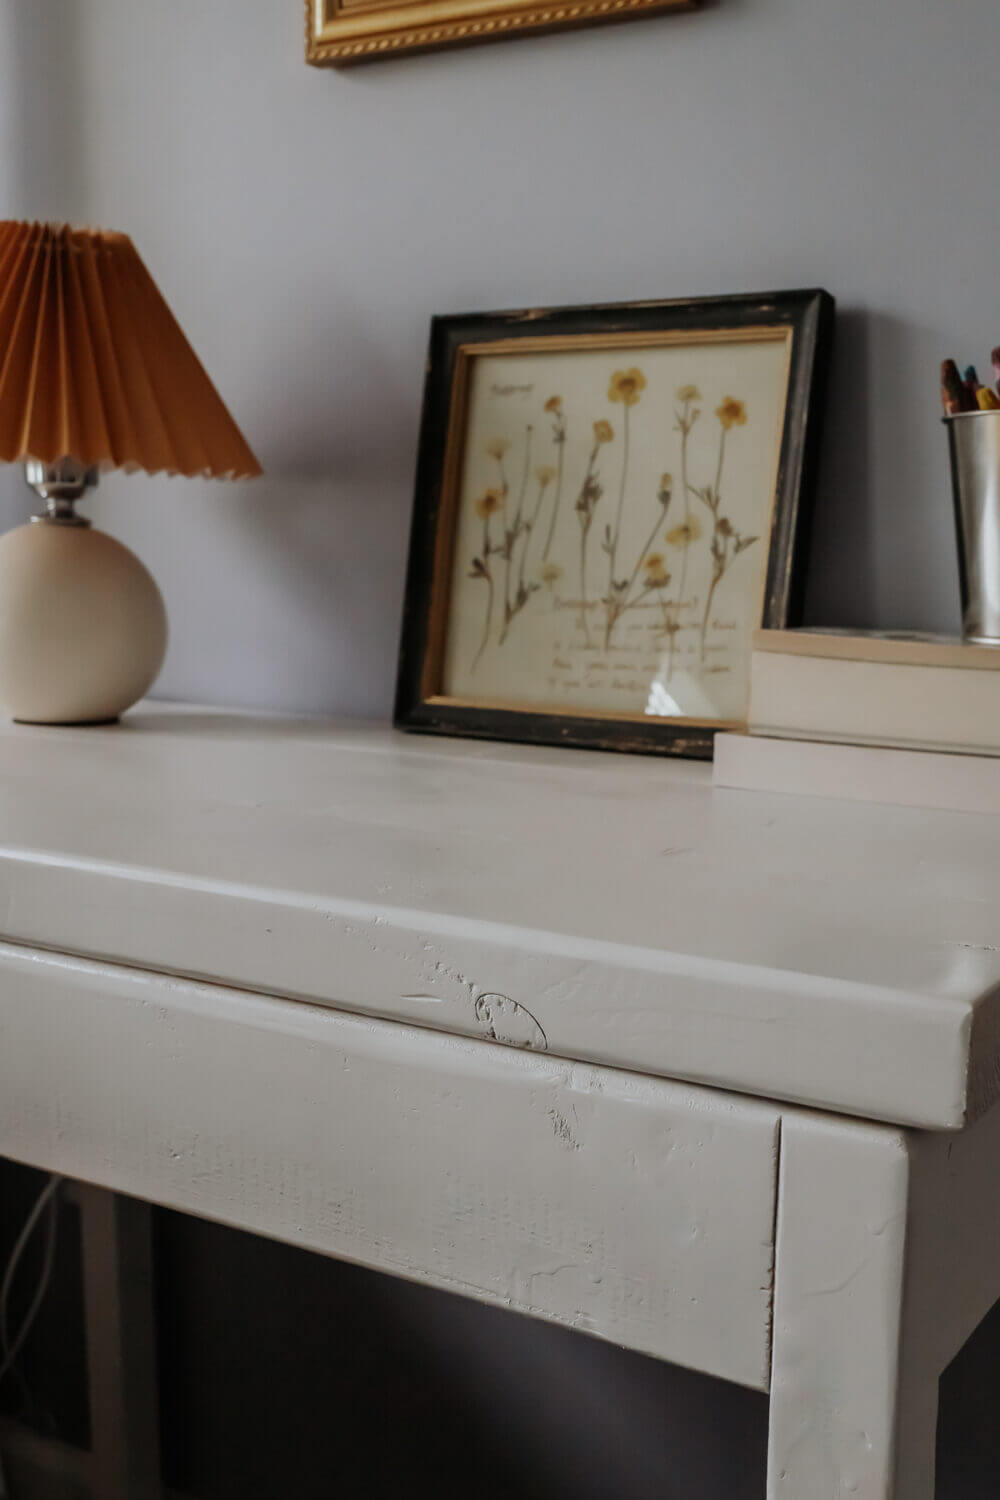
I wanted to build a new desk for Hannah’s room. She was still using her old desk from Seattle, which didn’t quite fit right in her new room. I wanted to build a desk the size I needed for her room. And I love how it turned out!
Things You’ll Need
- Kreg Pocket Hole Jig System
- Kreg Pocket Hole Screws
- Table Saw
- Orbital Sander
- Wood Glue
- Clamps
- Spray Paint/Stain (optional)
- Polyurethane / Polycrylic
Cut List

- Desk Measurements (approx.): 18 inches wide, 29.25 inches high, 31 inches long
- I ripped one of my 2x4s to 1.5 inches wide using my DeWalt Saw. You can also buy 2×2 lumber if you don’t want to rip them down, but you’ll have to adjust the measurements of the aprons slightly.
- Four legs: 1.5 inches wide x 27.75 inches high
- Two long aprons: 2x4x27 inches
- Two short aprons: 2x4x15 inches
- Desktop: I used 2x6s (and one 2×4 piece ) for the desktop and sliced off the round edges so I had very straight edges to glue together. Each piece was cut to 31 inches long, as I wanted a 1/2 inch overhang on the sides.
- Support Piece: I added a small support piece to the underside of the desktop.

DIY Kids Desk – Step by Step

How to build a simple DIY kids’ desk.
Total time: 2 days
-
Drill Pocket Holes
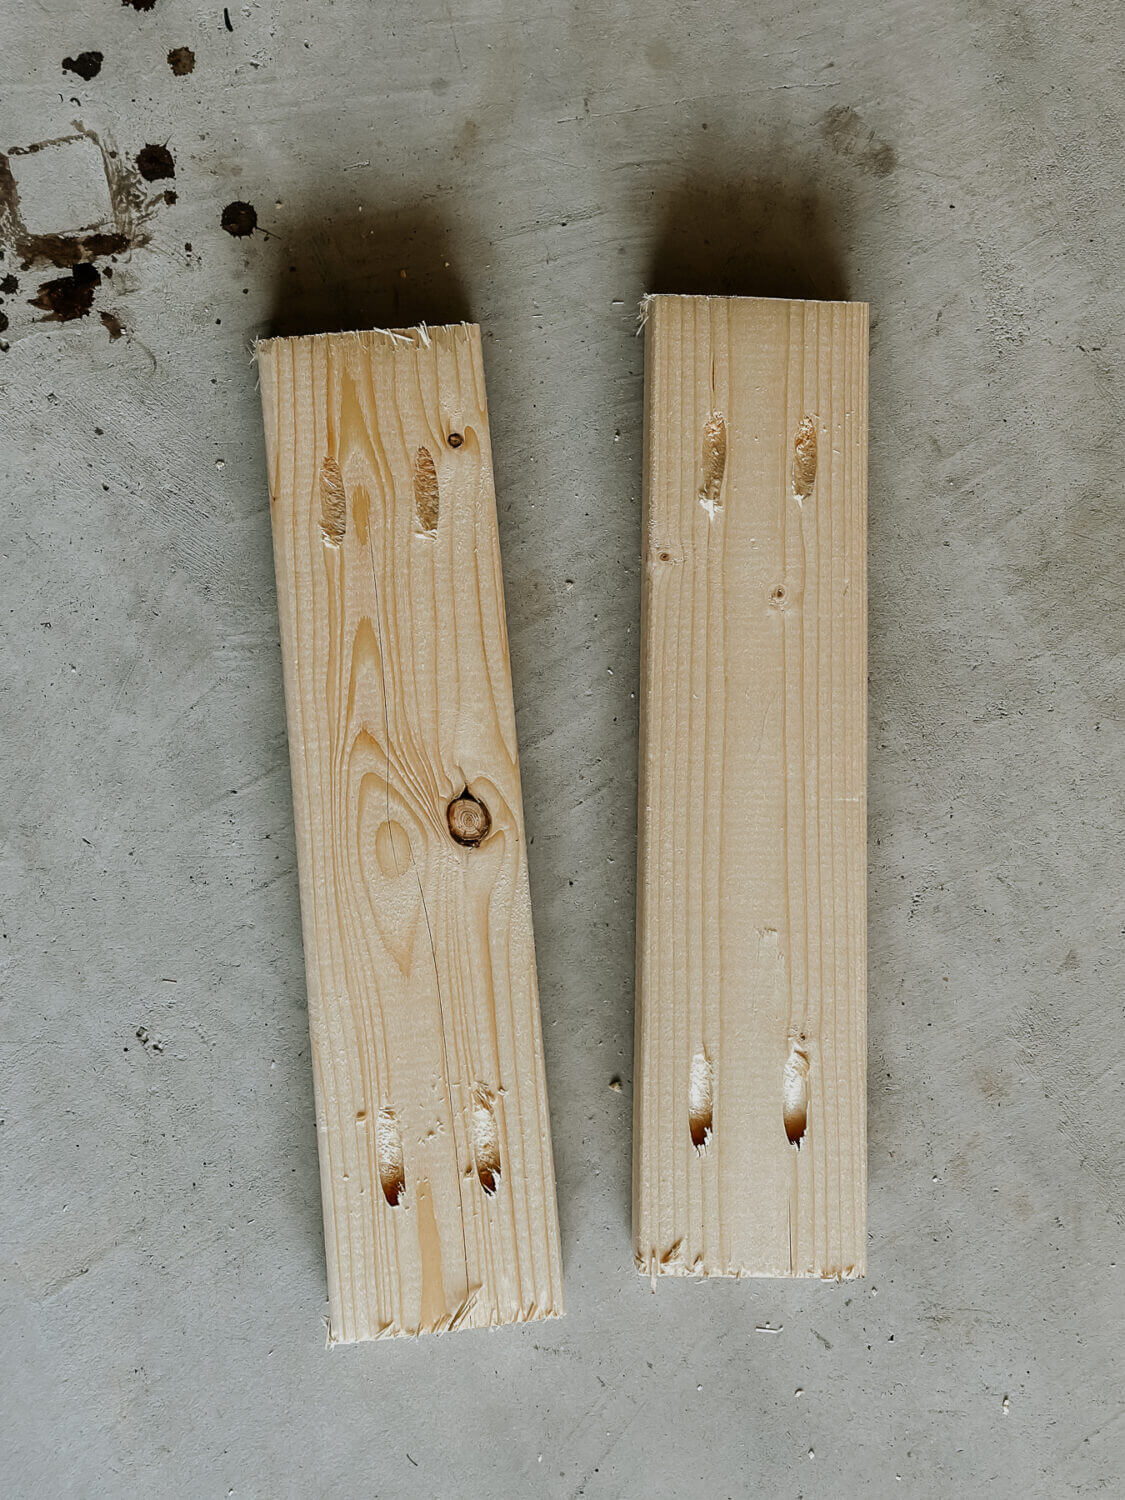
Using your Kreg Pocket Hole Jig, you want to make several pocket holes in the aprons, as shown in the photos. I set my Kreg to 1.5 inches. You want to make two on each end to connect to the legs and then several in the middle to join the top later.
-
Connect Legs
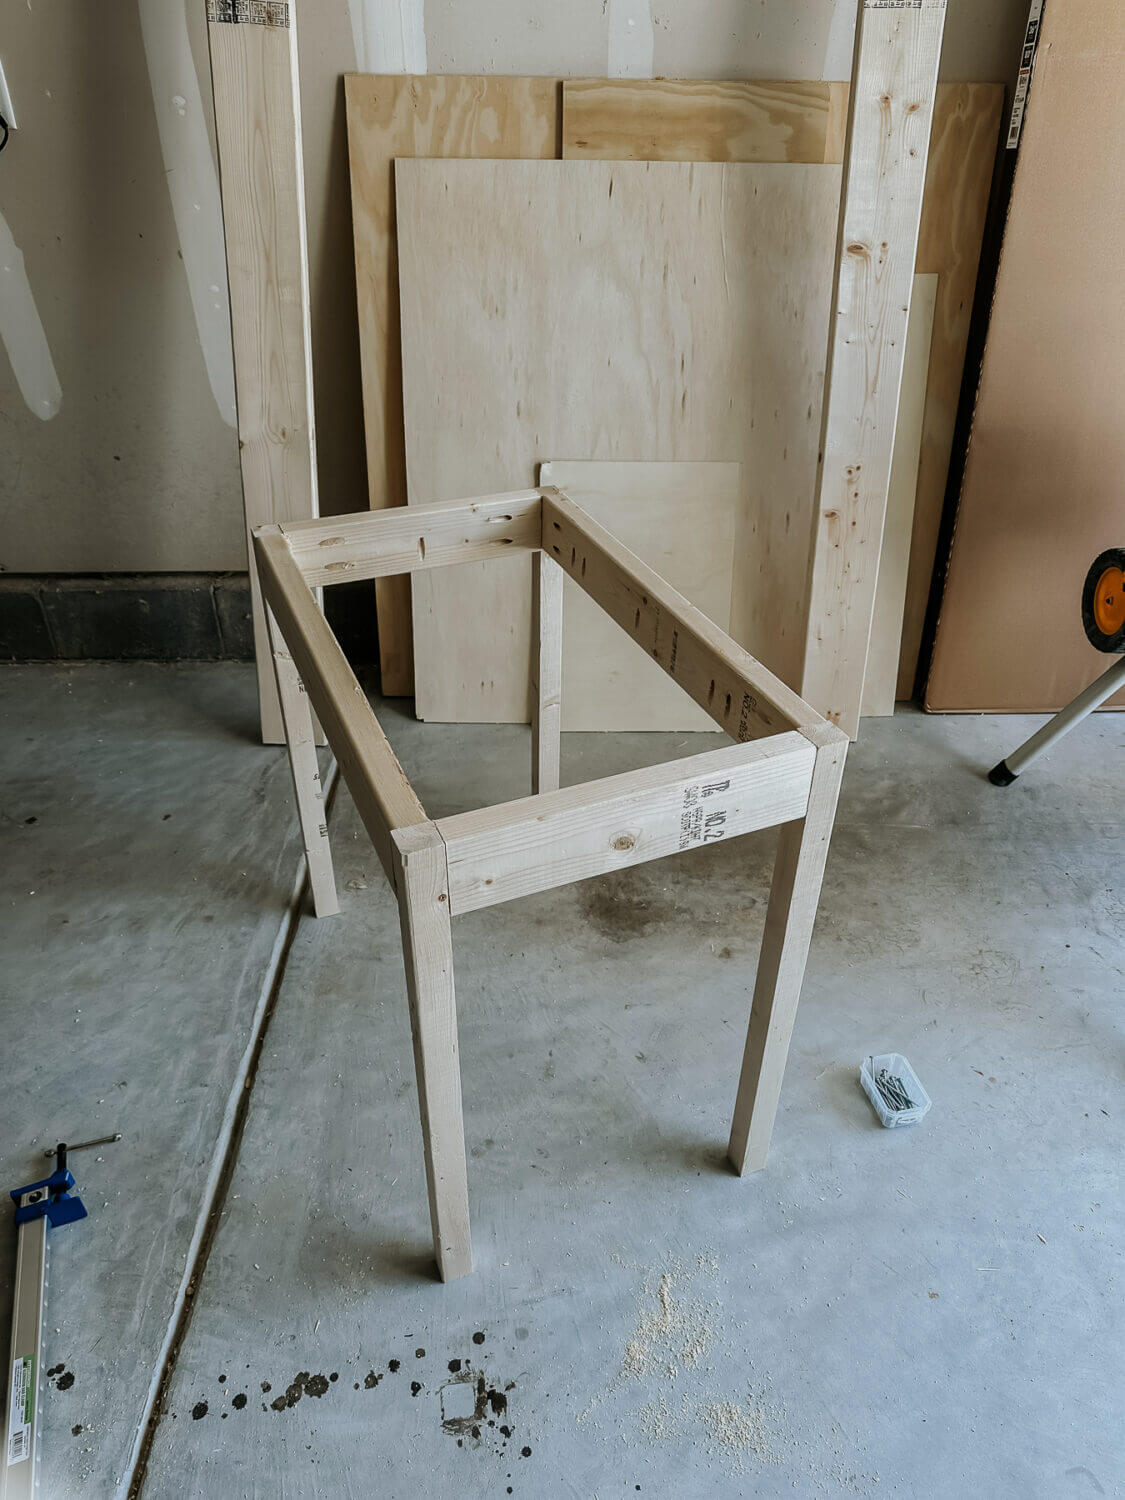
Using 2.5-inch pocket hole screws, I connected each leg flush to the aprons, as shown. Use a clamp to achieve a nice, snug fit.
-
Glue Together Desk Top

To keep this project affordable, I decided to glue a desk top together rather than buy a larger single piece of wood. Use wood glue to connect the pieces flush with each other and clamp them together overnight.
-
Connect Top to Leg Base
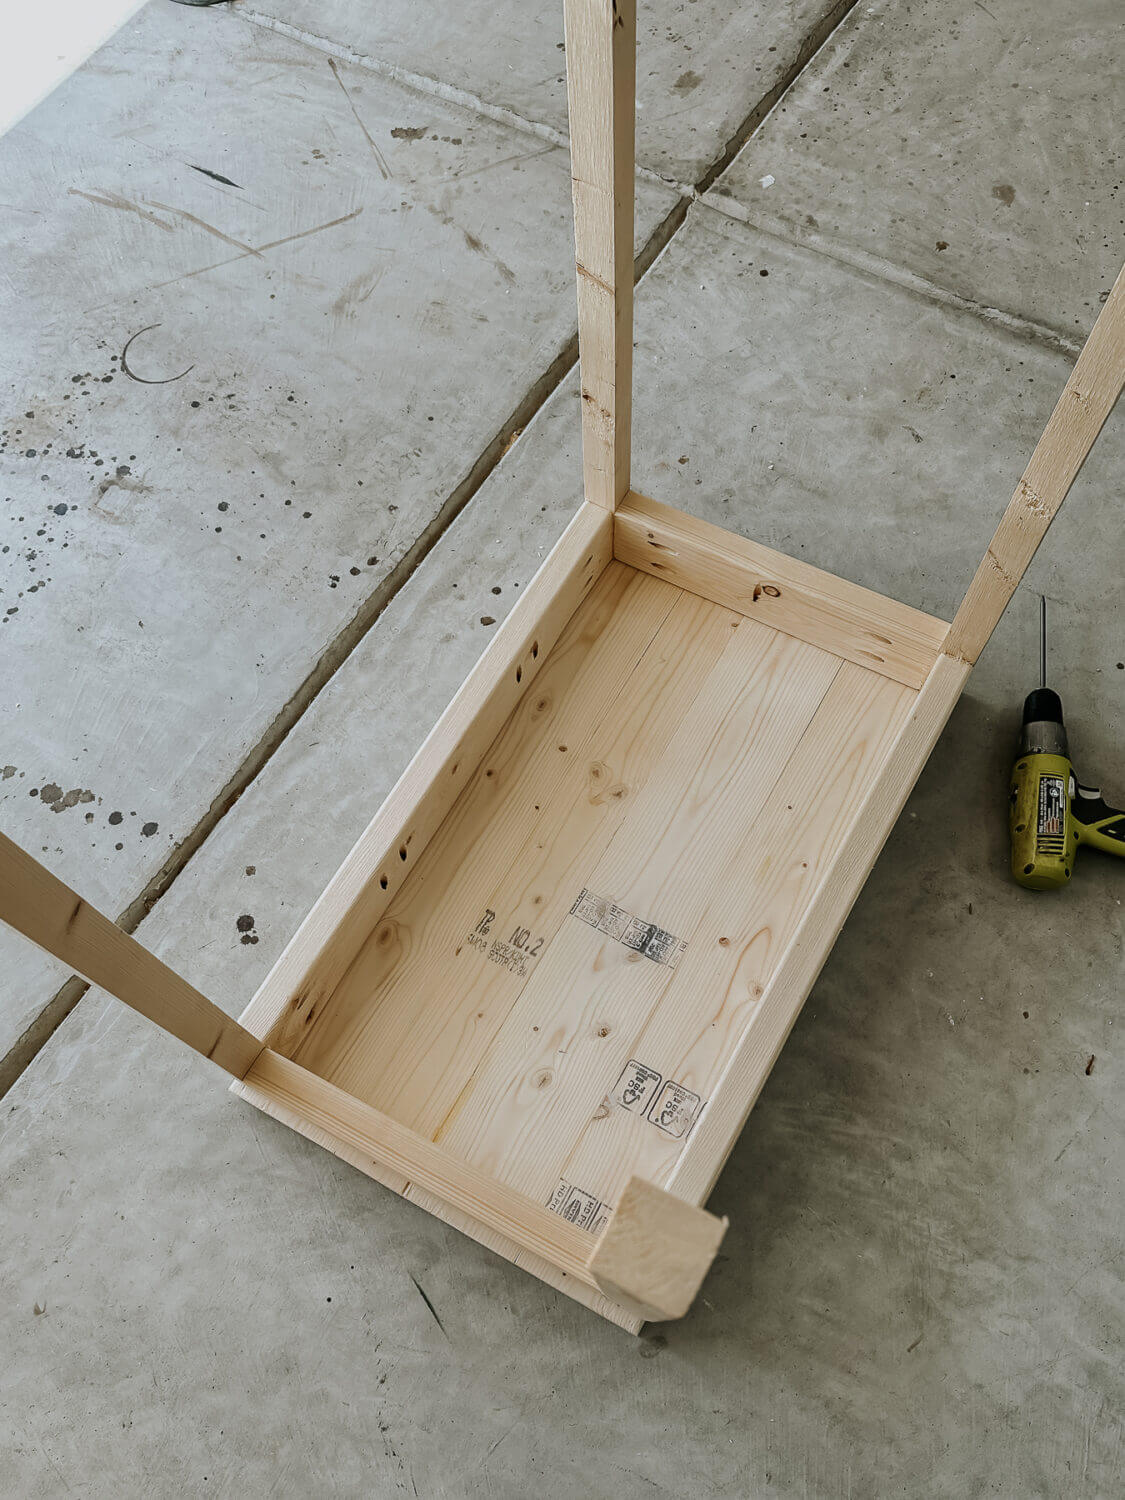
Center the leg base upside down on the desktop so there is a 1.5-inch overhang on the two sides. It sits flush on the front and back sides. I connected the top to the legs with 1.5-inch pocket screws. You could also use 2 inches here, but the 2.5-inch pocket screws went through the top and were too long.
-
Connect Top Support

I wanted to add more support to the desktop, so I cut a scrap piece of lumber to fit in between the aprons on the underside and connected it with pocket holes.
-
Sand it Down Smooth

Use an orbital sander for sanding everything down smoothly.
-
Optional: Stain Or Paint

You can paint or stain your kid’s desk or keep it natural. I used Rustoleum Semi-Gloss Protective Enamel in white.
-
Protect with Poly

If your paint or stain doesn’t have protective qualities, or if you decide to keep it natural, you will want to coat the desk in a couple of layers of polycrylic or polyurethane. Here’s the difference. This is a kid’s desk, after all.
And that’s it for this project! You can customize the measurements as you see fit. I love that this can be made with inexpensive wood.


Now the fun part! Dress up their desk with pencil holders, artwork, and a lamp. You can also thrift a vintage chair to go with it. The one I’m using here was my grandfather’s.

