Easy, Rustic DIY Shelf Brackets
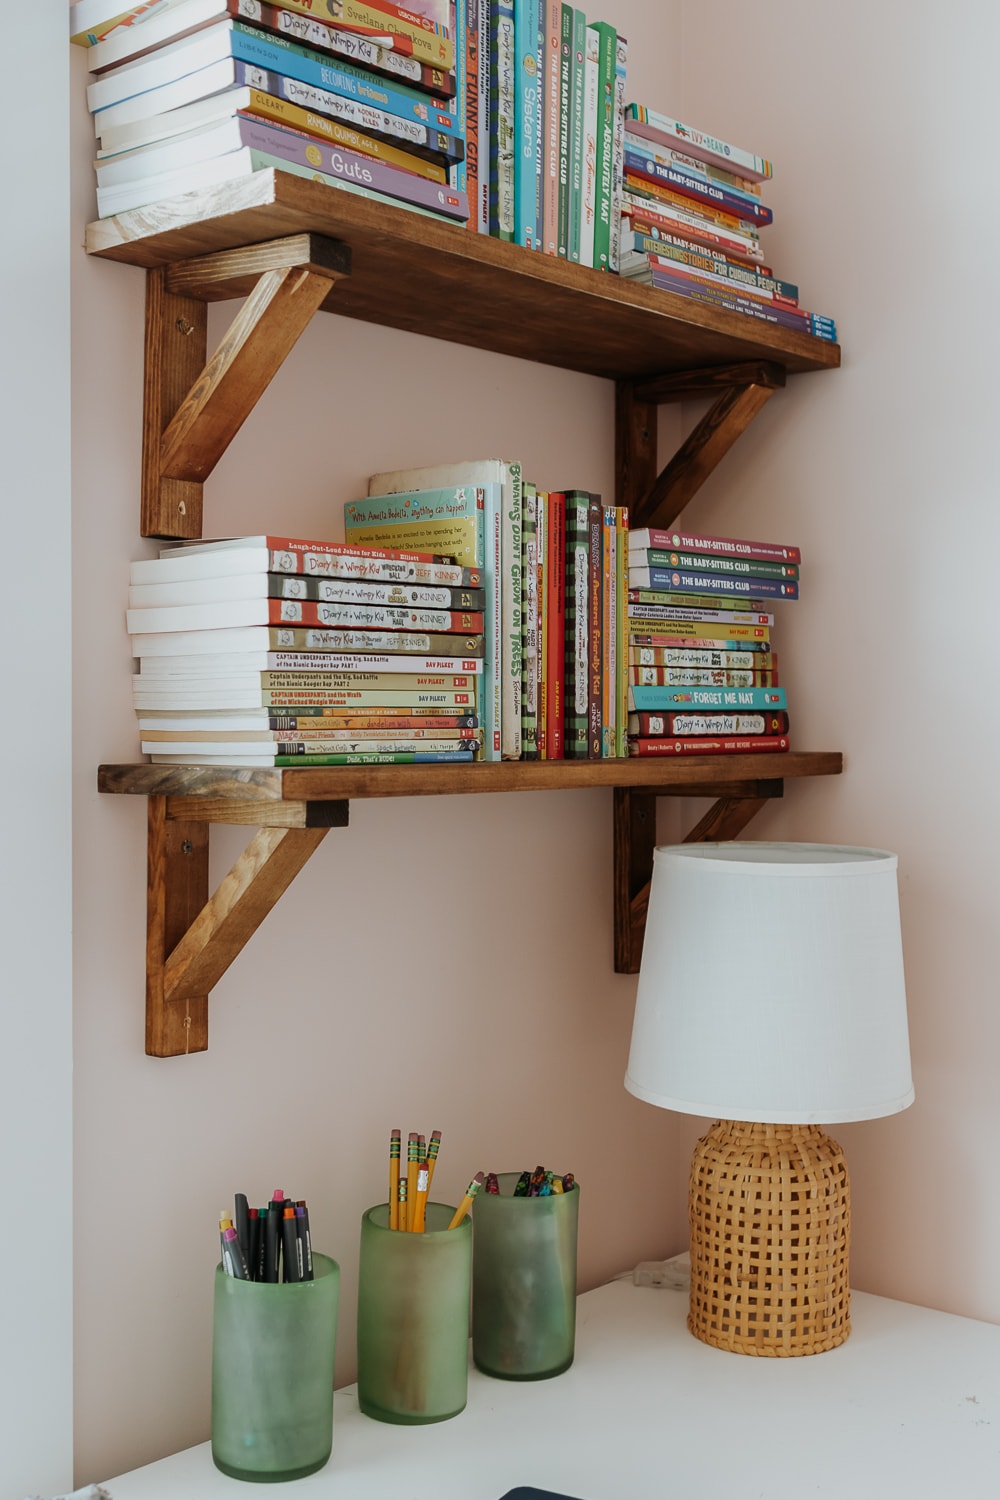
Did you guys know that you can craft your own DIY shelf brackets? You can! Pretty easily, in fact.
You can always grab some shelf brackets at hardware stores like Home Depot and Lowes, but let’s be honest, they can be kind of ugly sometimes. And it’s cheaper to make your own with a few simple materials and tools. Use up that scrap wood in the garage!

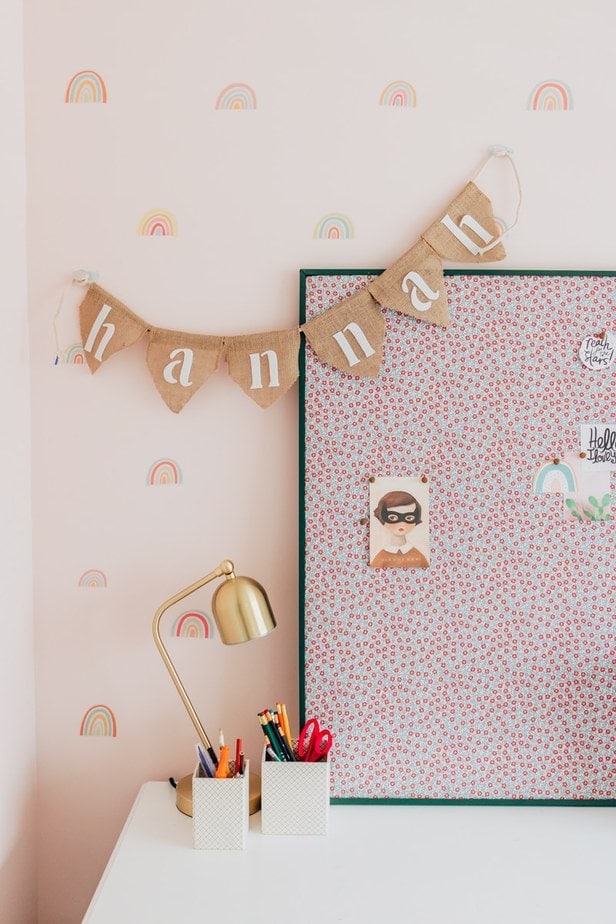
I’m building open shelving for Hannah’s room and wanted some craftsman-style wood brackets to go with it. Are they perfect? Nope. But they add so much character to the room and they do exactly what they are supposed to – hold up her shelves!
So, let’s get started with this simple project.
Things You’ll Need
- Miter Saw that can cut angles
- Drill and screwdriver drill bit
- Brad Nailer
- 1x2x8 furring strip- but you can use any smaller width lumber for this project – use up those pieces of scrap wood you have (exact wood cut dimensions in tutorial below)
- Wood Glue (Elmer’s Glue is typically fine or use Gorilla Epoxy glue if a stronger joint is needed) Right Angle Clamp
- Wood Stain – I used Early American
- Polyurethane
- Orbital Sander
- Stud Finder, Level and Wood Screws (for hanging)
How to Make DIY Shelf Brackets with Wood
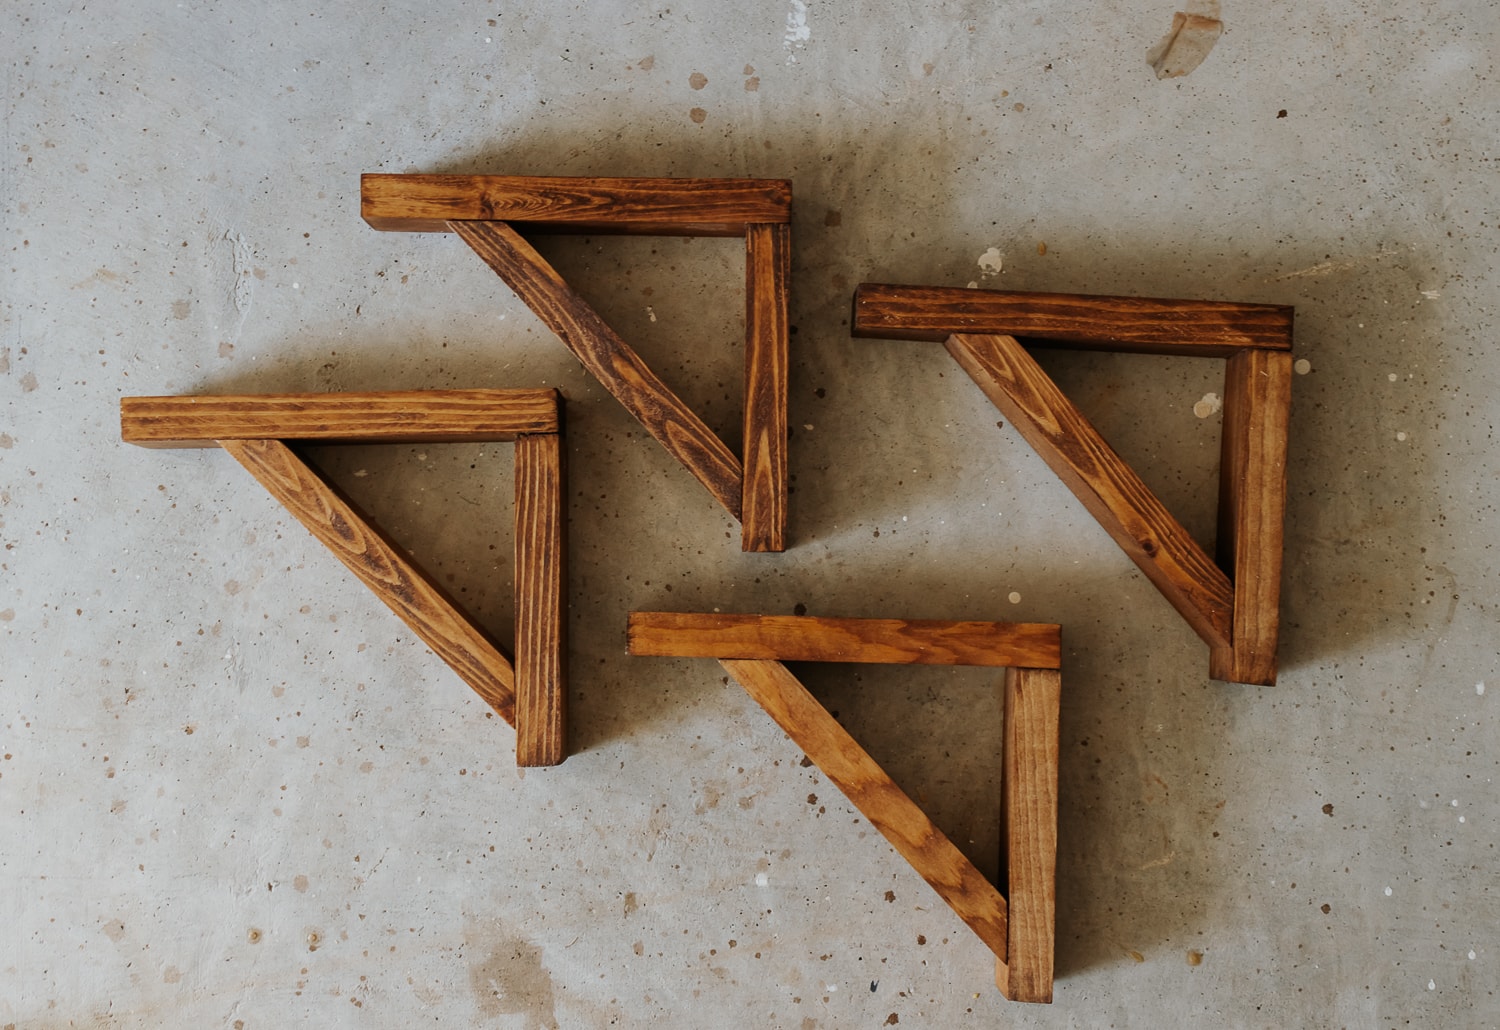
Step by Step Tutorial for making shelf brackets with wood.
Total time: 1 day
-
Cut 1×2 Wood to Size

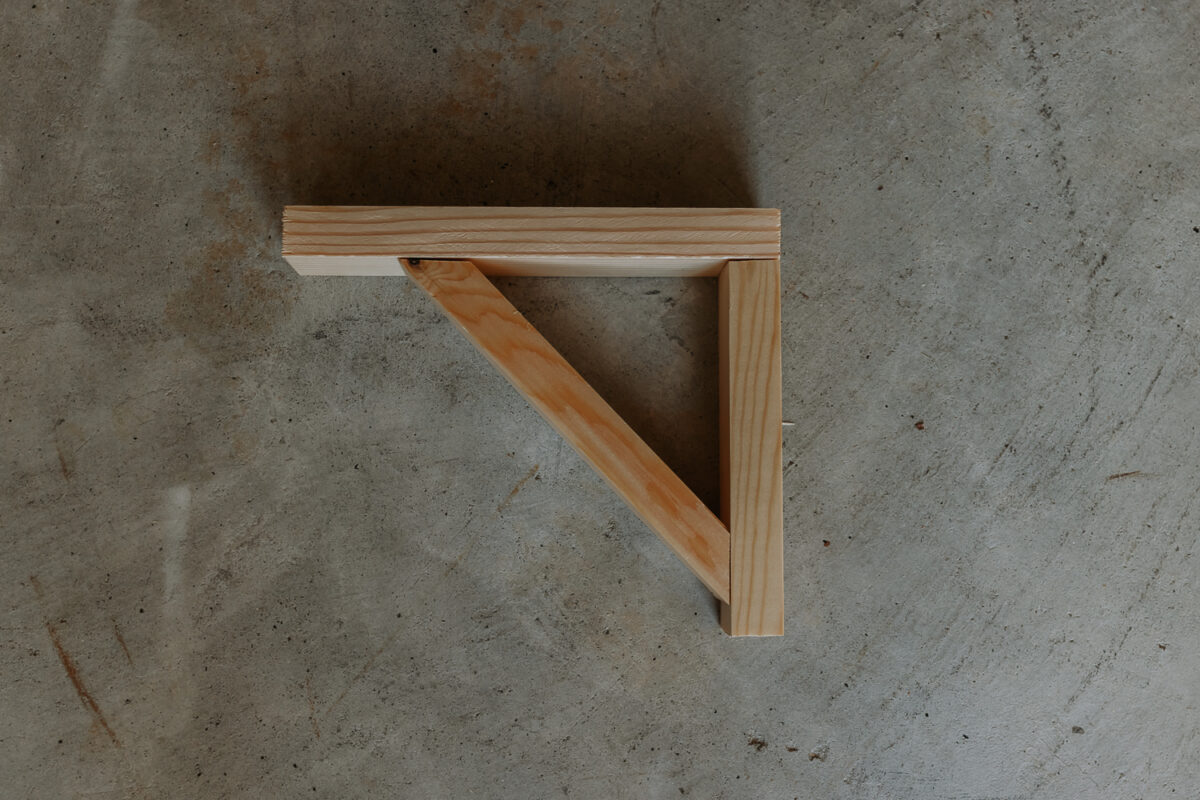
Two things we need to do before we cut out wood to size. First, Determine how many shelf brackets you need. Second, determine the width of your shelf. You will want the top piece of the shelf bracket to fit the width of the shelf or smaller! You don’t want it extending out beyond the shelf because it will look weird. I’m using 1×8 boards for my shelves, so here are the dimensions I cut for each bracket. One piece of wood cut to 7 inches. The second piece of wood was cut to 5.5 inches. Finally, the third piece of wood for the diagonal support is cut to 6 3/4 inches with each end cut at a 45-degree angle (shape is Isosceles Trapezoid).
-
Sand and Stain Wood Pieces

Why am I staining my wood pieces now? Because I will be using wood glue in a later step. If you are not careful, wood glue can prevent stain from penetrating the wood. So to avoid this altogether, I just stained each piece right now. I used Early American Wood Stain. Sand your pieces and remove the dust with a cloth or tack cloth. Then, follow up with a coat of your favorite wood stain.
-
Construct Shelf Bracket

Your shelf brackets will come together as shown in the picture (see additional pictures below). Place your top and side piece in a right-angle clamp (see photos below) and use wood glue to attach them together. This clamp is the best because it ensures you are attaching everything square at a 90-degree angle. Keep this in place until the wood glue dries, about an hour. Then remove your bracket from the clamp and attach the middle piece using wood glue on each end.
-
Optional: Use Brad Nailer

You can use a brad nailer to pop a few nails in the top and middle for extra security. Wood glue is very strong and dries stronger than the surrounding wood. You can use stronger glue (such as Gorilla Epoxy Glue) if need be, but for my purposes, Elmer’s wood glue works just fine.
-
Coat with Polyurethane
Final step! You want to protect your shelf brackets. Polyurethane also helps to strengthen and harden the wood, which will help hold up the integrity of the shelf brackets.


How to Hang Your DIY Wood Shelf Brackets
Now that we have our beautiful shelf brackets, you might be wondering – how the heck do I hang these things!?? Well, I’ll tell you.
The first thing you want to do is find the studs with a stud finder and mark them. Whenever you are hanging something that is going to hold some weight, your best bet is to screw it into the stud.
Try to line up your shelf brackets with these studs if you can. If you can’t do that, then try to use a heavy-duty anchor (although these will be screwed at an angle to account for the middle support piece). My shelves are exactly 25 inches long. If you have longer shelves, just space out your brackets more!

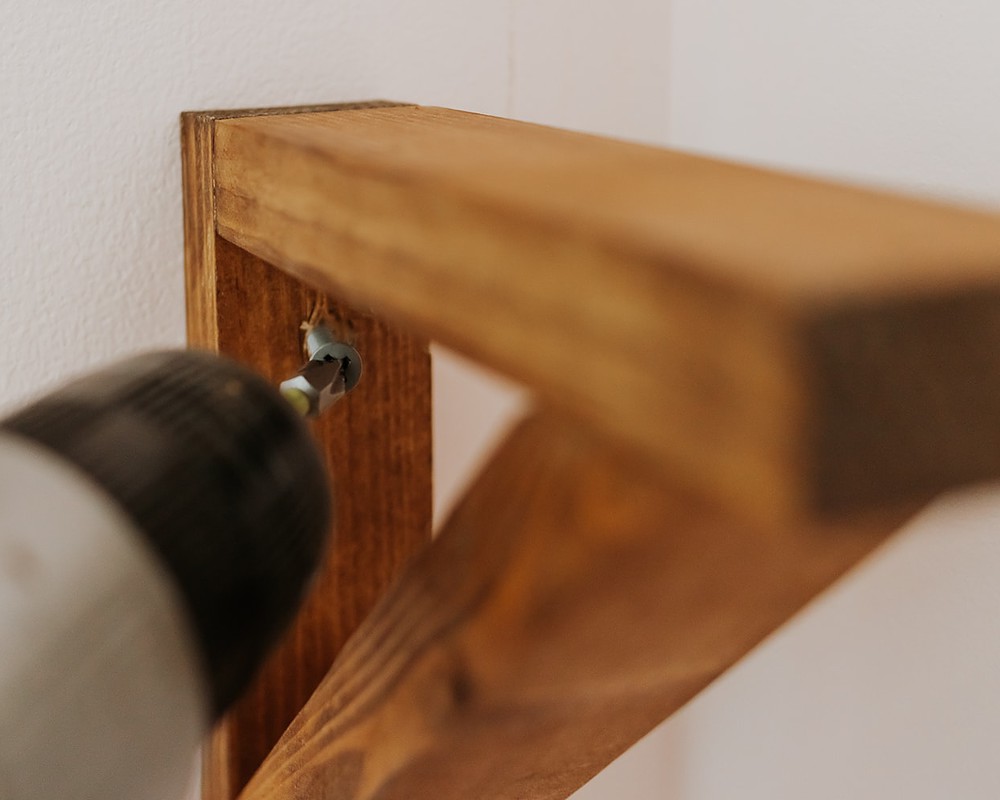
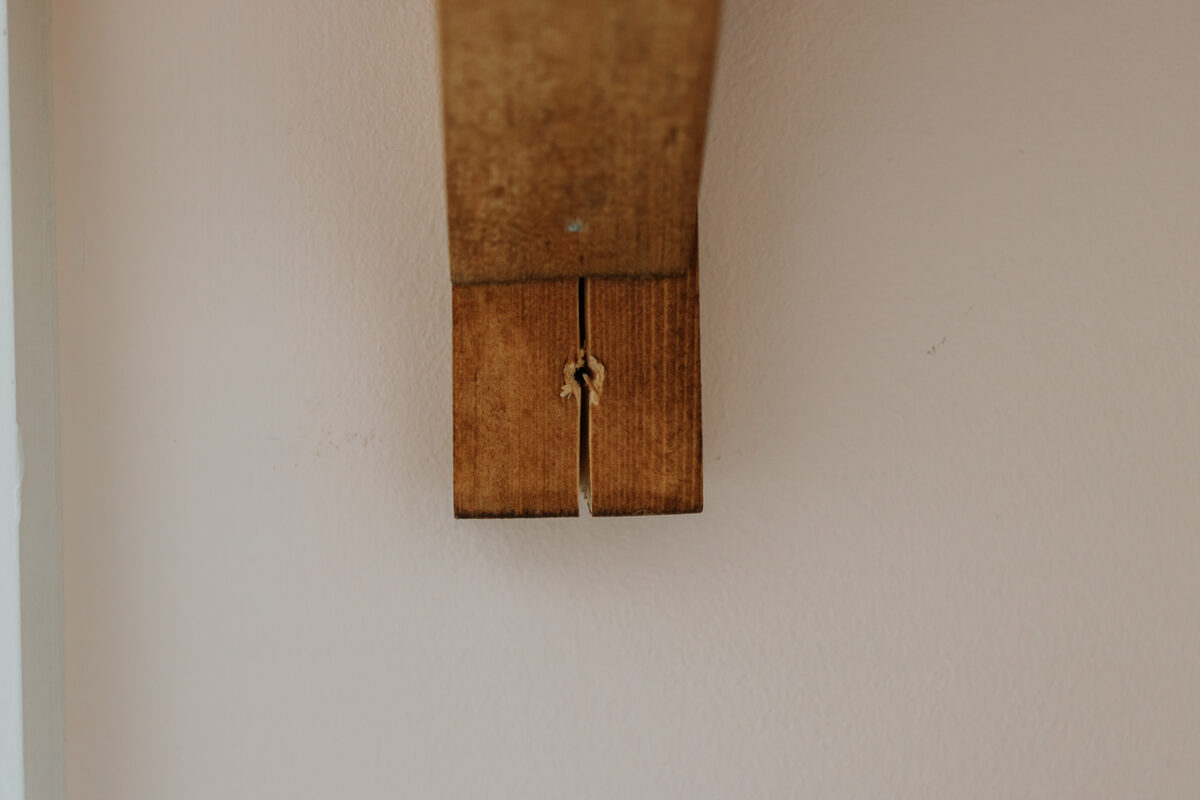
Since we have a middle piece, we will need to drill in our screws at an angle. This is a bit cumbersome but totally doable. To prevent your wood from splitting and cracking (lesson learned), you may want to drill a small pilot hole first before drilling in your screws.
After attaching your first shelf bracket to the wall, use a level to ensure the second bracket is installed at the same level. After both brackets are attached to the wall, place your shelf on top!


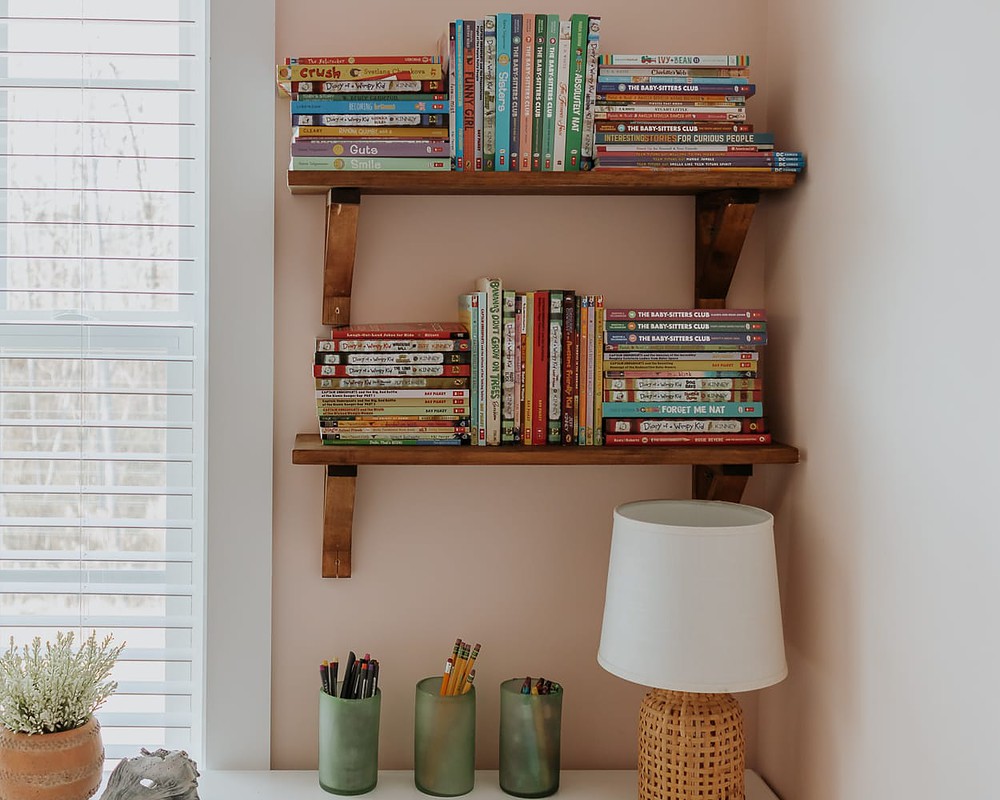
You can use a small screw to attach the shelf board to the brackets. You won’t be able to see this screw if you cover the shelves with objects. If you are concerned about this, you can always pre-drill a hole from underneath the bracket and then install a screw and attach the shelf to the board that way.
And that’s it for these easy shelf brackets!! Make sure to check out my other easy scrap wood projects and make yourself something fun.
I’ll be showing you guys how to make your own shelves too in a future post. So stay tuned!
Xo Karen

