Easy DIY Window Box from Start to Finish
This post contains affiliate links, which means we may earn a small commission if you purchase through them — at no additional cost to you. Please see our policy page for more details.
In this post, I’ll guide you through the step-by-step process of building your own DIY window box, from selecting the right materials to hanging it securely under your windows. Whether you’re a seasoned DIY enthusiast or just starting to explore the world of home improvement, this project is perfect for adding a touch of character and greenery to your windows.
Last summer, we added a flower box to our front windows, and we loved it so much we wanted to do the same in the backyard. From boosting curb appeal and enhancing the overall aesthetic to providing a perfect spot for your favorite flowers or herbs, a window box is a versatile and rewarding addition to any home.
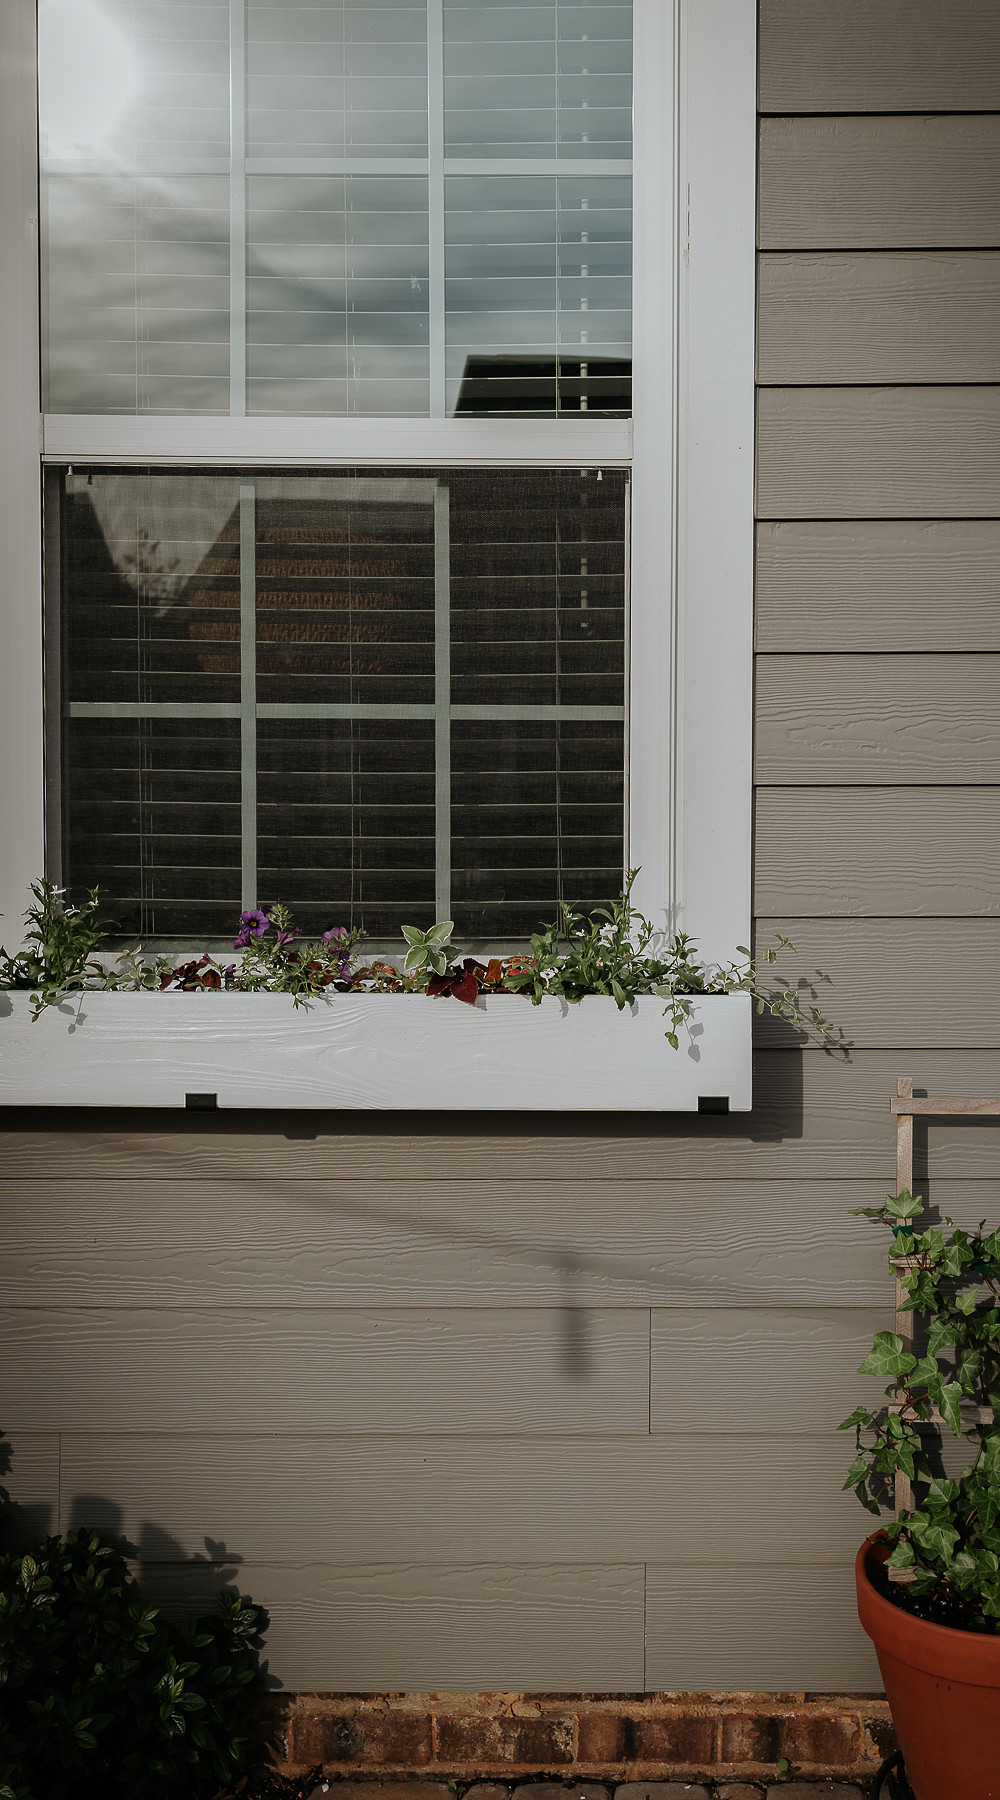
This project cost us $63, not including the dirt and flowers. The pre-treated lumber was $15, the brackets were $17 from Amazon, the white exterior paint was $22 (I have a ton of it left), and the galvanized brad nails were $9 (I also have a ton of nails left). The dang paint was the most expensive thing on the list. Annoying! Everything else we already had (sanding discs, landscape liner).

Things You’ll Need
- Pre-treated lumber or cedar
- Brackets for Holding Your Window Box
- Clamps
- Wood Glue
- Brad Nailer and Galvanized Brad Nails
- Tape Measure
- Table Saw
- Orbital Sander
- Exterior Paint
- Landscape Liner
- Drill with Spade or Forstner Drill Bit (for drainage holes)
- Exterior Screws for attaching the steel brackets to the window frame and box
Tips and Tidbits
It’s helpful to buy the steel brackets first. The width of the brackets you purchase will determine how wide of a box you need. We bought these steel brackets and knew our box had to be about 7 inches wide.
I think these planter boxes look best when they are the entire window width.
You might also like: Charming DIY Planter Box for Succulents
DIY Window Box Instructions

How to build a DIY window/flower box from start to finish.
Total time: 1 day
-
Measure and Cut Wood To Size

First things first. Measure the width of your window and determine how long your box will be. The brackets you buy will determine the width (see notes above). You want to cut two sides pieces the same length and one bottom piece.
You’ll also need two side pieces, which I cut to fit inside the two side pieces, so my bottom piece was cut a bit short to accommodate this side piece (see photo).
If your wood has rounded edges, cutting a straight edge on each side of the bottom piece might be helpful so it fits flush against the sides.
-
Drill drainage Holes

We need drainage holes! Use a 1/2-inch spade or Forstner bit and drill holes across the bottom piece. I spaced mine about 8 inches or so apart.
-
Glue Box together

You might need a helper for this part! Use wood glue to assemble your wood box and clamp the pieces tight.
-
Brad Nail Window Box

While the wood glue was drying and the window box was clamped, I used our brad nailer to nail some galvanized nails in the edges and sides for added security. Any nails that poke out can be hammered in flush with the wood.
-
Sand Window Box

You can sand before assembly or after. I used our orbital sander and 120 grit sandpaper to make a smooth surface ready for painting.
-
Paint Window Box
Let’s paint! I used an exterior semi-gloss paint in Pure White to match our existing trim.
-
Add landscape Liner
Landscape liner helps keep the dirt from falling out of your drainage holes. I cut a piece to fit across the bottom and laid it there after the paint was completely dry.
-
Install Hanging Brackets

Installing brackets along your window sill is the first step to hanging your window box. We evenly spaced four brackets across the window frame and attached them using heavy-duty 2.5-inch exterior screws.
-
Hang flower Box

Now that your brackets are hung set your box down and secure them to the brackets by screwing them together on the bottom.
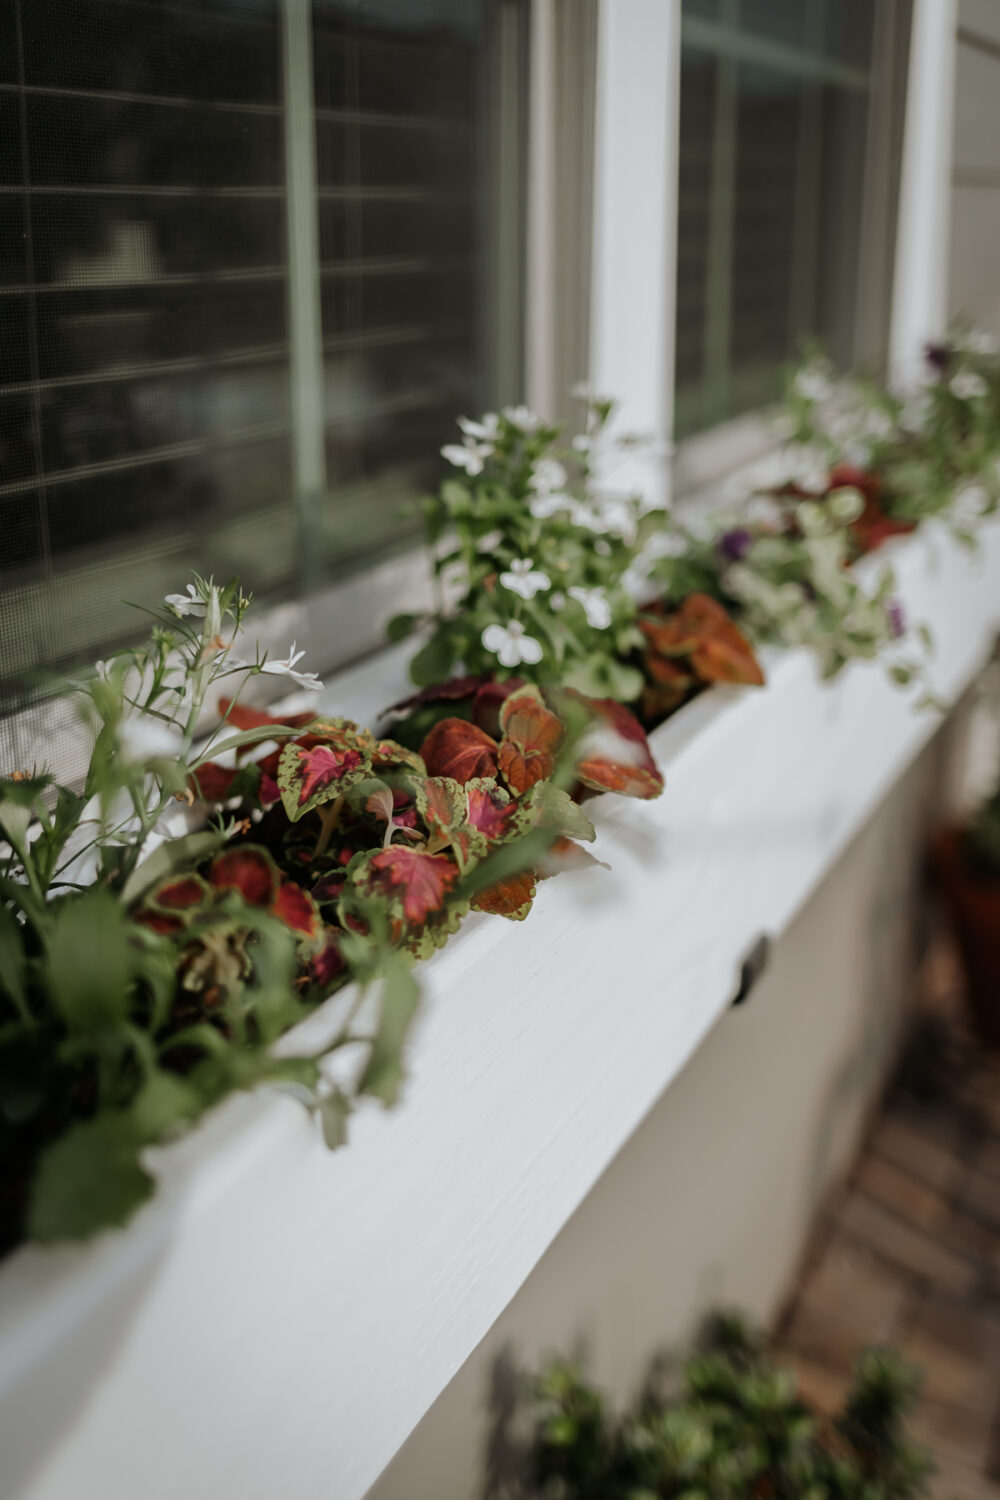
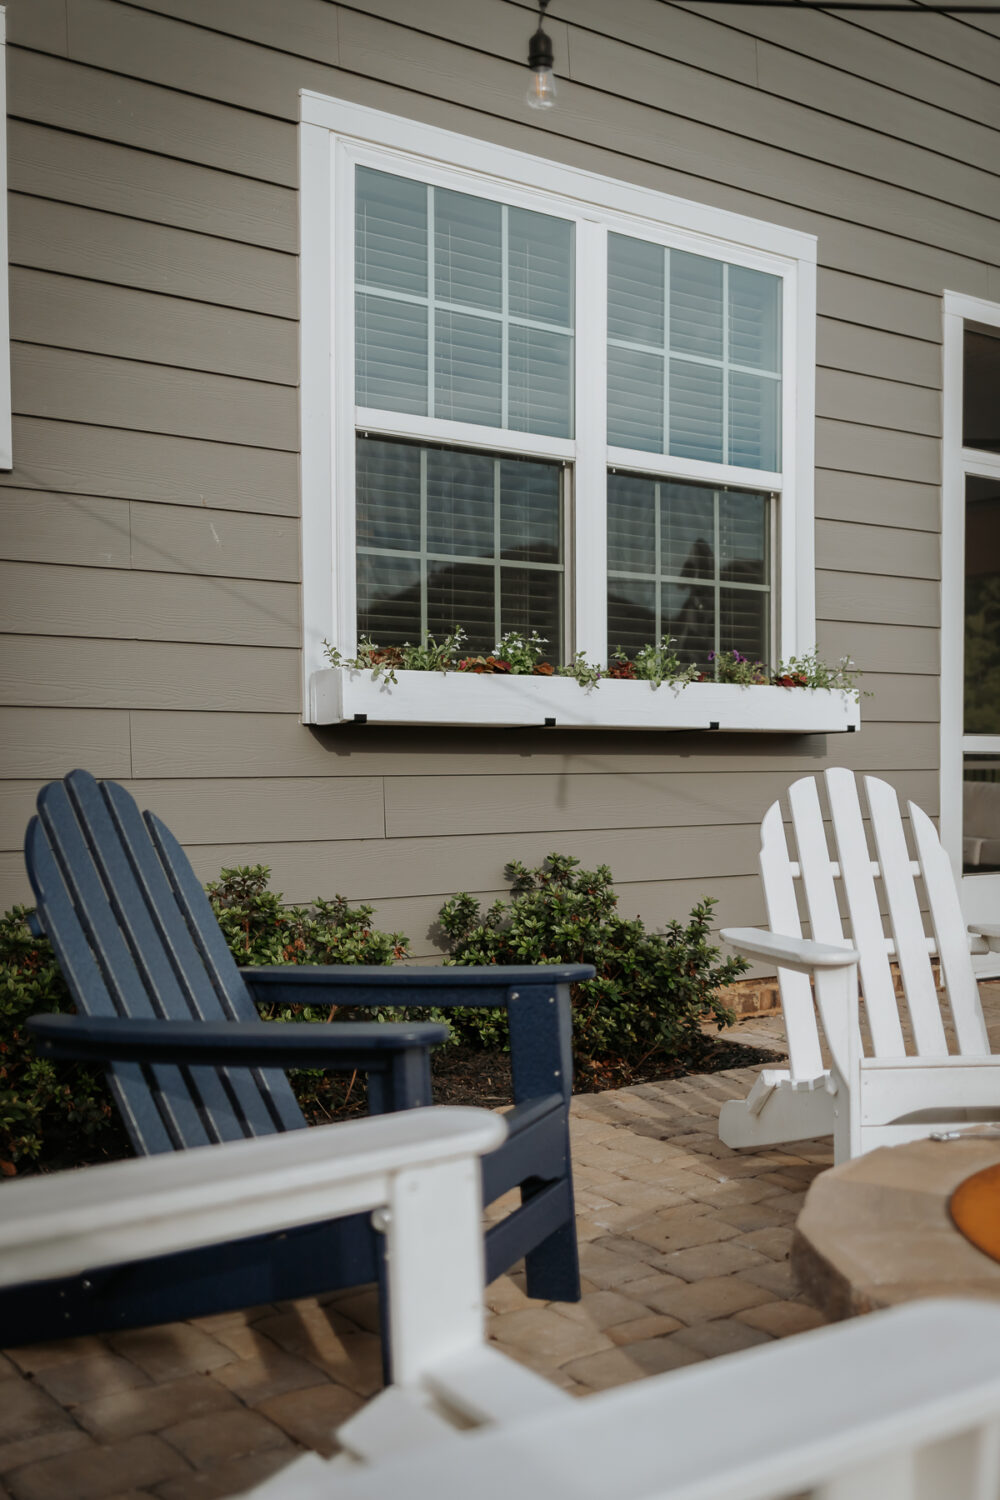
Our outdoor firepit/patio area is much more inviting now!


Polka Dot Plant: Beautiful, vibrant-colored foliage in pink/hot pink and green shades. It does well in the shade but can take some sun. We’ll see how it fairs this summer.

